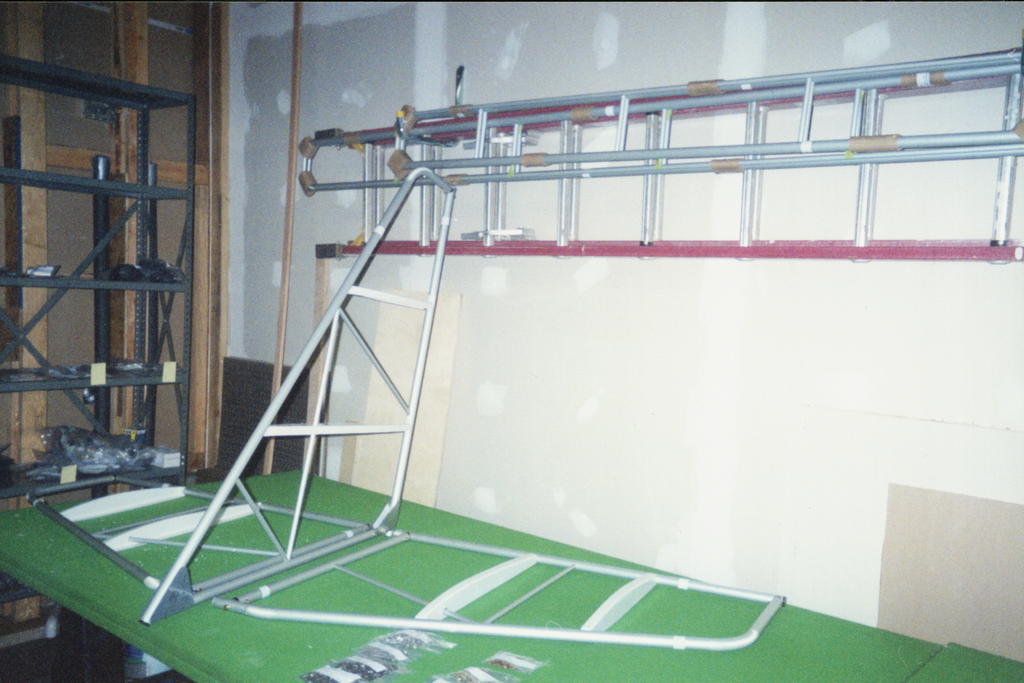
Wing Transport Fixtures - 0.5 Hours (53.5 Total)
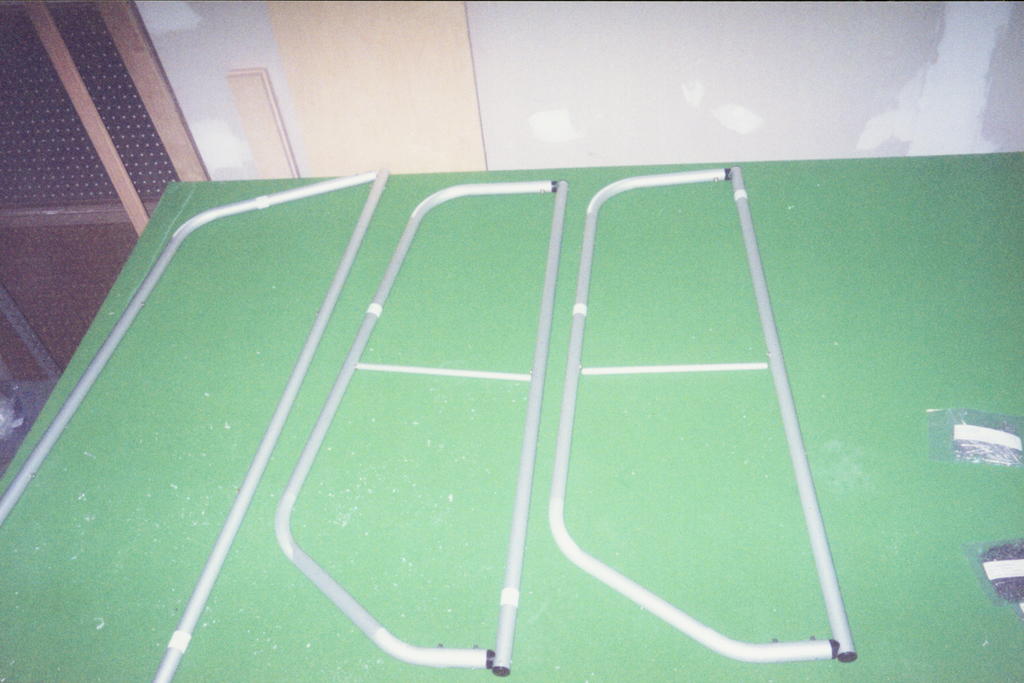
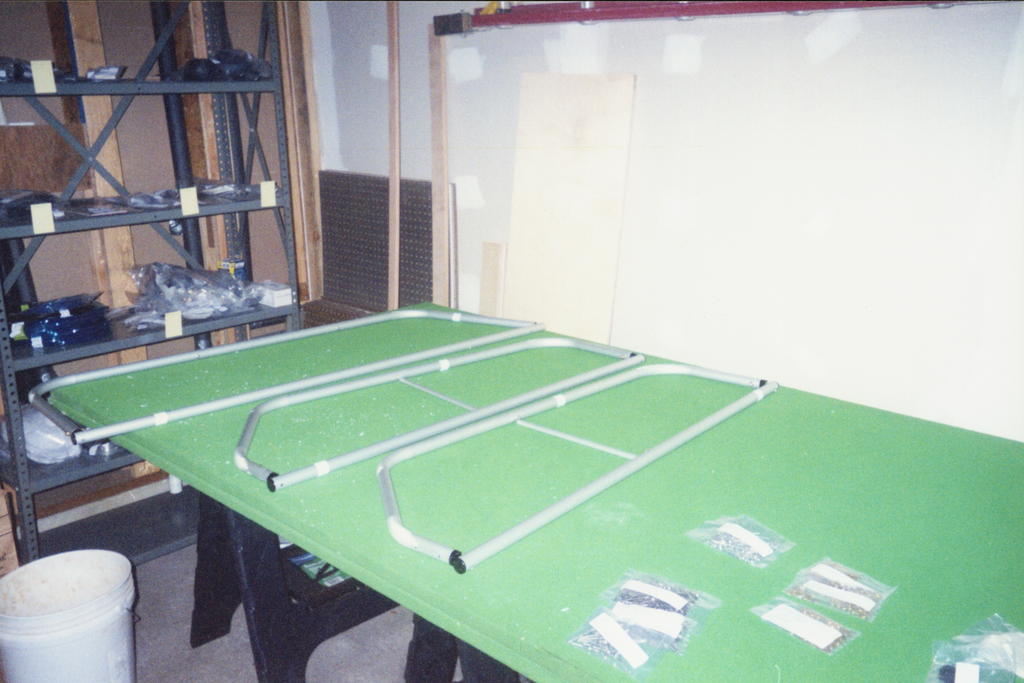
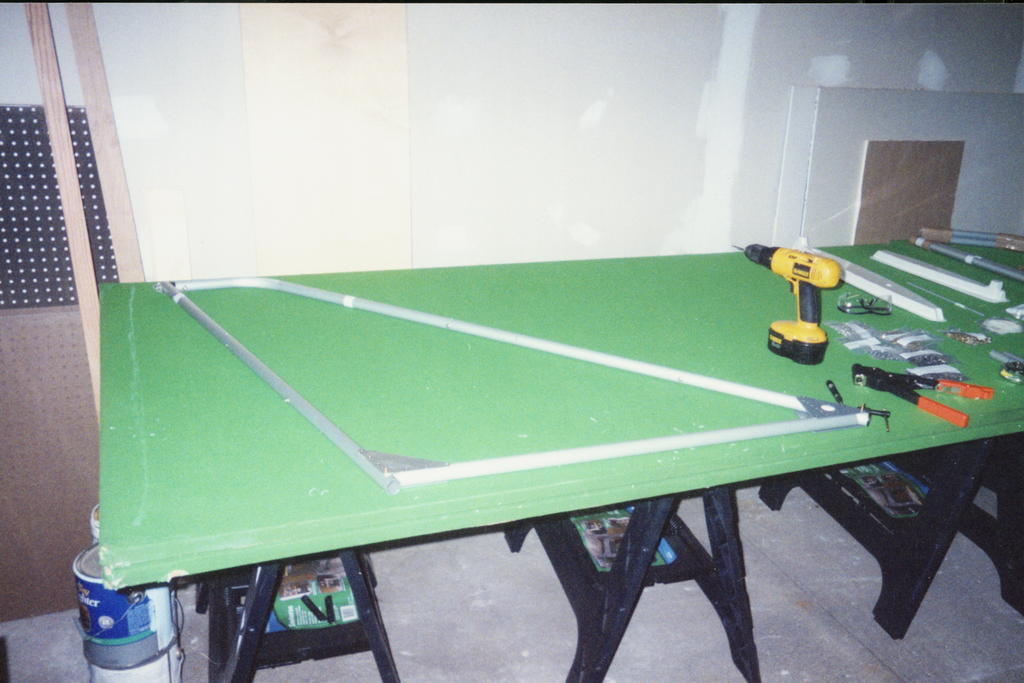
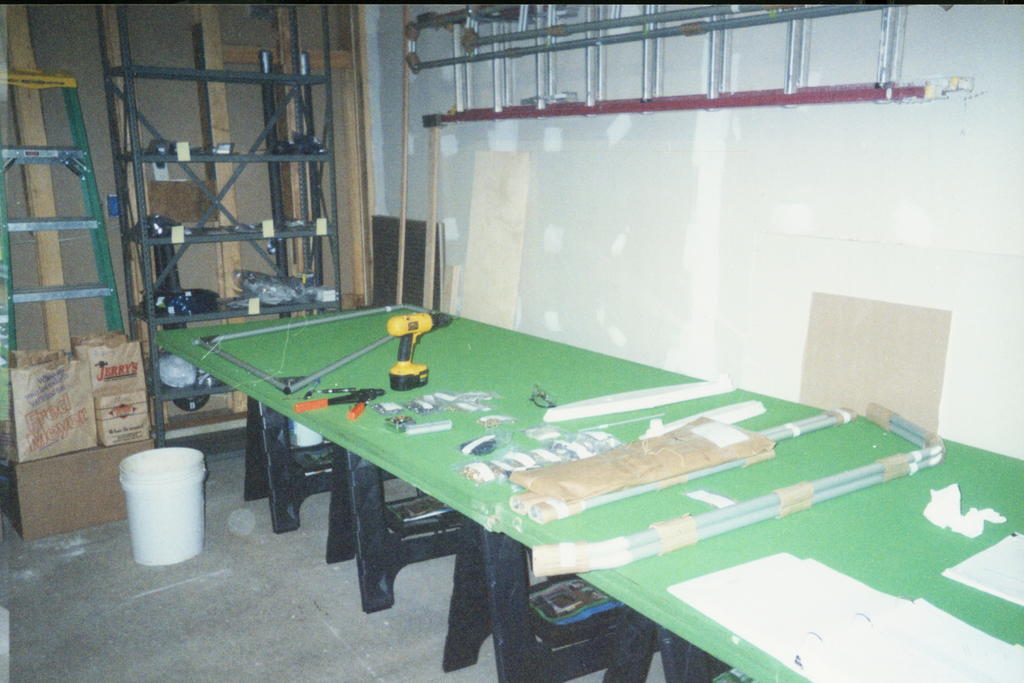
Today I verified that the left fuel tank is leak free. I also assembled my wing transporting fixtures.
Saturday, April 16, 2005
Fuel Tank Fix - 0.5 Hours (53 Total)
Today I installed the new fuel tank fittings I received from Rans into the left fuel tank. I also plugged the fittings which were installed in the wrong locations with threaded stainless steel plugs.
This tanks had some type of residue inside it. Dish soap, gasoline, nor Simple Green worked at cleaning the tank. 409 did work.
I then leak tested the tank by filling it with hot water and letting it sit over night.


Today I installed the new fuel tank fittings I received from Rans into the left fuel tank. I also plugged the fittings which were installed in the wrong locations with threaded stainless steel plugs.
This tanks had some type of residue inside it. Dish soap, gasoline, nor Simple Green worked at cleaning the tank. 409 did work.
I then leak tested the tank by filling it with hot water and letting it sit over night.


Friday, April 01, 2005
Wednesday, March 30, 2005


Monday, March 28, 2005
Sunday, March 27, 2005


Saturday, March 26, 2005
Wednesday, March 23, 2005

Sunday, March 20, 2005
Flaps and Ailerons Skinning - 5 Hours (29.5 Total)
Today I skinned the flaps and ailerons. The skins went on very easily but I did have problems with the tension ribs. The screw holes for the ribs did not line up with the holes in the flaps and aileron frames. I ended up reaming out the holes in the flaps and aileron frames to allow the screw holes to align.


Today I skinned the flaps and ailerons. The skins went on very easily but I did have problems with the tension ribs. The screw holes for the ribs did not line up with the holes in the flaps and aileron frames. I ended up reaming out the holes in the flaps and aileron frames to allow the screw holes to align.


Saturday, March 19, 2005


Friday, March 18, 2005
Horizontal Stabilizer Skinning - 3 Hours (21.5 Total)
Today I skinned both horizontal stabilizers. While finishing up the second one, I realized that my tightening technique had improved and I should retighten the vertical stabilizer skin. My tightening technique included tying off one end of the rope as if it were finished then clamping or tying the other end to a weight to hold the slack. I then used two pairs of pliers to pull the rope taunt at each lace point. Letting the skin sit for a while in between repeated tightenings also improved the tightness.
Today I skinned both horizontal stabilizers. While finishing up the second one, I realized that my tightening technique had improved and I should retighten the vertical stabilizer skin. My tightening technique included tying off one end of the rope as if it were finished then clamping or tying the other end to a weight to hold the slack. I then used two pairs of pliers to pull the rope taunt at each lace point. Letting the skin sit for a while in between repeated tightenings also improved the tightness.
Thursday, March 17, 2005
Rudder and Elevator Skinning - 3.5 Hours (18.5 Total)
I skinned the second elevator which wasn't any easier than the first. The skins seem to need to be stretched. This was done by fighting with it!
I also skinned the rudder today. The lacing method made the job much easier. Because I didn't want the lacing rope over the sharp edges of the aft gusset, I stopped lacing just before getting there. This made the skin near the gusset less taunt. The square knots recommended didn't hold so I used several knots back to back.
I skinned the second elevator which wasn't any easier than the first. The skins seem to need to be stretched. This was done by fighting with it!
I also skinned the rudder today. The lacing method made the job much easier. Because I didn't want the lacing rope over the sharp edges of the aft gusset, I stopped lacing just before getting there. This made the skin near the gusset less taunt. The square knots recommended didn't hold so I used several knots back to back.
Wednesday, March 16, 2005
Skinning Rudder and Elevators - 5 hours (15 Total)
@#$%! Putting the skins on the rudder and elevators is a pain in the ass! I ended up breaking two of the rudder braces. I didn't relies they had already snapped into place so when I continued hammering on them, the notched ends tore off. I used tarp repair tape to hold the braces in place but at an angle from the buttons (washers) as I inserted the frame into the fabric. A slight angle works best. I scratched up the leading spar and trailing edge of the rudder by forcing the ends to pop into place.
The elevators were worse! I broke one of the center braces but because it was too long in the first place, I was able to salvage it. I ended up mauling the end caps by trying to force the frame over the compression fitting. I removed the end caps from the second elevator so I wouldn't damage them.
@#$%! Putting the skins on the rudder and elevators is a pain in the ass! I ended up breaking two of the rudder braces. I didn't relies they had already snapped into place so when I continued hammering on them, the notched ends tore off. I used tarp repair tape to hold the braces in place but at an angle from the buttons (washers) as I inserted the frame into the fabric. A slight angle works best. I scratched up the leading spar and trailing edge of the rudder by forcing the ends to pop into place.
The elevators were worse! I broke one of the center braces but because it was too long in the first place, I was able to salvage it. I ended up mauling the end caps by trying to force the frame over the compression fitting. I removed the end caps from the second elevator so I wouldn't damage them.
Tuesday, March 15, 2005
Stabilizers, Rudder, and Elevators - 1.5 Hours (10 Total)
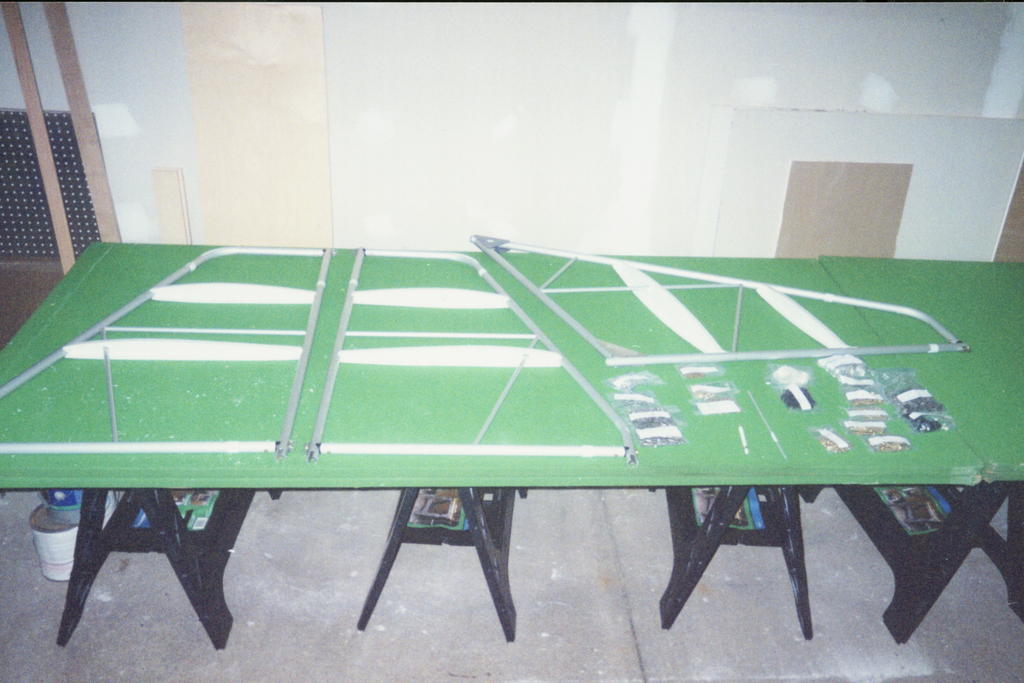
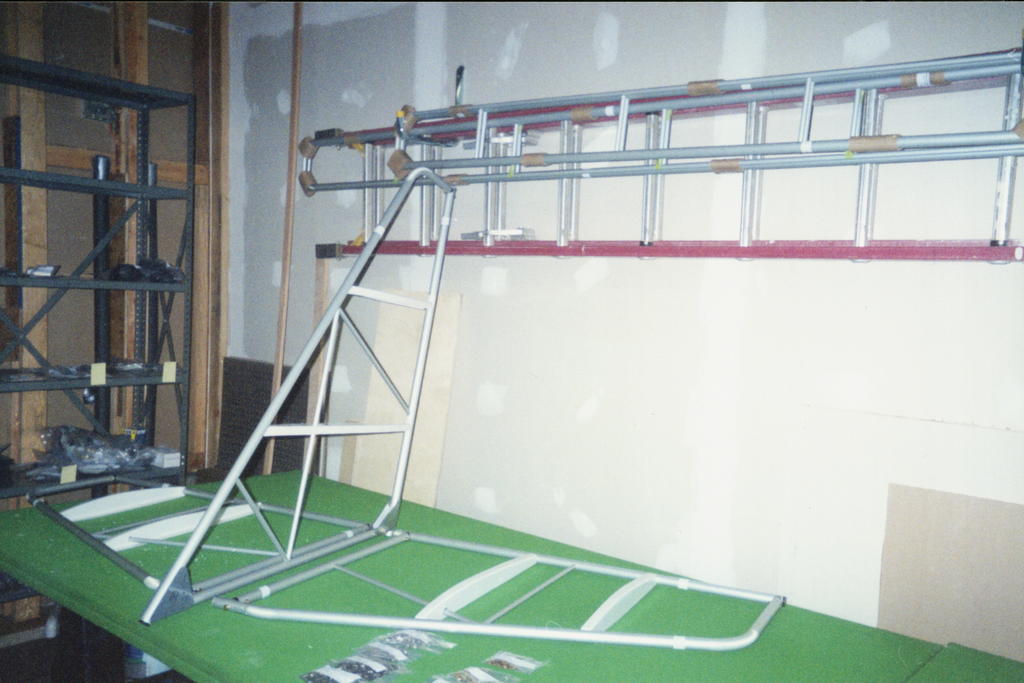
Today I finished fabricating the internal braces for the stabilizers, rudder, and elevator. I also trimmed the cleaned up the edges of the plastic ribs used in the stabilizers. My bench grinder worked well for this but it did make quite a mess.
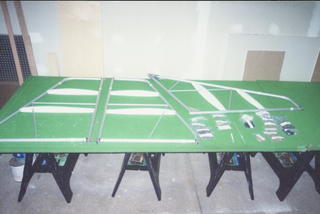
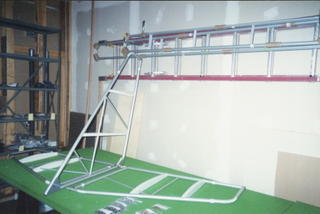
Today I finished fabricating the internal braces for the stabilizers, rudder, and elevator. I also trimmed the cleaned up the edges of the plastic ribs used in the stabilizers. My bench grinder worked well for this but it did make quite a mess.
Monday, March 14, 2005
Sunday, March 13, 2005
Vertical Stabilizer and Horizontal Stabilizers - 5 hours (5 Total)
First day of assembly! I assembled the vertical stabilizer and horizontal stabilizers. I ended up using one extra rivet (AAPQ-62) because I incorrectly riveted the vertical stabilizer spar pointing out instead of in. I used my compound miter saw with a carbide wood blade to cut the aluminum tubes.
First day of assembly! I assembled the vertical stabilizer and horizontal stabilizers. I ended up using one extra rivet (AAPQ-62) because I incorrectly riveted the vertical stabilizer spar pointing out instead of in. I used my compound miter saw with a carbide wood blade to cut the aluminum tubes.
Subscribe to:
Posts (Atom)