Today I assembled the two halves of the nose cone. One of the main reasons I am doing this now is because I want to fit the nose to the plane to see if I have room to place my parachute inside of the nose. This will save me space behind my seat and move my center of gravity forward.
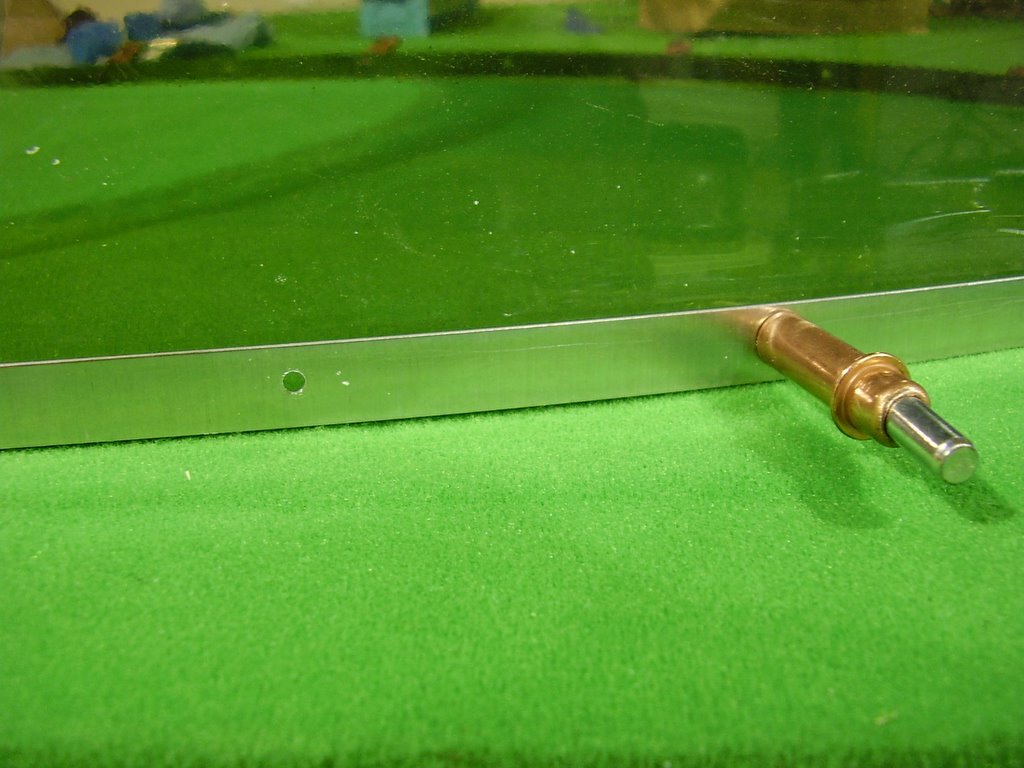
I started off by drilling the rivet holes into the aluminum strips. The manual says to start the holes a quarter inch from the end of the strip which will mount at the tip of the nose. I decided to start the holes at 3/8" to allow the first hole to be used by the screws that will hold the plastic block and pitot tube. This spacing is required to give enough room for the pitot tube between the screw heads.
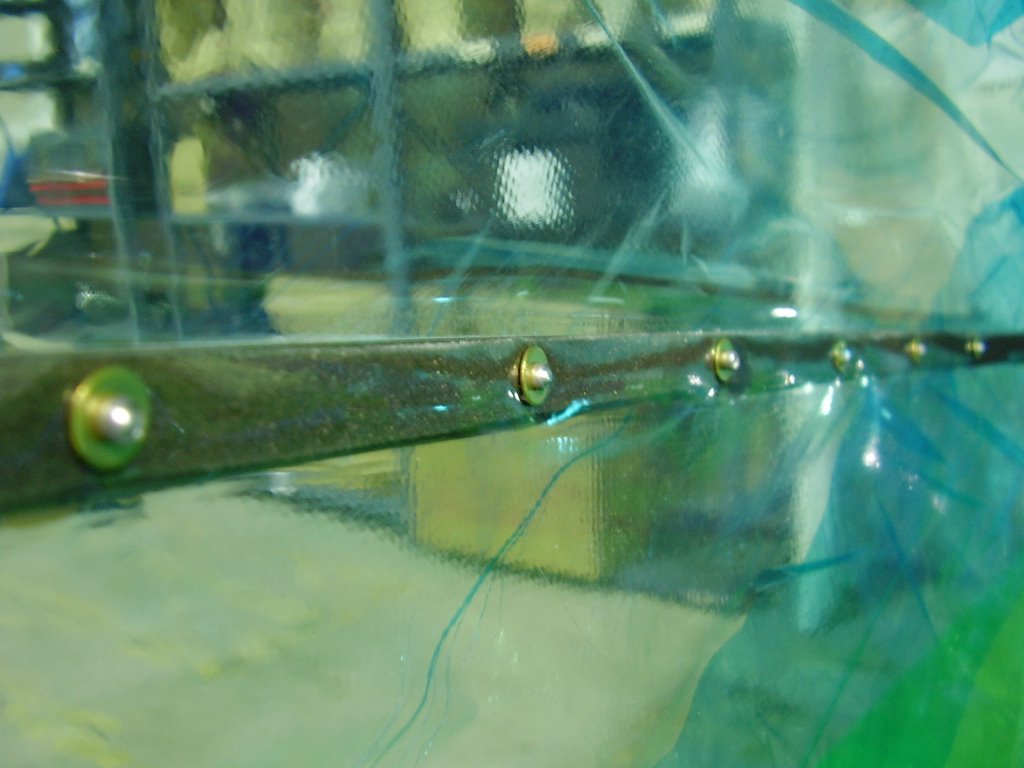
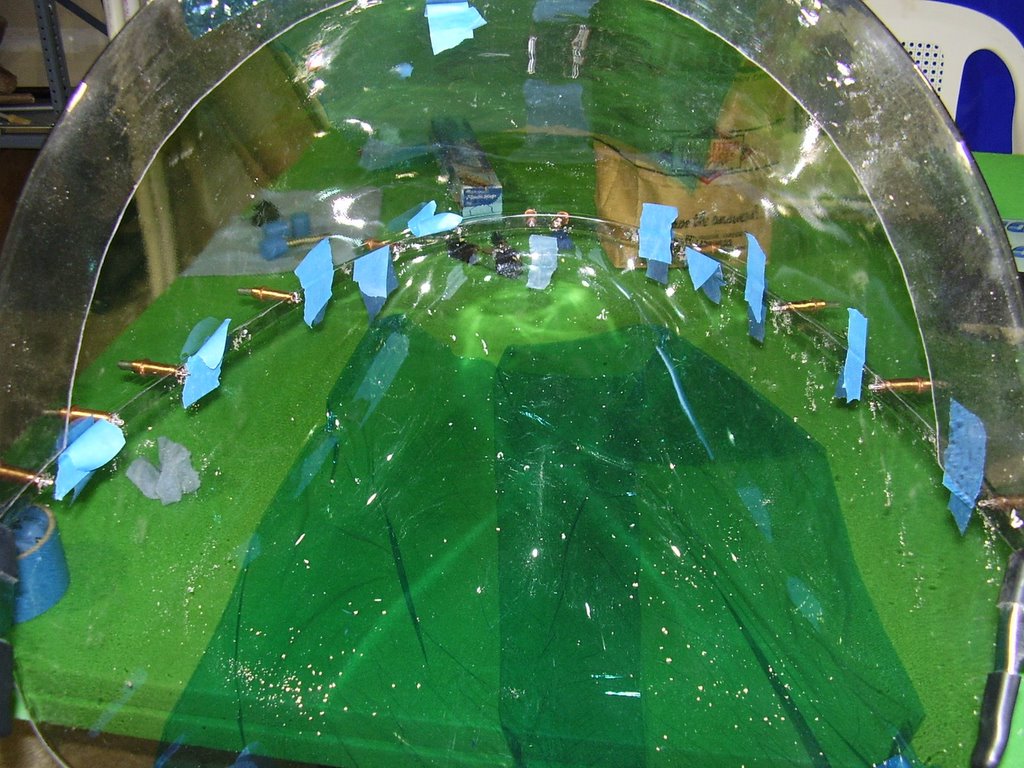
Once the holes were drilled into the metal strips I used clecos and clamps to help transfer the hole to the top half of the nose cone.
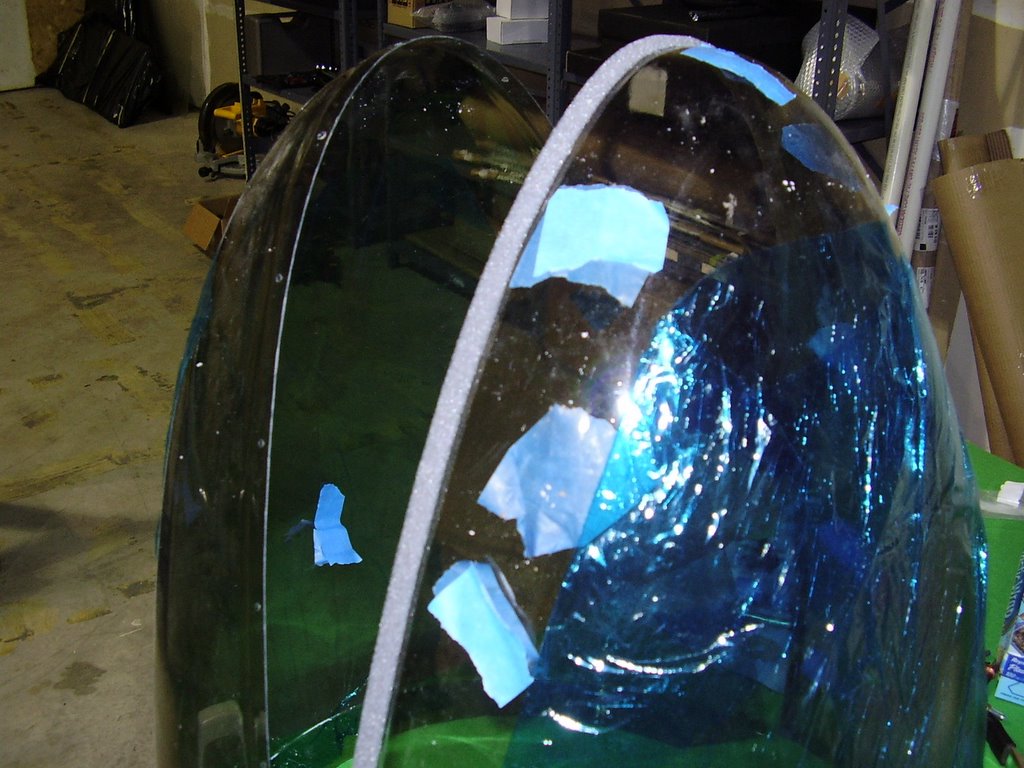
I used blue Saran (plastic) wrap to protect the nose cone lexan. I through out the plastic film that came with the pieces because they collected the lexan dust when I ground the edges down to the correct size. I was afraid the dust would scratch the lexan.
To give the metal strips a snug fit towards the tip of the nose cone I bent them into a slight curve. This was done by lightly hammering them with a rubber mallet over a 2" diameter rounded edge.

I then transferred the rivet holes to the lower half of the nose cone. This was tricky to do and get a tight fit without bulges.
Prior to riveting the pieces together, I applied some foam to the lower nose cone half to fill any air gaps. I used the foam that the manual calls out to use as a door seal.
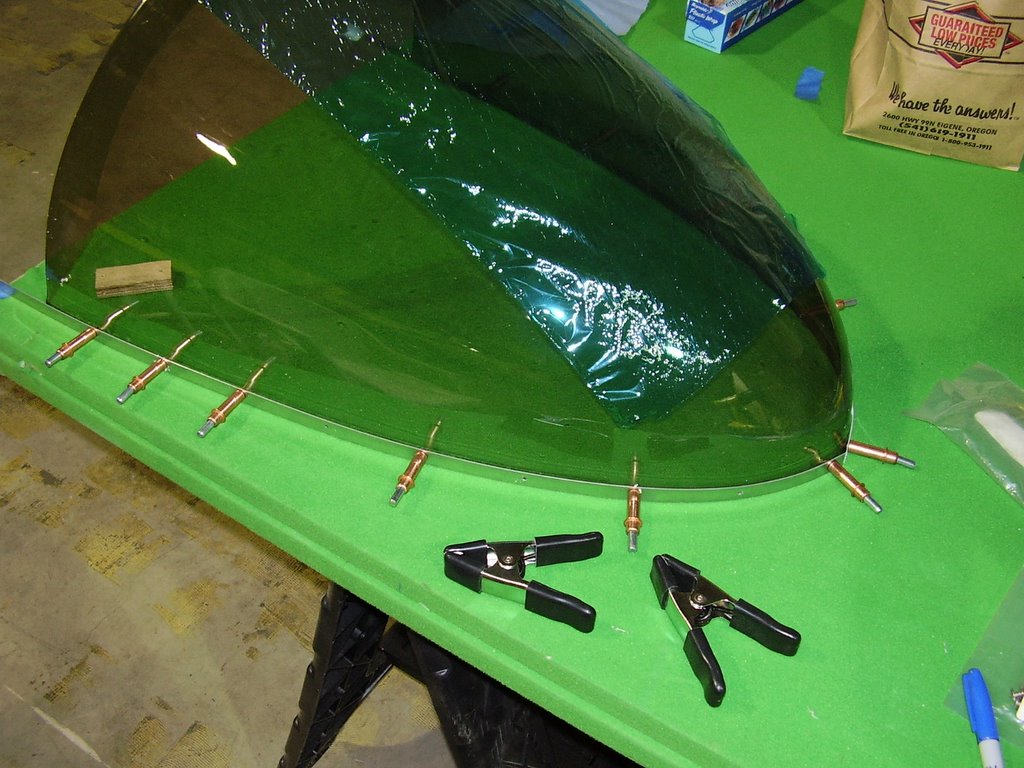
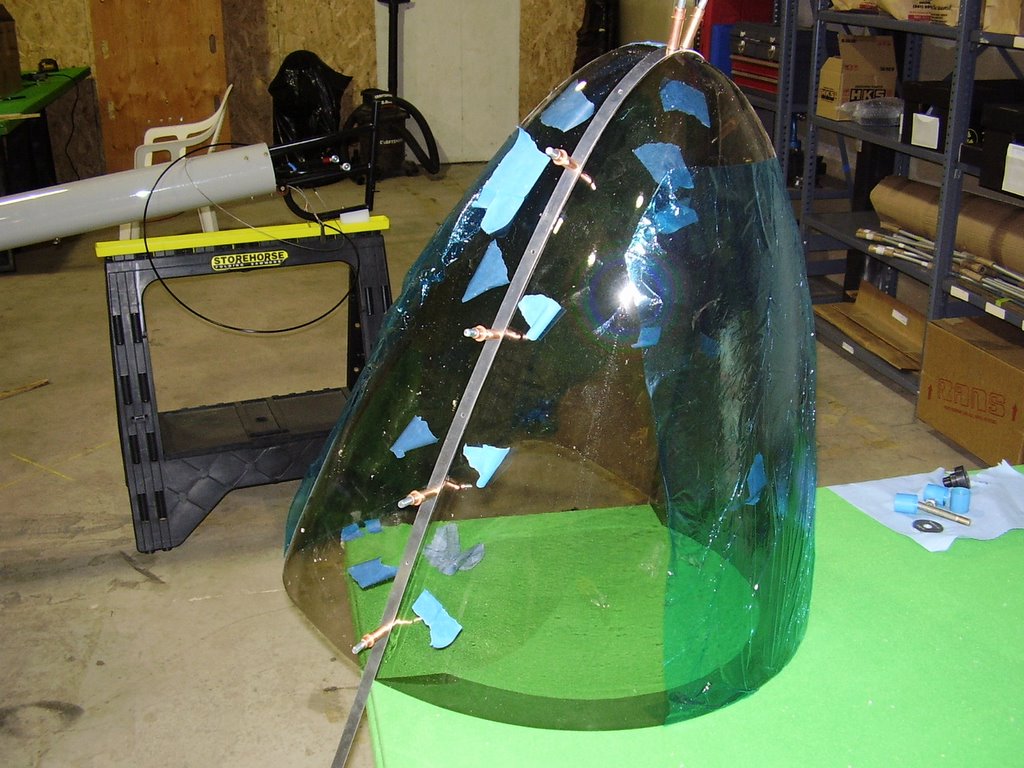
Assembled and ready to rivet...
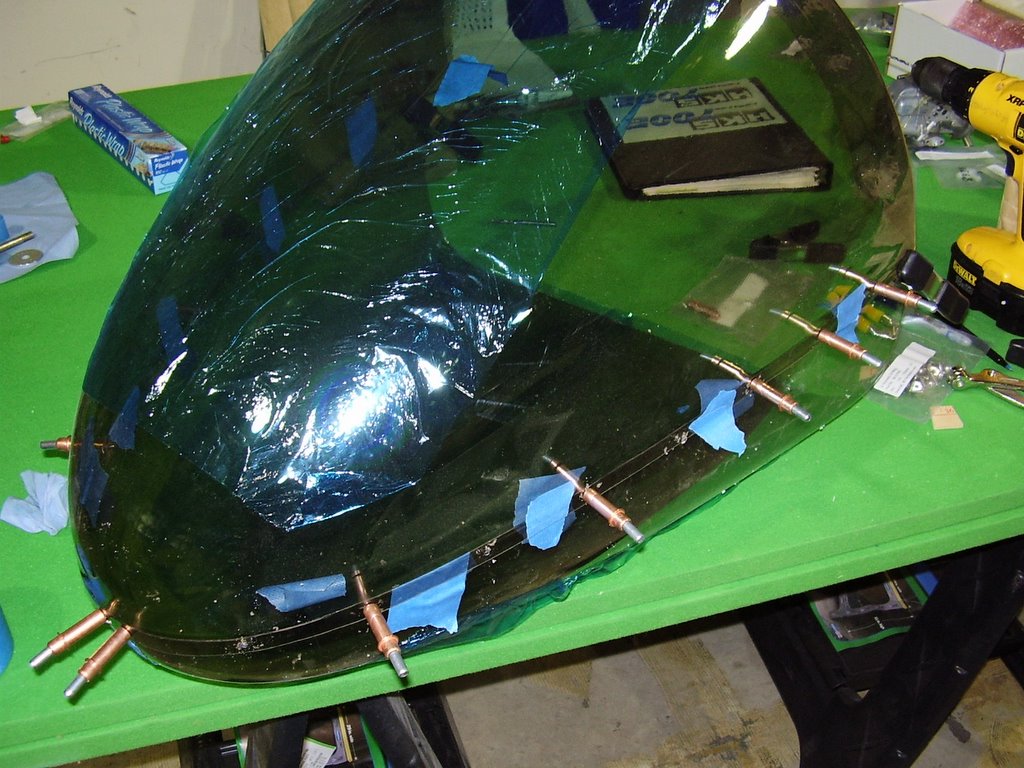
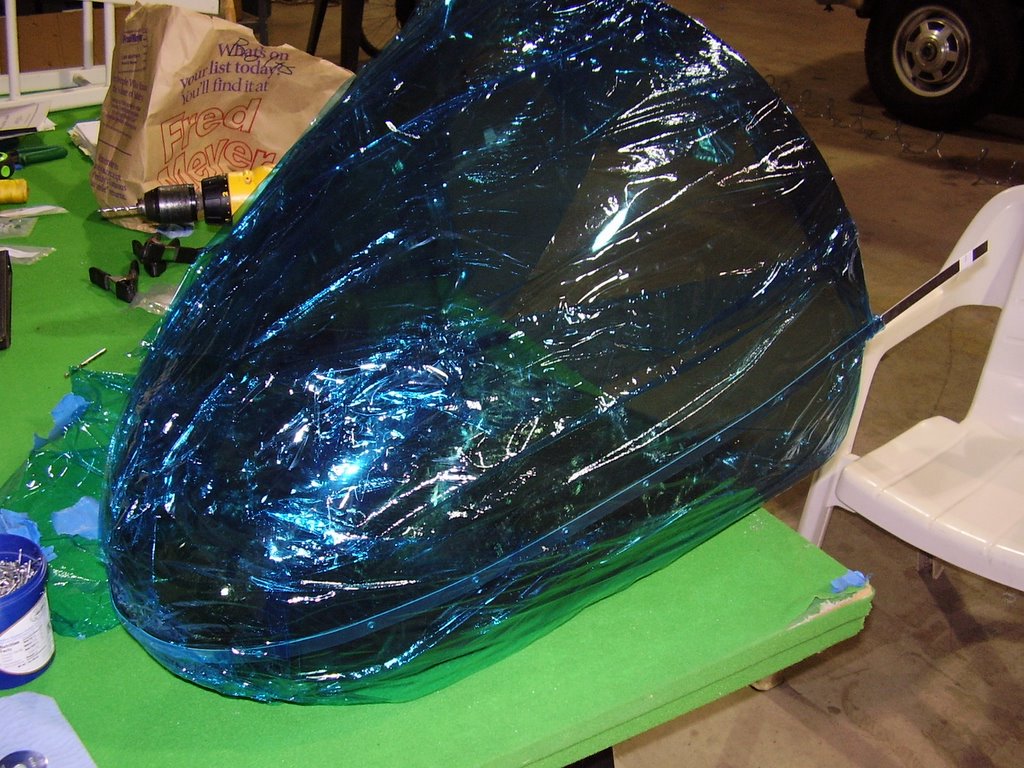
Finished nose cone wrapped in blue Saran (plastic) wrap.
During the rivet process, two of the brass washers fell off. I needed to drill out the rivets to replace them (not fun) with the brass washers.