Saturday, October 07, 2006

Elevators - 2 hours (418 Total)

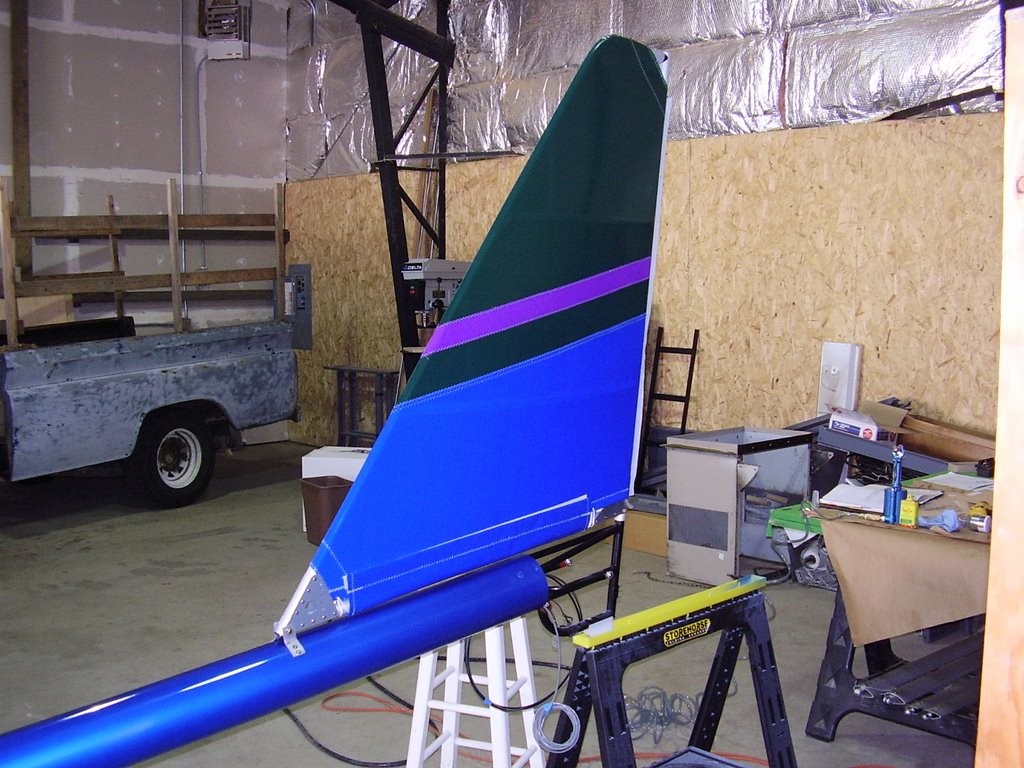
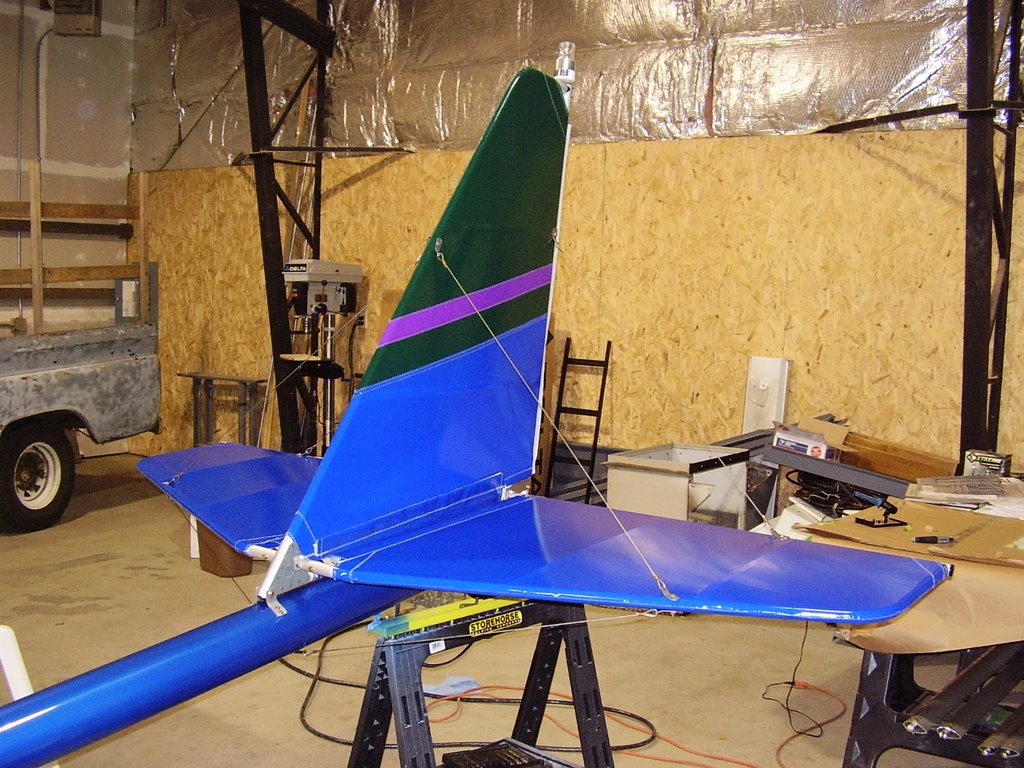
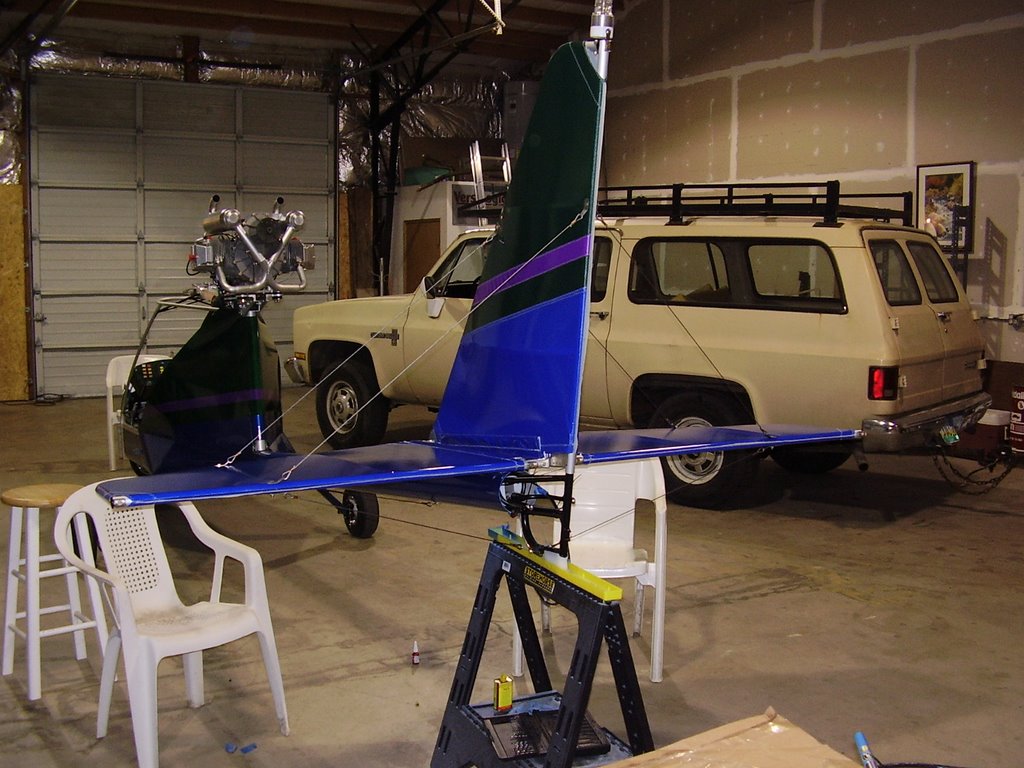
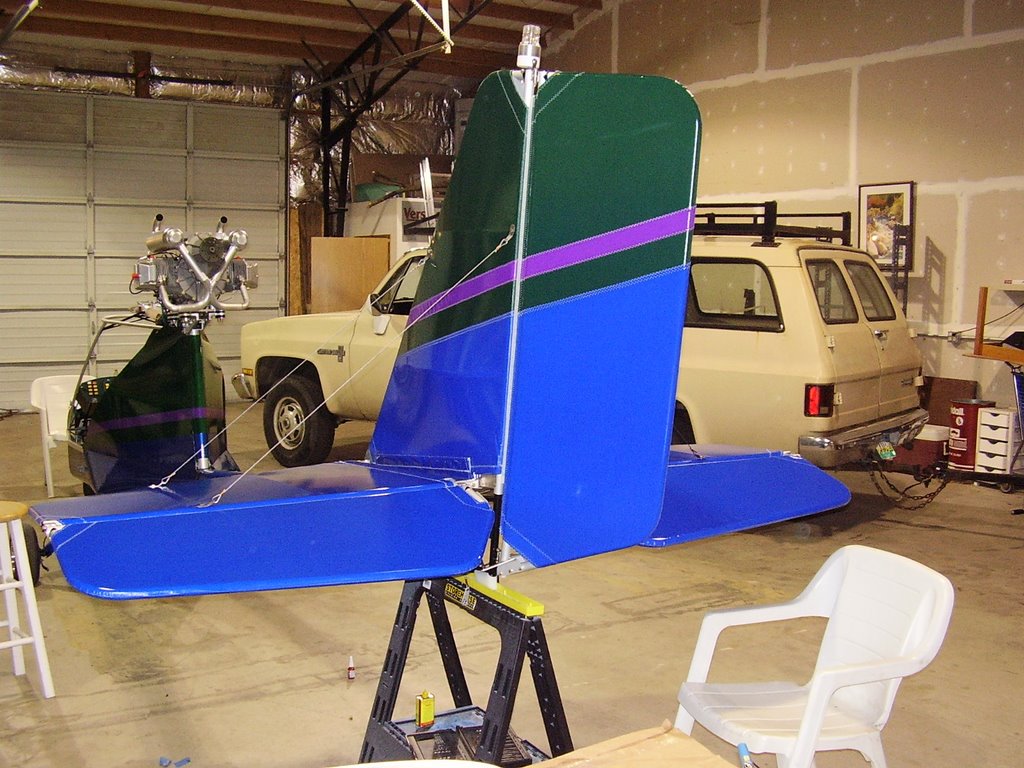
After I finished with the rudder, I installed the elevators.

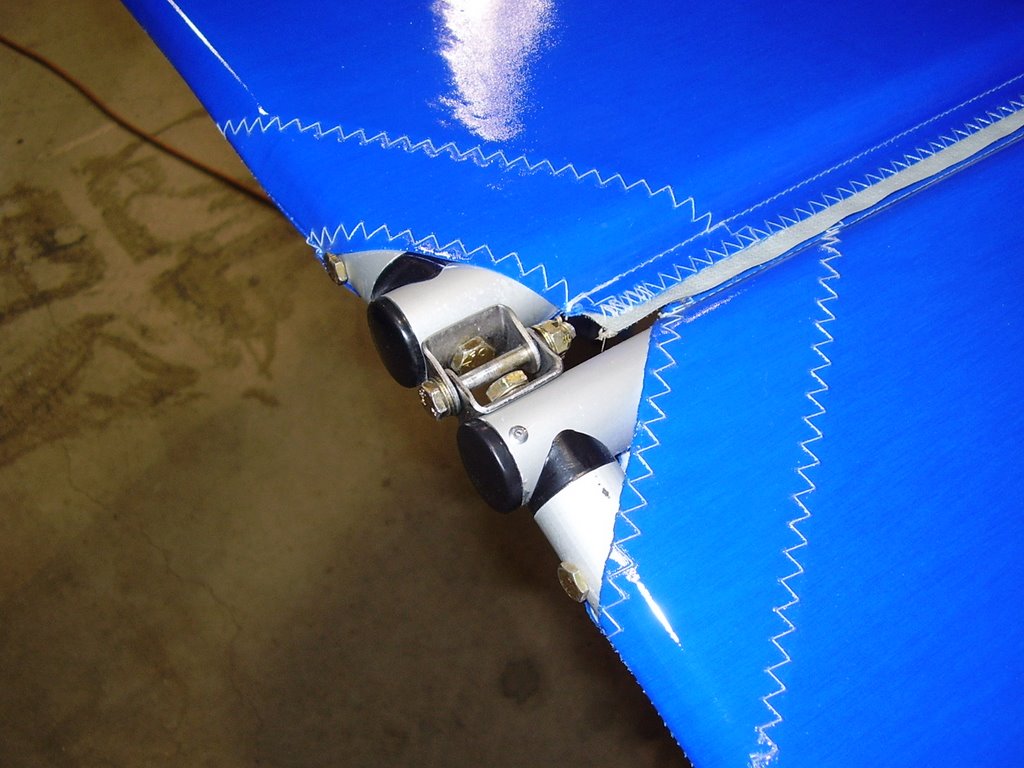
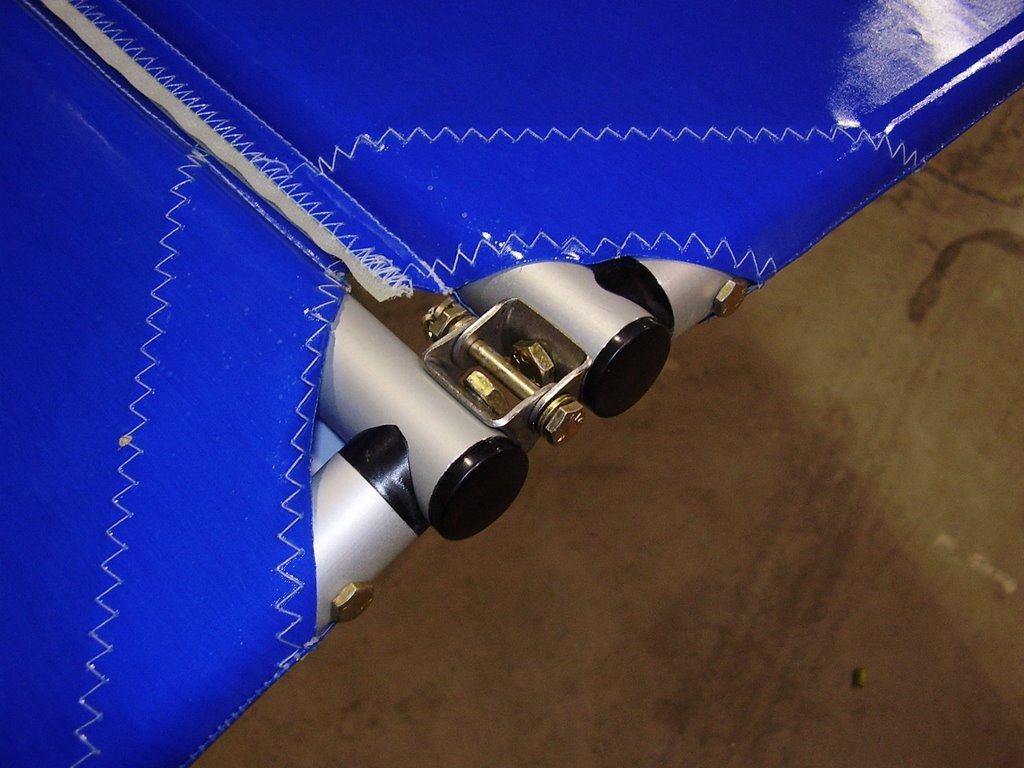
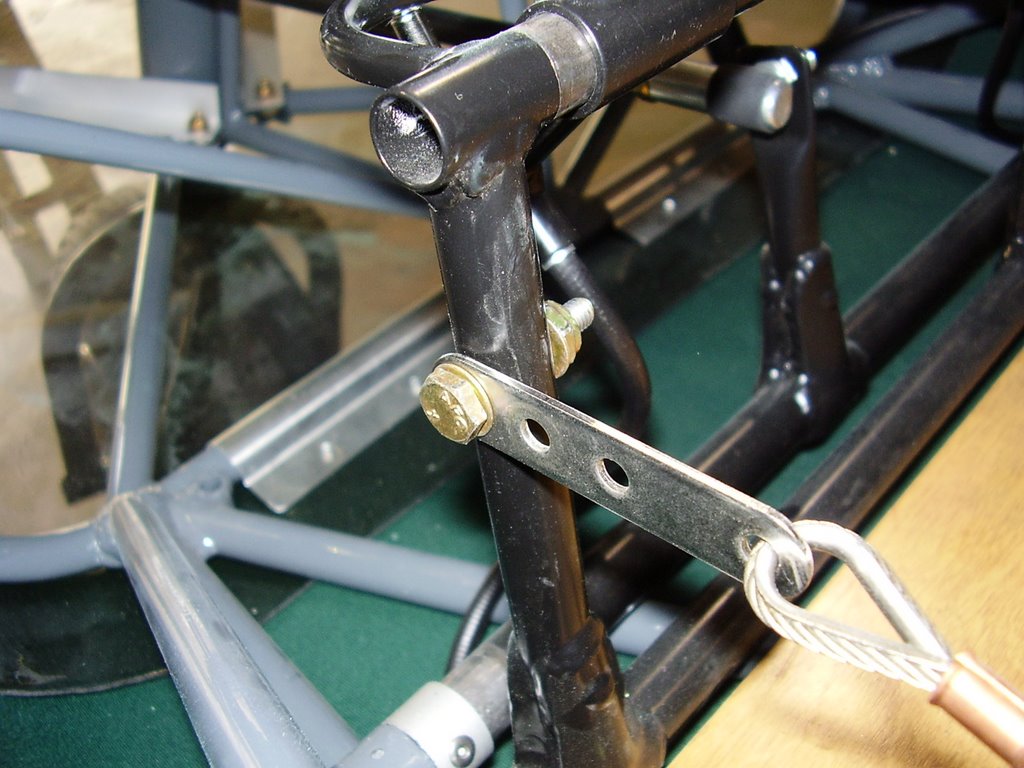
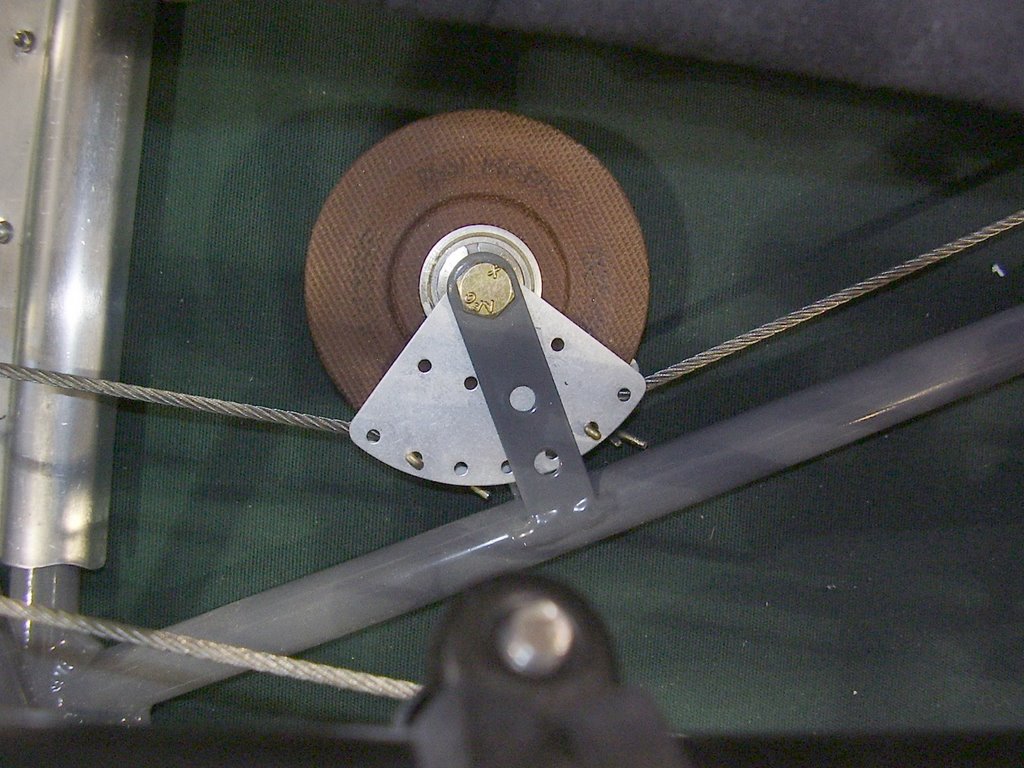
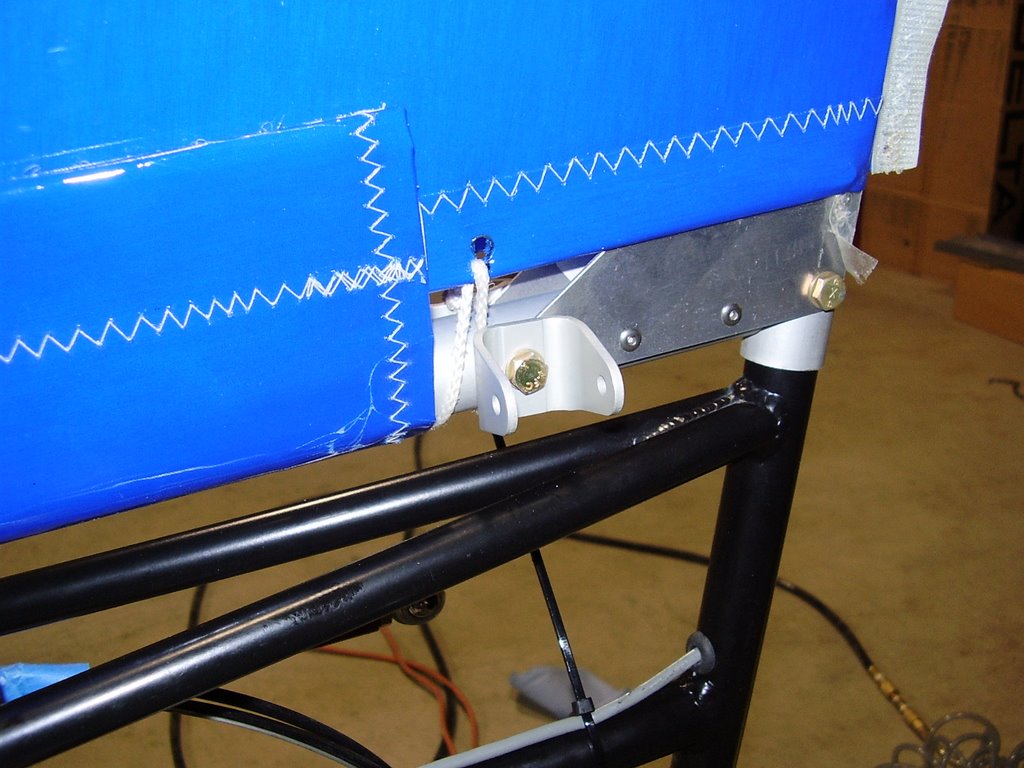
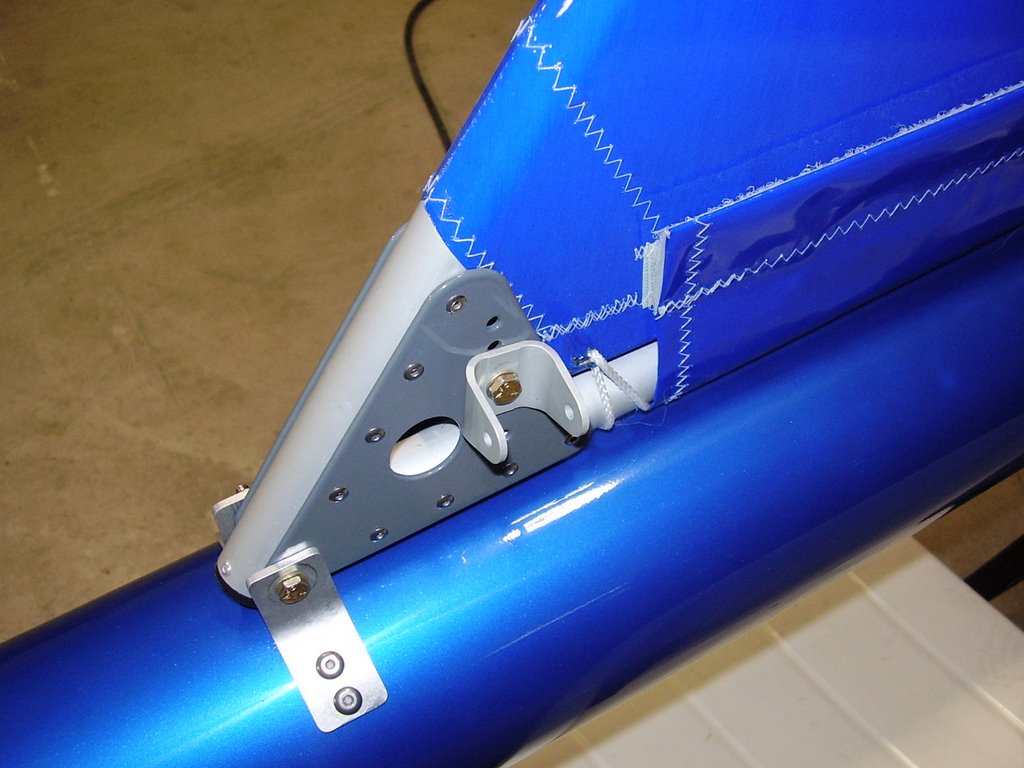
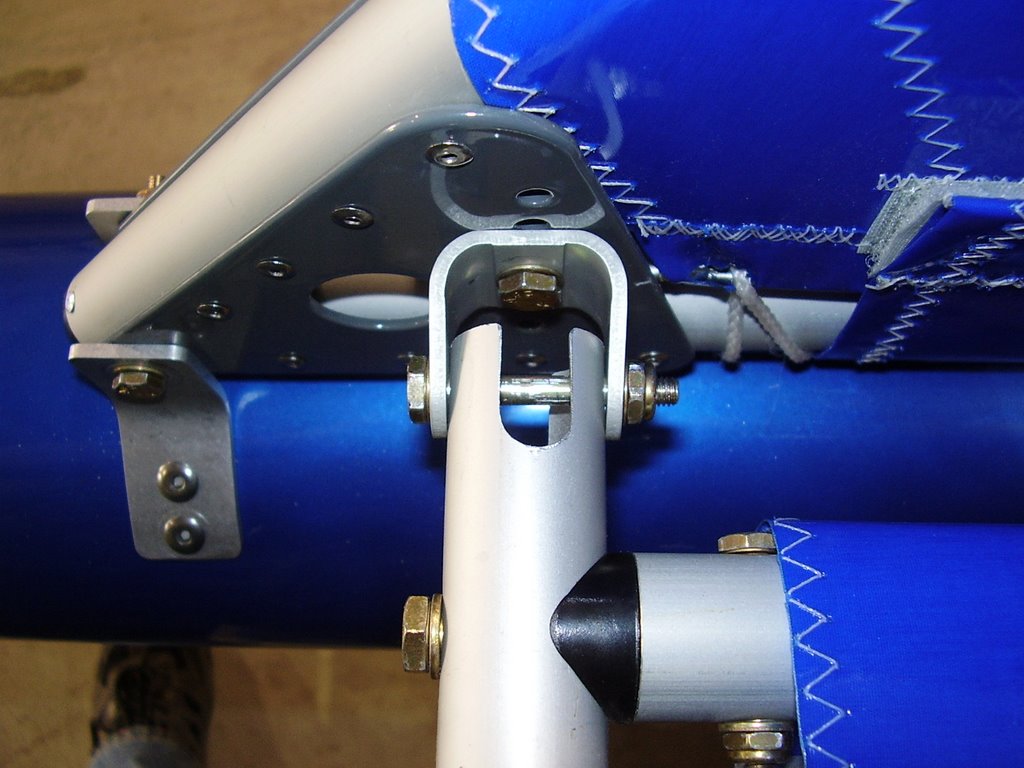
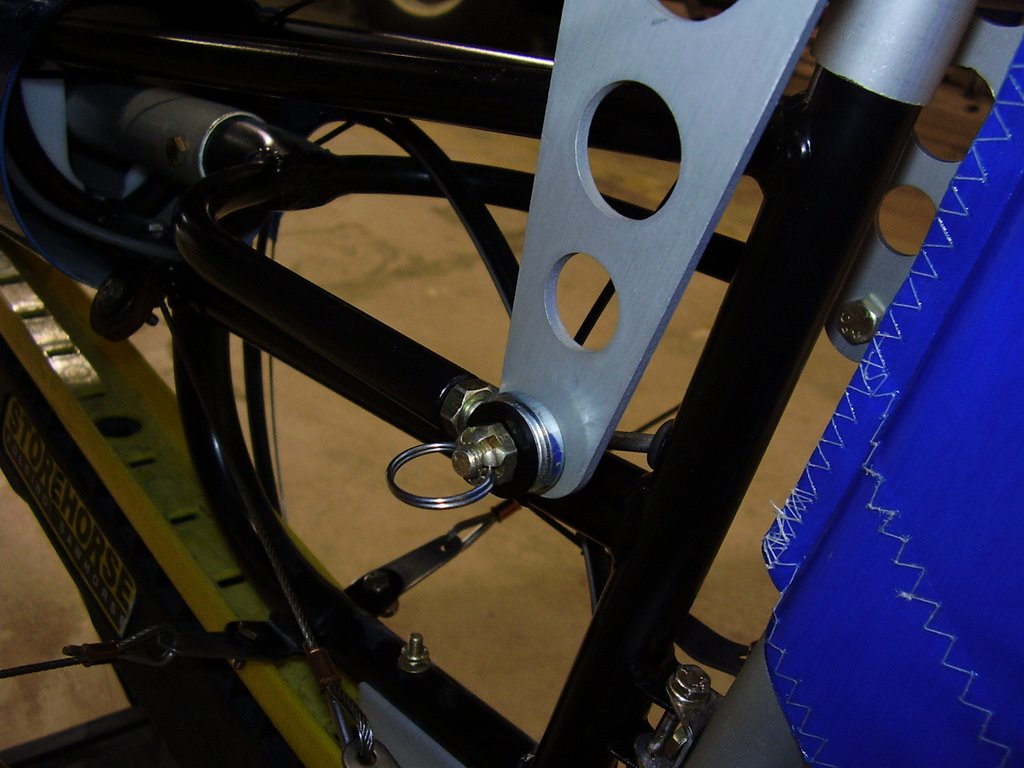
These went on without much difficulty. Each elevator has two hinges and a elevator horn for actuation. I needed to rotate one of the elevator horns because I had installed it backwards.


Once I installed the hinge and horn bolts, I installed the necessary lock rings and cotter pins. I also lubricated the hinges with a spray on teflon lubricant.


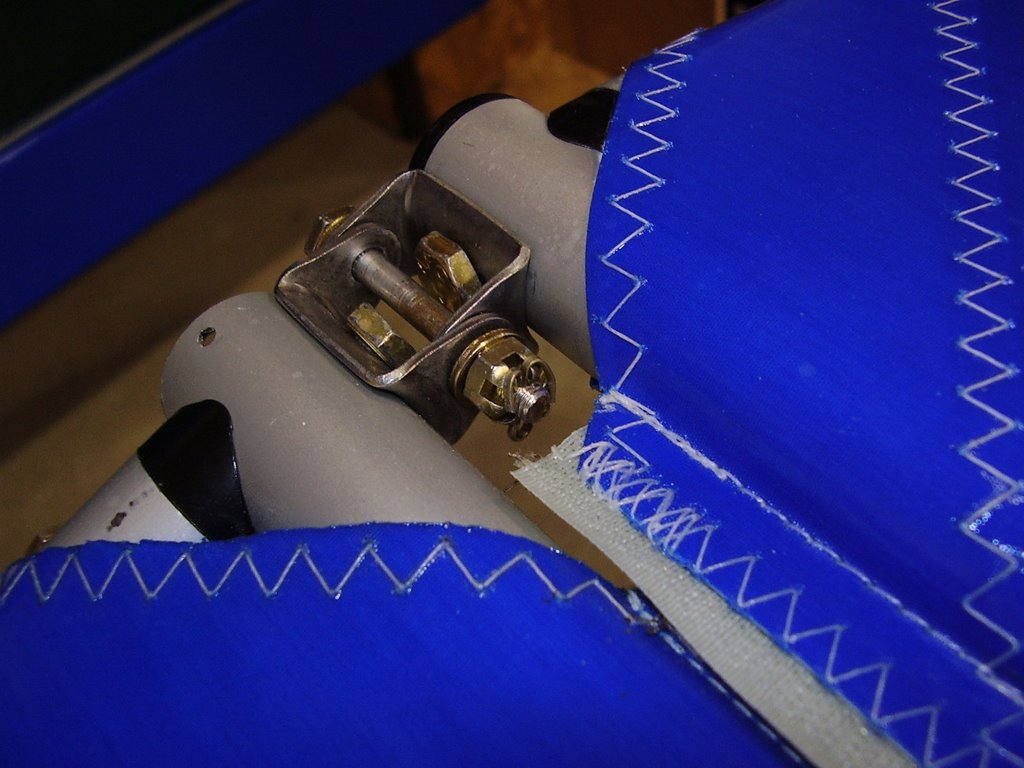
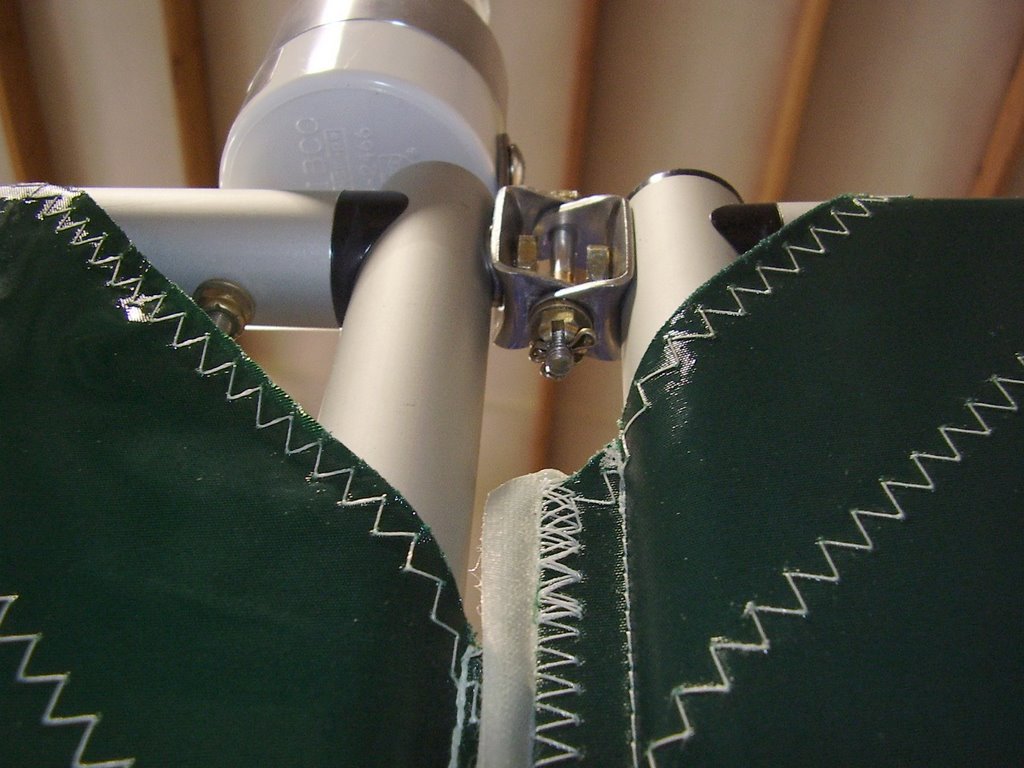
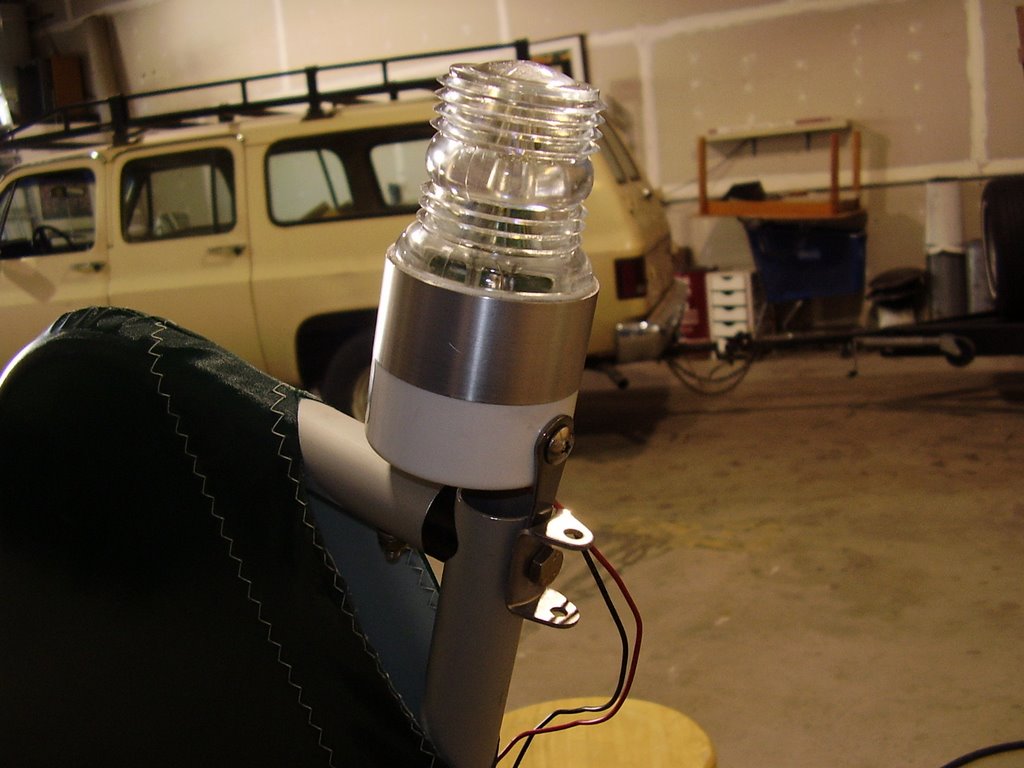
I also installed the black plastic caps on the outside ends of the elevator's aluminum tubes. The assembly manual calls for the caps on the inside ends of the tubes but I didn't see the need.


Rudder - 3 hours (416 Total)

Once the stabilizers were in place, I installed my rudder.

The rudder has two hinges that connect it to the tail. One hinge bracket is bolted to the top of the aluminum tube of the vertical stabilizer and the other is welded to the tailboom extension. The distance between the hinges will vary depending on how far down the vertical stabilizer is placed on the tailboom extension. I should have checked the hinge spacing prior to drilling the hole in the tailboom extension to ensure the rudder would match up but I didn't think of it at the time. Luckily, the rudder hinges mated up without any problem.

Once the hinge bolts were installed, I connected the rudder control cables. I needed to change the connection point of the cables where they connect to the rudder pedals to allow for the proper length. I did not put too much effort into tensioning the cables; I only made sure the majority of the slack was eliminated.


After testing the movement of the rudder system, I installed cotter pins in to the pulleys and hinge bolts. I also sprayed all of the moving parts, except the pulleys, with a teflon lubricant.


Stabilizers - 4 hours (413 Total)

During the strobe installation, I also installed the vertical stabilizer.

The vertical stabilizer mounts to the plane with two bolts. One bolt goes through the tail boom extension. The other goes through a set of brackets that are riveted to the tailboom.


I then attached the horizontal stabilizers. The base (root) of the horizontal stabilizers bolt onto the vertical stabilizer with U-brackets. Then eight cables are used to hold the stabilizers in position.

The cables need to be secured very tightly to prevent them from vibrating in flight. The tangs on the cable ends have four holes in them to fine tune their tension/length. I was able to make the cables very tight by installing all of the cables with only finger tightened bolts. Once all the cables were installed, I removed their slack by tightening all of the bolts.


The assembly manual calls for only one thick washer to be used on the bolts and U-brackets. I used two thin washers on each side instead.
Strobe - 1 hour (409 Total)

Today I was able to accomplish quite a bit. The first thing I did was install my strobe light.

I purchased a SC103 ultralight strobe light with the intent of mounting it onto my tail. I am not required to have a strobe light on the plane but it did seemed like a good idea for the sake of visibility and safety.

The strobe light came with a metal tab attached for mounting. This turned out to be quite convenient for mounting on the top of my vertical stabilizer. I used a bench vise to bend the tab into a slight curve to better fit between the aluminum tube and curved hinge I mounted it between.

I ran the wiring down through the aluminum tubing of the vertical stabilizer. I needed to drill two holes in the tailboom extension to allow for the wiring. I used rubber grommets to protect the wiring from the sharp metal edges. I then used zipties to secure the wiring to the tailboom extension to ensure that it would not interfere with the rudder cables or elevator push-pull tube.
I soldered the pigtail leads from the strobe directly to the jacketed wiring that I routed through the tail boom. There is about a foot worth of slack in the wire that was stuffed down the top of the aluminum tube of the vertical stabilizer in case the strobe needs to be replaced or serviced.