Aileron and Flaps - 6 hours (175 Total)
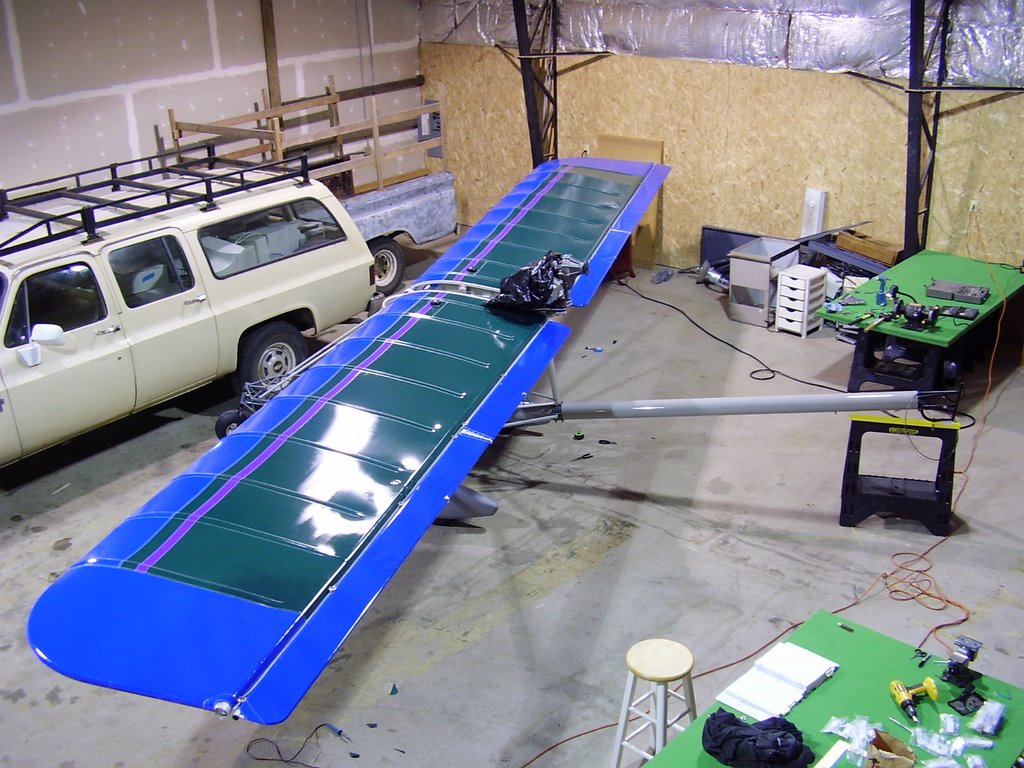
Today I worked on attaching the second flap and the two ailerons. Getting the hinges to line up enough to insert the hinge bolt took much effort and time. I wasn't able to come up with much of a technique that made it any easier.

Once I attached the flaps and ailerons, I cut the hole for the right wings' flap teleflex cable. The dimensions that the Rans manual said to cut in to the wing fabric for the teleflex cable seemed to be off by 1/4 inch on the first (left) wing, so I attempted to compensate on the second (right) wing. This didn't help; I would have been better off to use their specified dimensions for the hole. Both cut outs look fine but they needed to be enlarged to accommodate the teleflex cable excessive rubbing of the fabric.
Unfortunately, it looks like I do need more of that 1/4 inch aluminum tubing. It is needed as a spacer for the bolts that go through the teleflex fittings. I will need to contact Rans to send me more. I tightened down the bolt or the flap system just to see the end result. I did need to use the think washers instead of the thin ones that were specified to prevent the acorn bolt from braking through the plastic of the nut.

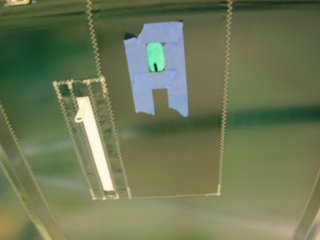
After the flaps, I worked on the push-pull tubes of the ailerons. The holes in the fabric that were needed for the aileron push-pull tubes we very different than what the manual called for. From my experience with the flaps, I marked out the fabric hole with masking tape and cut an X out in the center. I fully cut out the holes once the ailerons were operational.
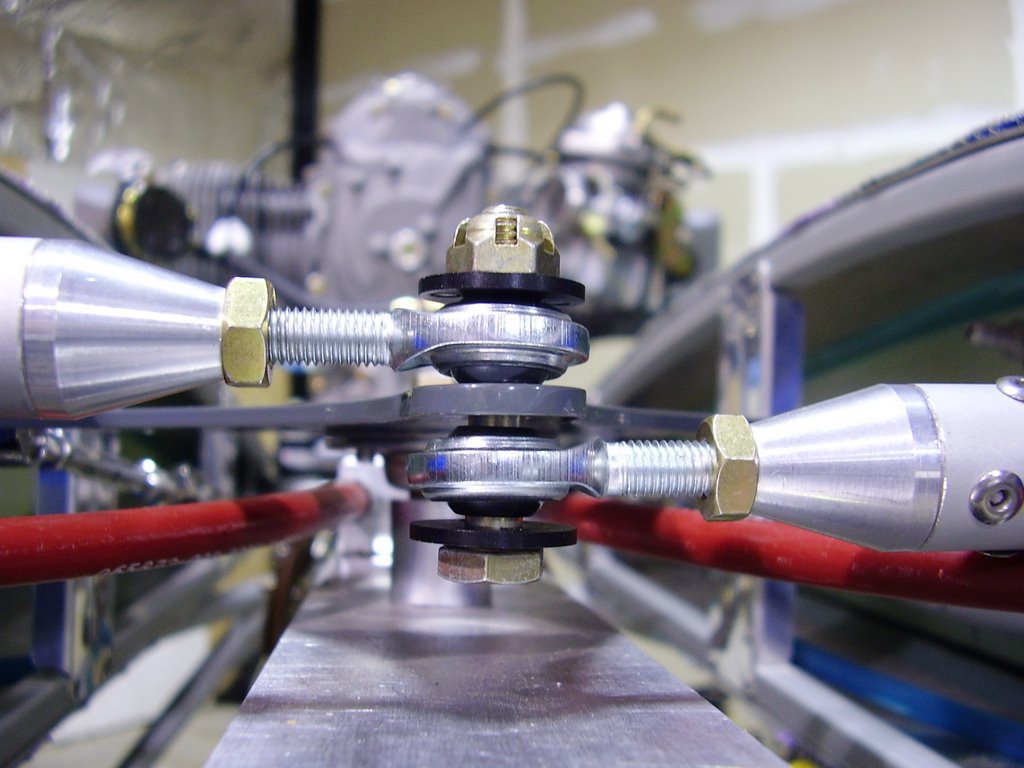
Screwing the aileron push-pull tubes onto the eyebolt that is connected to the bellcrank inside the wing was not easy. The hard part was getting the angle right so the threads of the eye bolt and push-pull tube would line up. I did use Lock-tite on the threads.
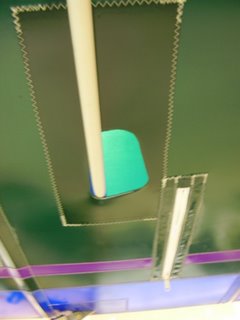
Prior to cutting the holes in the wing fabric for the aileron push-pull tubes, I needed to roughly set up the correct rigging. The first part was getting the bellcranks inside the wing aligned with the wing's compression tube when the ailerons are in the neutral position. The zippered portal in the wing isn't in the right place to get the best view of the bellcrank but I aligned it the best I could. Aligning the bellcranks required adjusting the rod ends of the long push-pull tubes at the control tee above the cockpit.
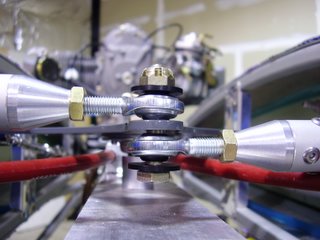
Next I adjusted the rod ends of the short push-pull tubes where they connect to the ailerons. Since these rod ends also needs a 1/4 inch aluminum tube spacer that I didn't have, I roughly set the droop of the ailerons without using the recommend straight edge.
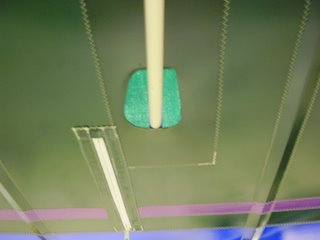
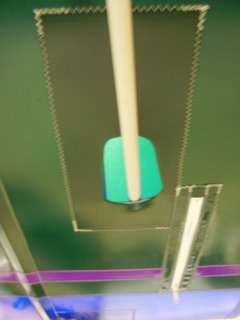
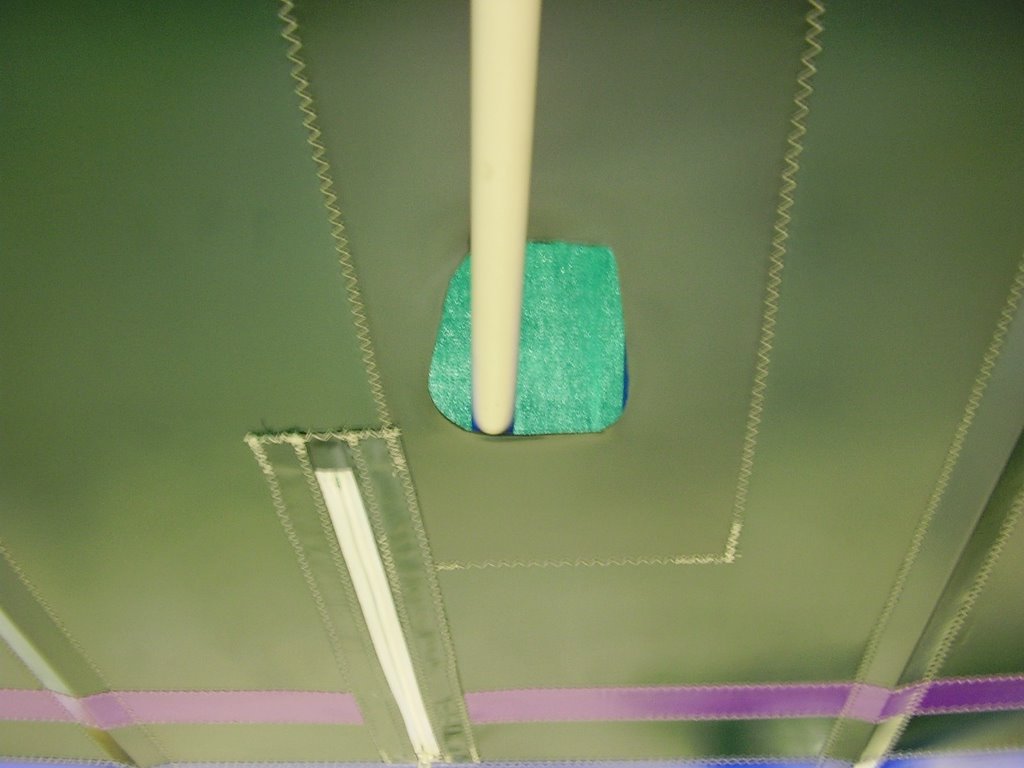
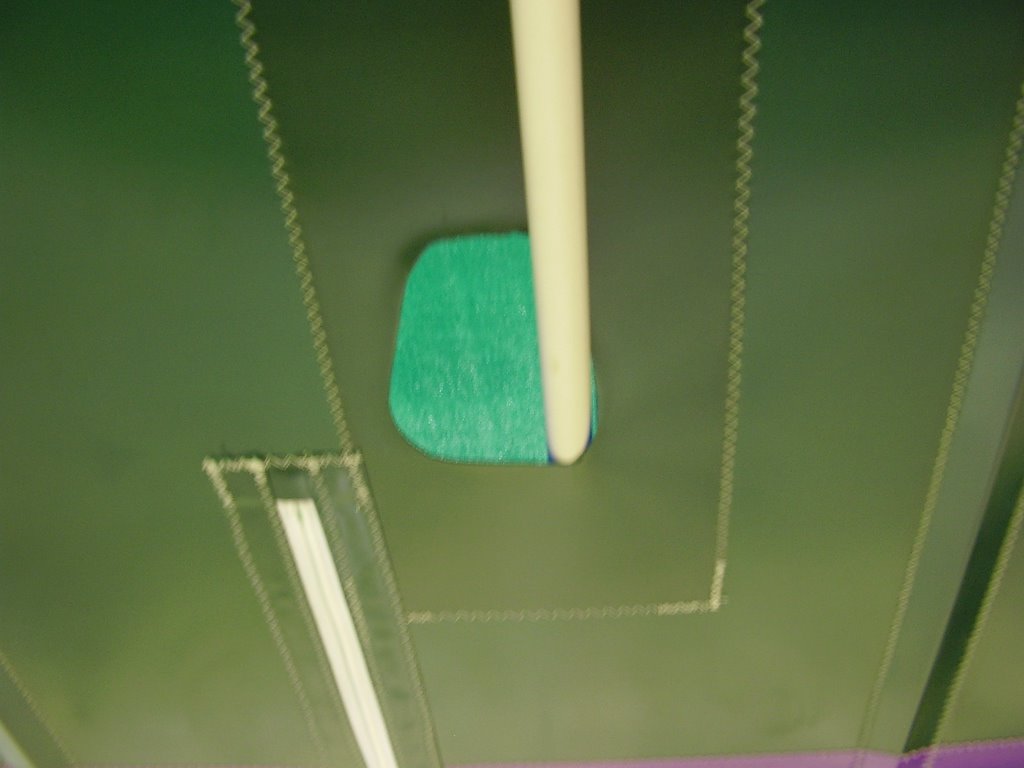
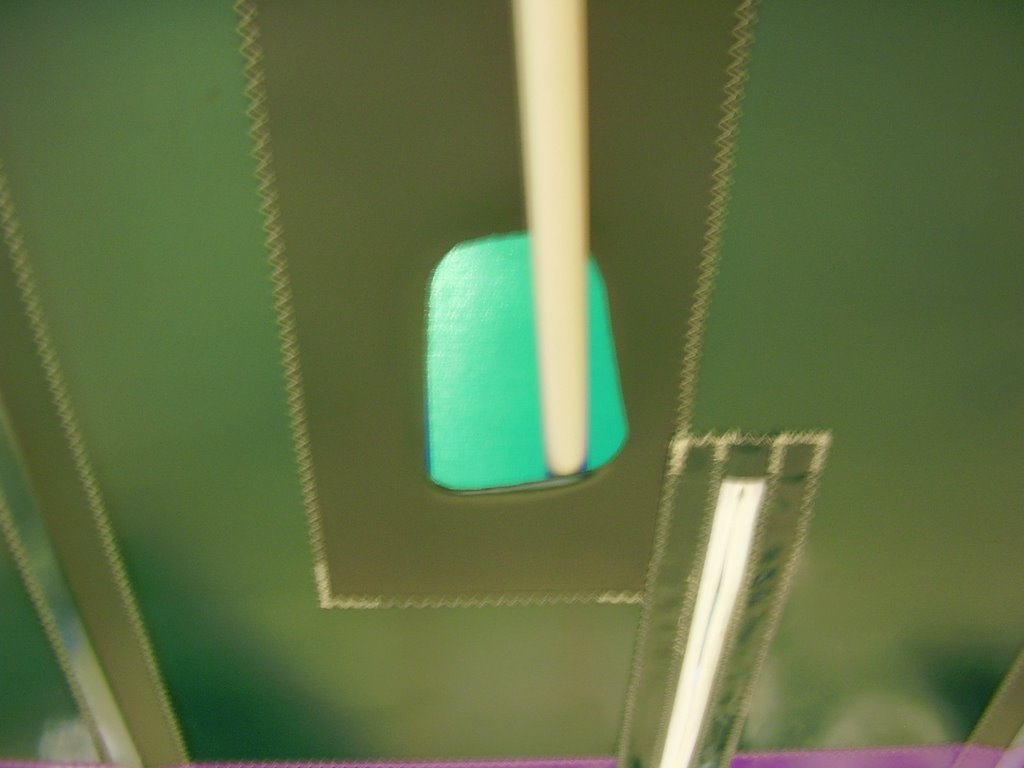
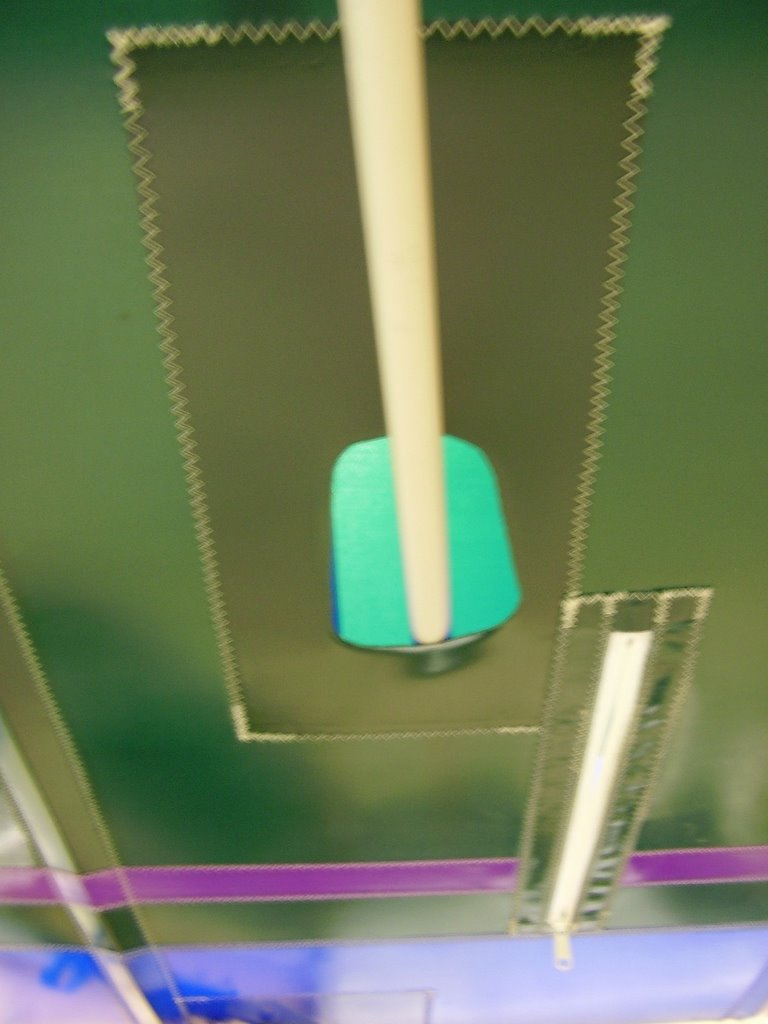
The next step was enlarging the holes for the aileron push-pull tubes. Below are three pictures of the left wing with the control stick left, neutral, and right.


Below are three pictures of the right wing with the control stick left, neutral, and right.

While testing the movement of the ailerons I noticed a strange resistance. If I move the control stick to the left, about 4/5 of the way through the movement the resistance will increase. This isn't a gradual increase; it feels as if there is a slight stopping point and then it takes a slightly harder push to get though the full movement. The right aileron also has this but it is not at pronounced. In fact I didn't notice the issue until I specifically looked for it by only connecting one push-pull tube to the control tee at a time. This may be caused by the clear coat on the velcro of the wings. The velcro is very stiff because of the clear coat.
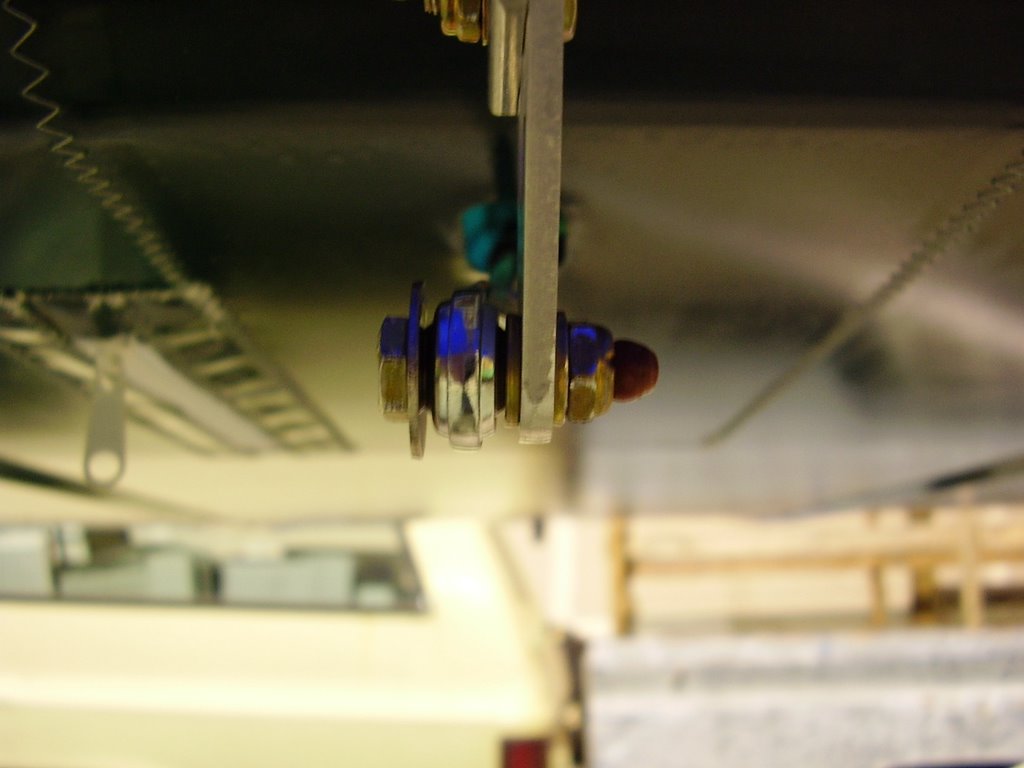
The last major thing I did today was place the cotter pins in the wing's hinge bolts. I trimmed the cotter pins after I inserted them to make them easier to bend around the nut.


