I am now at the point where I can start finishing up my instrument pod. I recently received the handheld radio that I plan to use with my plane. I will mount this with velcro to the right side of the instrument pod.
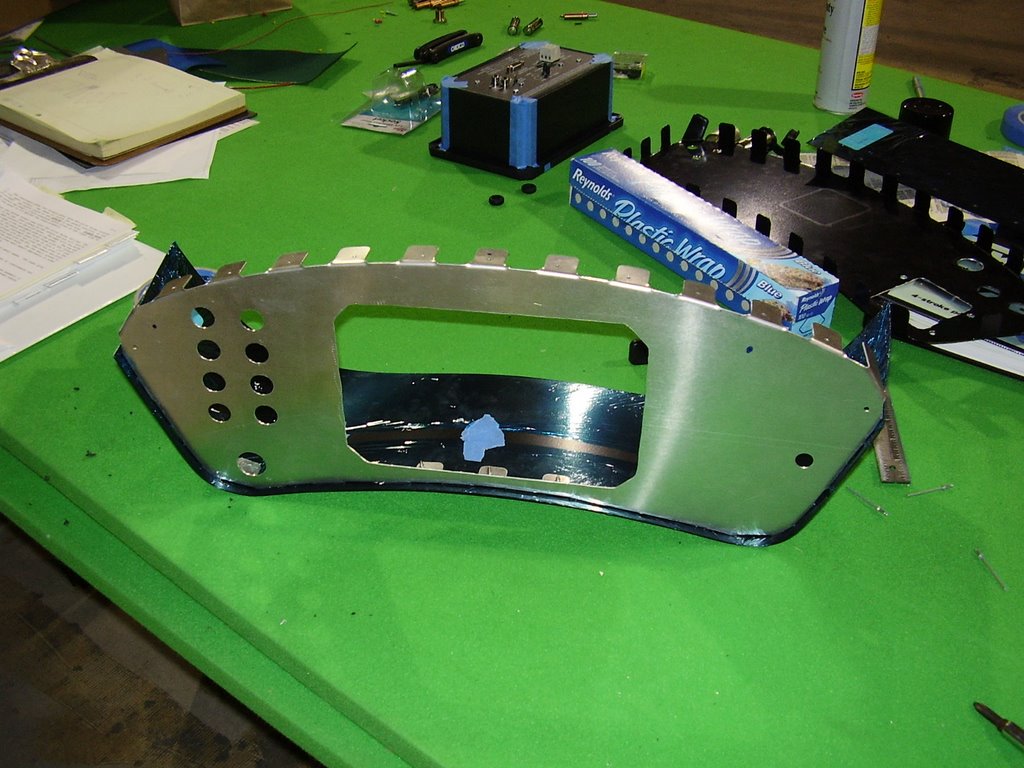
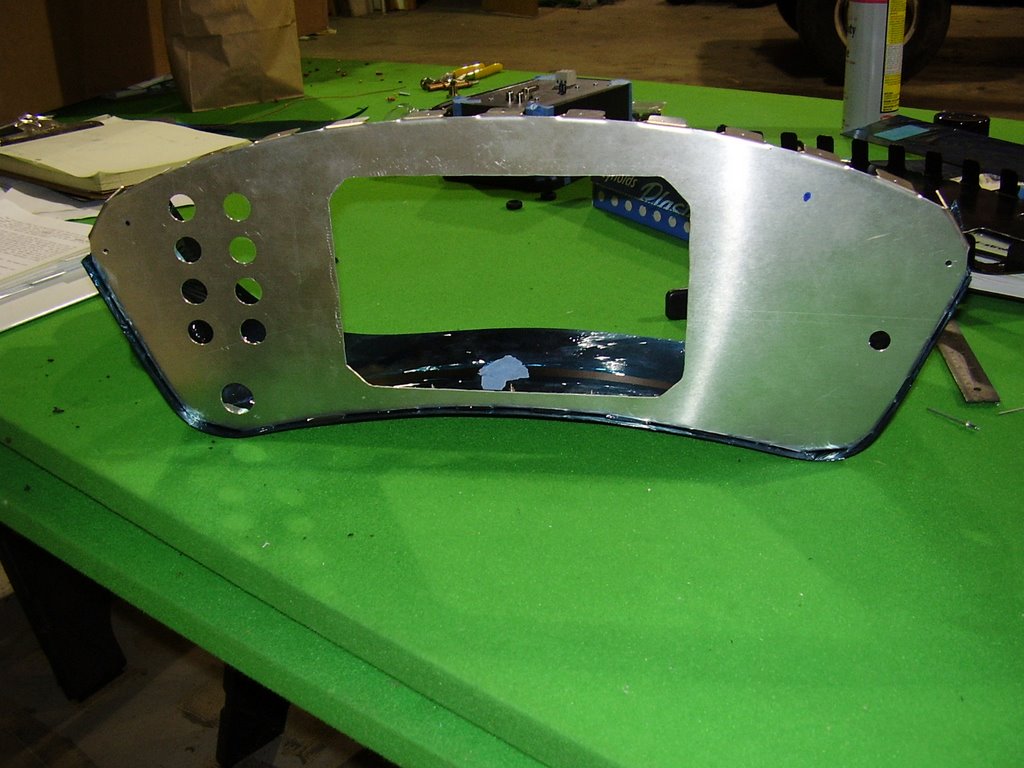
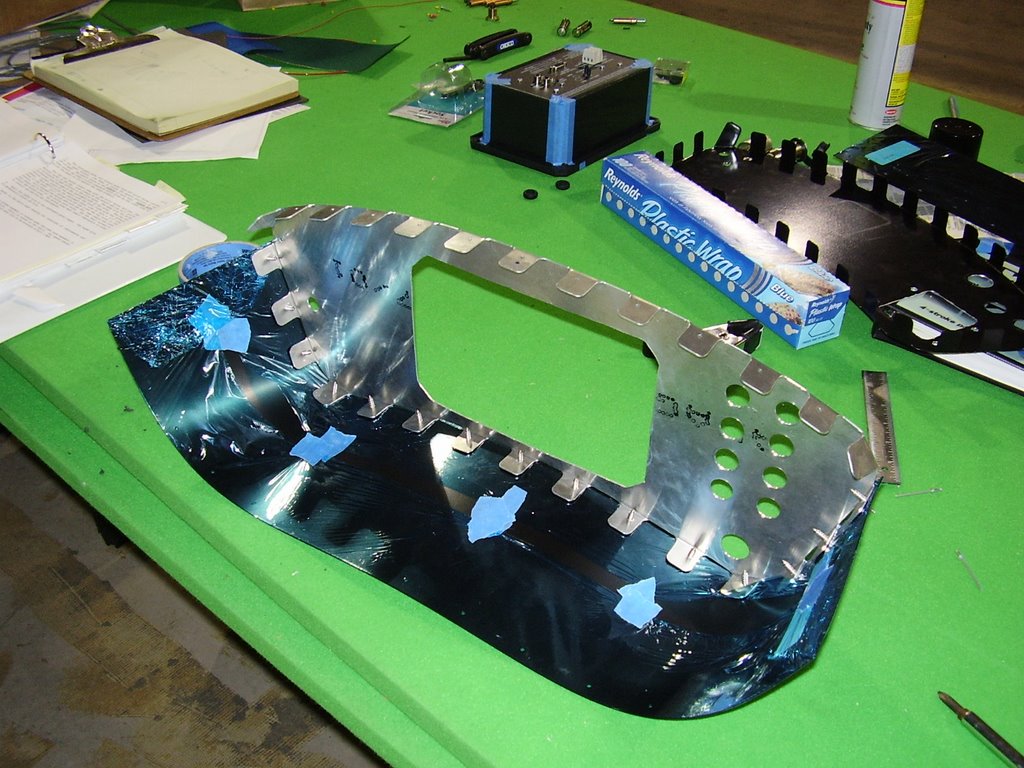
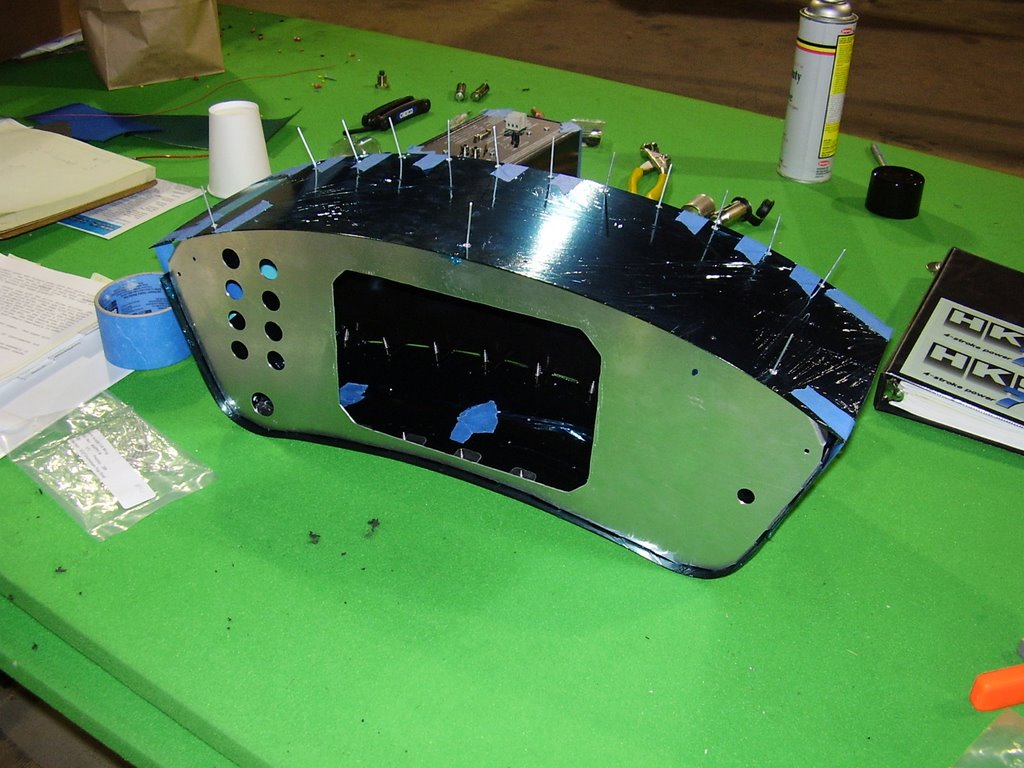
I removed the switches, wiring, and Stratomaster from the instrument panel. I then drilled a hole on the far right of the panel to allow for a power cable for the radio. You can see the hole drilled for this purpose in the picture below.
I also drilled a large hole in the backside of the instrument pod for a cigarette lighter and two smaller holes for the headset and speaker jacks. You can see these holes in the last picture.
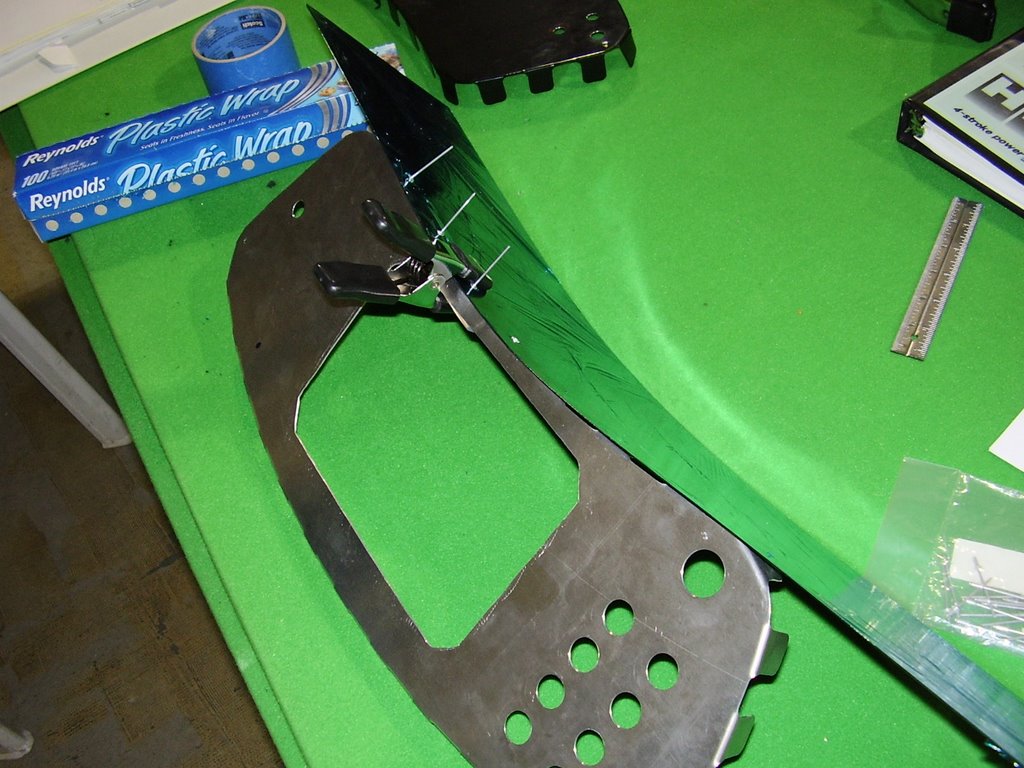
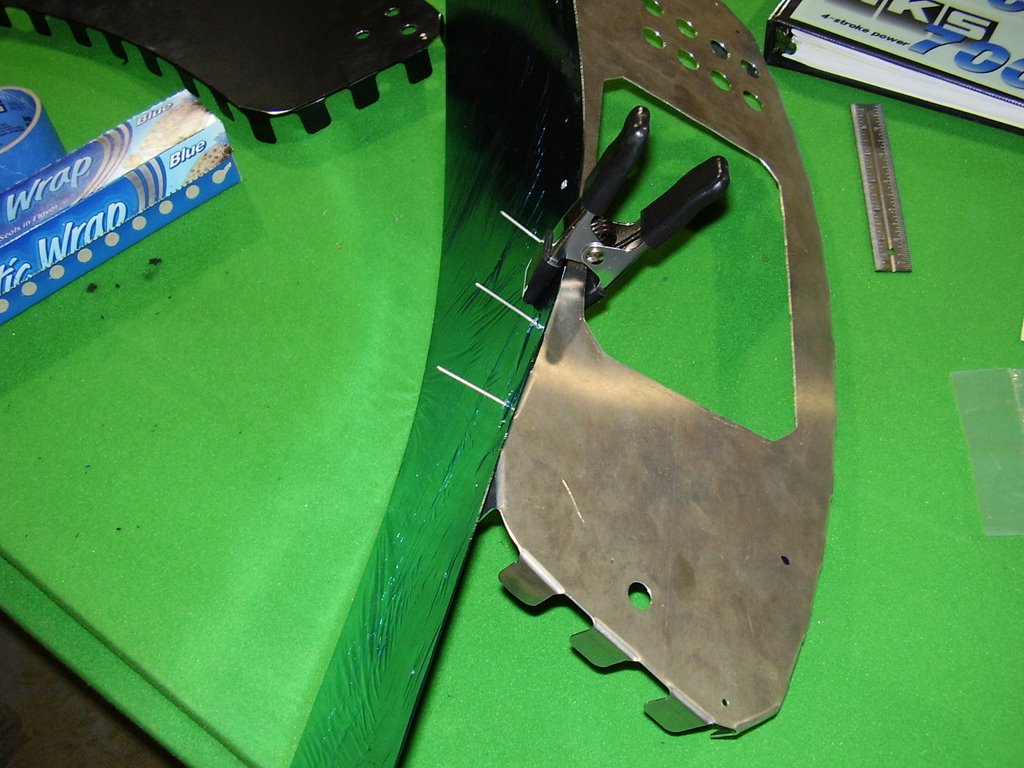
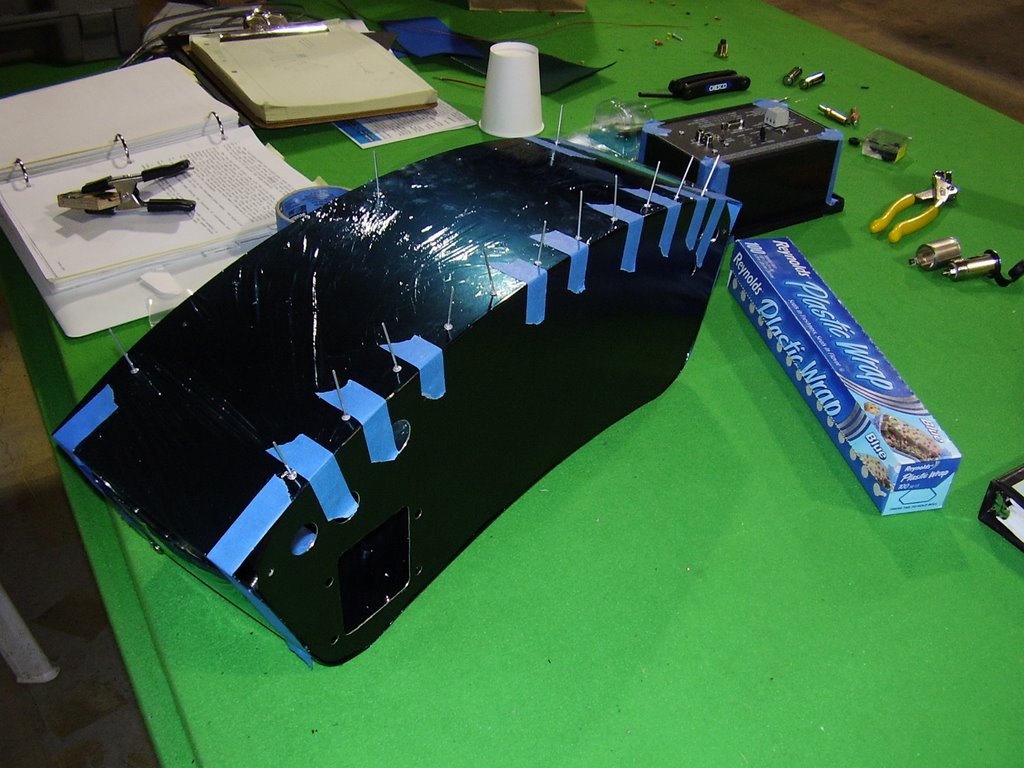
I wrapped the top and bottom panels of the instrument pod in plastic wrap to protect them from being scratched while I assembled the panel. The top and bottom panels were pre-drilled with fastener holes. I needed to transfer these hole to the front and back instrument panels. This was easier than I expected but was still quite tedious.
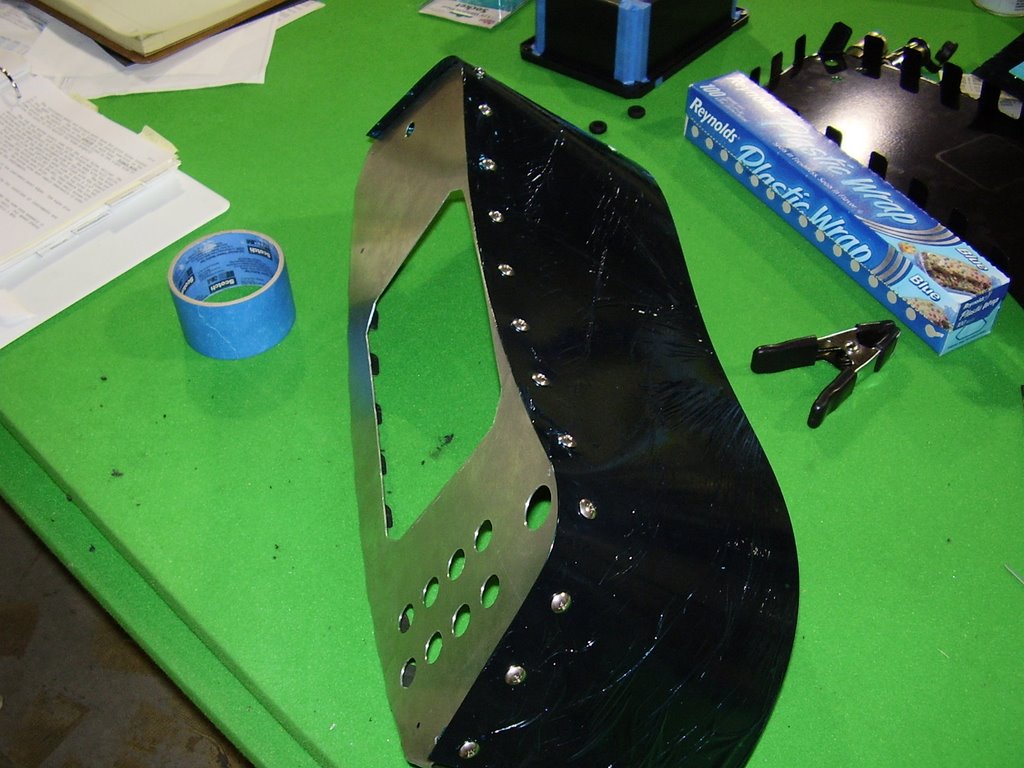
I started out by riveting the bottom panel to the front instrument panel (panel that faces the pilot) with single rivet in the center. This held the two pieces together securely while I transferred the other holes. Before I started on the holes which are on the curved corners of the panel, I fastened the panel together with the provided sheetmetal screws. This held the panel pieces in place while I bent the bottom panel around the curved corners of the front instrument panel and transferred the remaining holes.
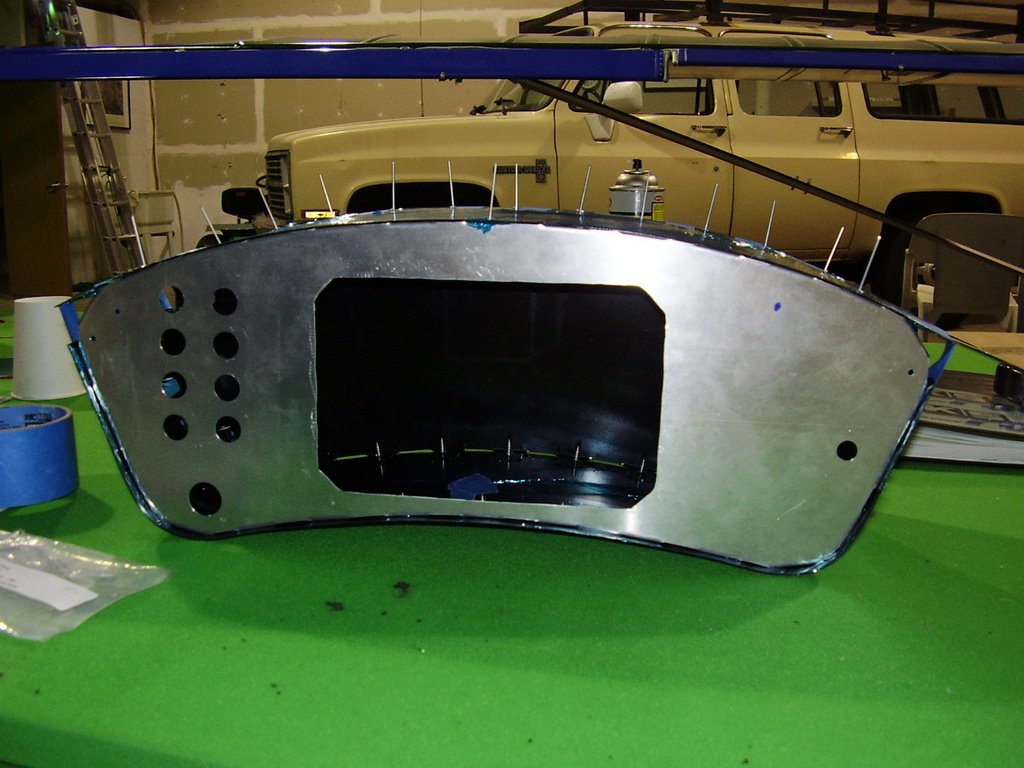
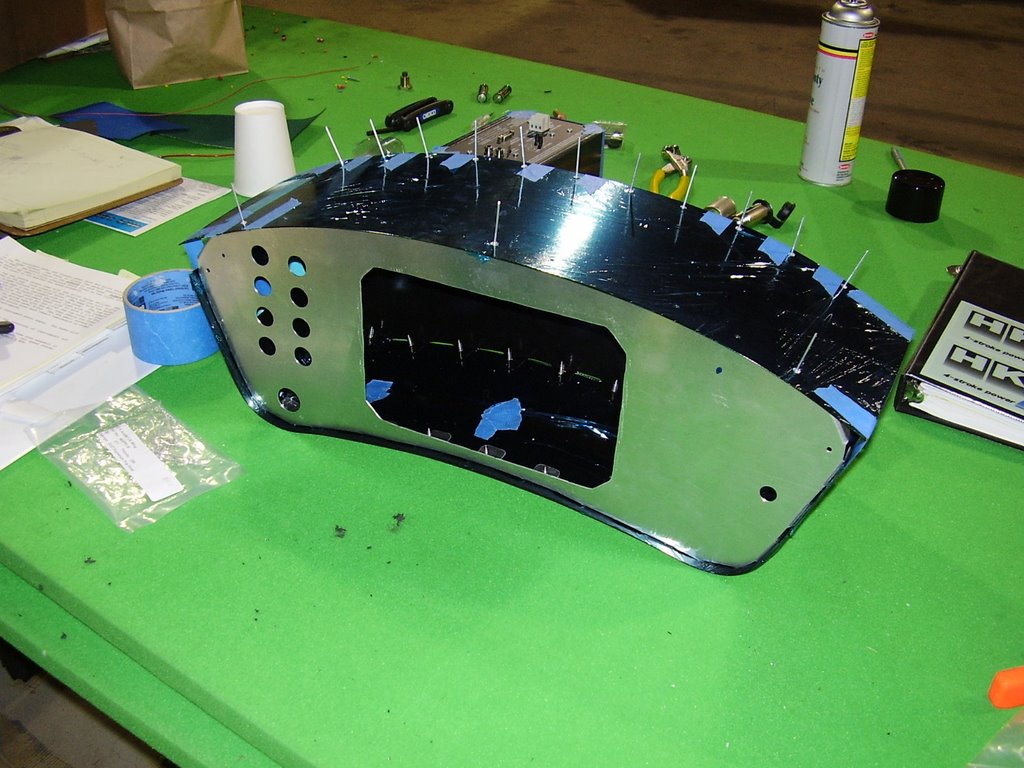
Once I was finished transferring the holes to the front panel, I repeated the process on the back panel. Once that was finished I started the same processes on the top panel. Since the top panel is attached with rivets instead of screws. I was not able to transfer the holes at the very edge of the top panel. I will need to do this when I fasten the top panel in place for good.