The painter is pretty much finished with the plane. Since I need to remove the landing gear legs from the plane to install the landing gear fairings, I'll do this before the painter lowers the plane from the ceiling. You can see photos of the plane being hung from the ceiling in the next post.
Removing the legs required removing a bolt from inside the plane. This wasn't easy because of the limited visibility and awkward reach from being outside the plane (I couldn't crawl inside).
What turned out to be very difficult and time consuming was trimming the fairings to match the length of the legs and the contour of the body of the plane. The fairings covered the useful reference points that I would have used for measurements. Here are the steps I took to trim the fairings...
- I removed the leg from the plane.
- I slipped the fairing onto the leg and made a mark on the lower portion of the leg where the bottom edge of the fairing meets the leg. The inner support of the fairing prevents it from sliding all the way down the leg.
- I then reinstalled the landing gear without fairing and made a mark on the body of the plane 16" (the length of the fairing) from the first mark.
- I then removed the wheel/axle/brake assembly from the lover portion of the leg and slipped the fairing onto the leg which was still installed in the plane. Since the fairing would only slide up before touching the bottom of the plane, I measured the distance from the top of the fairing to the second mark. I used this distance, lets say one inch, to mark a trim line around the top of the fairing. I placed my ruler on the fairing, lengthwise, and slid it up until it touched the body of the plane. I'd mark a dot one inch from the body onto the fairing. I did this all away around the fairing.
- I then drew a line to connect the dots and trimmed the fairing to fit with my Dremel.
- I did this a second time on the fairing to ensure I had a good fit and had enough room for the rubber trim that goes onto the top edge of the fairing.
Once the fairings and trim were in place I reinstalled the legs. Getting the bolt hole to line up with the top of the leg and the plane was difficult. I ended up marring one of the bolts so much that it needed to be replaced.
I didn't install the nut for the bolts until after the plane was back on the ground and I could climb inside. I did learn a new trick in the process of placing the nuts back on. By placing some double-sided tape onto the tip of my finger, I was able to position the nut in those hard to reach places. I wish I would have figured out that trick a few hundred hours ago!
Prior to installing the legs and fairing for the last time, I placed some silicon sealant in the joints of the legs, installed the brake housing cable, and placed the rubber trim.
I still need to glue the to the trim into place.
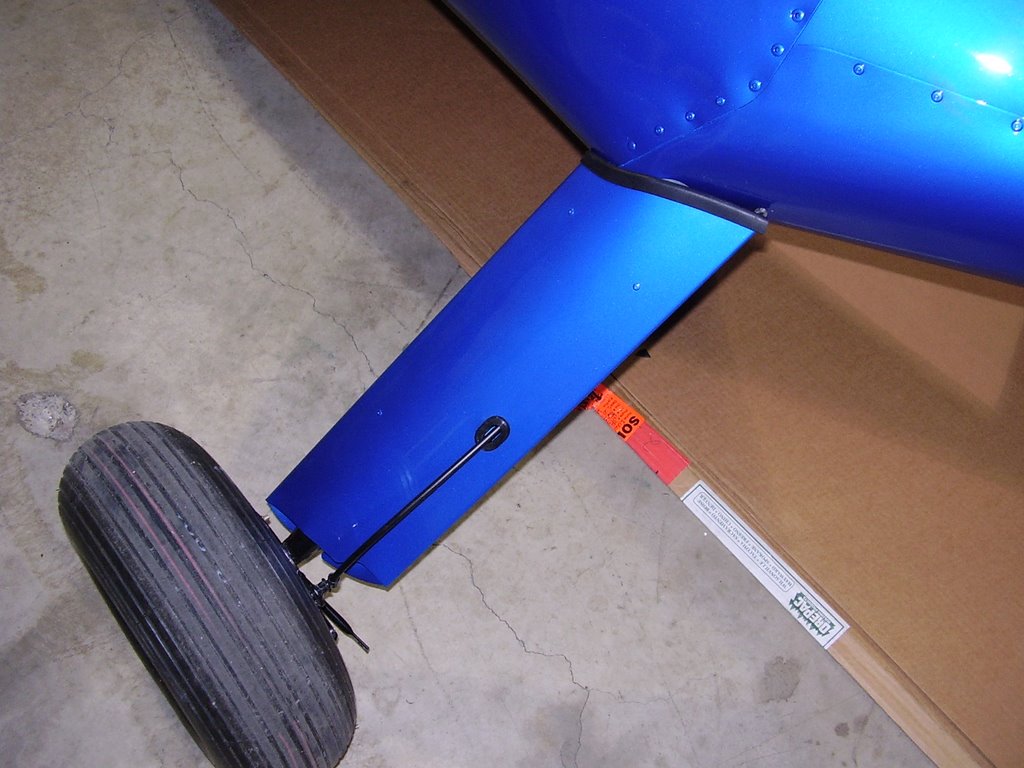
Here are some pictures of the installed fairings.