Thermostat - 3 hours (324.5 Total)
Today I plumbed my oil cooler, thermostat, and oil lines. Unfortunately, I don't have any pictures of the finished setup and at the time of writing this, I have already taking the cowl and wings off the plane. I have a couple of pictures in my September 9th post that show the plumbing with the cowl and wings removed.
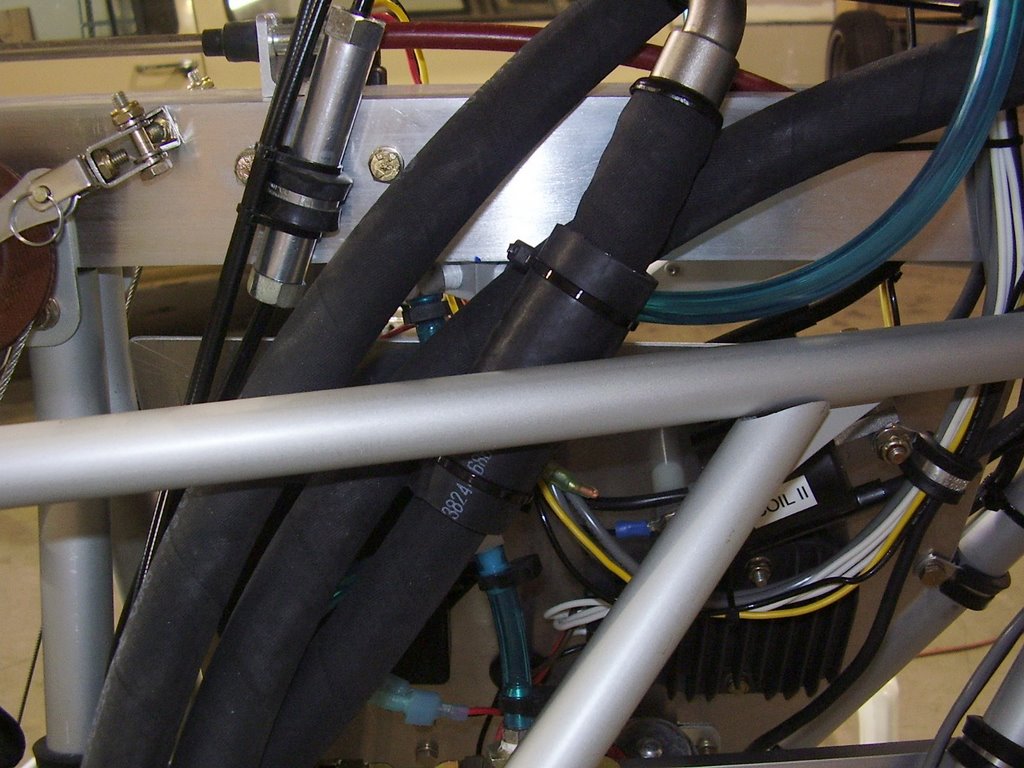
I did not have a lot of room to place the oil thermostat between the cooler and the engine. I needed to orientate the thermostat at an odd angle to allow the oil fittings to clear all of the engine components. For the hose that connects the thermostat to the engine, I needed to use two 180 degree fittings.
The tight space required the use of short hoses which actually helped in mounting the thermostat. These short hoses give enough structure to the thermostat that it doesn't need to be physically mounted.
Before cutting my expensive oil lines to length, I used a cheap hose to mock up the plumbing. This worked great but I ran into one issue when I started replacing the cheap hose with the Aeroquip hose. When the Aeroquip hose is pushed onto the fittings, the hose looses 1/2" of length. This usually isn't an issue with a longer hose but caused me some problems on my 6" hose. Luckily, I was able to use that hose in a different location since I didn't have any to spare. I had only ordered 8' of the hose and ended up using all but two inches of it!
I was forced to route one of the oil lines in a way that could cause it to chafe against the structure. I ended up placing a rubber hose around the oil line to protect it. This isn't the most elegant fix but it is a common way of dealing with these issues. You can see a picture of this in my September 9th post.
Wednesday, August 30, 2006
Subscribe to:
Posts (Atom)