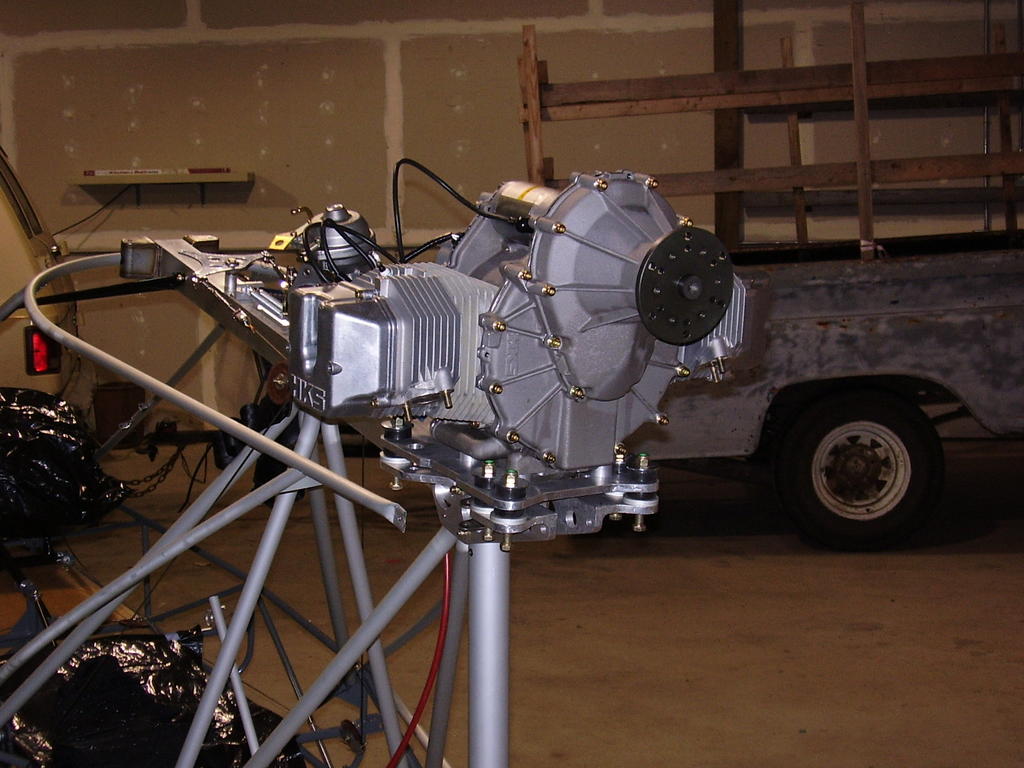
Today I started off by modifying the engine mount brackets and plate. The cutout required didn't come out pretty but it is functional.
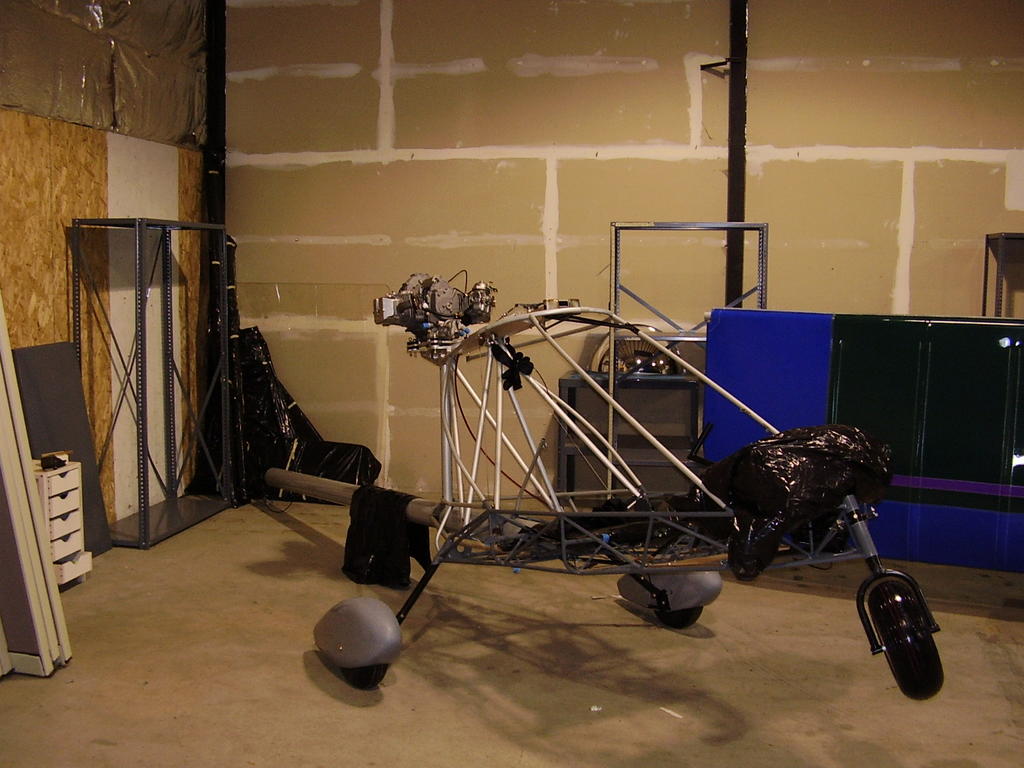
I bolted the brackets to the root tube and the plate to the engine. By letting the plane rest on its tail, I was able to lift the engine onto the brackets. I had put four of the eight Barry mounts into the plate to act as rubber feet while I set the engine onto the brackets.
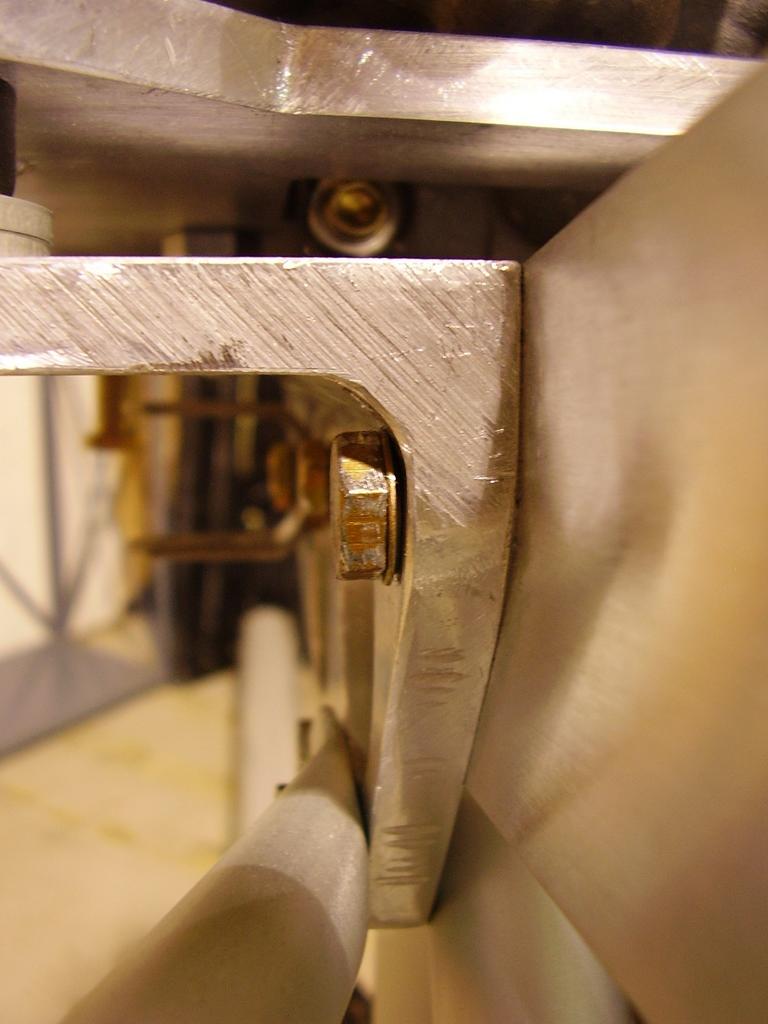
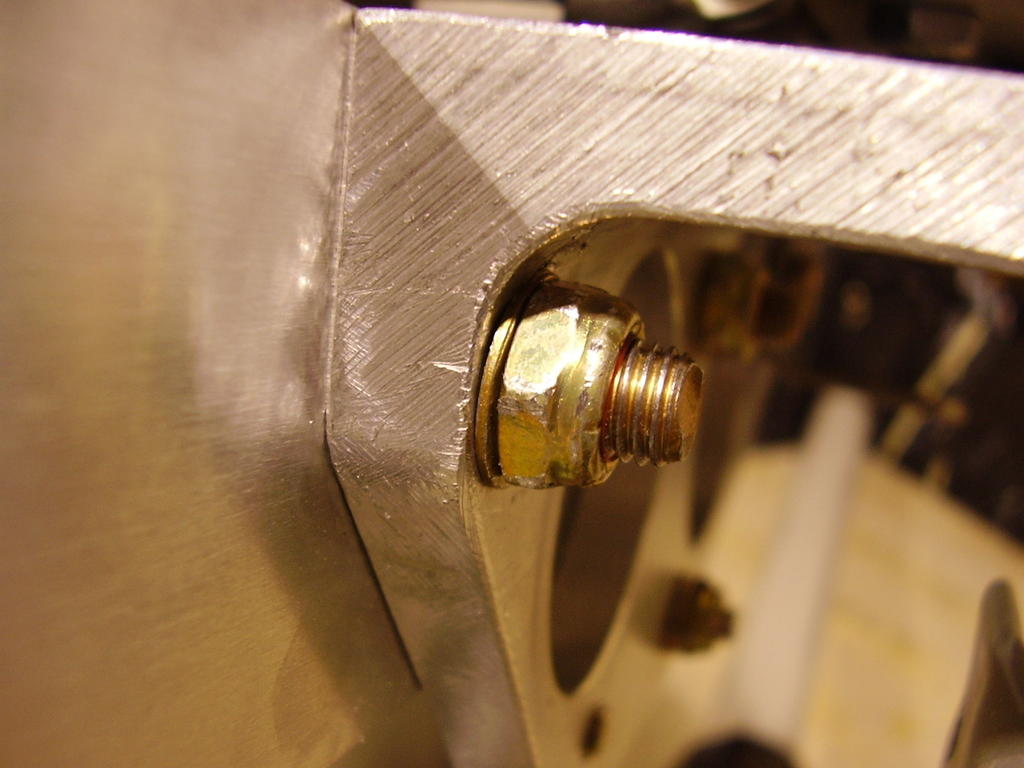
Once on the plane, I installed the washer and bolts. Unfortunately the bolts that were sent are too long.
Because of the radius of the angle bracket used, the forward most bolt is too high on the angle bracket. The bolt head and nut don't have a flat surface to seat against.
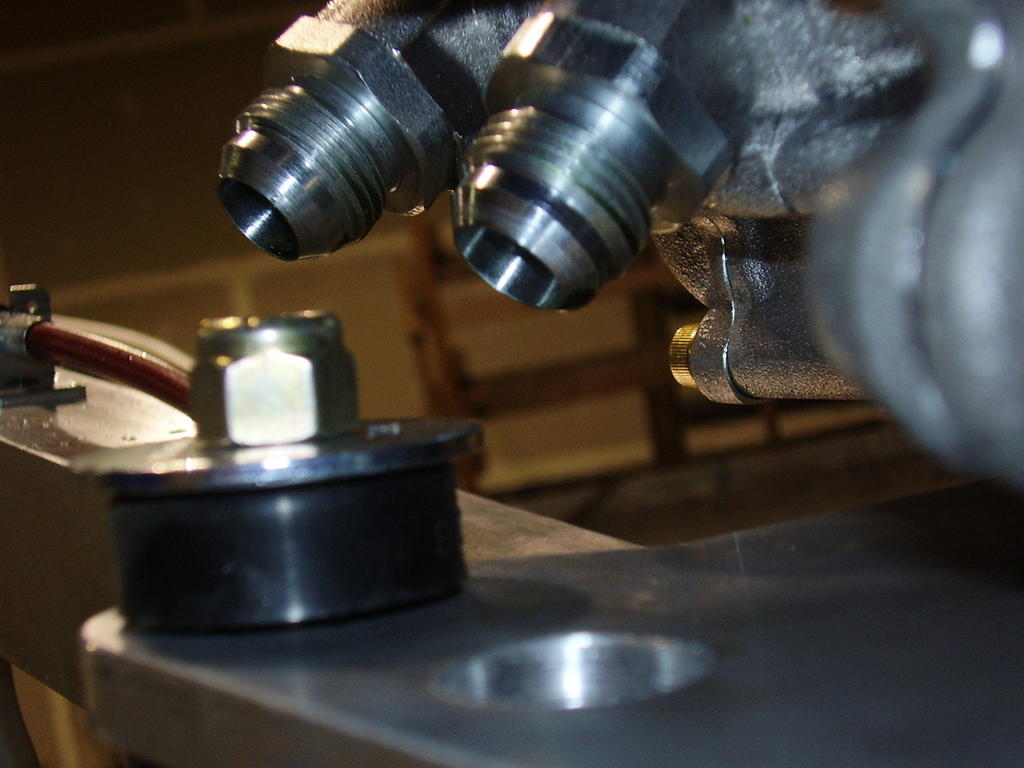
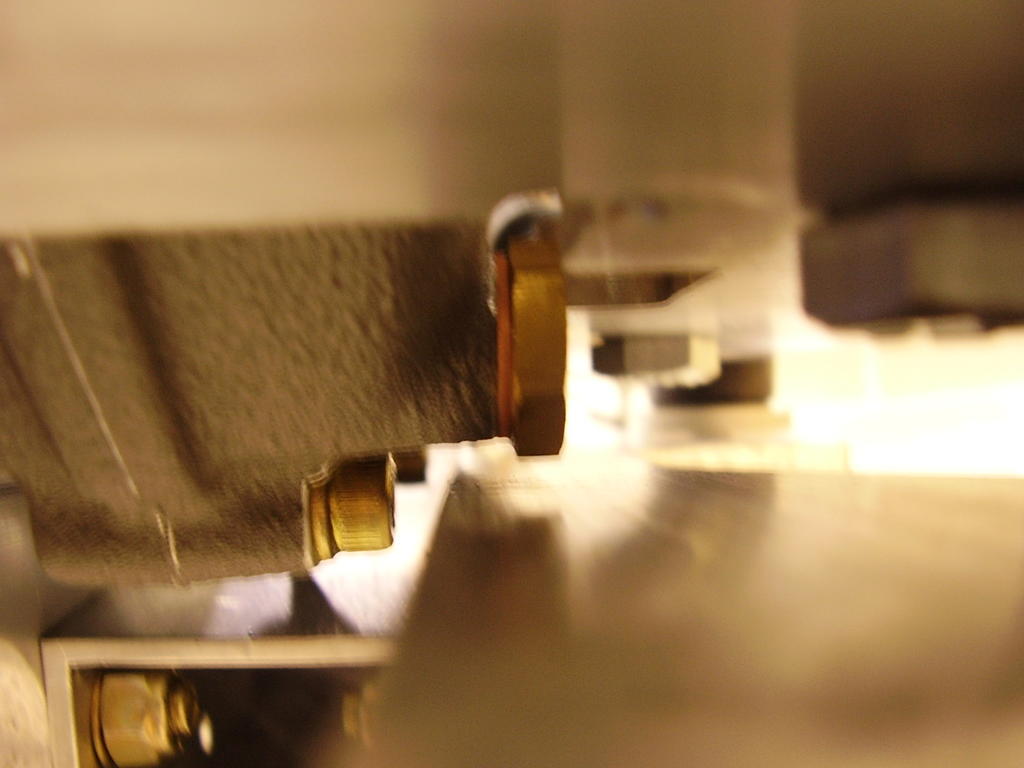
The engine seems to be mounted as low as it can go. There is approximately an eighth of an inch clearance between the bottom most portion of the engine and the root tube.
There also appears to only be an eighth of an inch clearance between the engine and the top of the brackets. This means that the brackets can not be increased in size to remove the need of the aluminum washers. We could increase the size of the 9/16" stand-offs between the engine and engine plate.
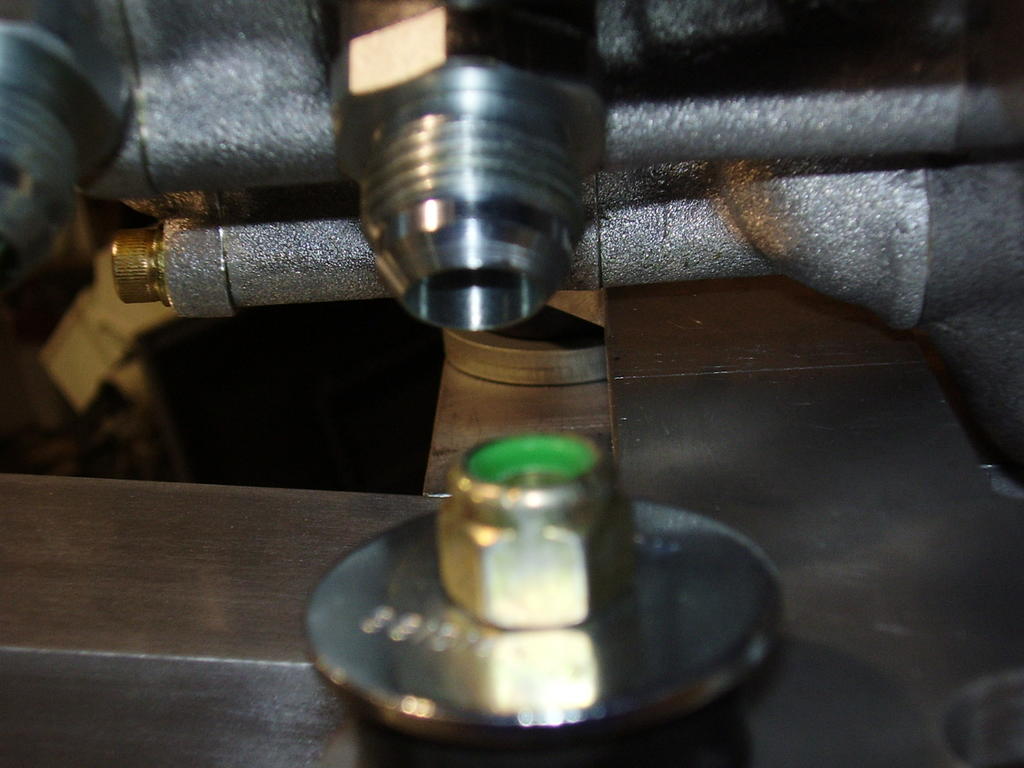
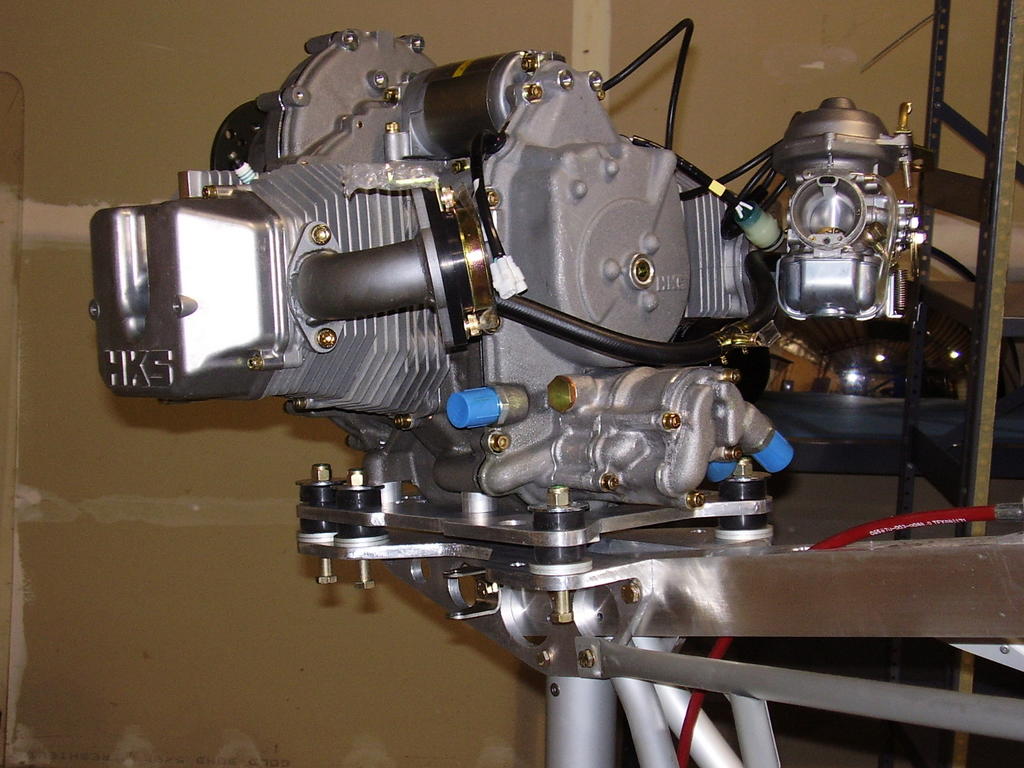
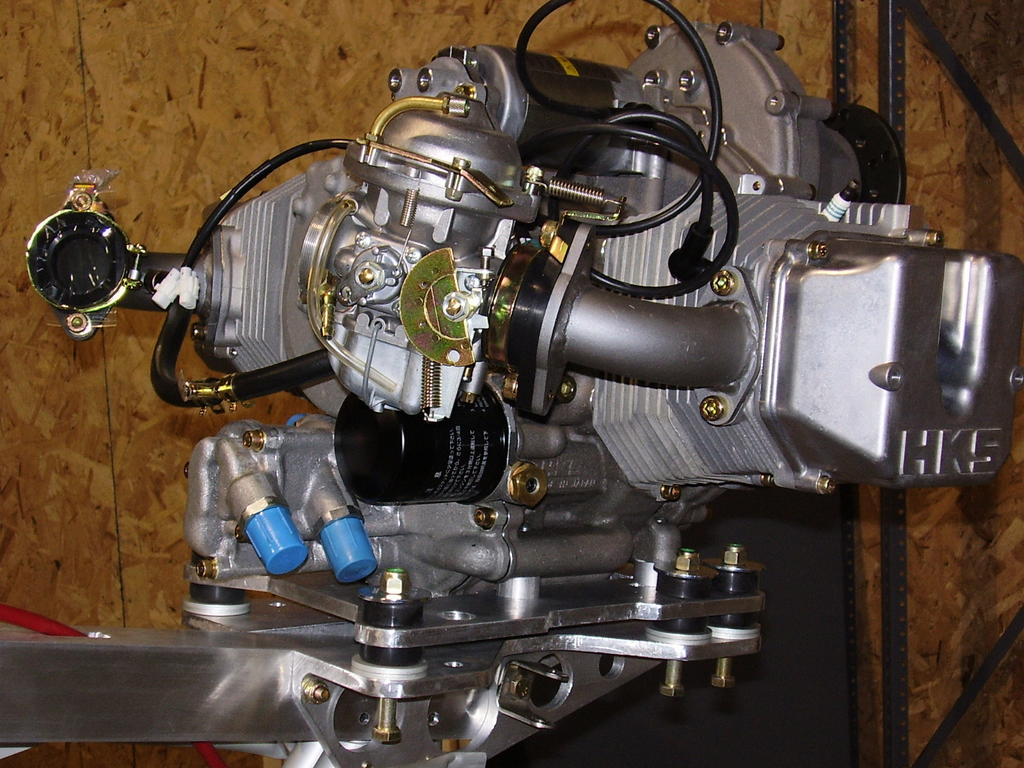
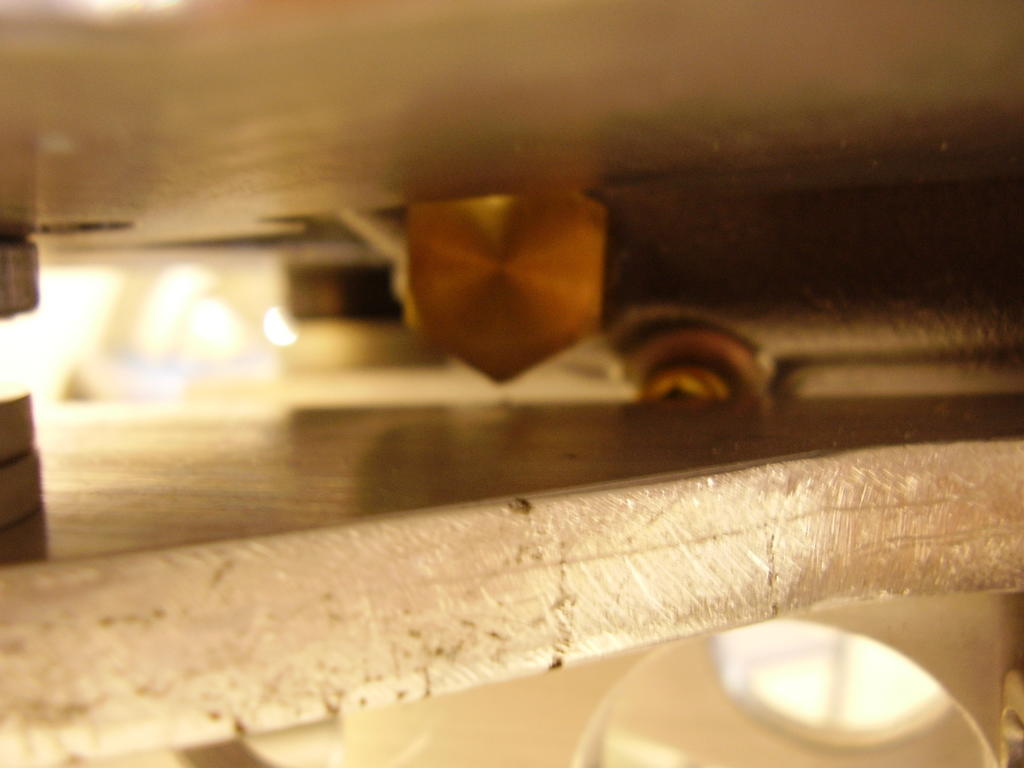
The oil drain plug also has clearance issues. I wonder if an elbow fitting could be used to allow access to the drain through a hole in the angle bracket.
Two of the washers used on the Barry mounts seem to be interfering with the engine. This could be solved by using smaller washers, similar to what Rans uses with their 503 engine mount. Increasing the size of the stand-off between the engine and the engine plate would also solve this.
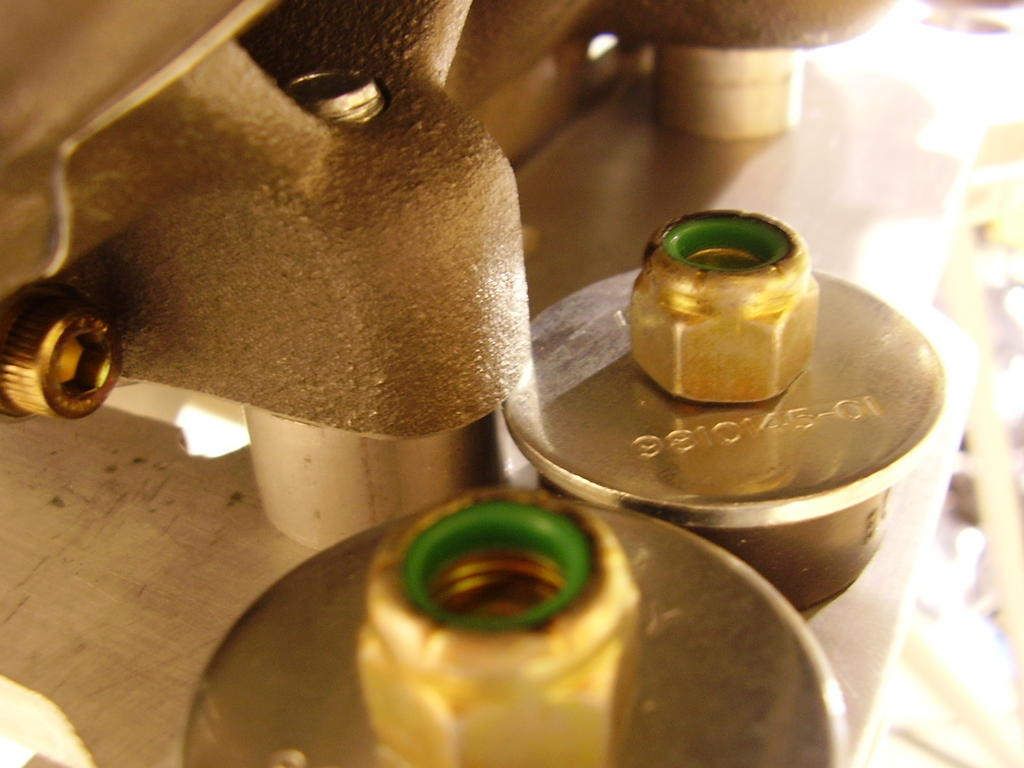

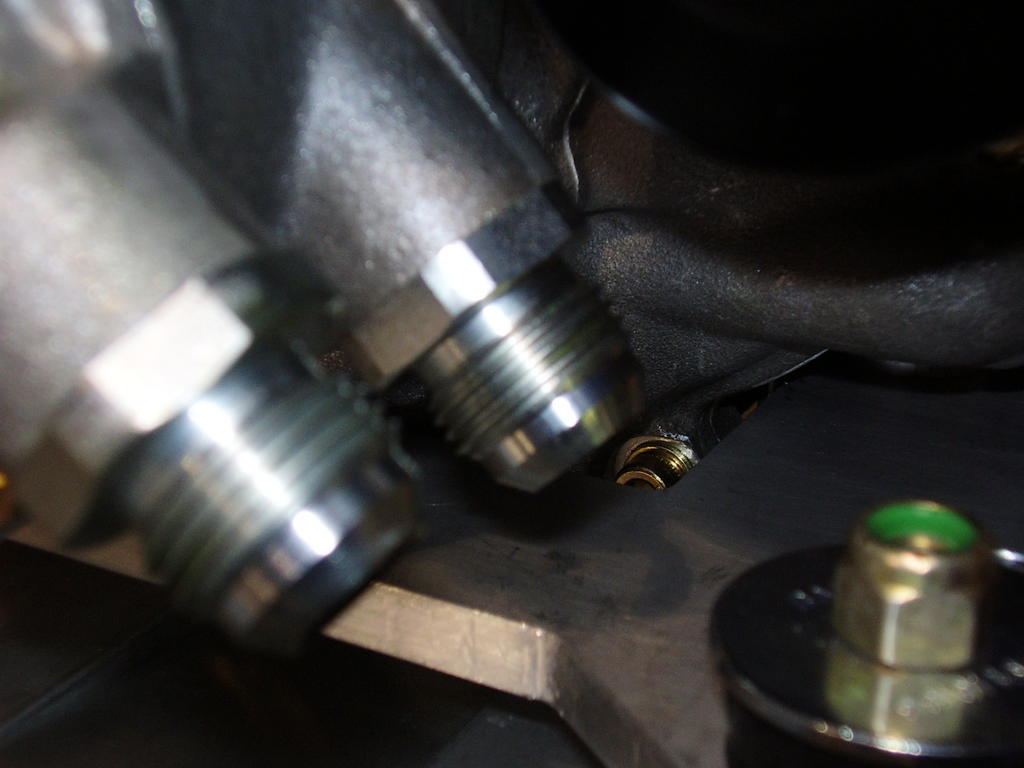
One of the oil fittings is pretty close to one of the Barry mounts. We'll have to see if an angled fitting will clear this Barry mount.