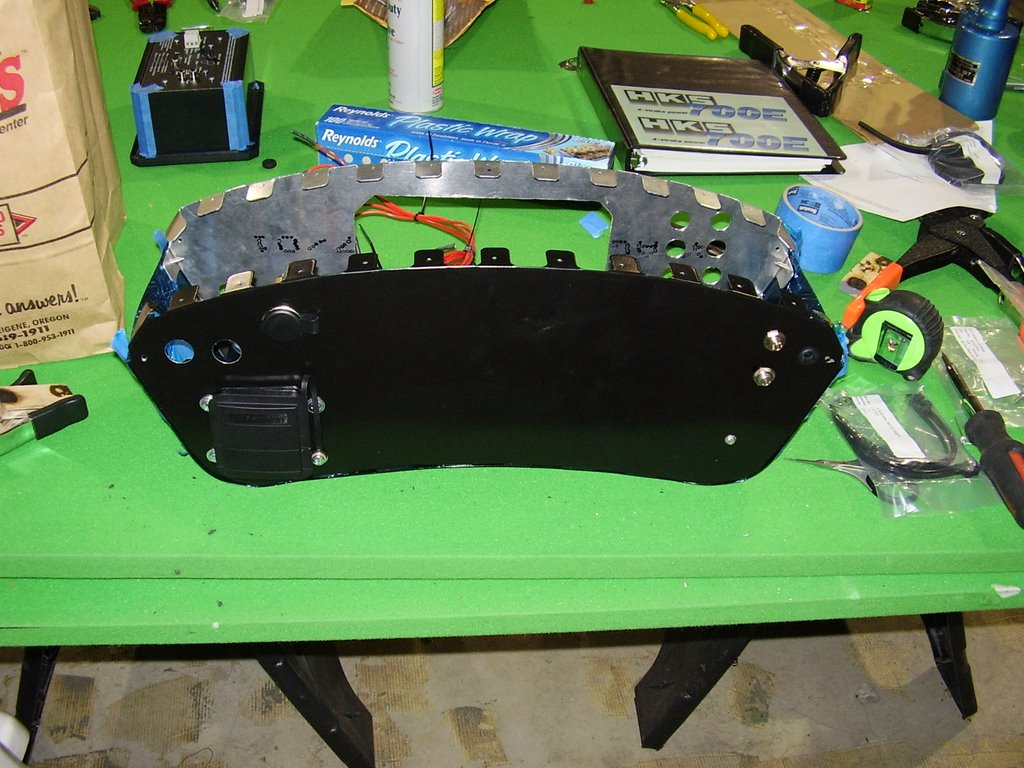
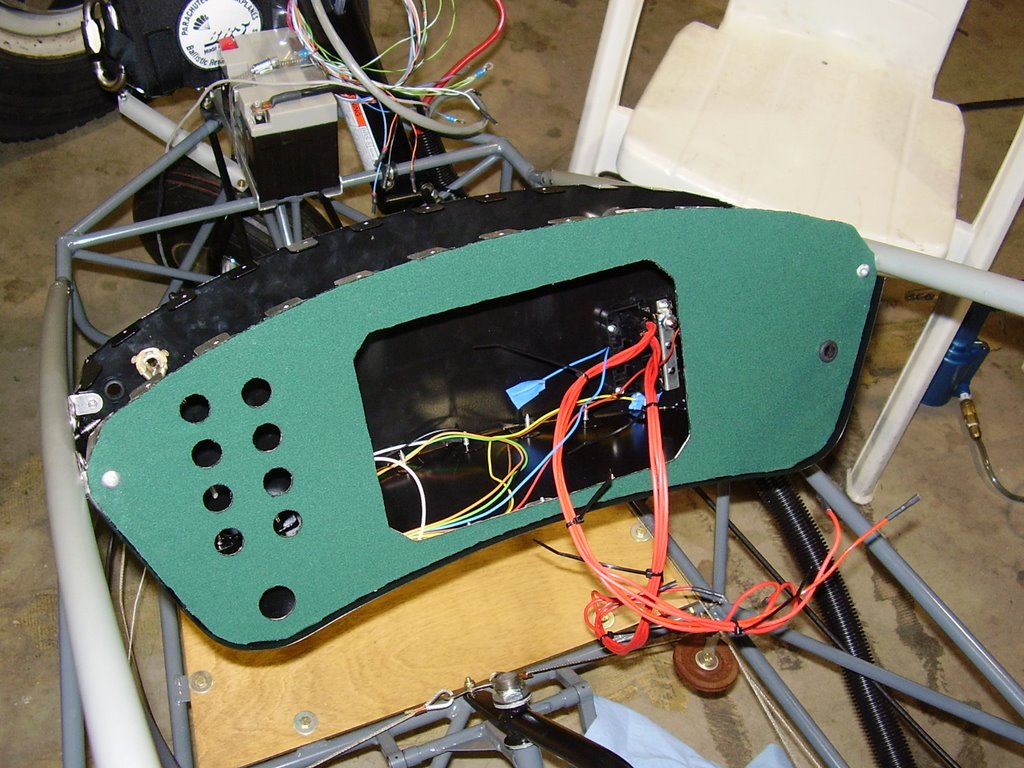
Today I did the final assembly of the instrument pod and mounted it to the inside of the plane.
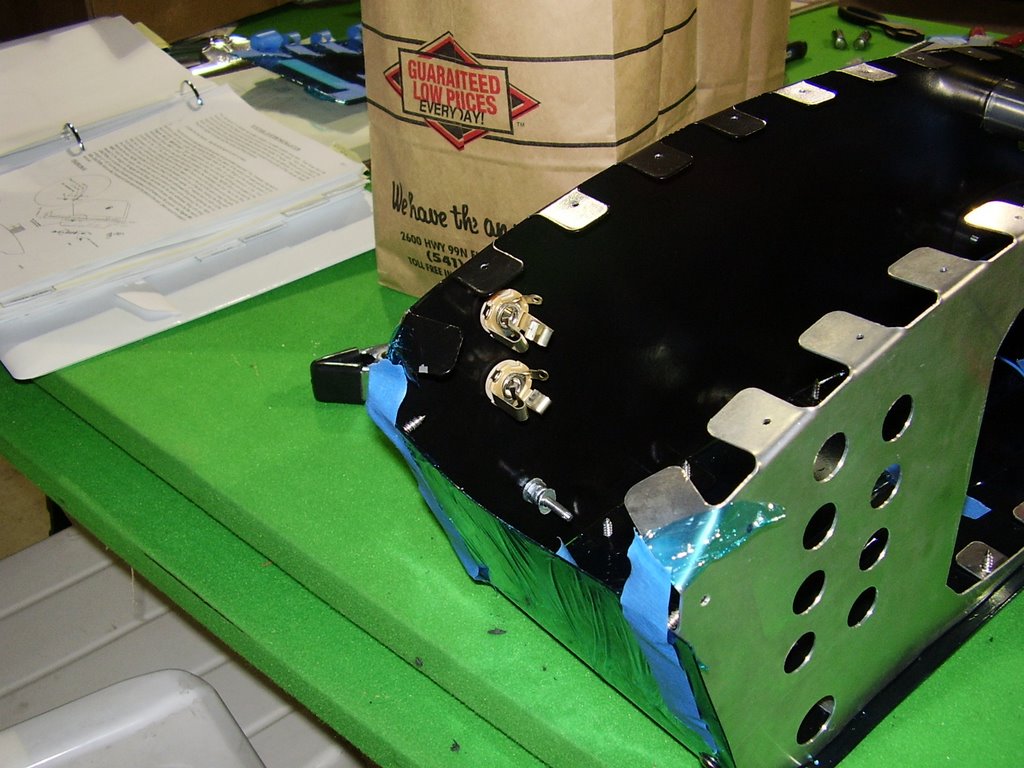
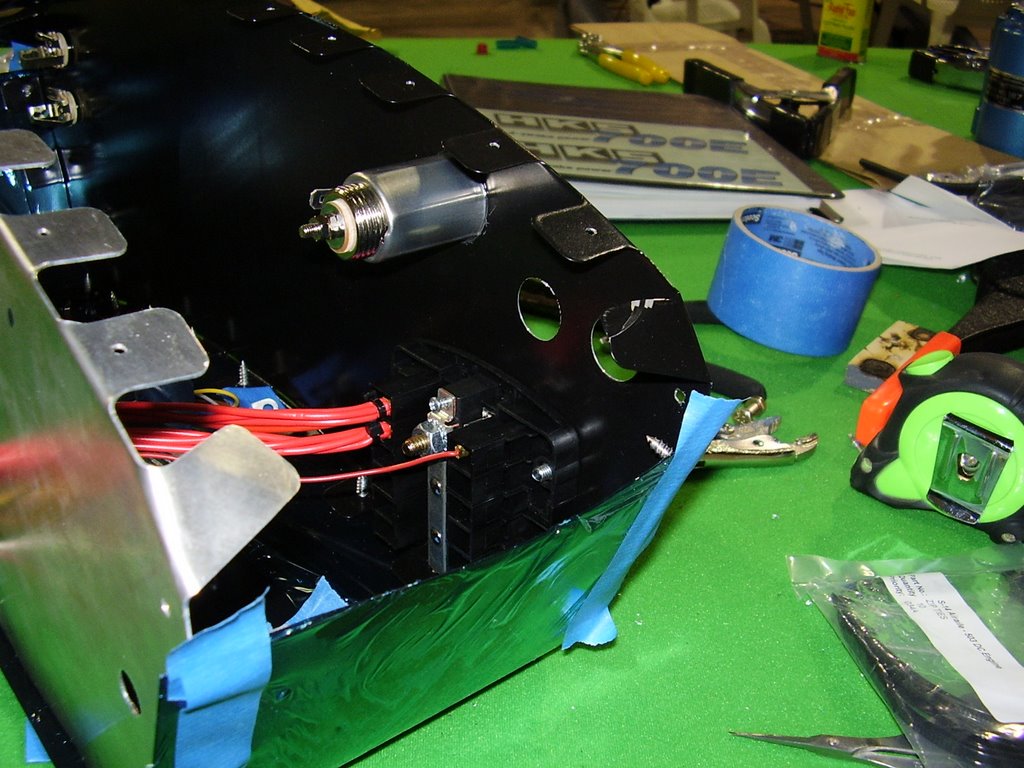
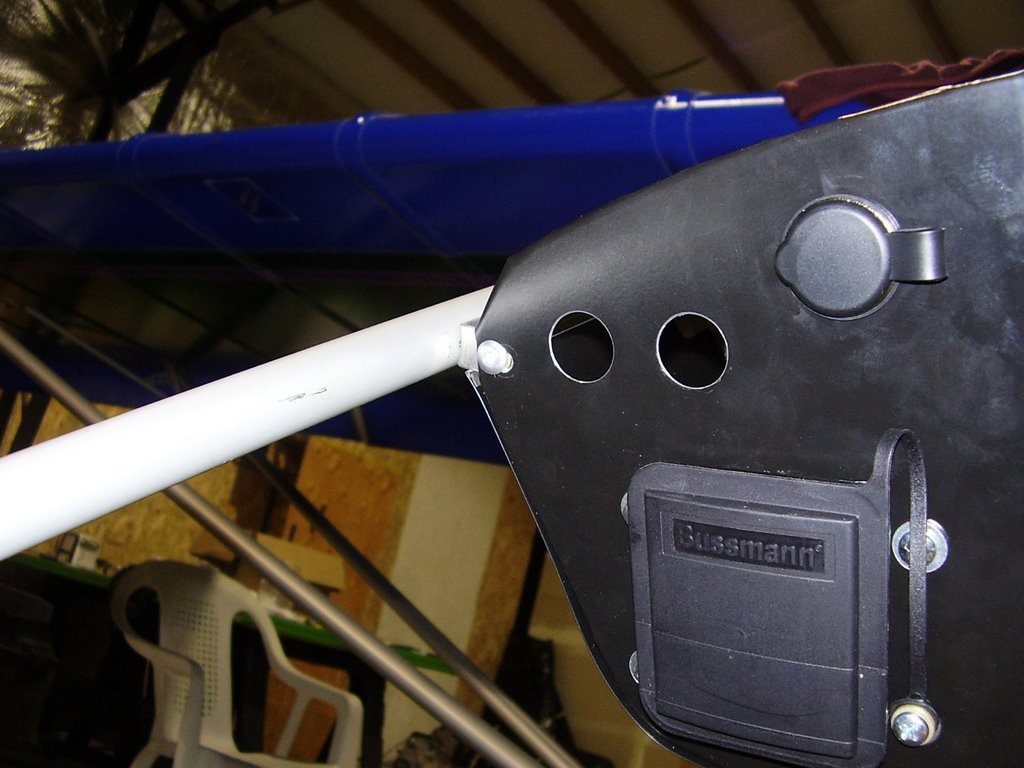
In the three pictures below you can see the mounting of the fuse block, cigarette lighter, and head phone and speaker jacks.
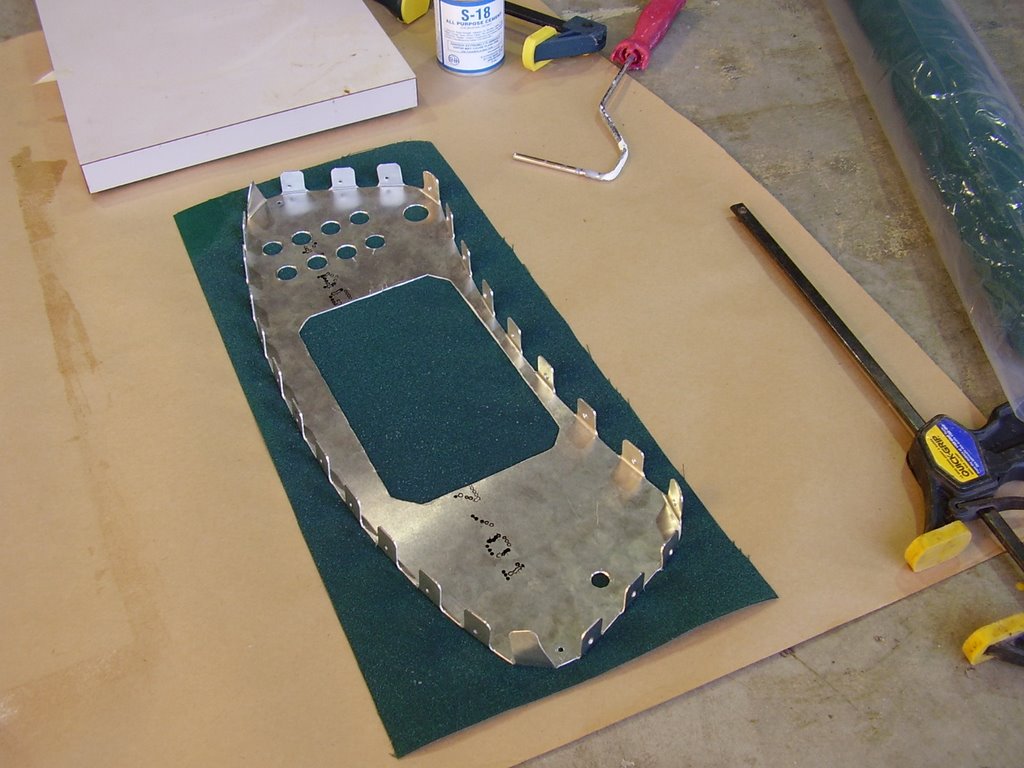
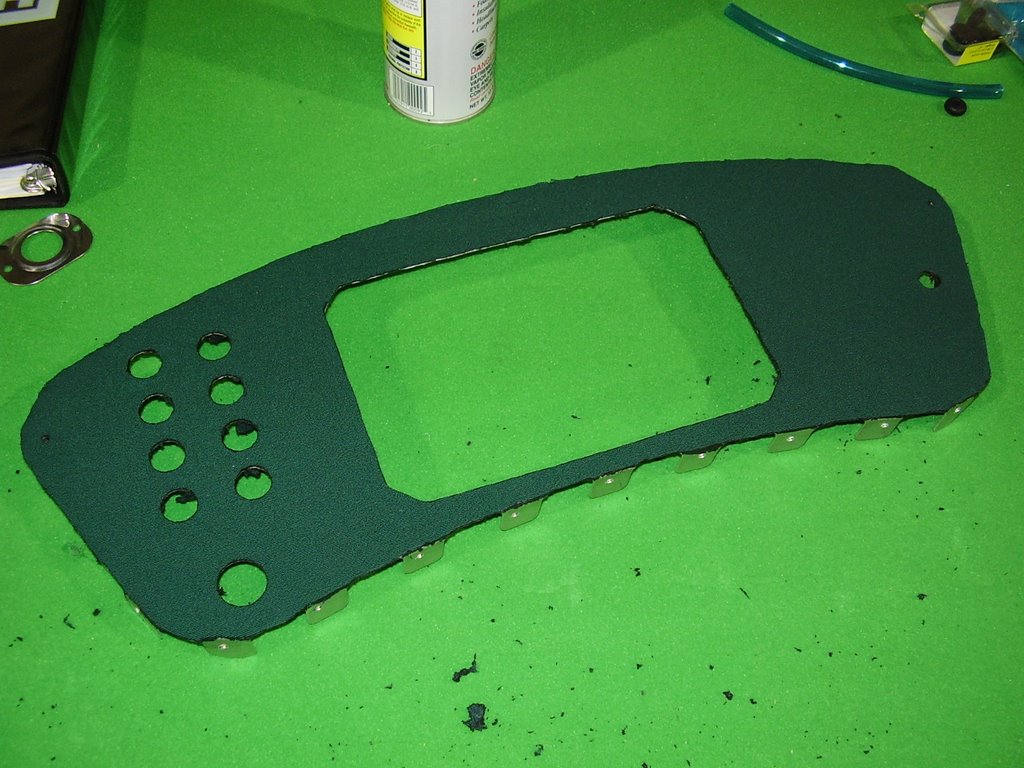
In the two pictures below you can see how I glued my interior fabric to the instrument panel. I used a heavy duty role on glue which is water proof and heat resistant. I chose a synthetic canvas type fabric for the plane's interior. This fabric is intended for exterior canopies and is sun and mildew proof.
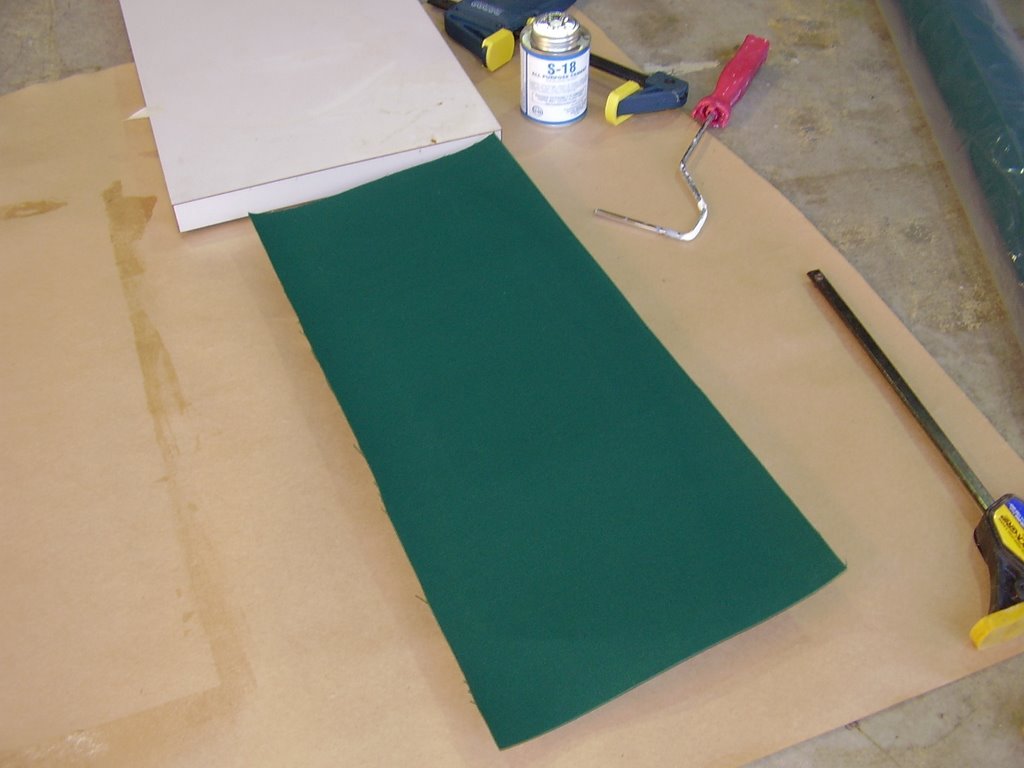
After a few hours and the glue had set, I started cutting away the excess material with a soldering iron.
I then reattach the instrument panel to the bottom panel and proceeded to secure the instrument pod into the airplane.
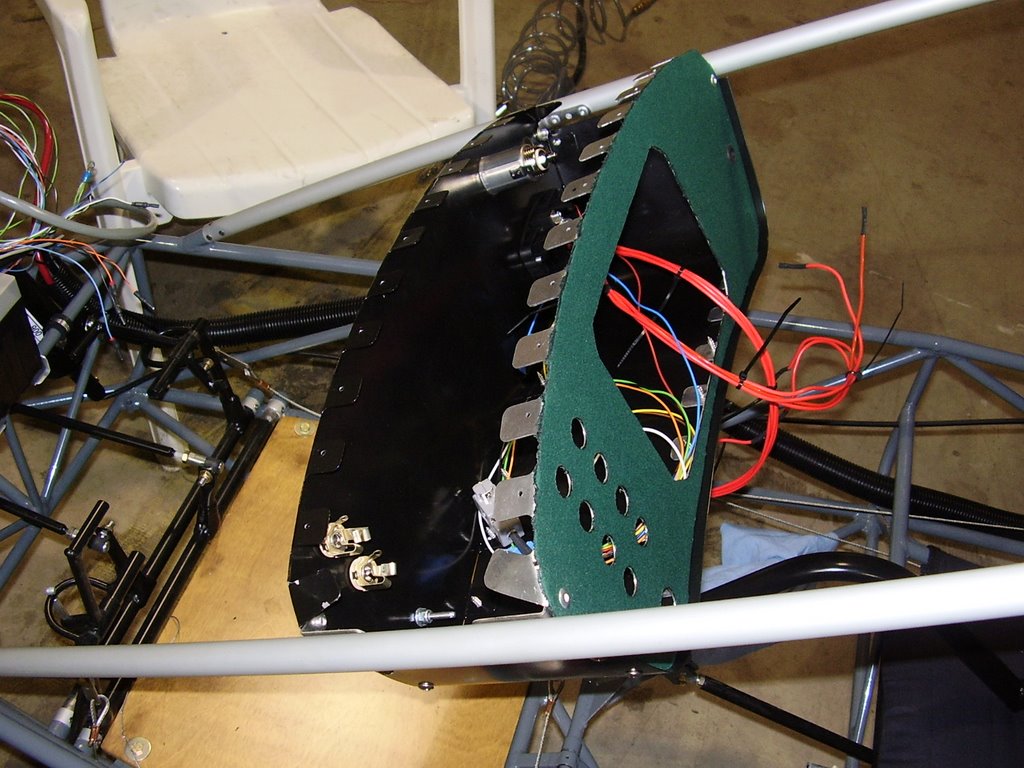
I needed to use my Dremel Tool to notch out one of the corners to allow the bottom panel to fit around one of the brackets that holds the pod in place.
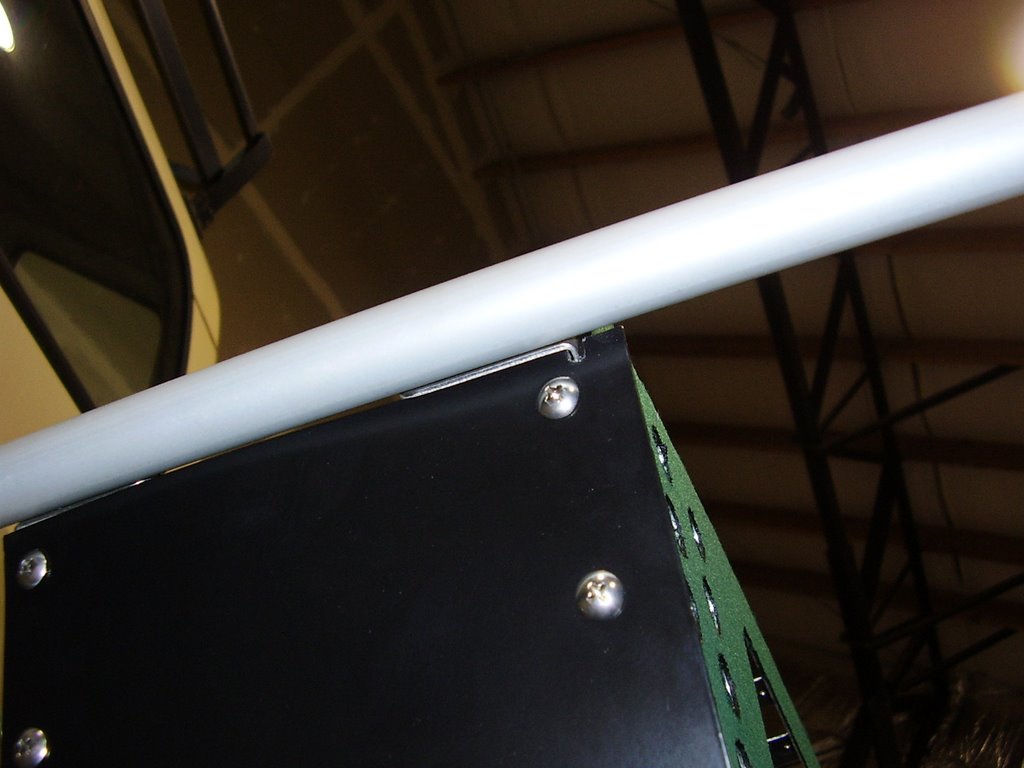
I also needed to reposition one of the rear holes to allow for a secure fit.
And lastly, I needed to add washers between the brackets and back panel to allow for proper alignment.
