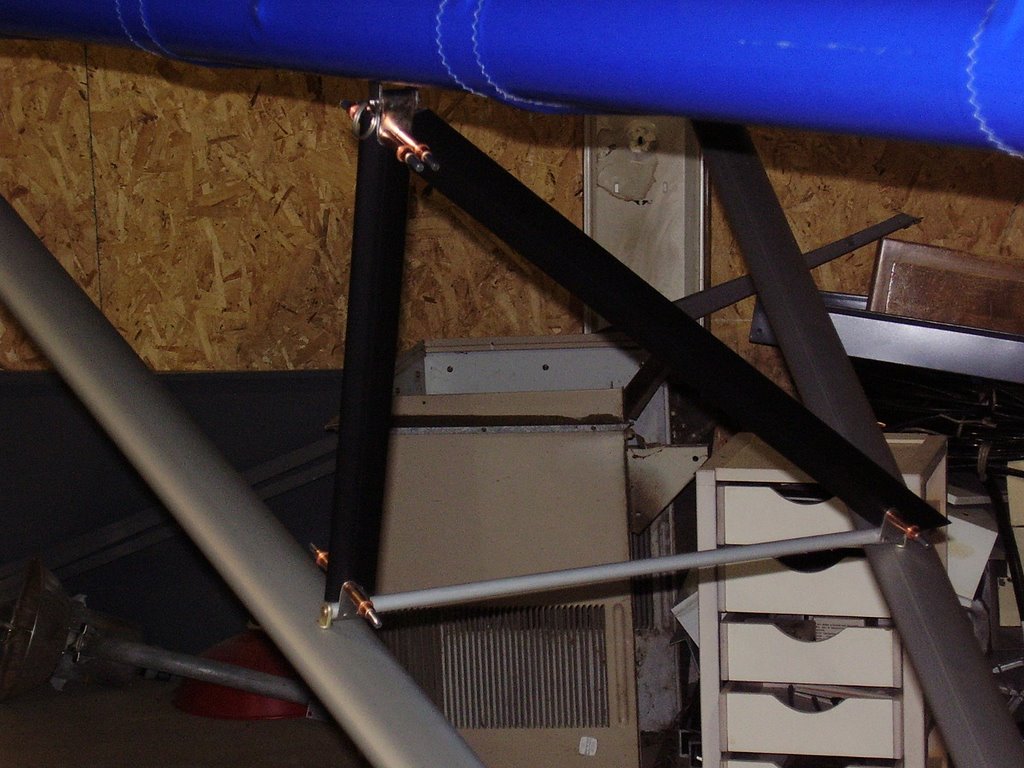
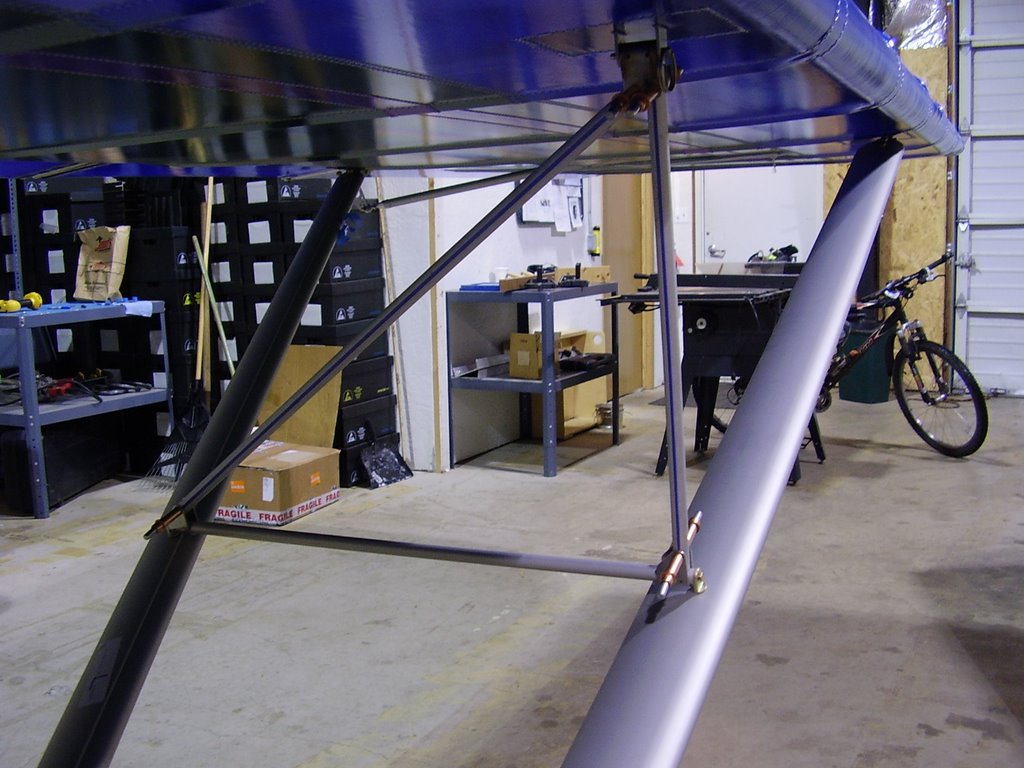
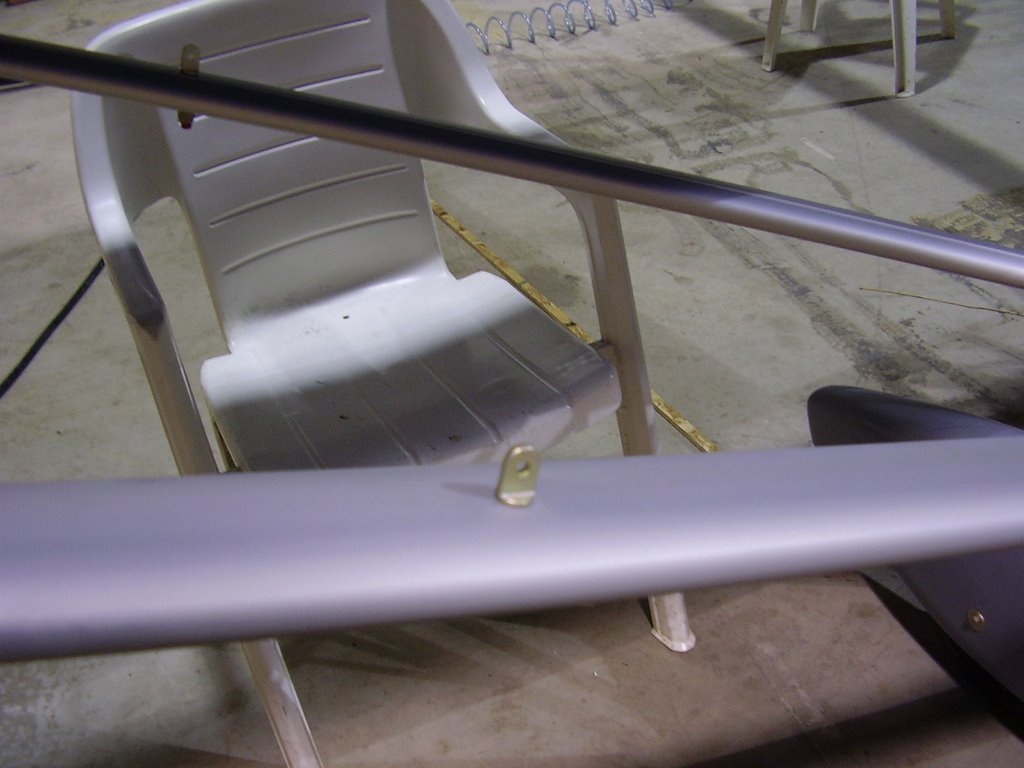
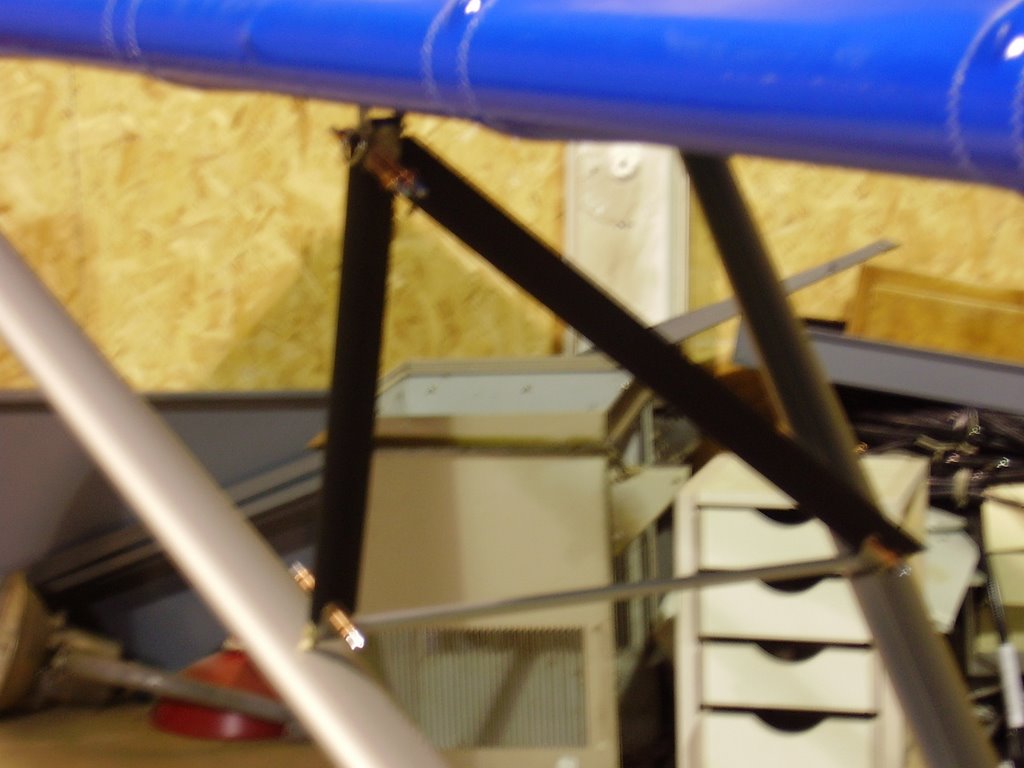
Over the course of three days, I assembled my Jury Struts and Jury Strut Fairings. This was a tedious and time consuming process. The main reason for this was the fairings needed to added prior to riveting the Jury Struts completely together.
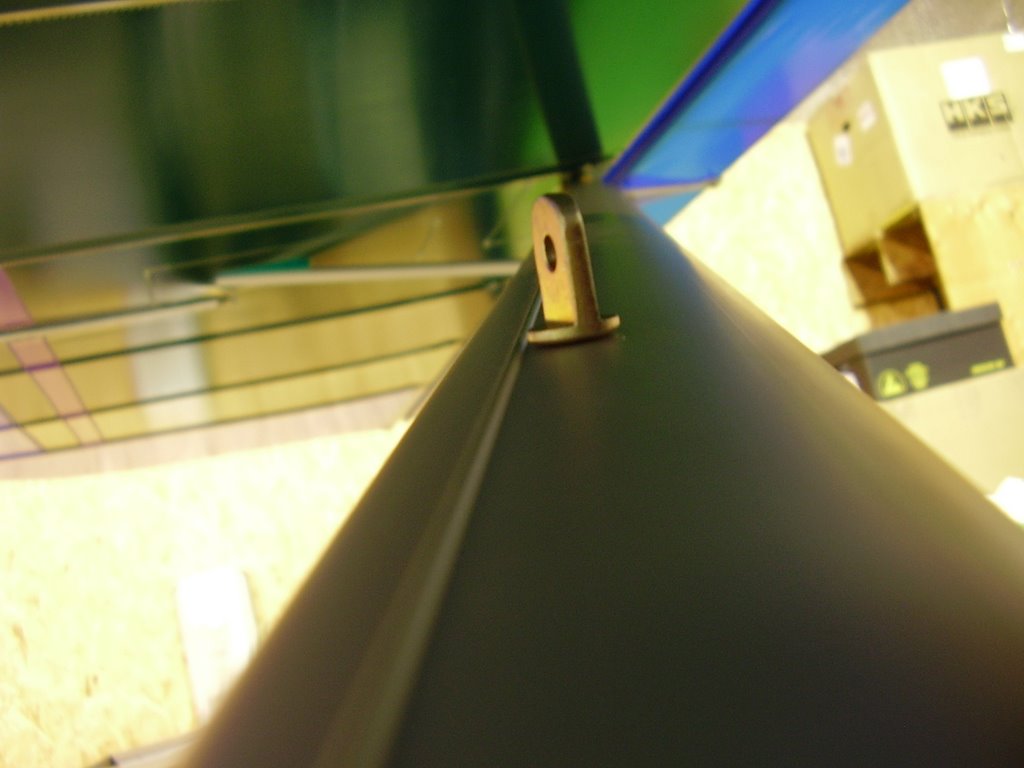
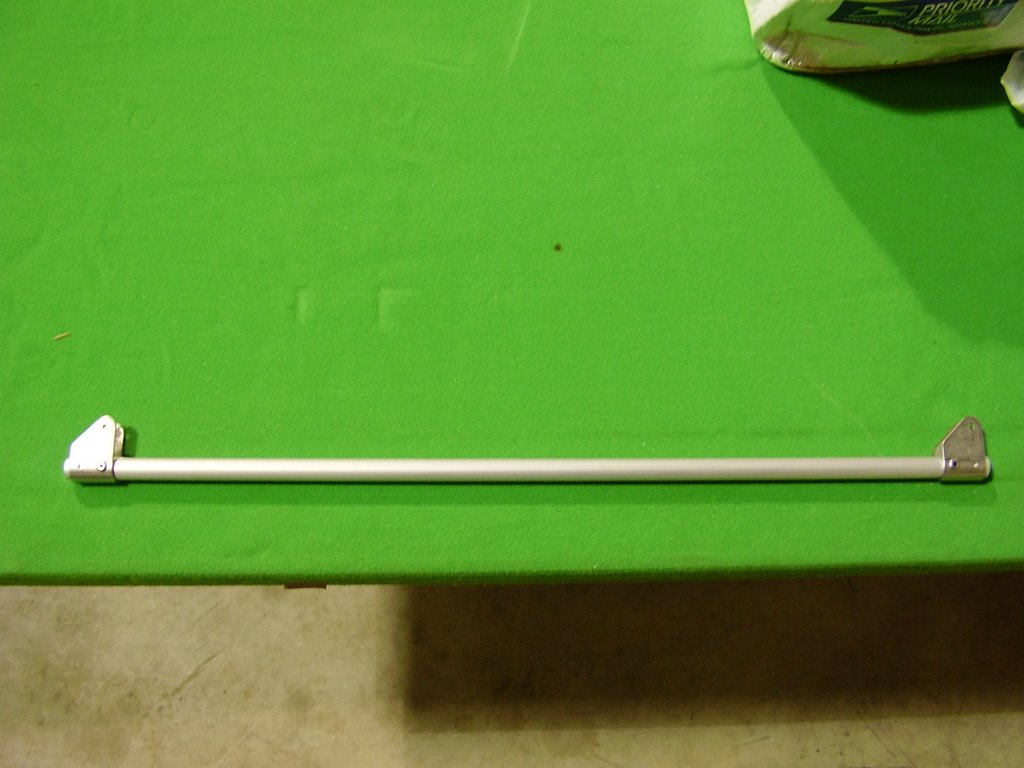
I started out by drilling the holes in the Lift Struts for the eyebolts. Once the eyebolts were installed I cut the bottom portion of the Jury Strut to match the distance between the eyebolts on the Forward Lift Strut and Rear Lift Strut. I cut the aluminum tubing slightly long so it would be slightly compressed when installed. The lengths varied by ~1/16" between the left wing's Jury Strut and the Right wing's.
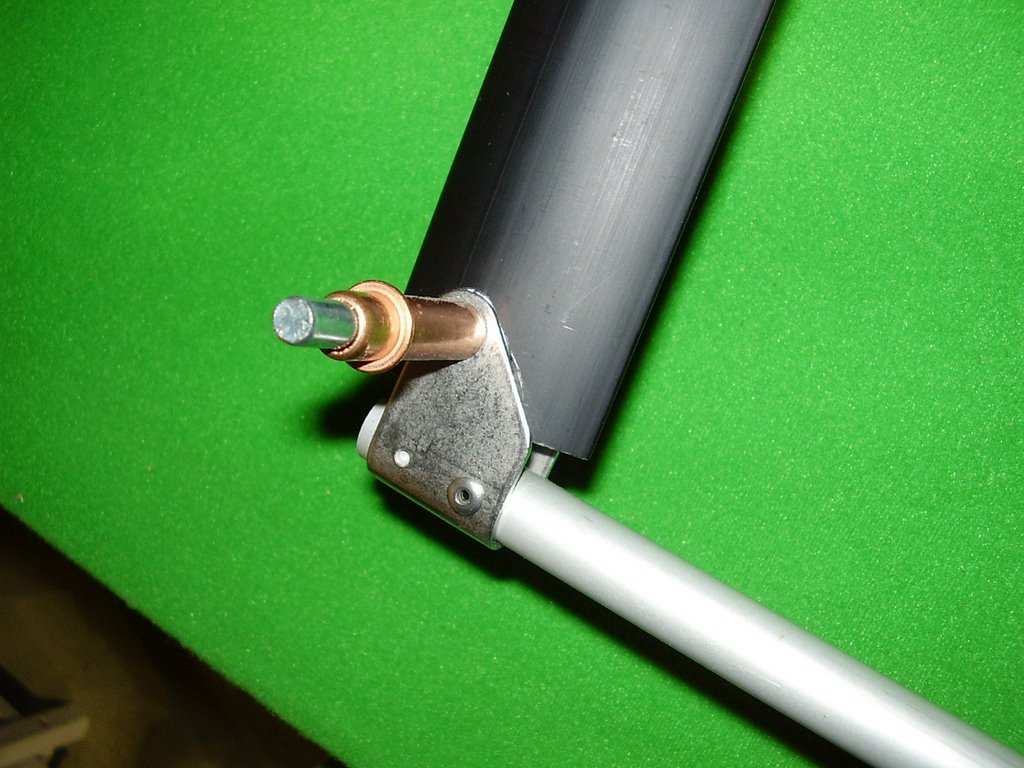
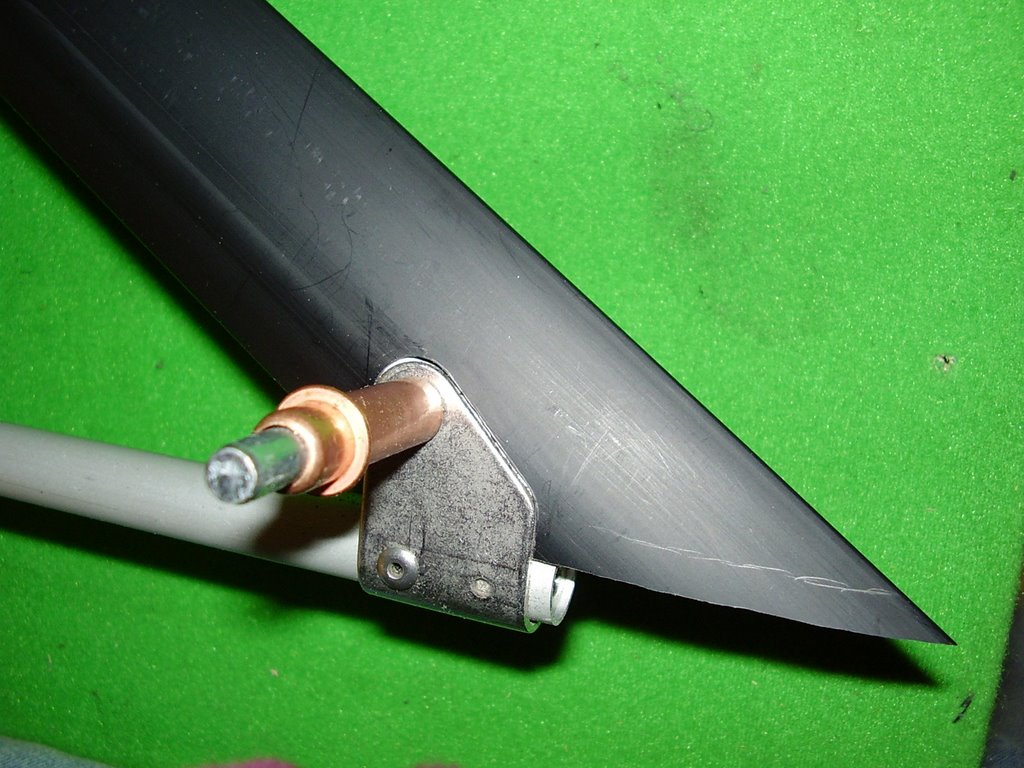
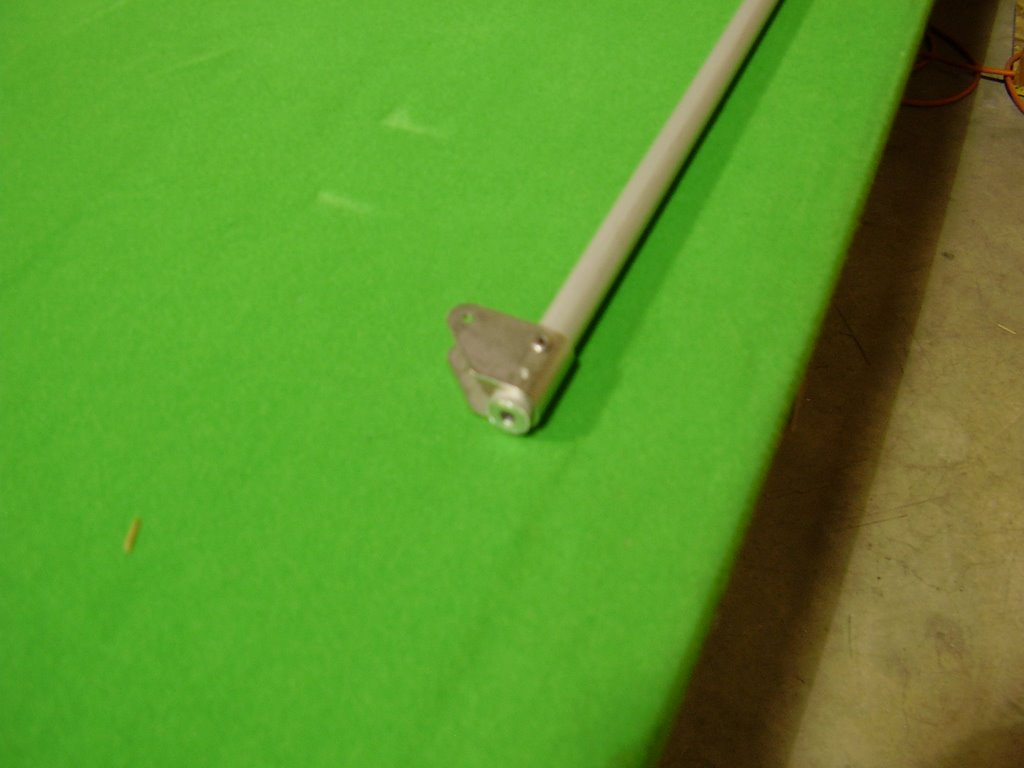
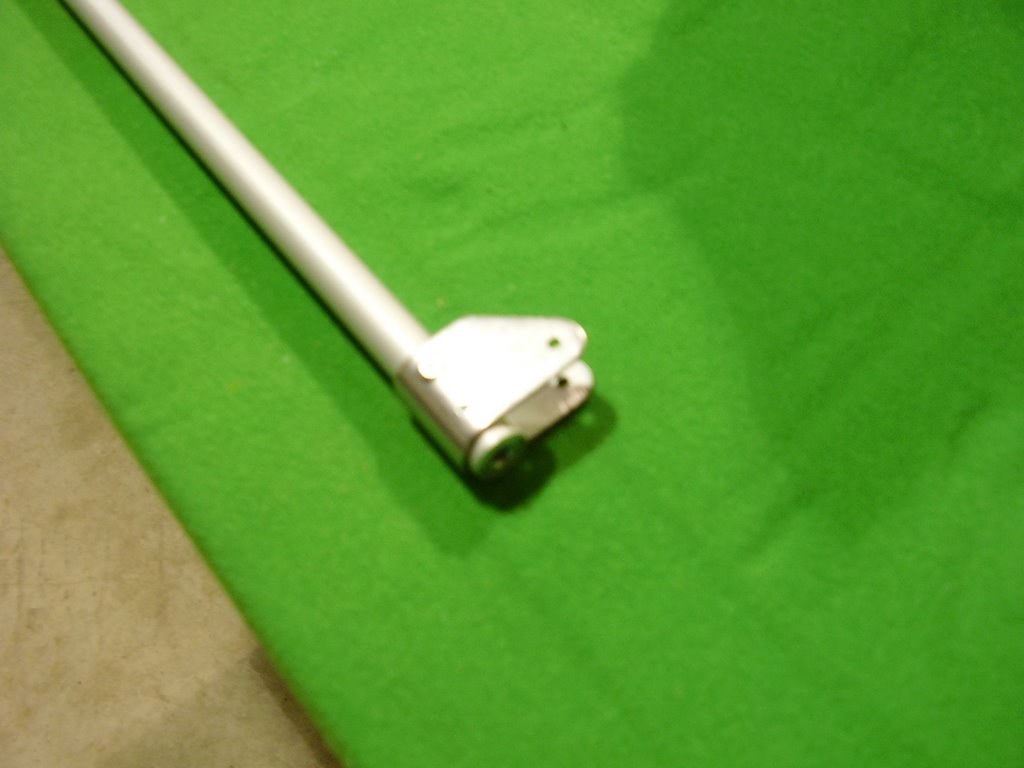
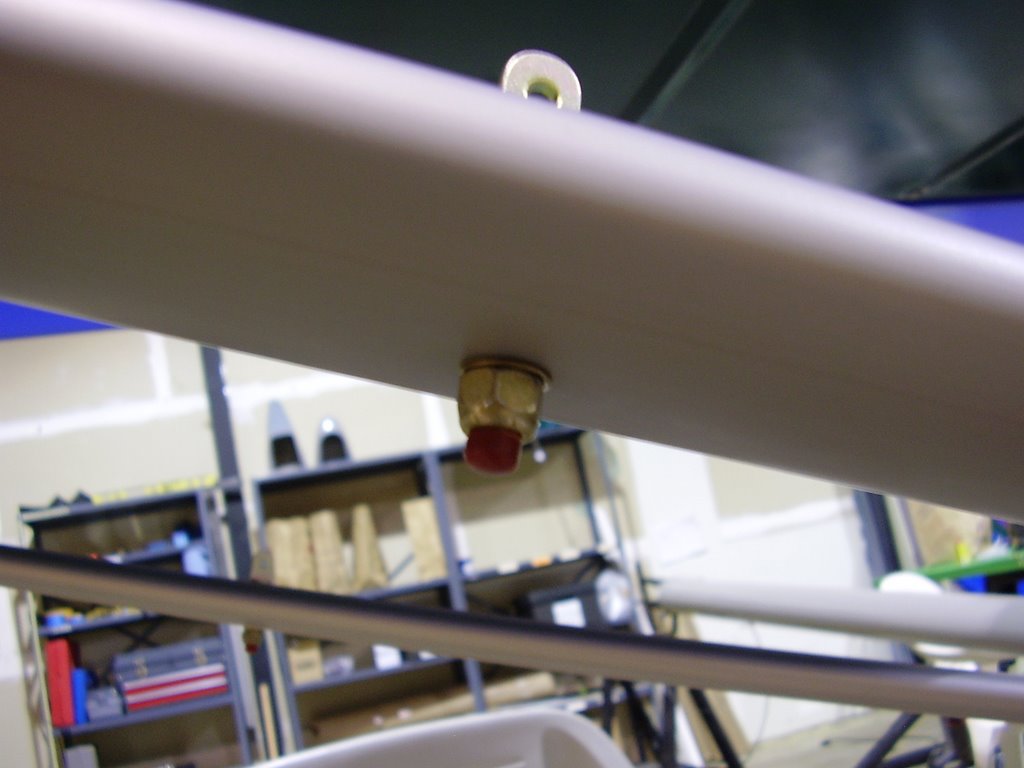
I then inserted the drilled out aluminum bushings into the rod ends. To give them a snug fit, I only inserted them part way before using the punch to dimple the tubing. I them pressed the bushings all the way in.
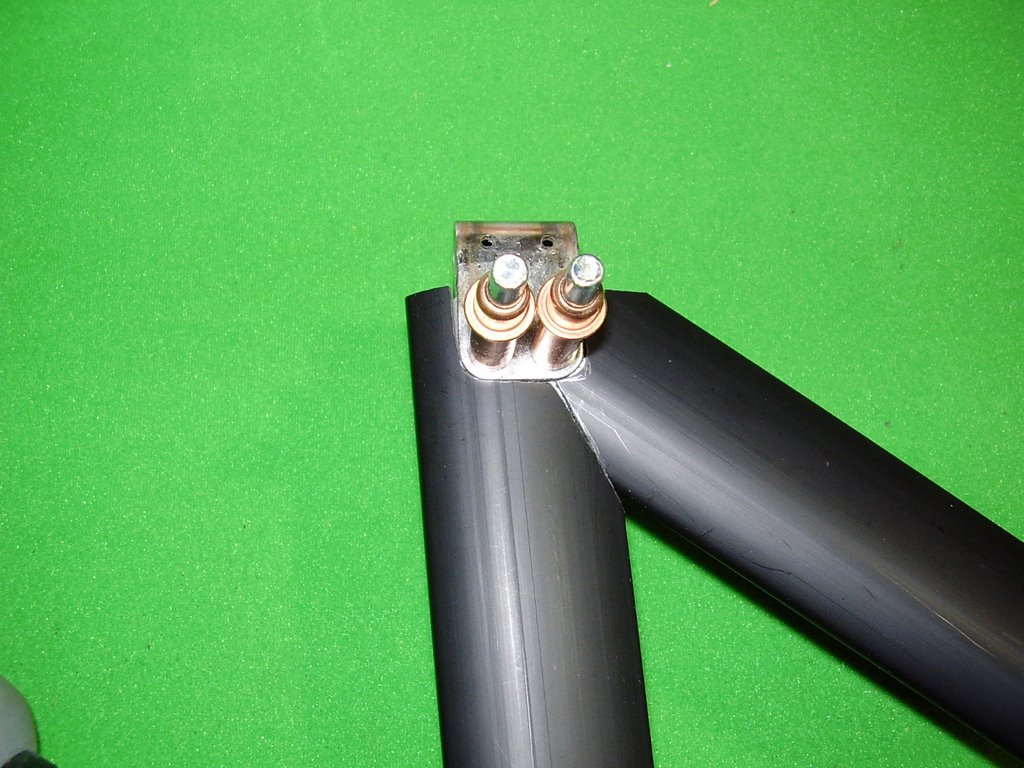
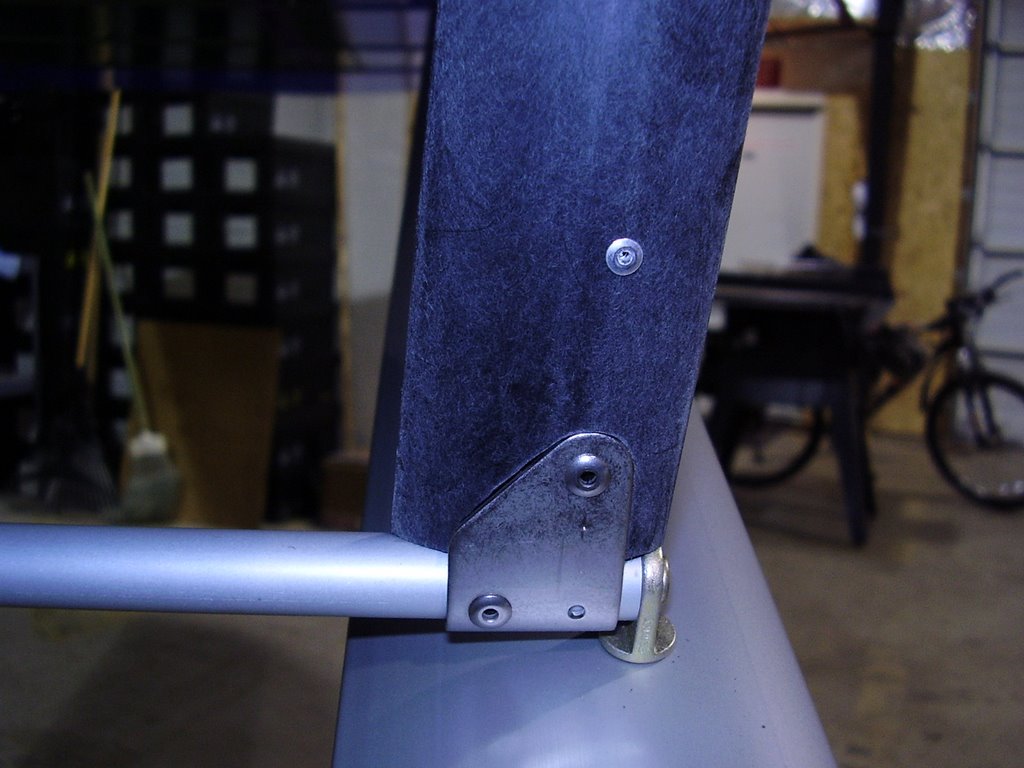
I then drilled and riveted the stainless steel hardware to the bottom Jury Strut pieces. I placed the parts on a hard flat surface to insure that the pieces were lined up during this process.
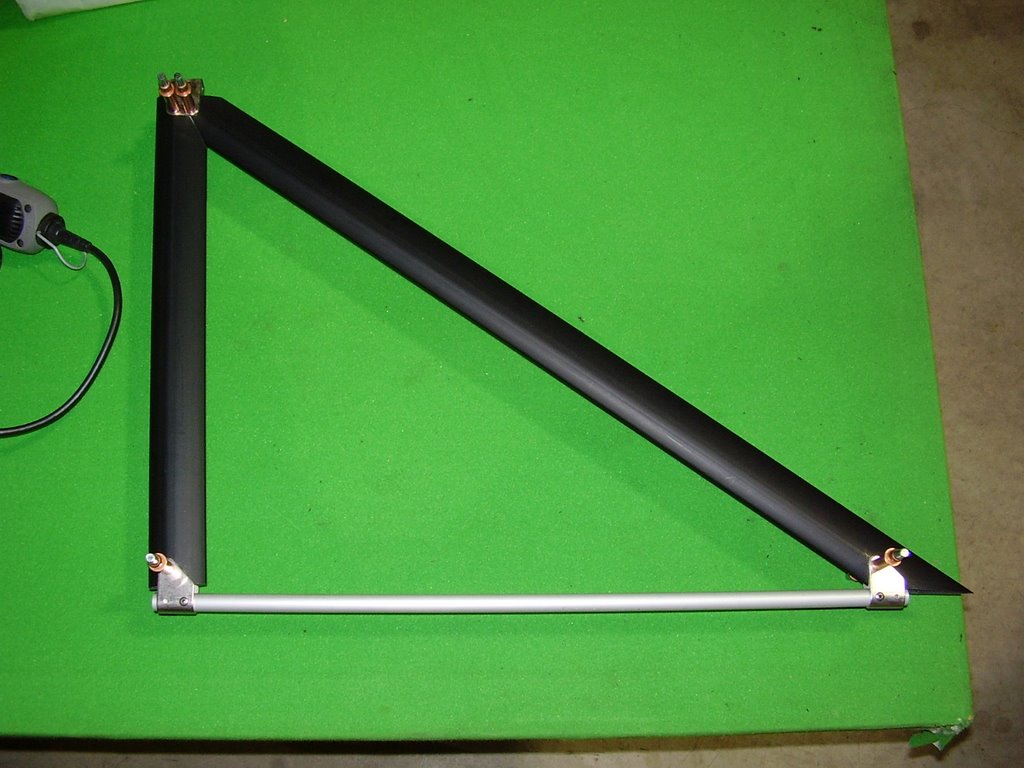
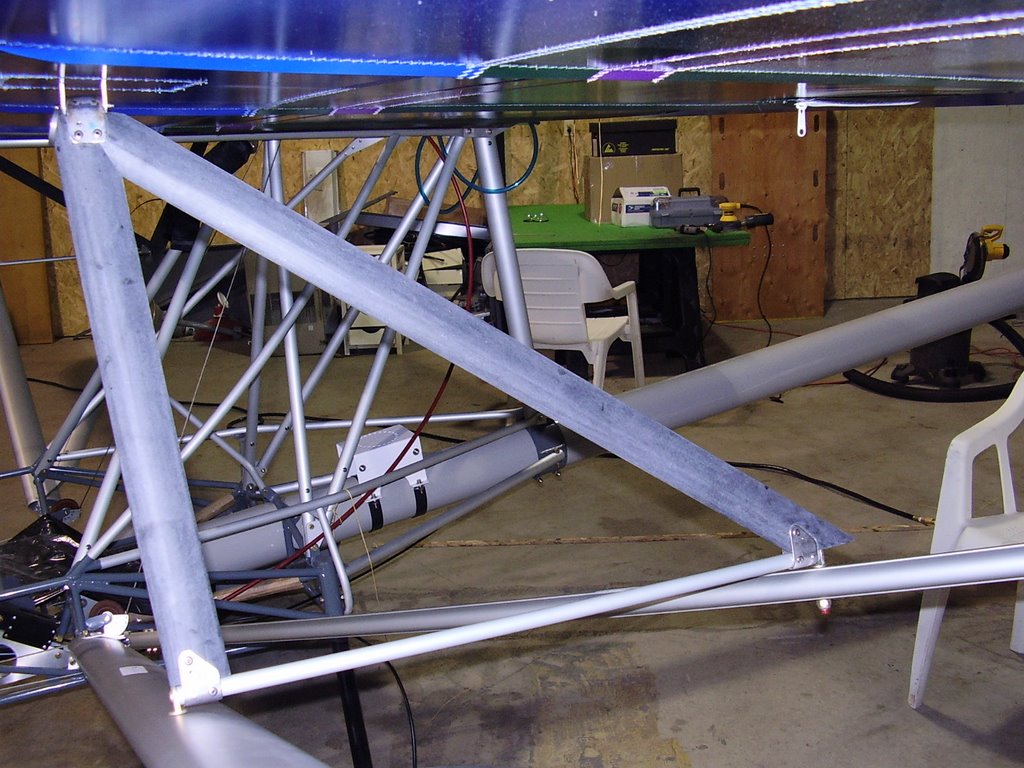
Once the bottom pieces were complete I cut and assembled the other two sides of the Jury strut. I relied on measurements instead of the lengths suggested in the manual. I used a pen to mark a straight line down the length of the tubing to use as a reference to insure the pieces were drilled and assembled without any twists. At this point I used Clecos to assemble to pieces together. Rans only provided 12 clecos with the kit so I was only able to have one assembled at a time.
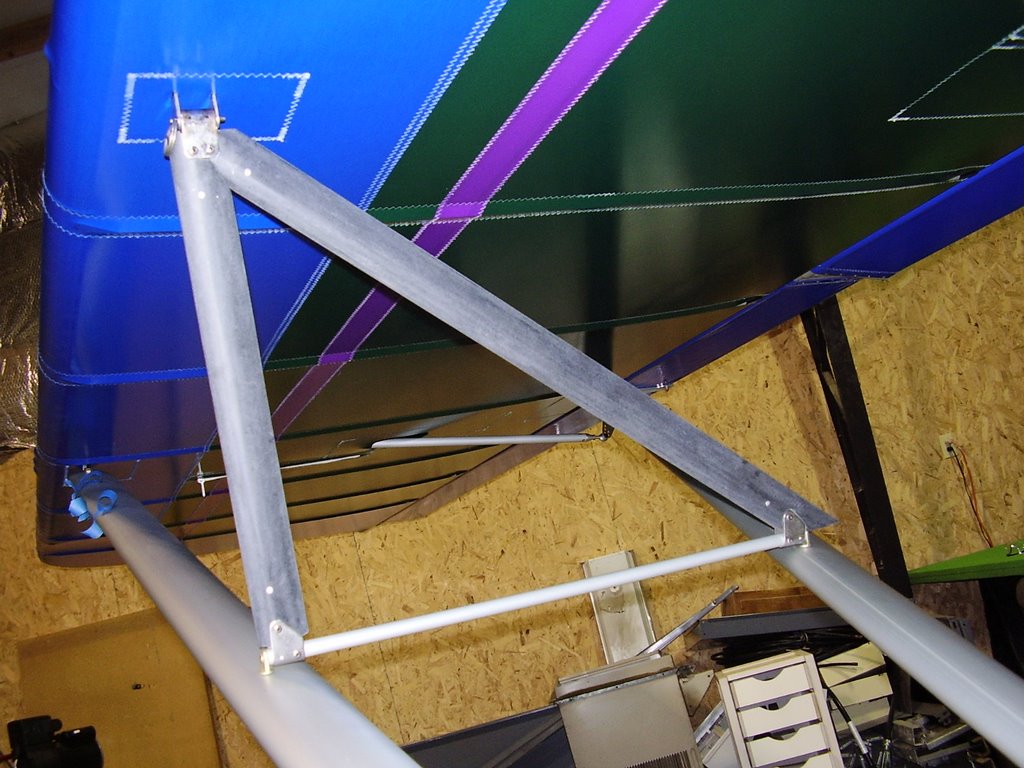
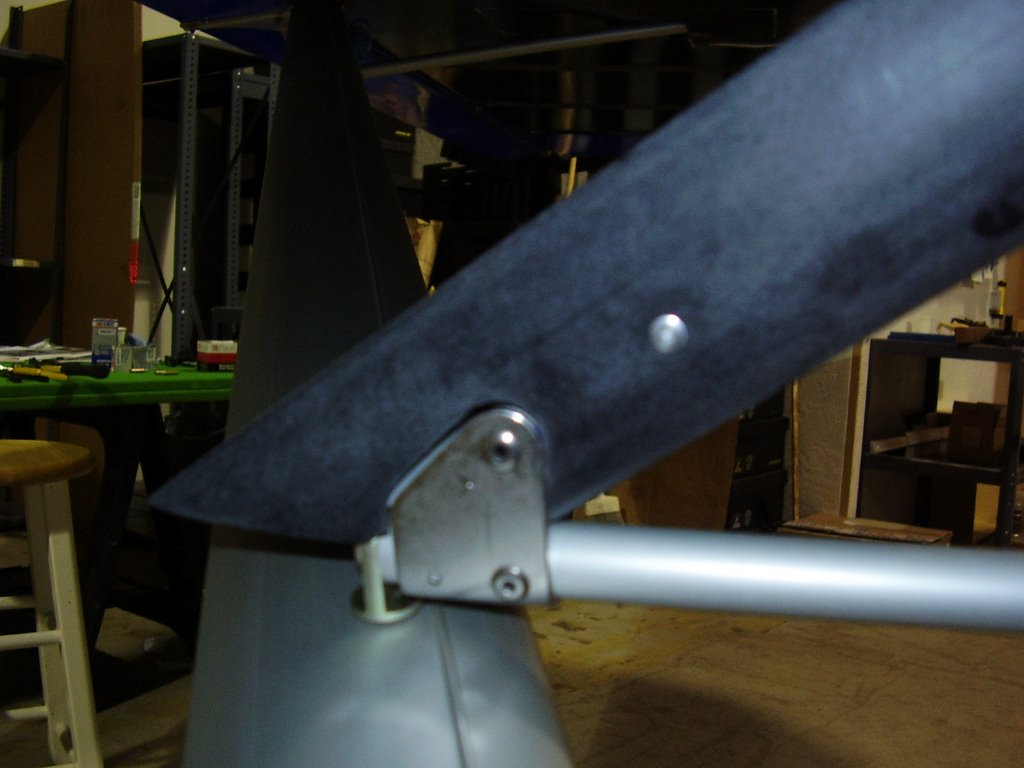
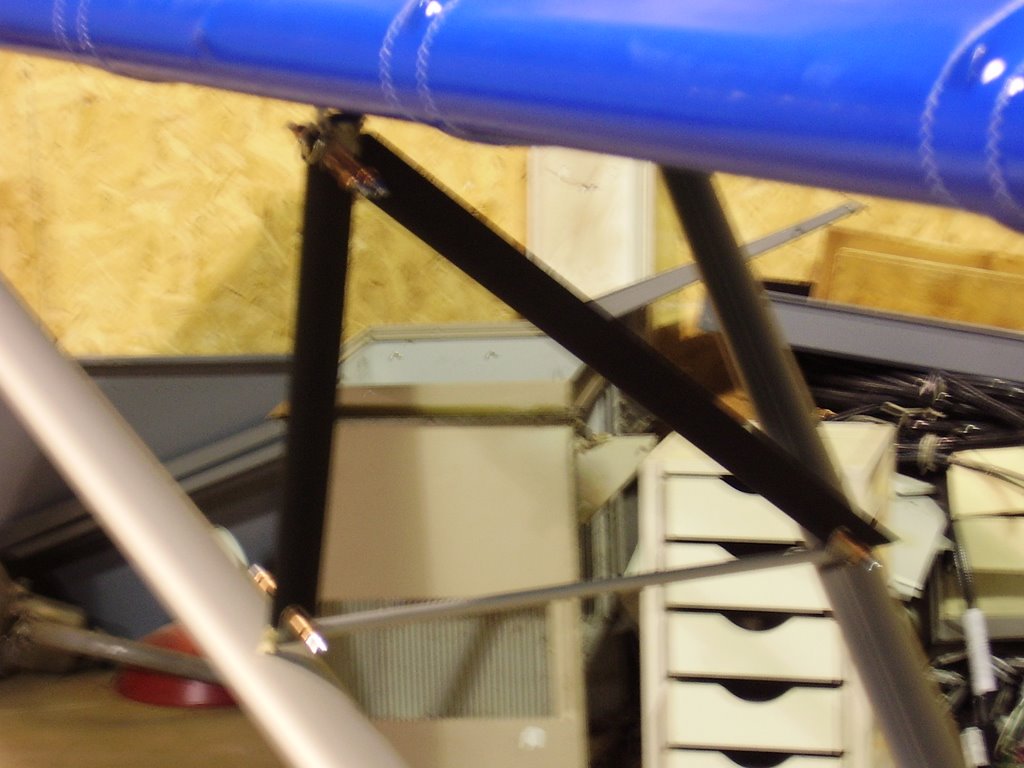
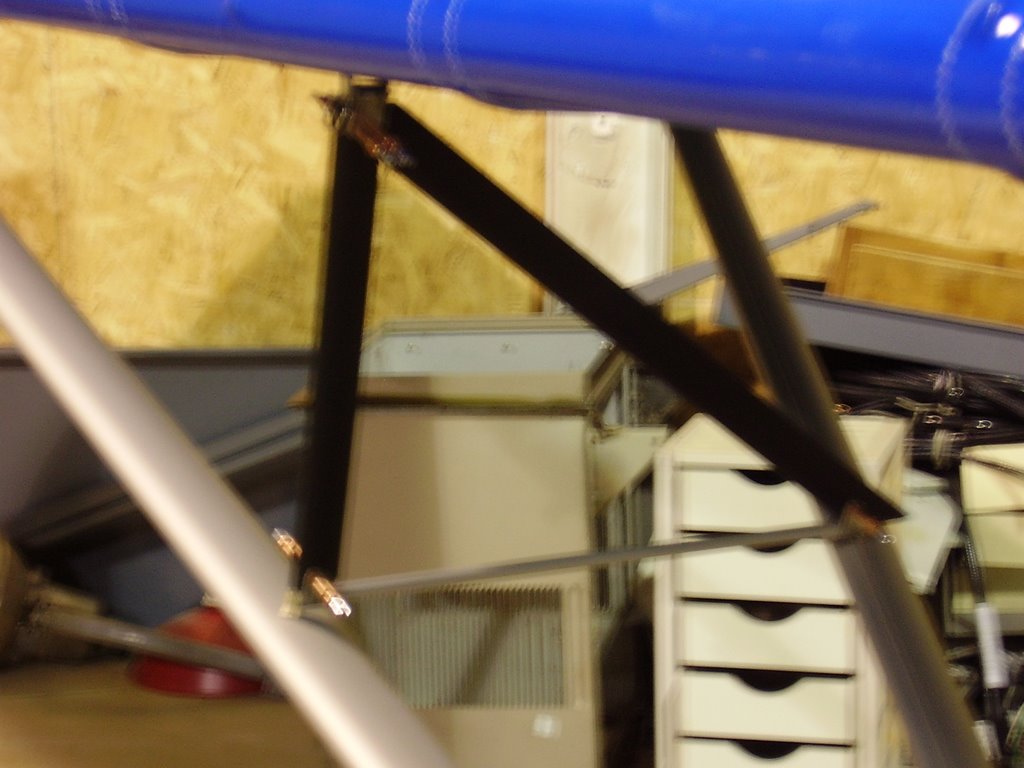
Once I had the Jury Struts assembled (with clecos) and verified they fit onto to wing, I started working on the fairings. I used my Dremel tool to carve away at the plastic fairing material to insure a tight fit. This was a time consuming process since I needed to assemble and disassemble the Jury Strut each time I would test fit the fairing.
Since I wanted to wait until the very end before I drilled the extra holes in the stainless steel hardware that Rans called out to reinforce some of the connections, the top hardware had the tendency to twist or rotate. This hardware connects to the wing with a clevis pin so it's alignment is crucial. To insure proper alignment, I marked both the tubing and hardware while they were installed onto the wing. That way when I was working on the fairings, I could rotate the hardware back to the correct position if it was inadvertently twisted.
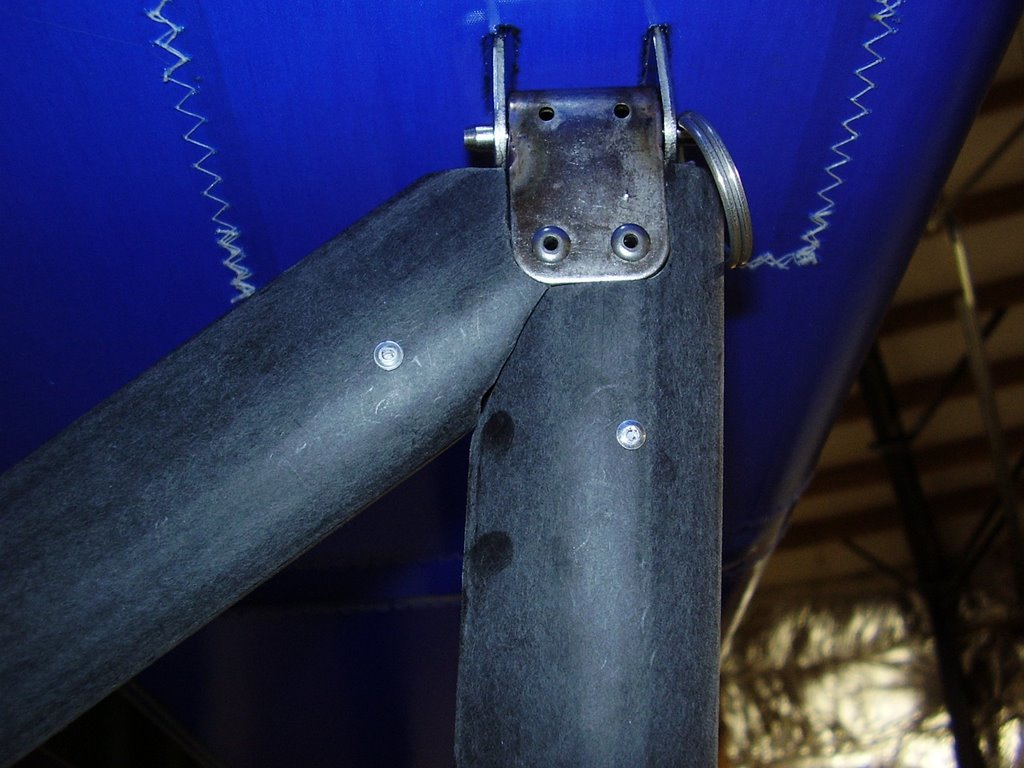
Once I was happy with the Jury struts and fairings, I took them apart, cleaned up the edges and marking and sanded the plastic fairing material so it would accept the paint easier. I then riveted the pieces together and performed one last trial fit. I then drilled holes in the stainless steel hardware and tubing for the extra rivets. I also installed the aluminum rivets into the fairings to prevent them from twisting.
I did not drill out the hole in the Drilled Aluminum Bushings for the cotter pin. I have heard that this attachment method is prone to failure due the the wing vibration wearing through the cotter pin. I will look to see if I can find another attachment method that can handle the vibration better.
