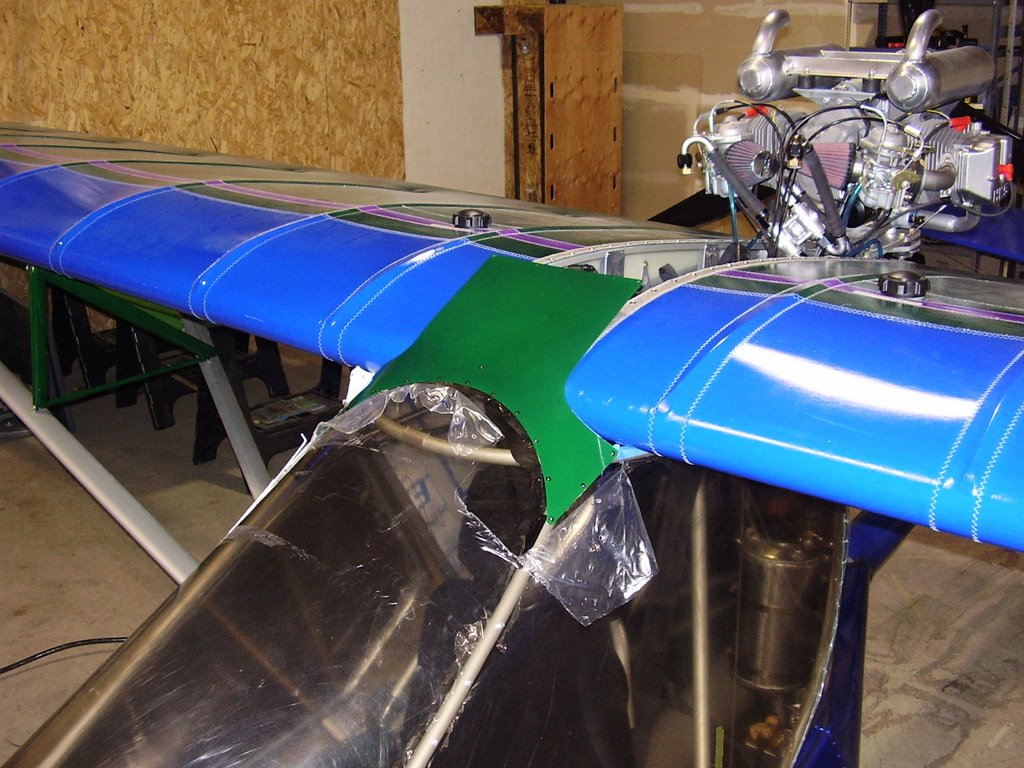
Today I attached the center cover to the plane.
I started off and spent a quite a bit of time positioning the center cover over the wings. I initially had a friend help me with the positioning because I thought it would be too difficult to do on my own. It turned out to be pretty easy to position myself with the help of some masking tape.
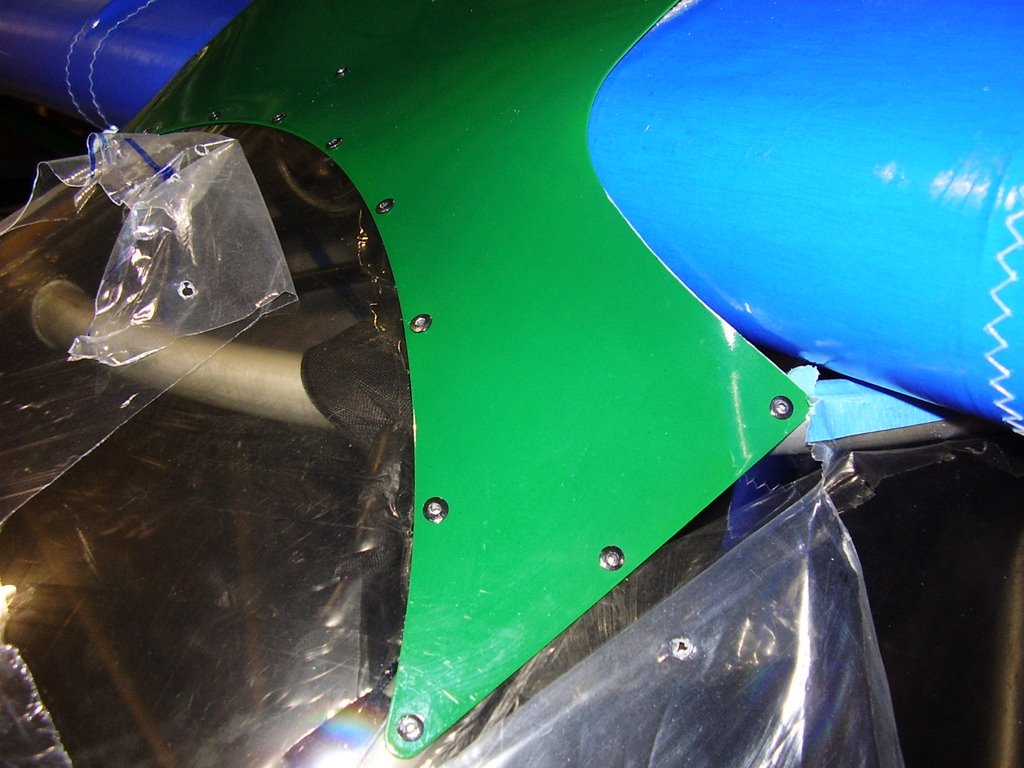
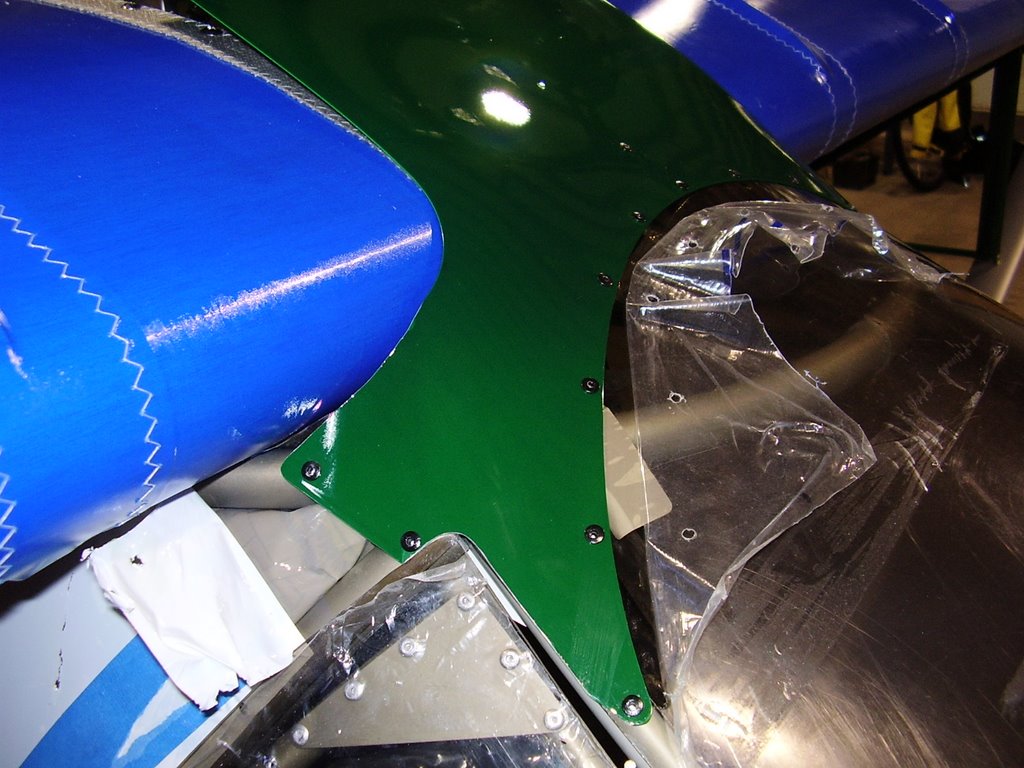
While positioning, I slipped on the rubber trim that protects the wing fabric from the edge of the metal center cover. The trim is not in any of the photos below. I used my Dremel tool to trim the metal cover to give me a snug fit between the rubber trim and the leading edge of the wing. I also trimmed a notch in the right side to allow the door to clear.
Once I was happy with the location and fit of the center cover, I started drilling and cleco'ing it into place. I removed the rubber trim at this time to allow me to get a snug fit against the wind shield Lexan.
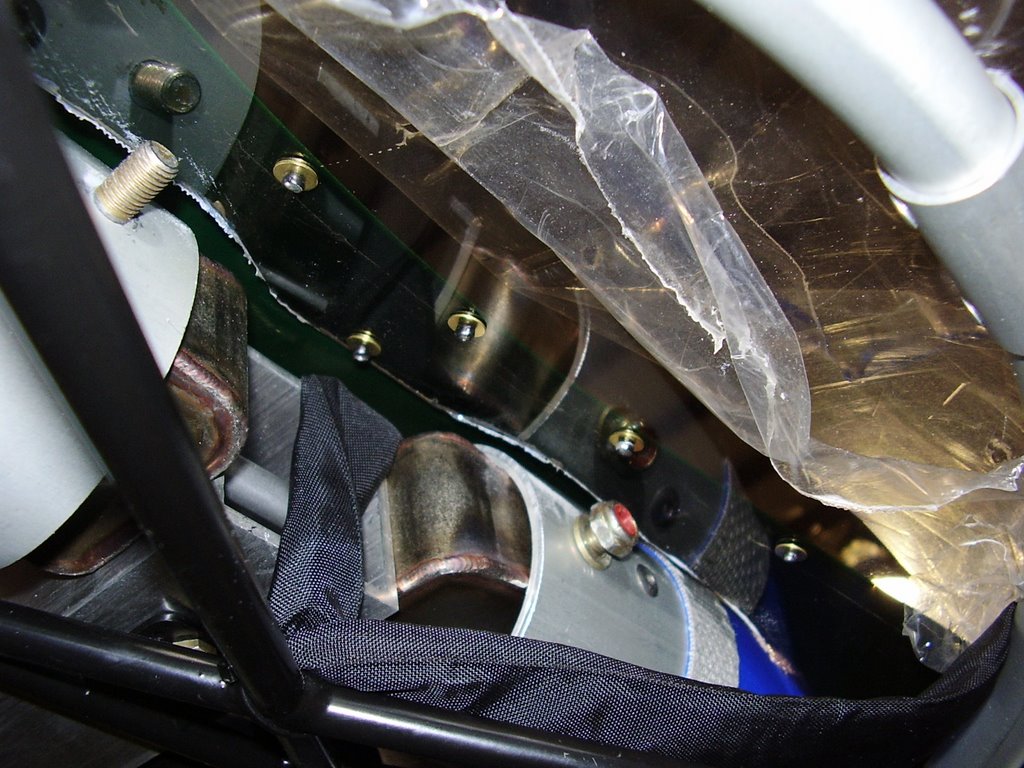
The next step was to rivet the center cover into place. Where the center cover was only riveted into the Lexan, I used brass backing washers. I used the technique I described in the wind shield installation post of using the primer line to hold the washers in place while I pulled the rivets.
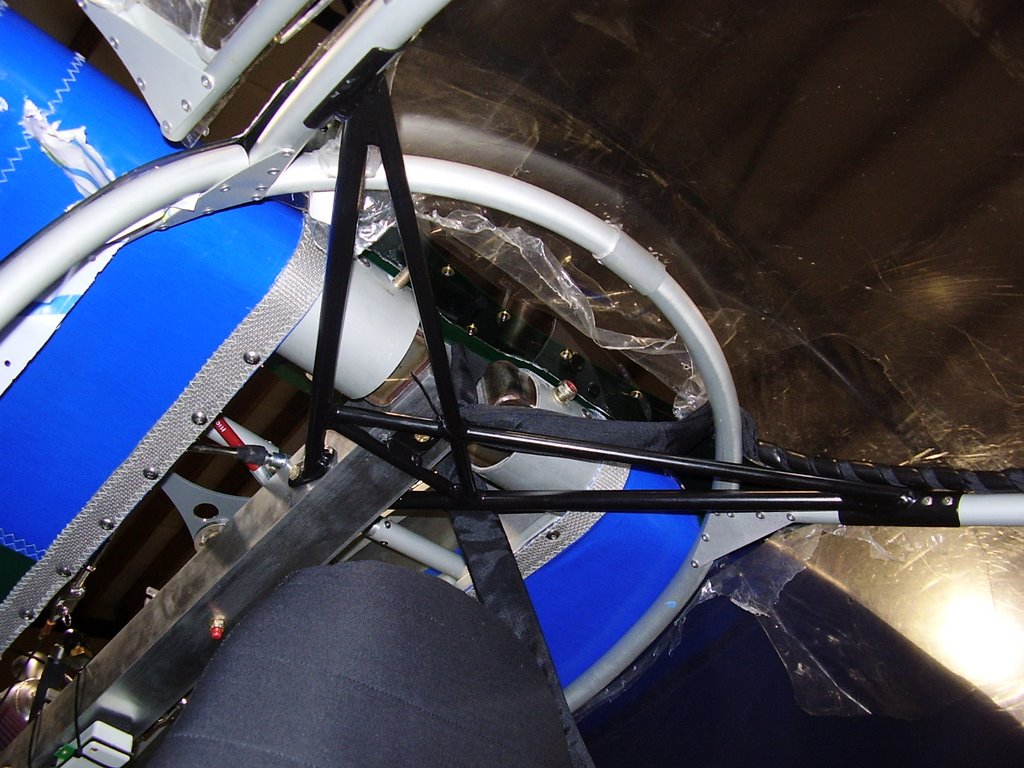
Below are some photos of the installed center cover.