Earlier this week I received my exhaust from Earthstar. Below are some pictures and details of its installation.
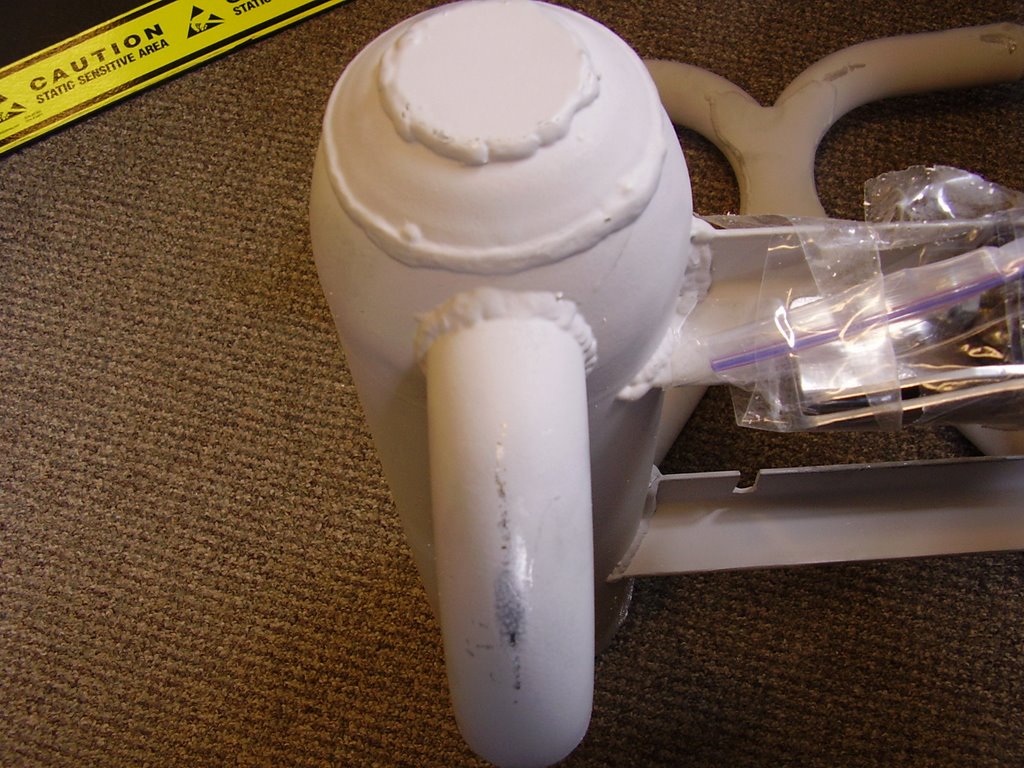
I purchased an exhaust from Earthstar that was already ceramic coated. Unfortunately, no finishing was done after the coating was applied.
I would have been happy with the light gray coloring and powdery texture but the exhaust had several polished spots on it. During shipping, portions of the exhaust that were in contact with the cardboard box or styrofoam polished themselves due to the vibrations.
Another problem with the unpolished ceramic coating is that it picks up dirt very easily. There were hand prints on the exhaust left by the Earthstar people.
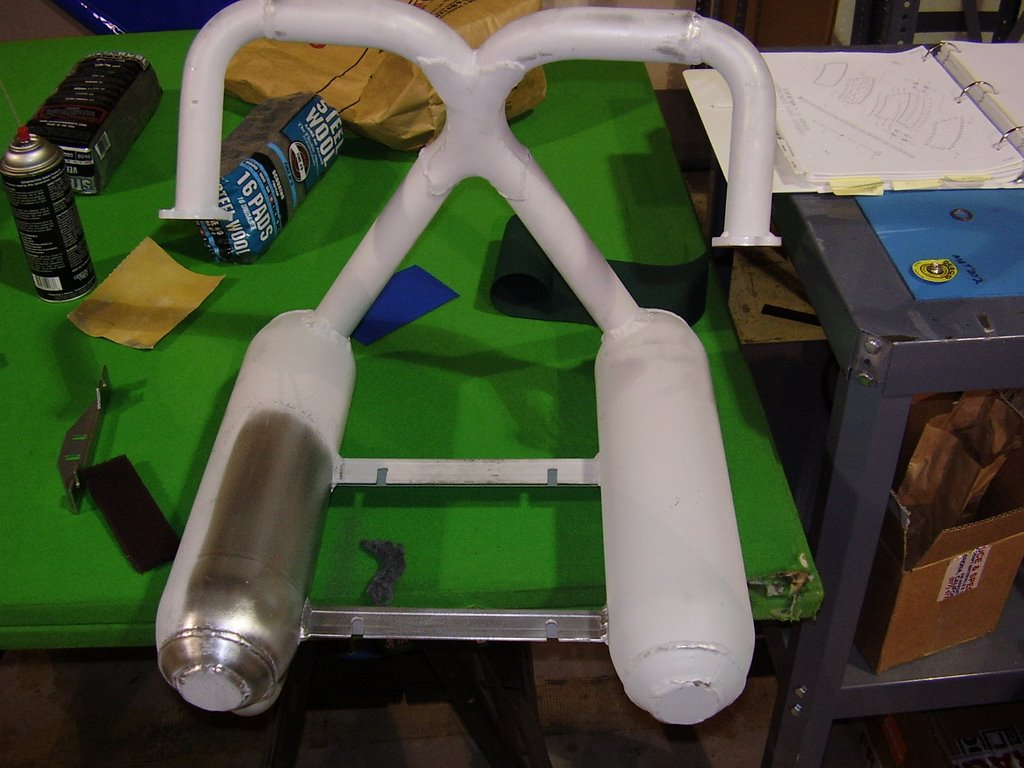
After consulting with Earthstar and Finish Line Coatings, a company in Portland, OR that does ceramic coatings, I started polishing the exhaust with some steel wool. This was surprisingly easy to do.
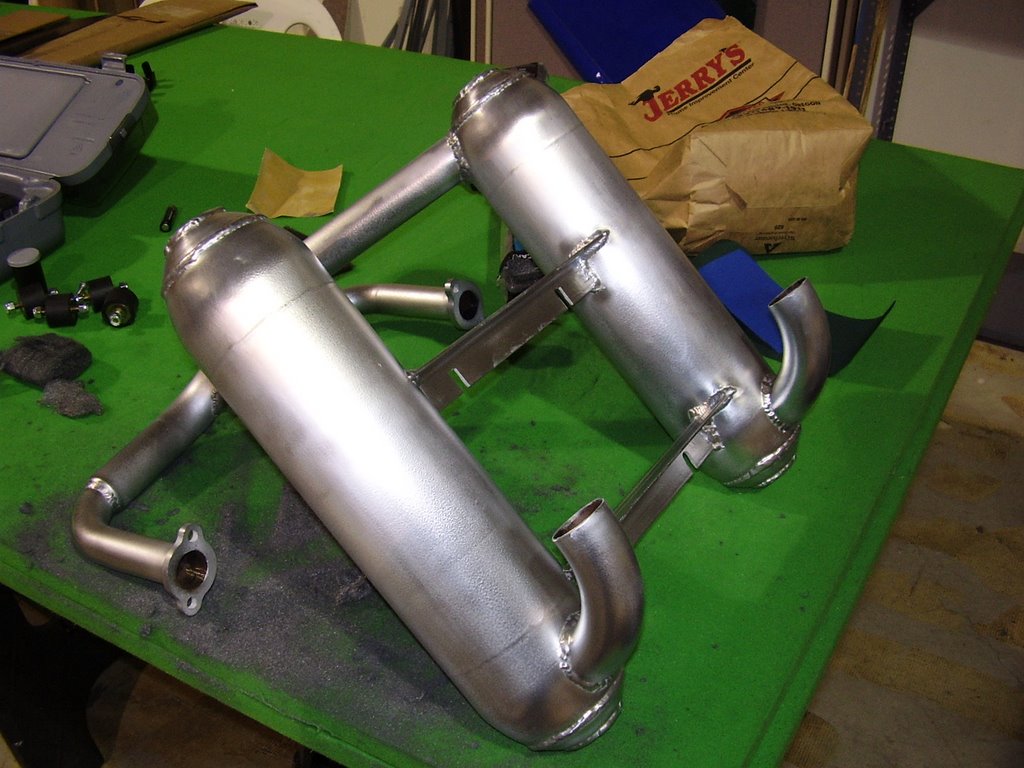
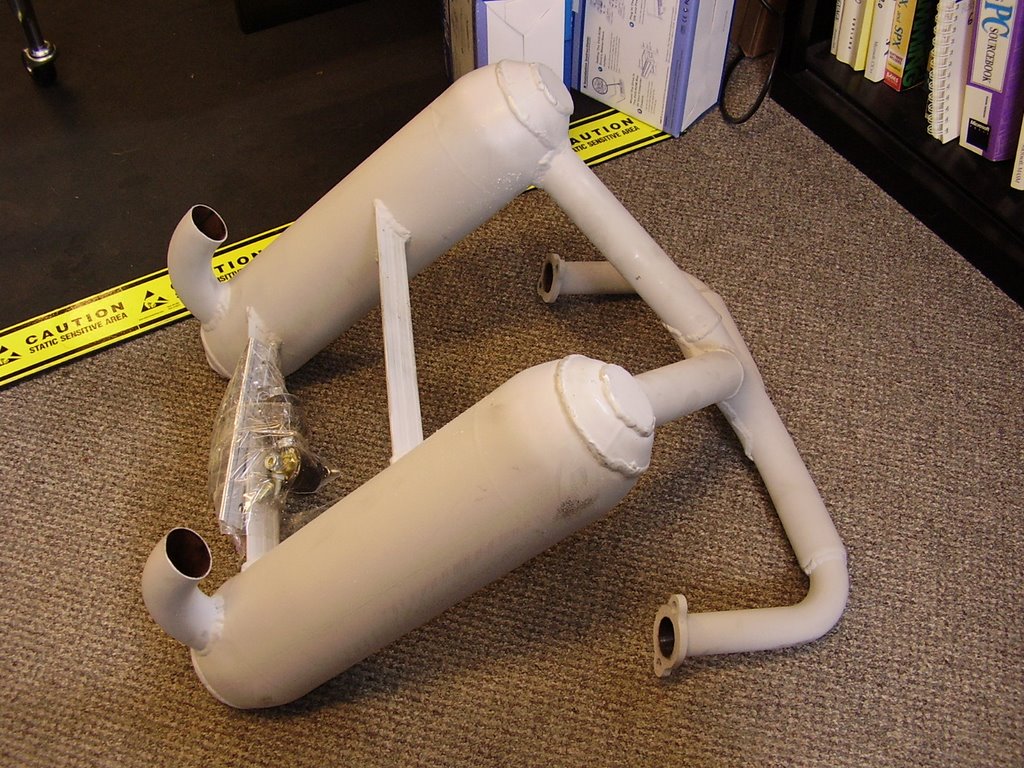
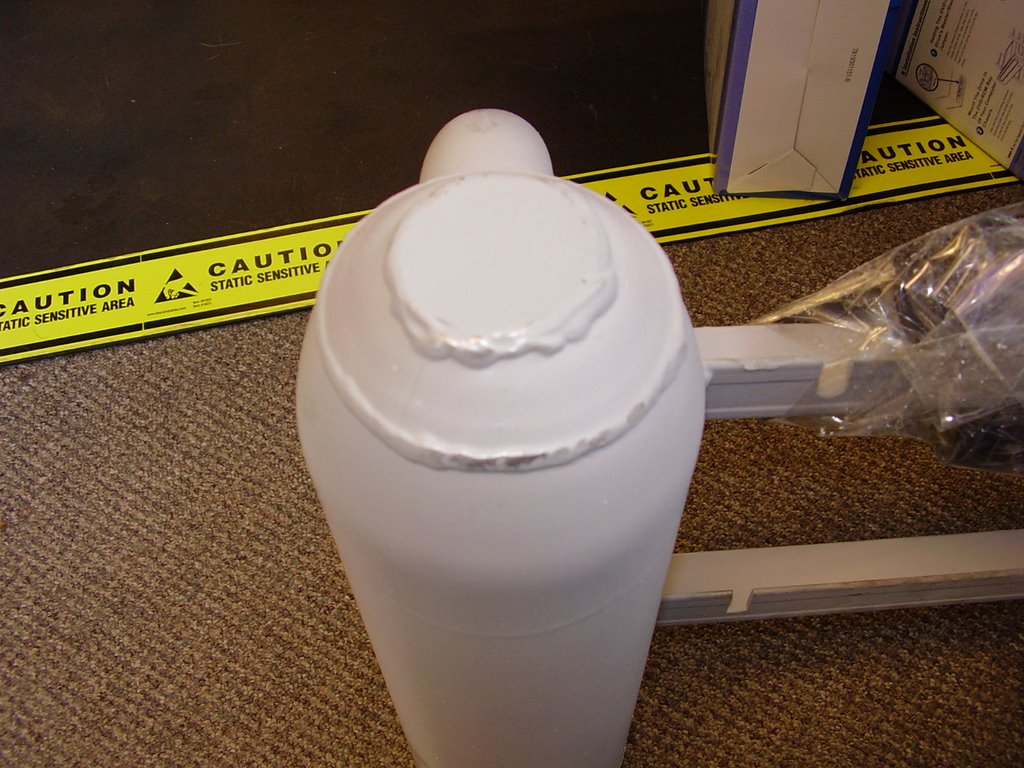
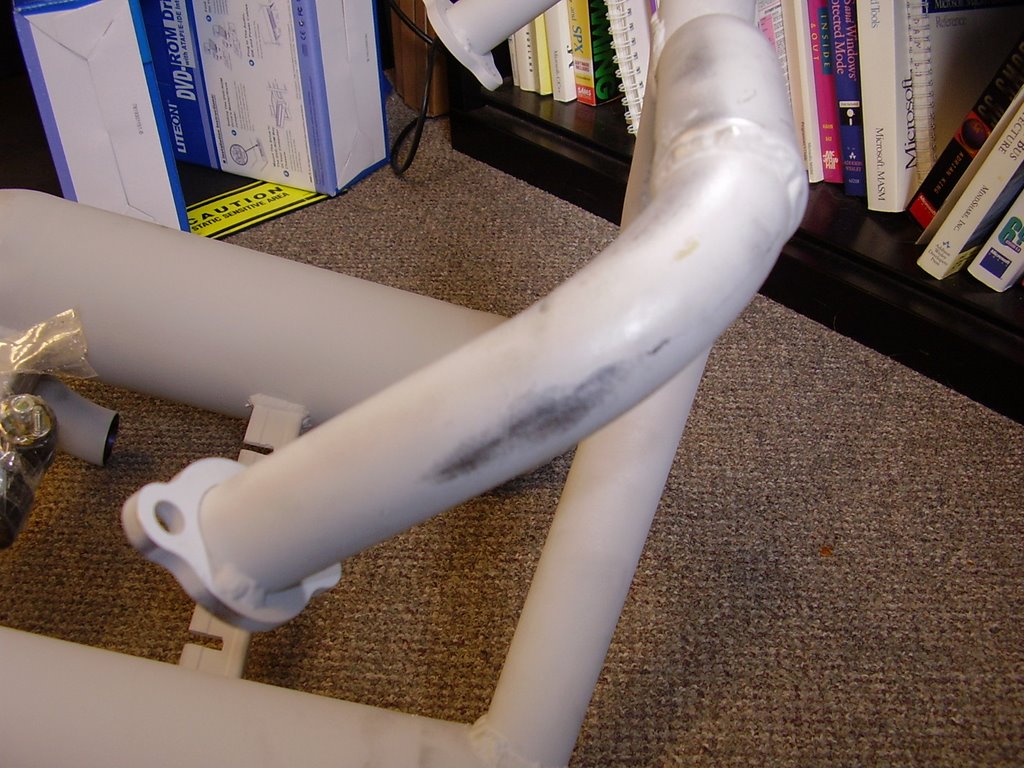
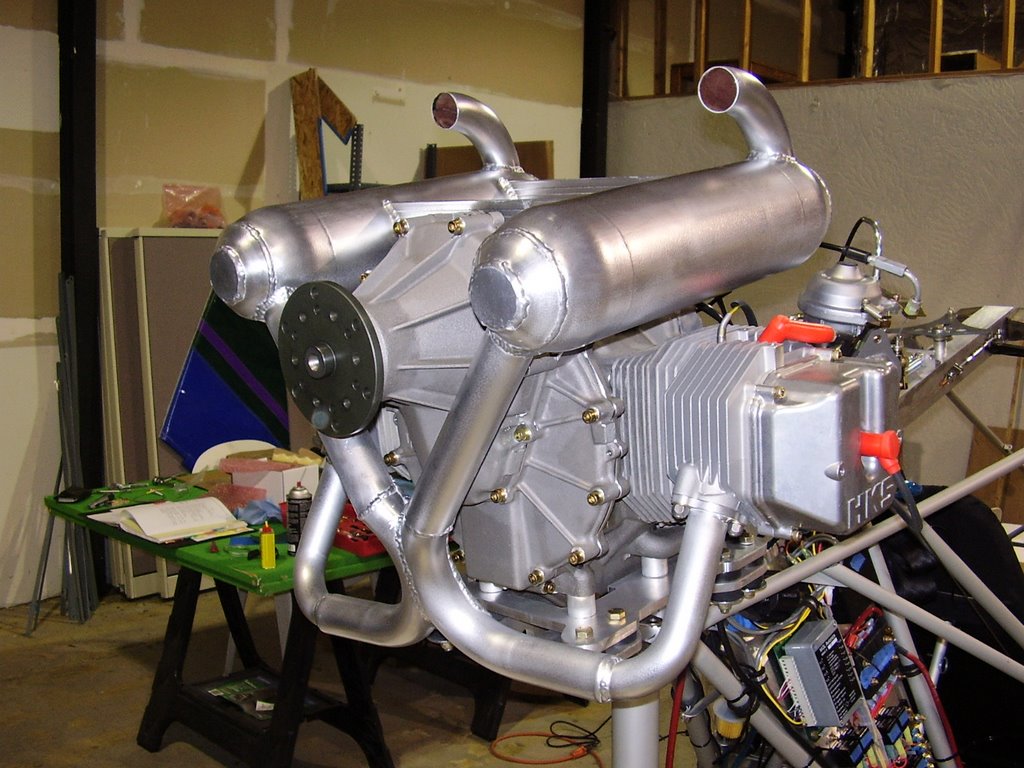
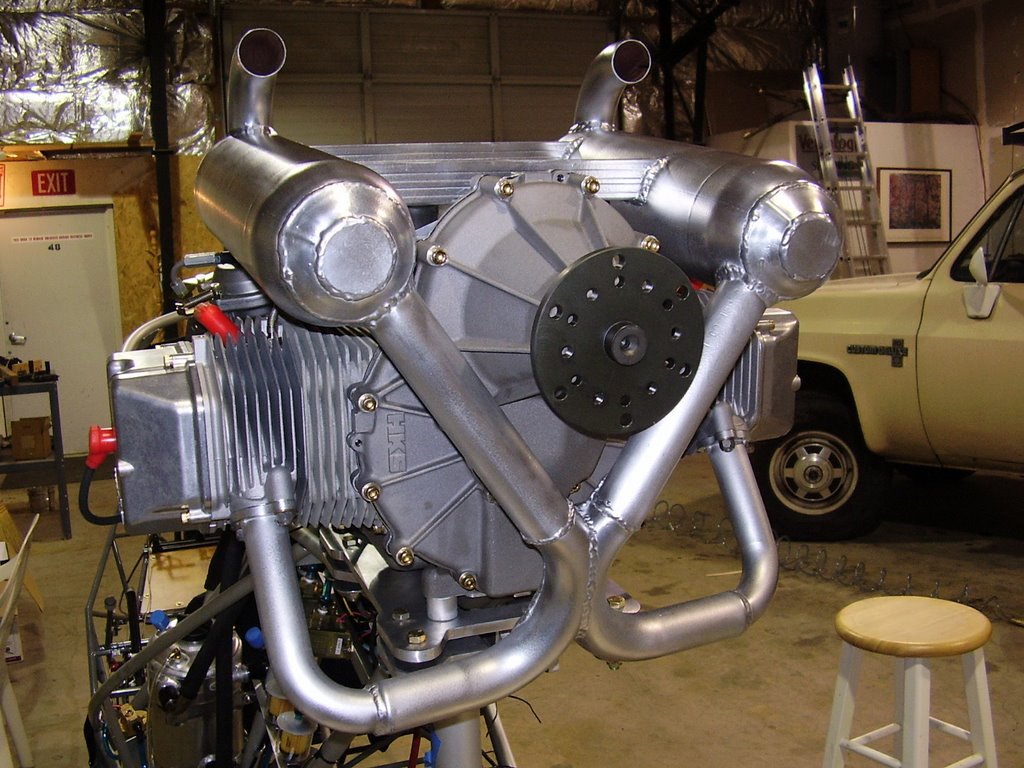
Here is a picture of the fully polished exhaust. It took me about three and a half hours to polish the entire exhaust.
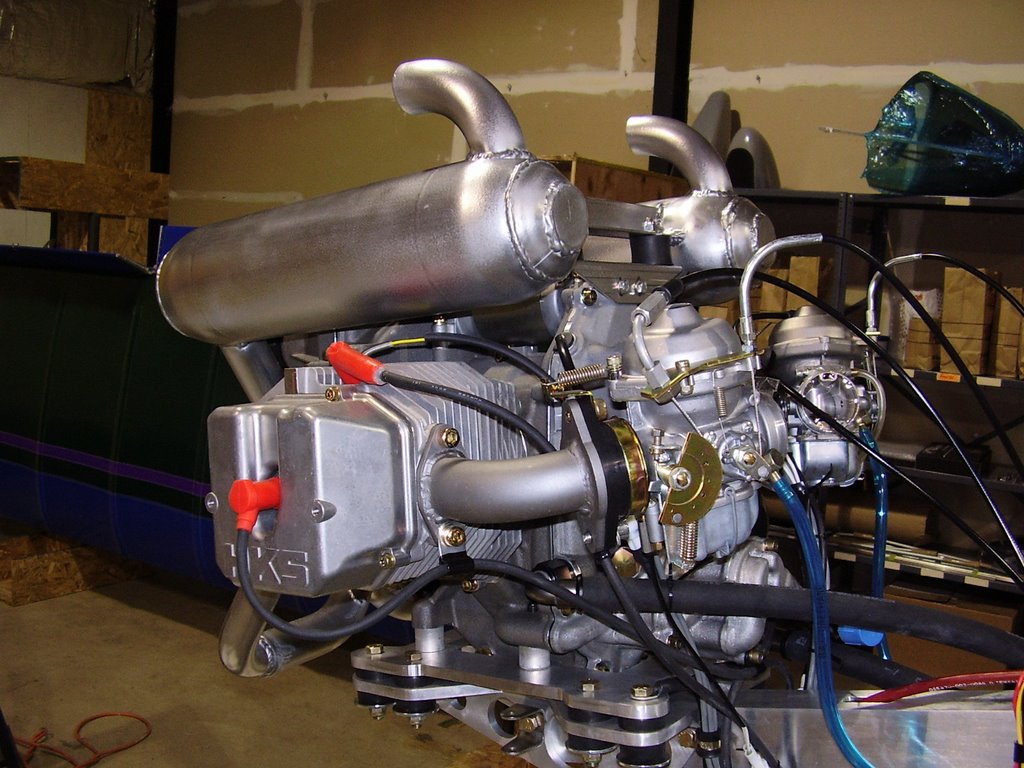
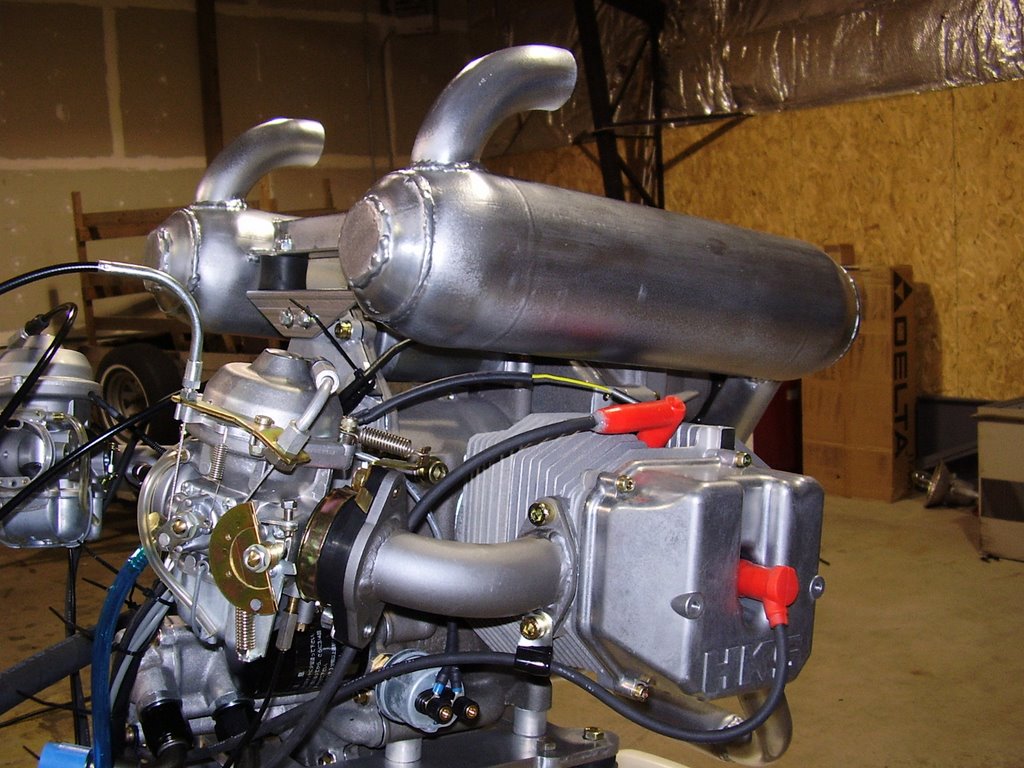
Here are some pictures of the installed exhaust.
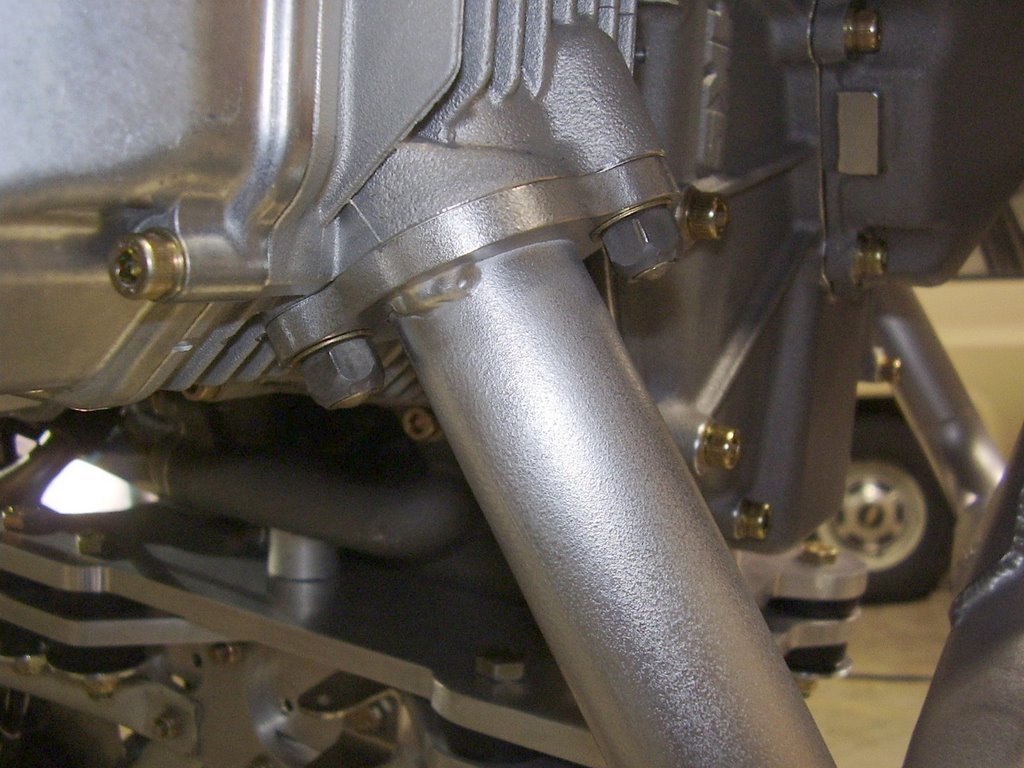
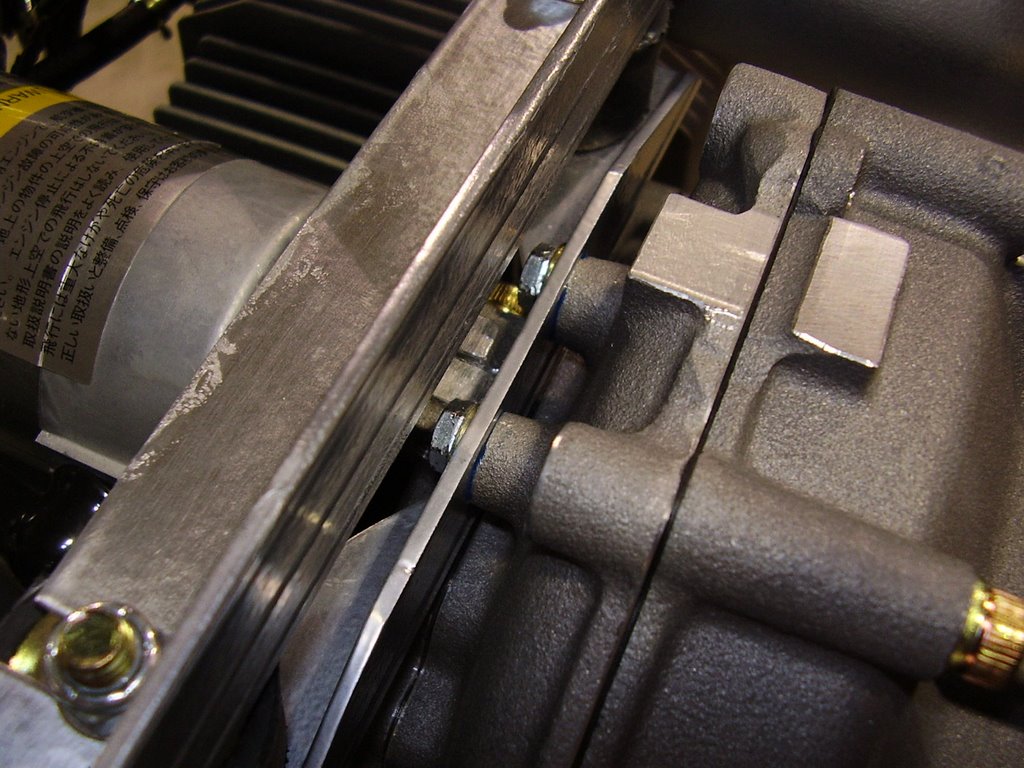
To mount the exhaust, I bolted the exhaust to the exhaust ports first. I used some AN washers and supplied gasket. The nuts seem to be self locking (triangular threads) so I didn't use any locktite. Prior to bolting it to the engine, I did drill the holes for the EGT sensors while the exhaust was on the bench.
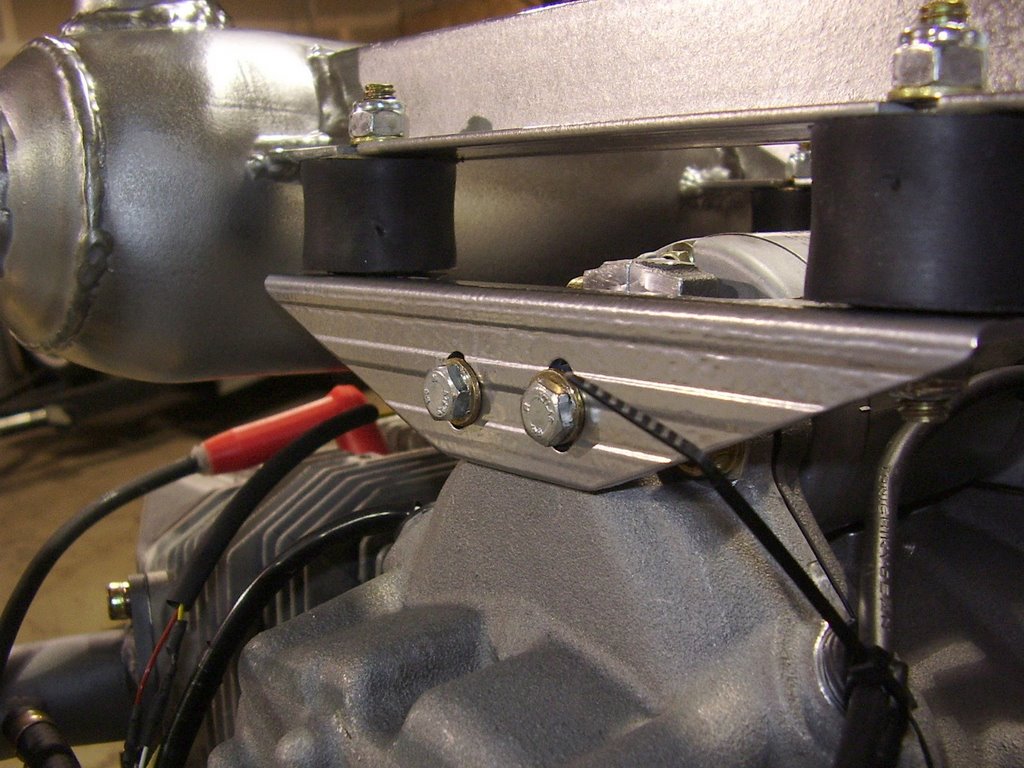
I then loosely bolted the bracket (pictured above) to the engine.
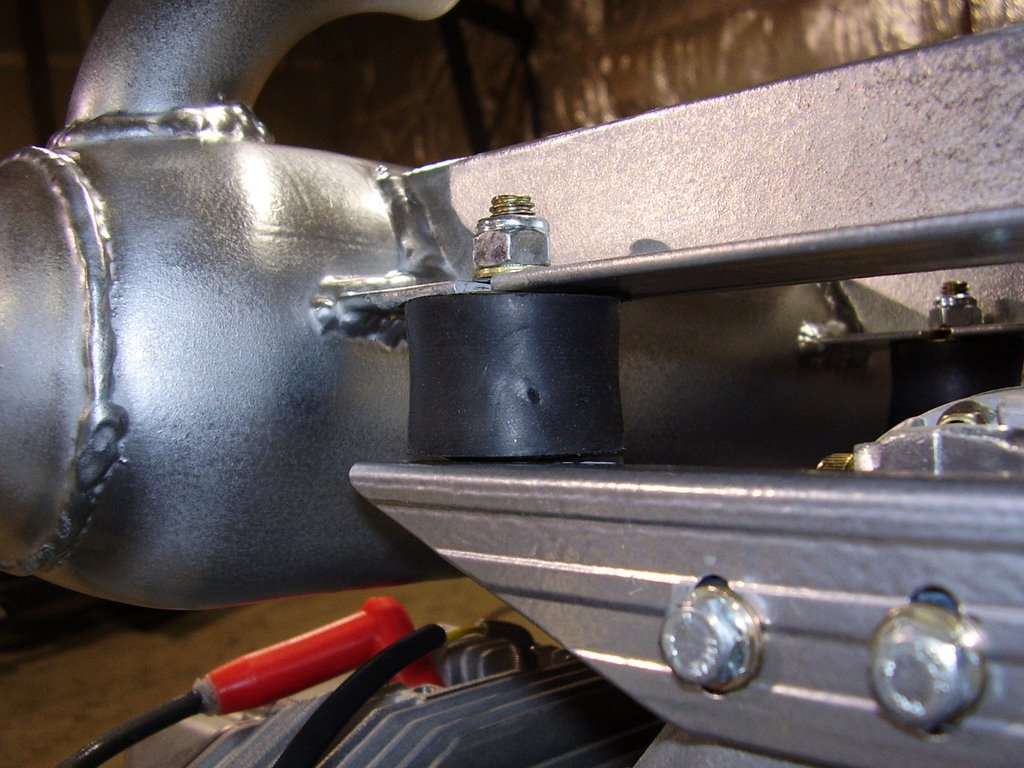
I then bolted the Lord mounts to the exhaust and bracket.
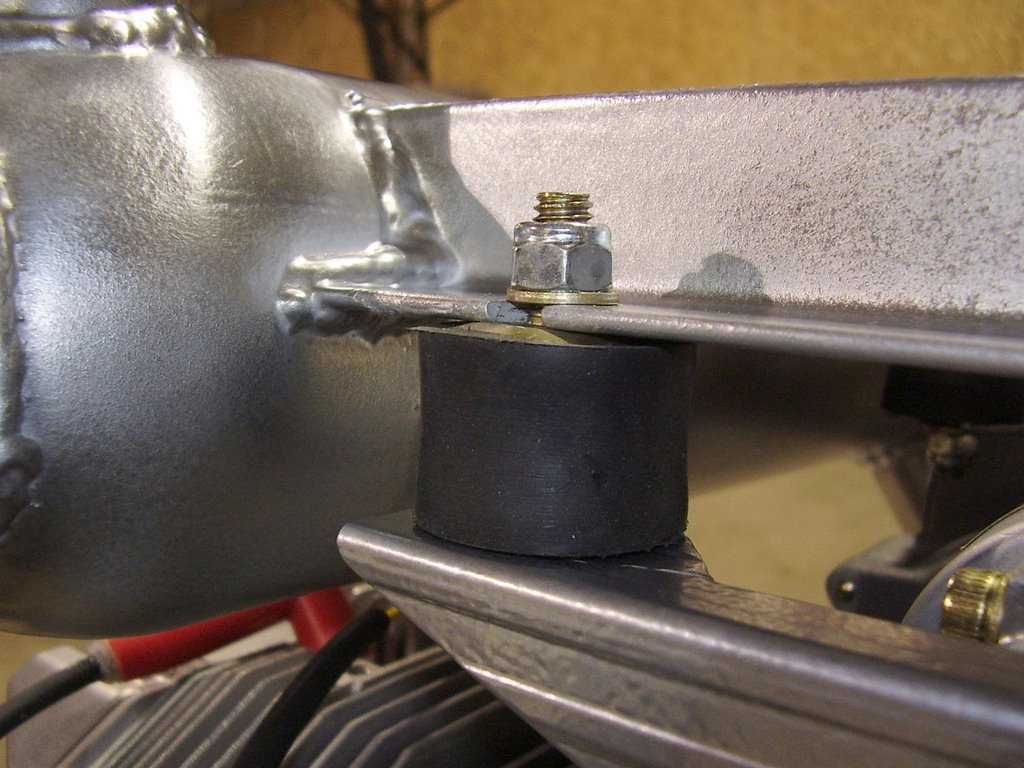
I torqued the nuts on the Lord mounts very tight. You can see the metal plate on the Lord mount popped up and against the bracket. After the Lord mounts were nice and tight, I tightened down the bolts that hold the bracket to the engine using Locktite.
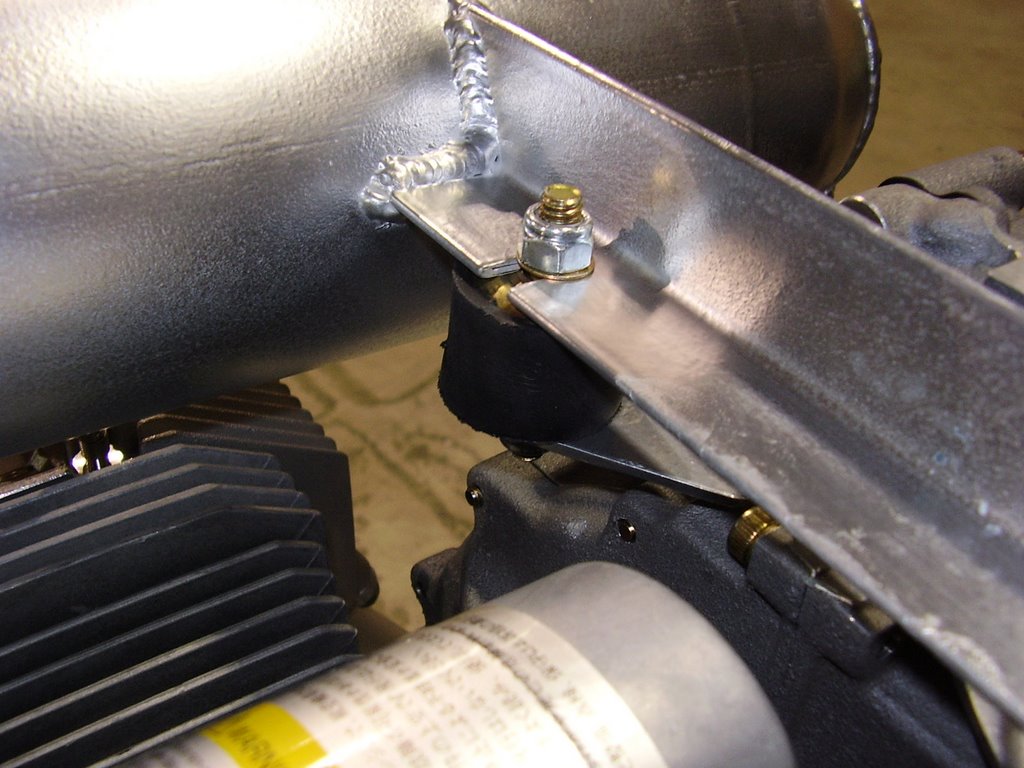
I then repeated the process on the rear bracket.