Wednesday, October 25, 2006

Window - 2 hours (454 Total)

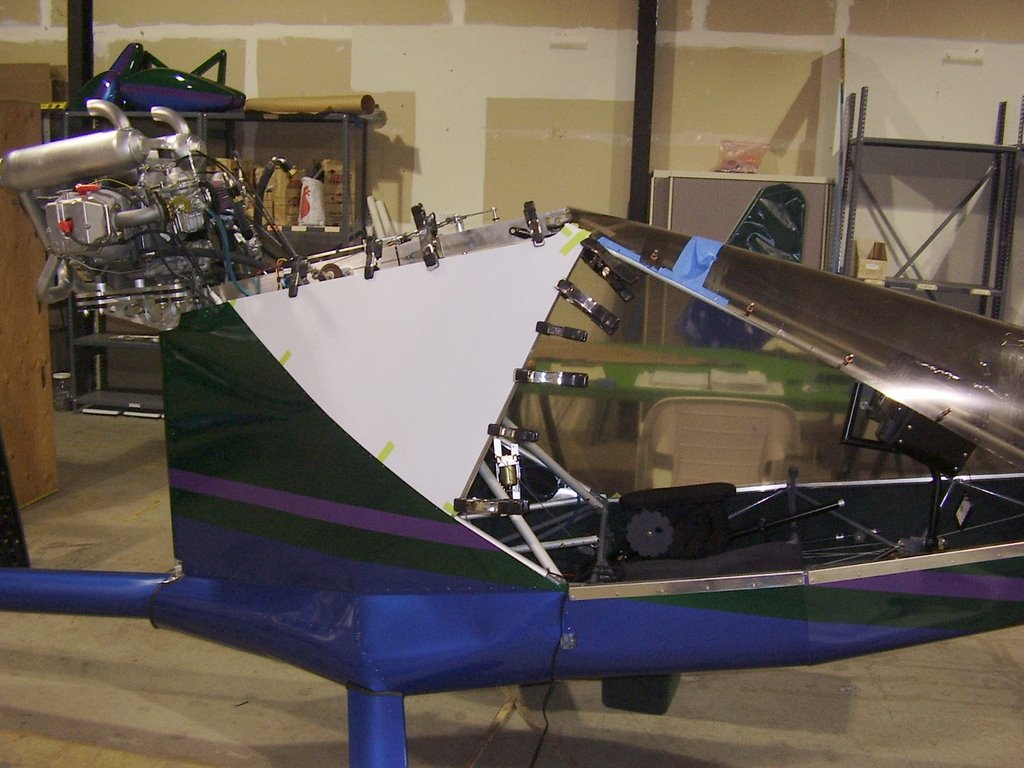
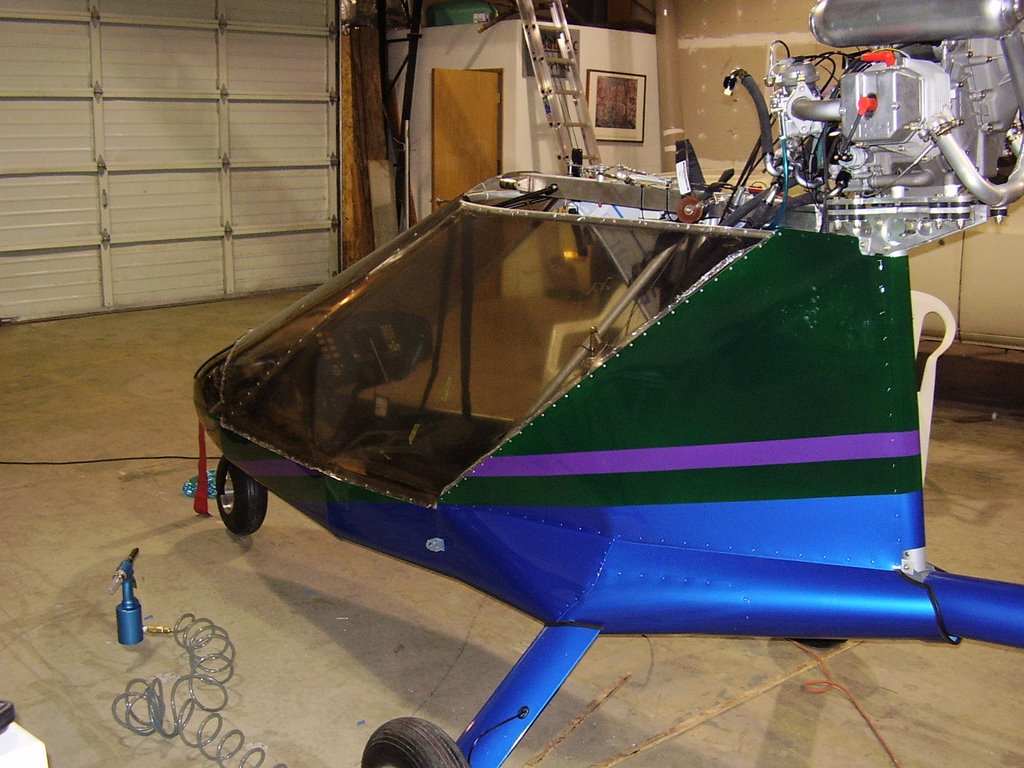
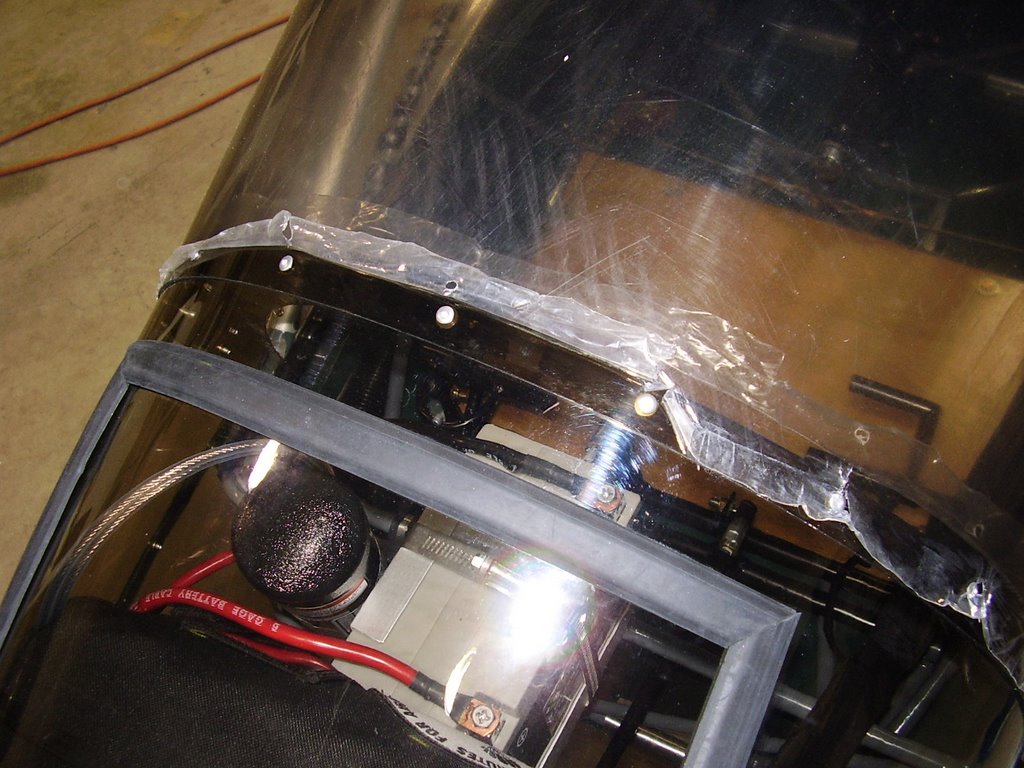
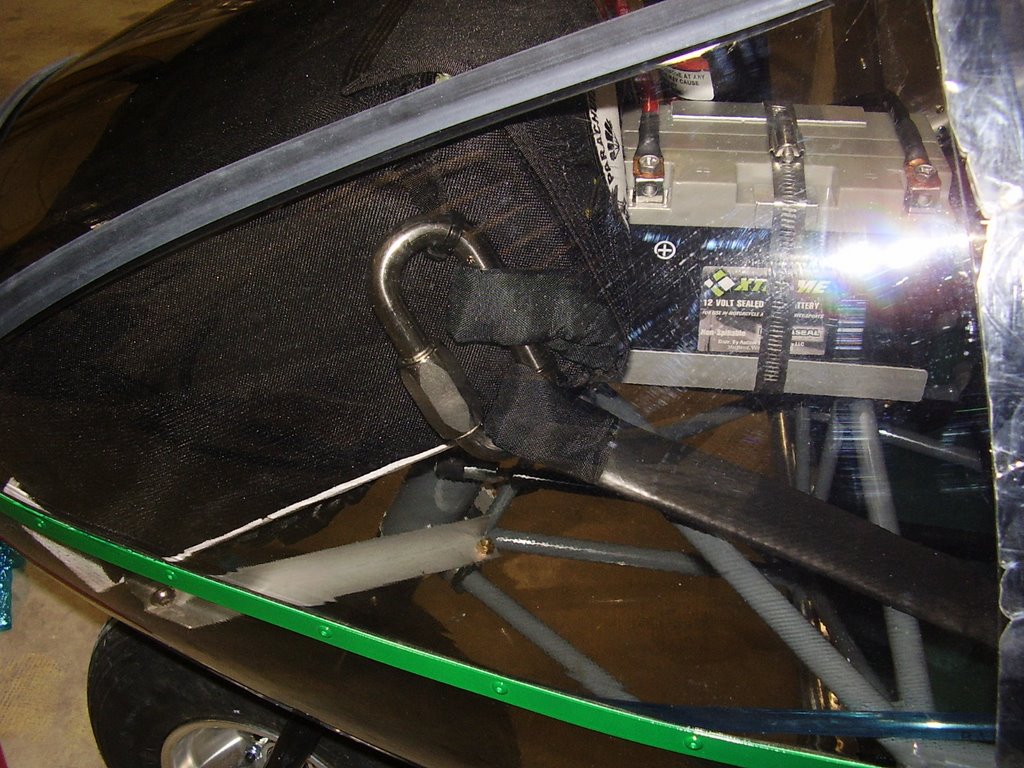
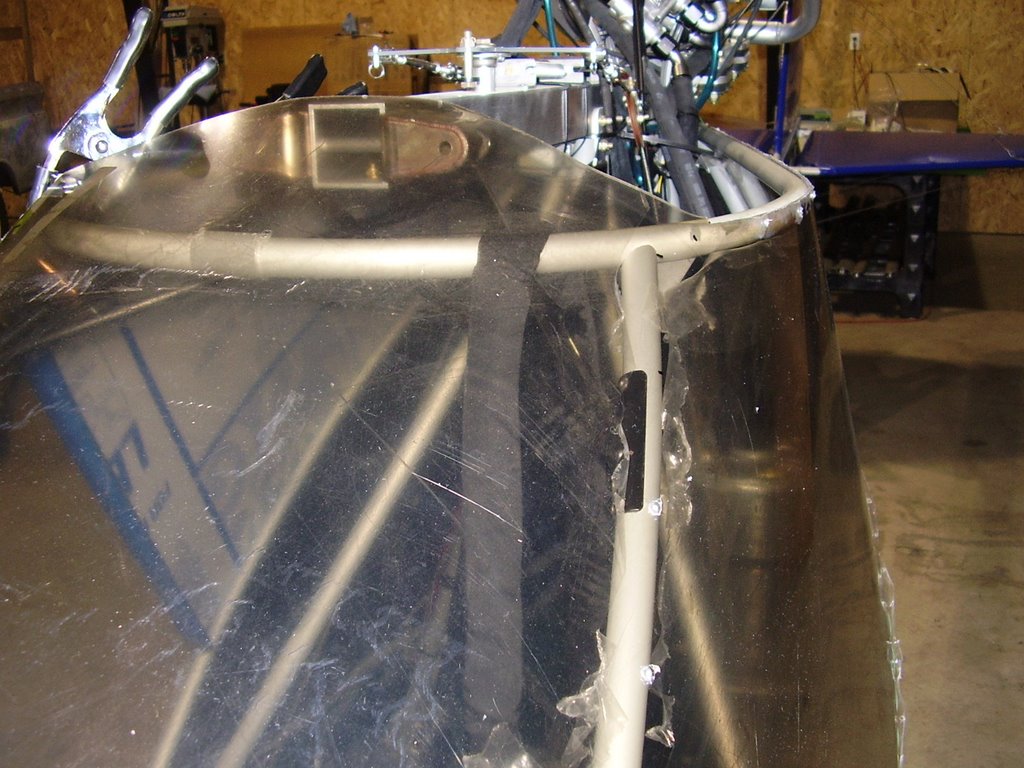
The last thing I did today was install the window.

I fitted the window the same time I fitted the windshield so some of the photos below show the windshield prior to riveting.

The window former (aluminum tube) needed to be fitted at the same time as the window.

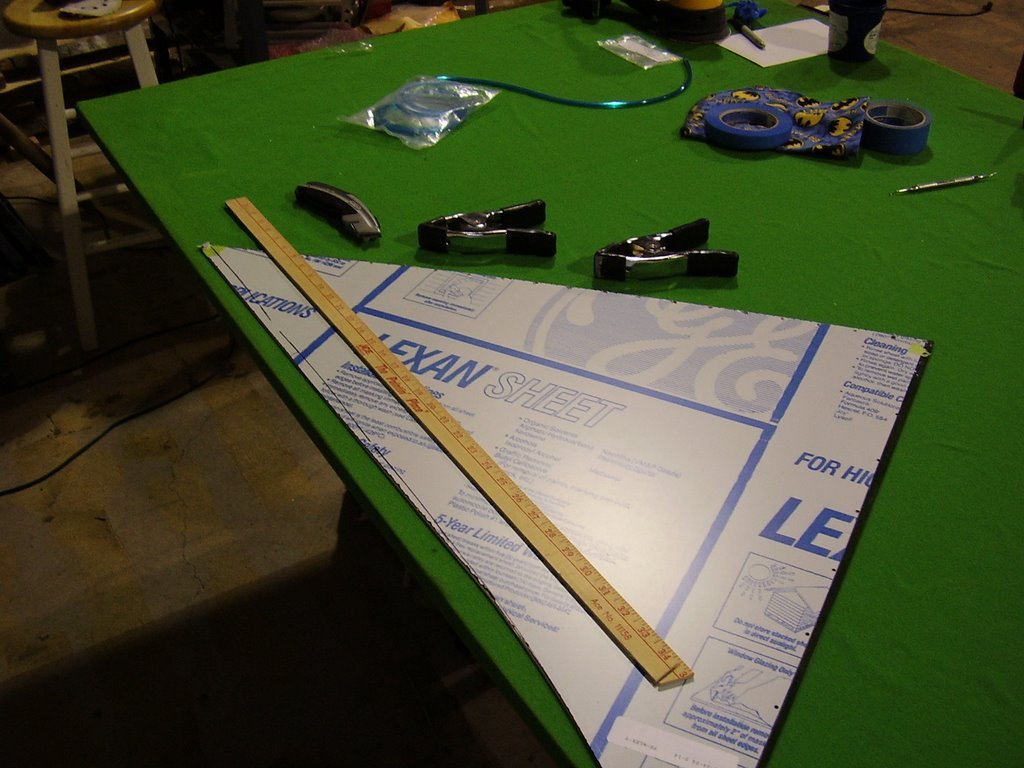
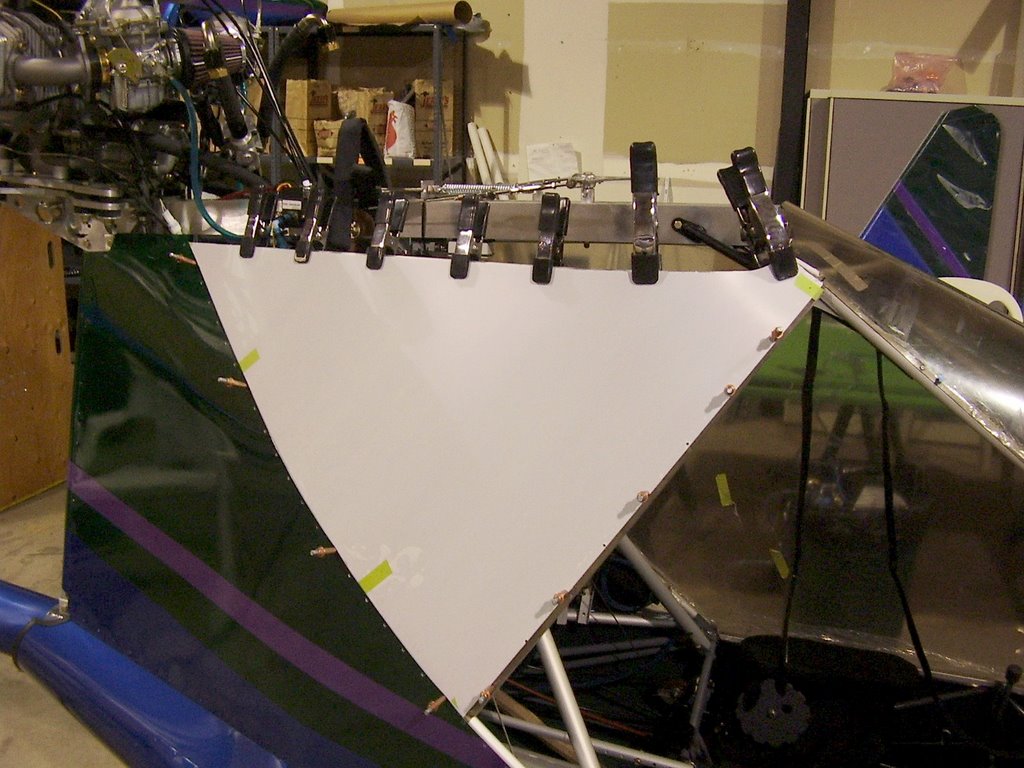
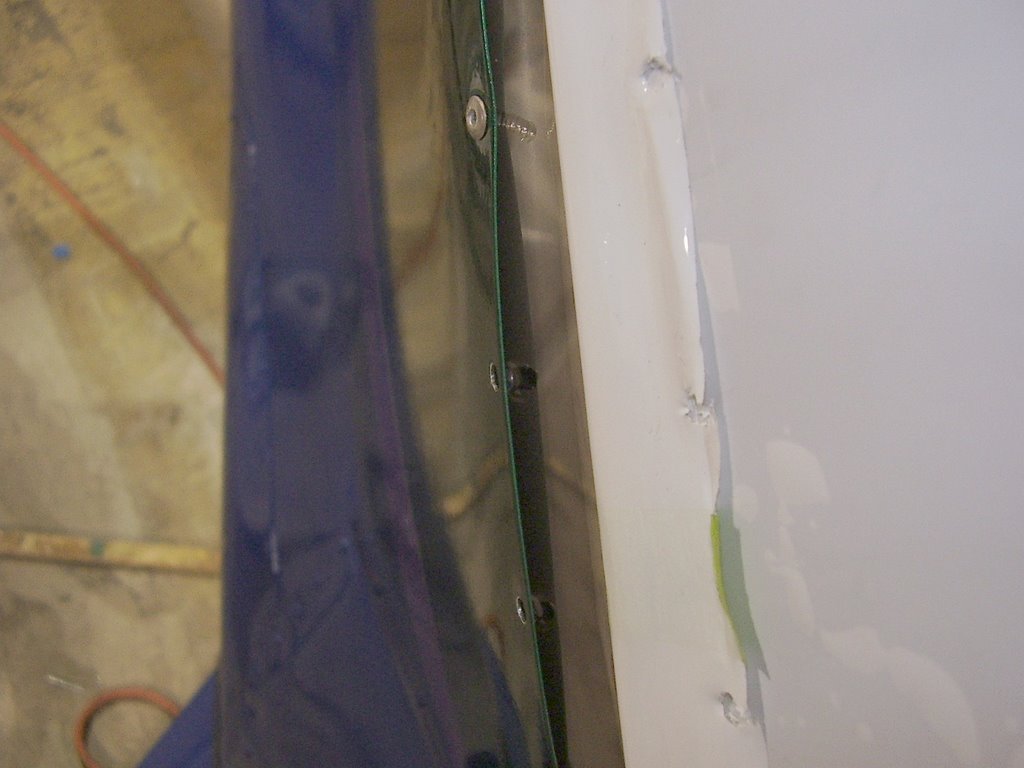
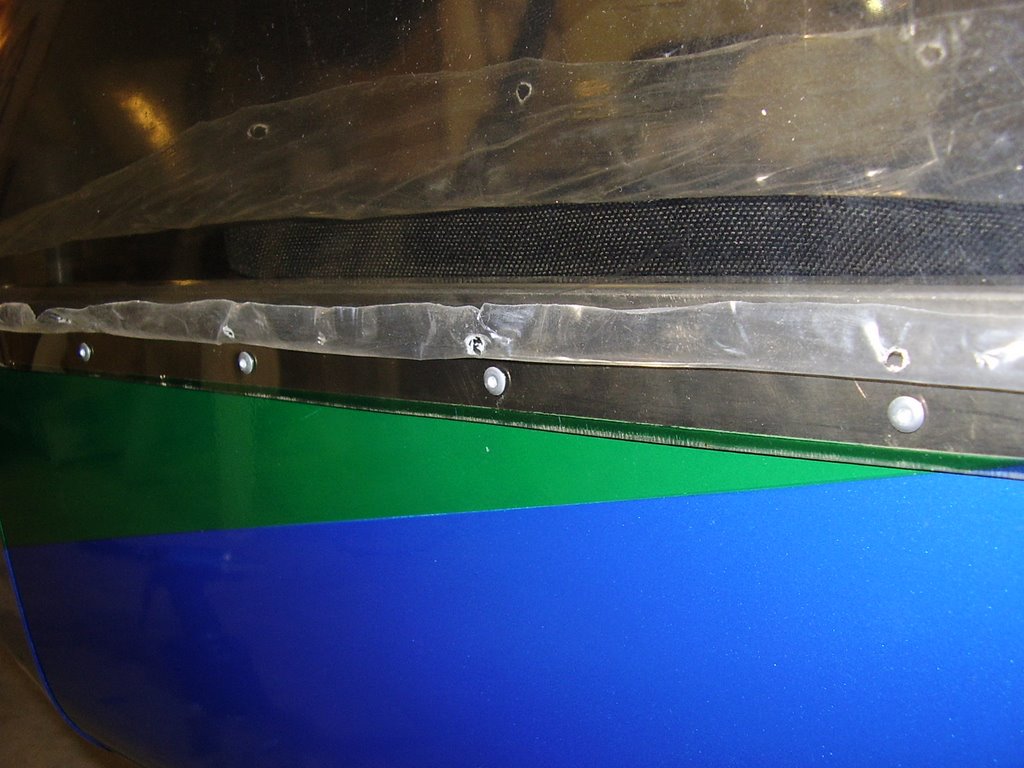
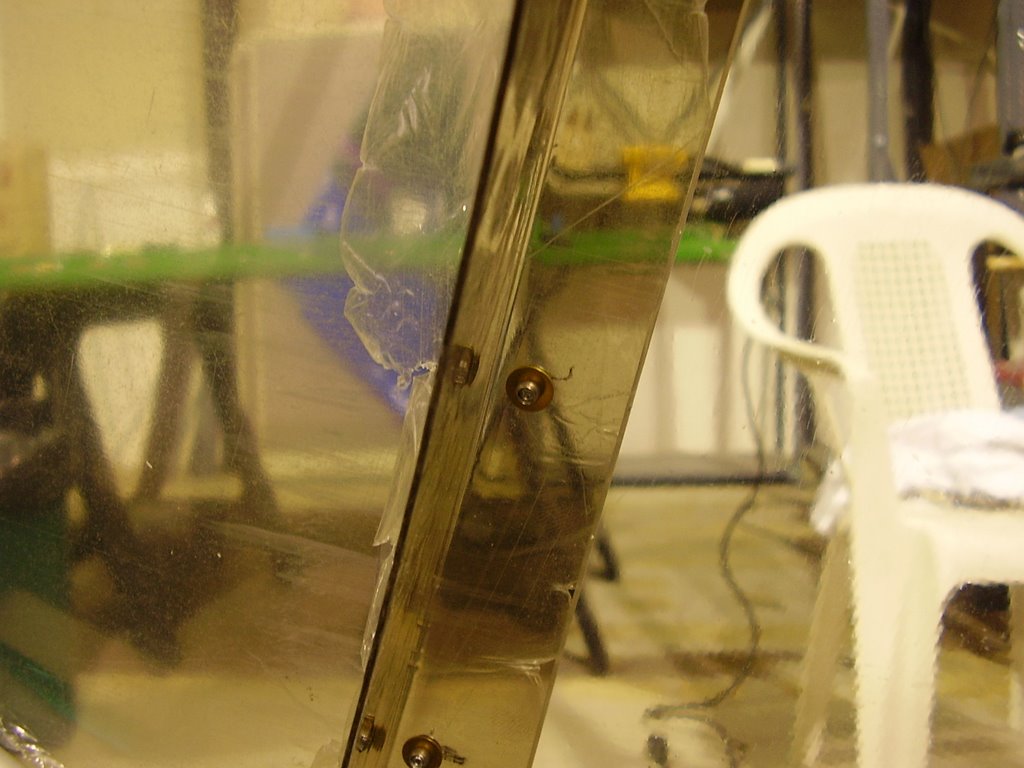
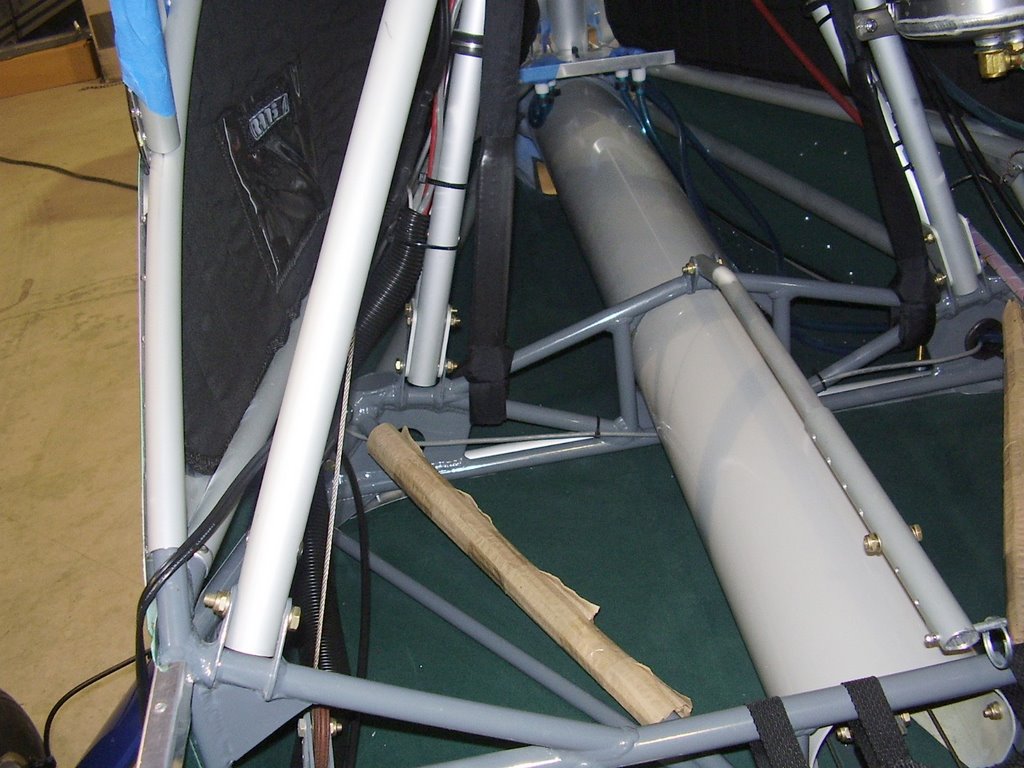
The window installation was pretty straight forward but I did have an issue with some of my rivet holes not lining up with one of the aluminum tubes. Because the protective plastic on this sheet of Lexan was opaque, I wasn't able to see that the predrilled holes in the sheet metal side panels were too high on the tubing. The second photo from the bottom shows how two of the holes elongated. I had drilled these two holes without knowing there was a problem. While drilling the third hole, I could feel the drill bit slip. This caused some severe marring of the aluminum tube. There isn't anything I can do about the marring but I was able to use some extra long rivets on the first two holes. The normal rivets would not have secured properly in the elongated holes.

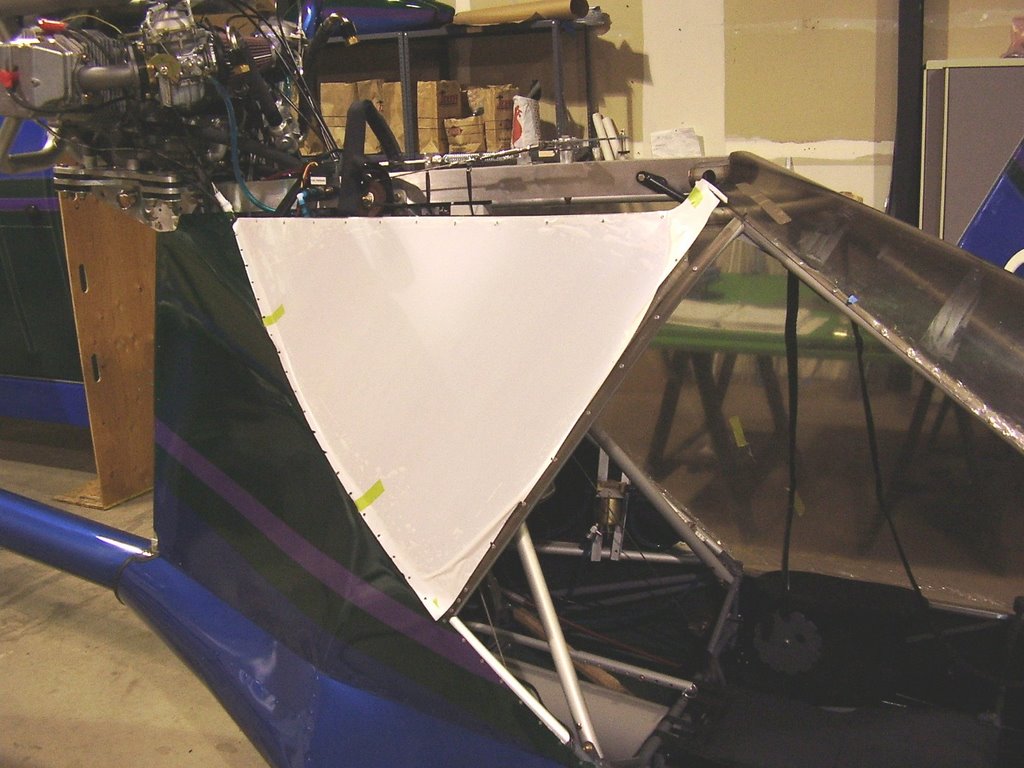
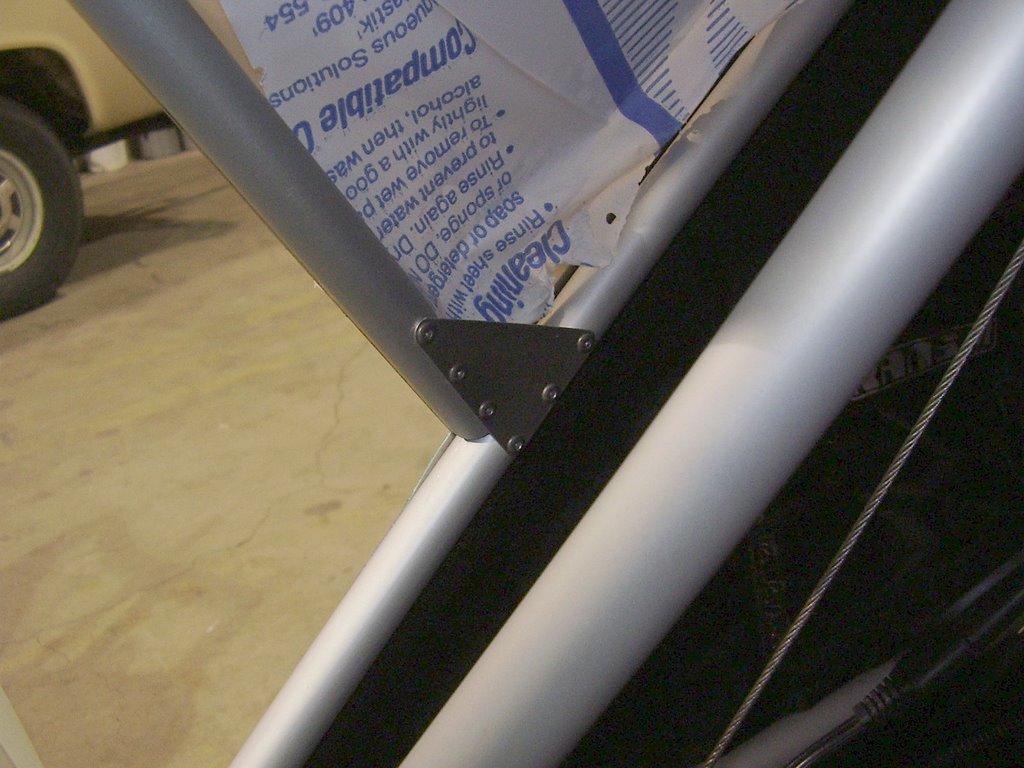
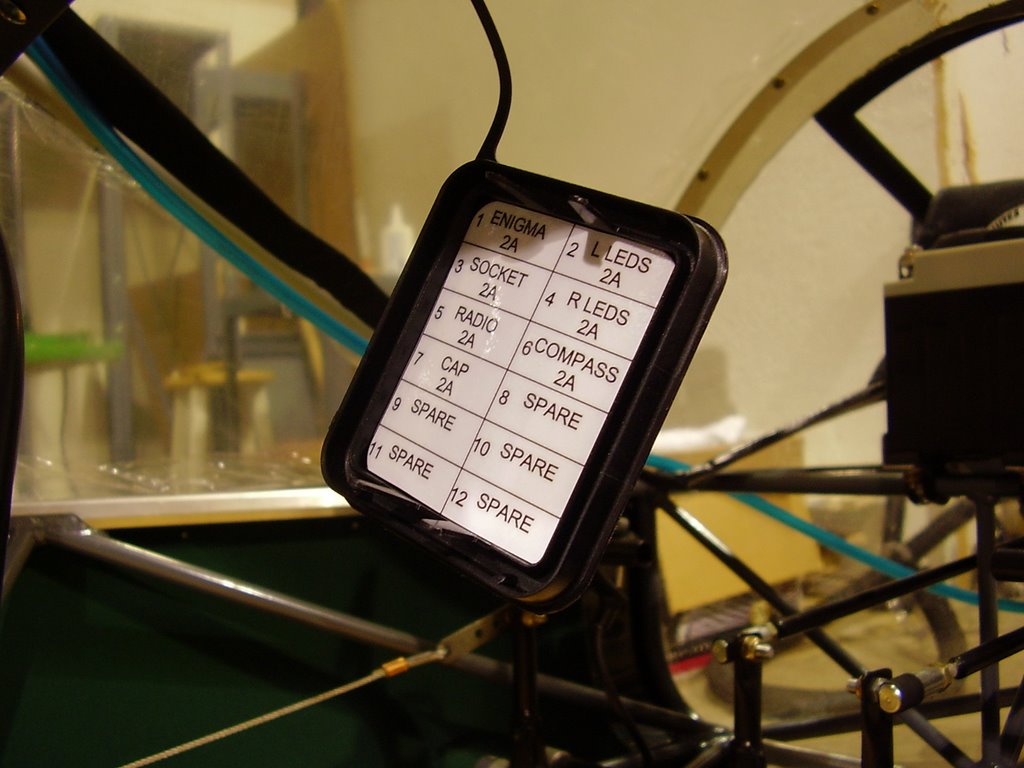
The last photo shows the gusset placed on the window former. This was installed after the window was riveted in to place. The gusset on the other side (between the window and window former) was installed at the same time the window was fitted and installed.


Gascolator - 0 hours (452 Total)

Now that the windshield is in place, I can place the last two rivets that hold the gascolator mount in place.

Windshield Install - 3 hours (452 Total)

Prior to installing the windshield I needed to do a few more items of prep work.

The first thing was to trim the windshield. The Lexan material trims very easily by scoring with a utility knife and breaking. I needed to trim the windshield where it meets the lower half of the door and where it meets the top former on the left side of the plane. The trimmed edges required some sanding to soften the sharp edges.

I then cleaned and deburred the rivet holes in the Lexan and the plane. There were a few holes that still needed to drill out on the plane. These holes were where the windshield would be riveted into the steel frame. I needed to be extra careful when drilling these holes to keep from breaking drill bits.

The last step was loosening or removing the windshield's protective plastic cover where it would be connected to the plane. The most difficult area was where the windshield connected to the aluminum tube that runs down the left of the instrument pod. I needed to tear the protective coating away by hand. I tried gently scoring the plastic coating with a utility knife but no matter how soft I pressed, it would always scratch the Lexan.

After placing the windshield, I started the long process of riveting. The only challenging part of the riveting was where the windshield met the nose cone. I needed an extra set of hands to hold the backing washers in place while I riveted from the other side. I ended up using some fuel line that was intended to be used as primer line to hold the washers in place. I would stick the washer to the end of the primer line with double sided tape and then push the primer line onto the rivet. The primer line was just small enough to grip the end of the rivet, holding itself in place, while I pulled the rivet.


Fuse Labels and Chute Bridle - 0.5 hours (449 Total)

Before I install the windshield there are a couple of things I need to do while I still have easy access to the inside of the plane. The first is to update my fuse block labels. I will only have problems accessing the fuse block on the electrical panel but I went ahead and correct the instrument pod fuse block label at his time.


The next thing I need to do is route the parachute bridle. This needs to be routed between the windshield and any metal structure of the plane, most importantly, the leading edge mounting points of the wing. I also routed the smaller bridles that connect to the lower portion of the plane. I will need to carefully secure the bridles so they don't interfere with any of the control mechanisms.