Friday, October 20, 2006

Oil Tank Vent - 1 hour (438 Total)

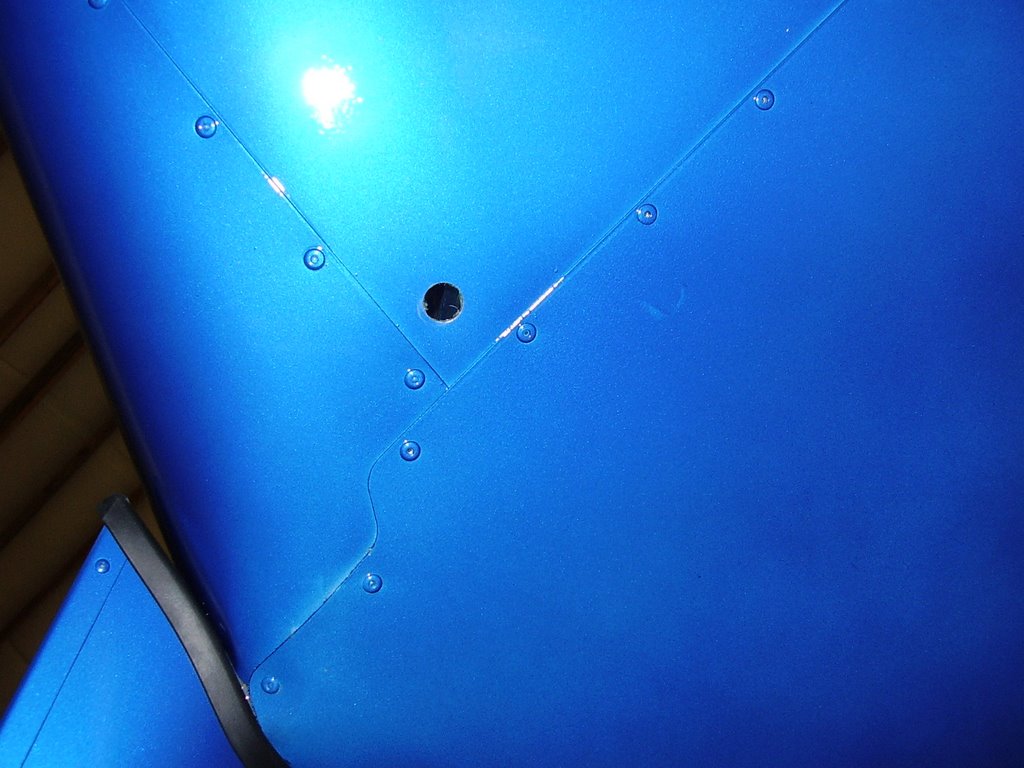
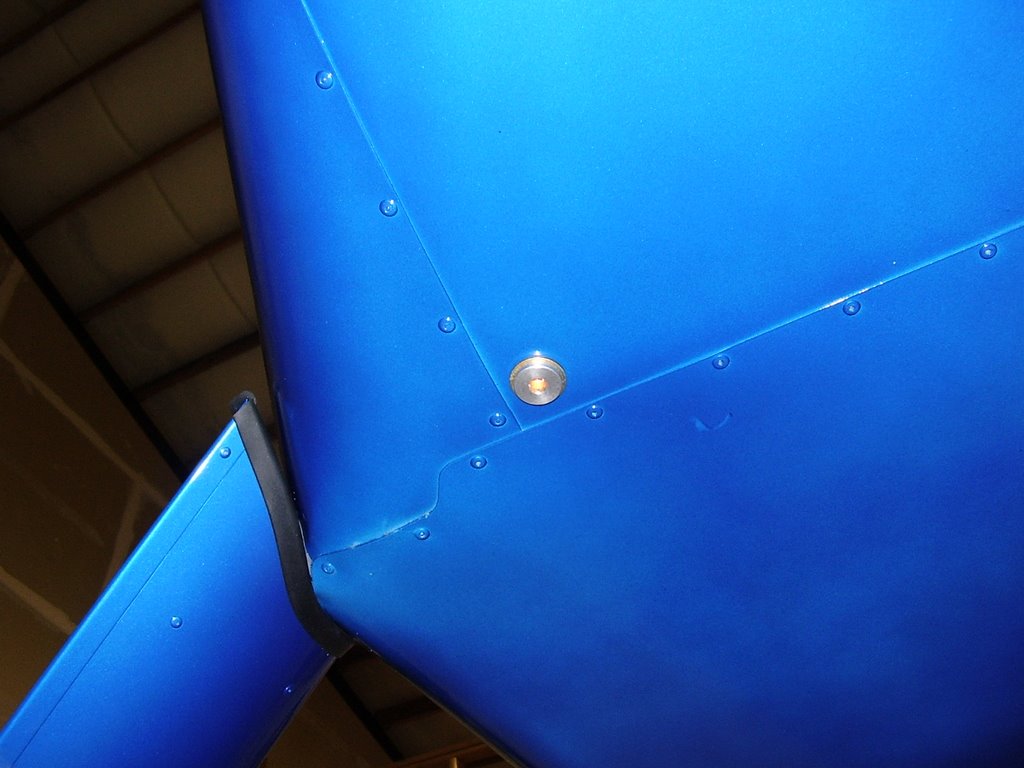
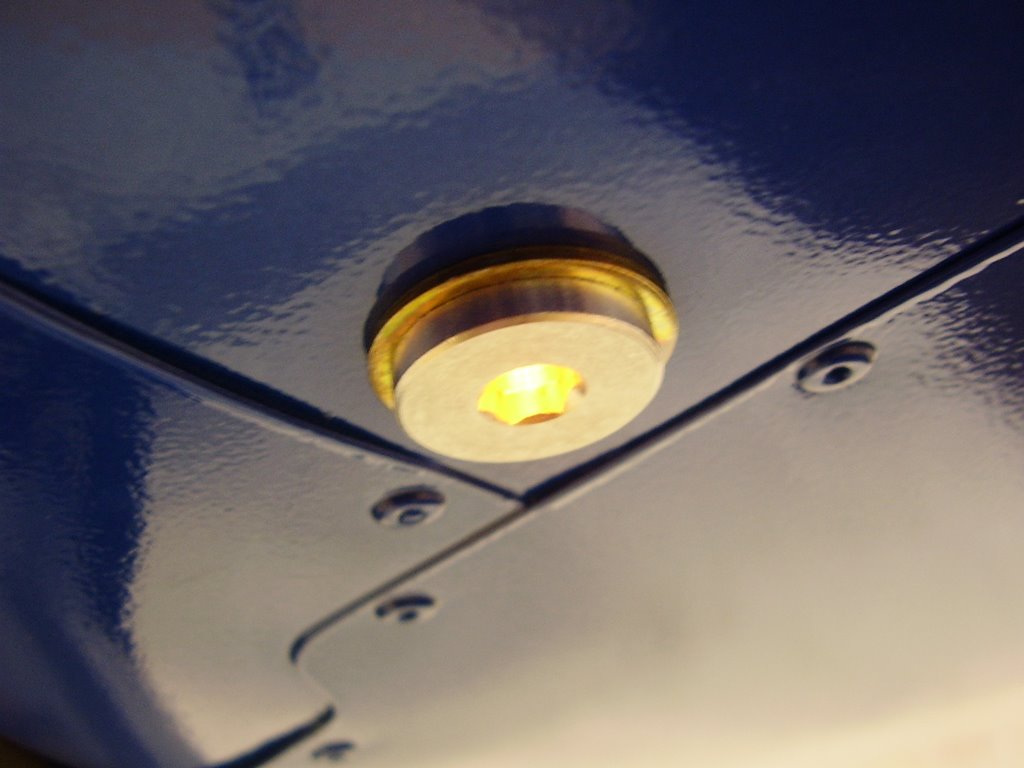
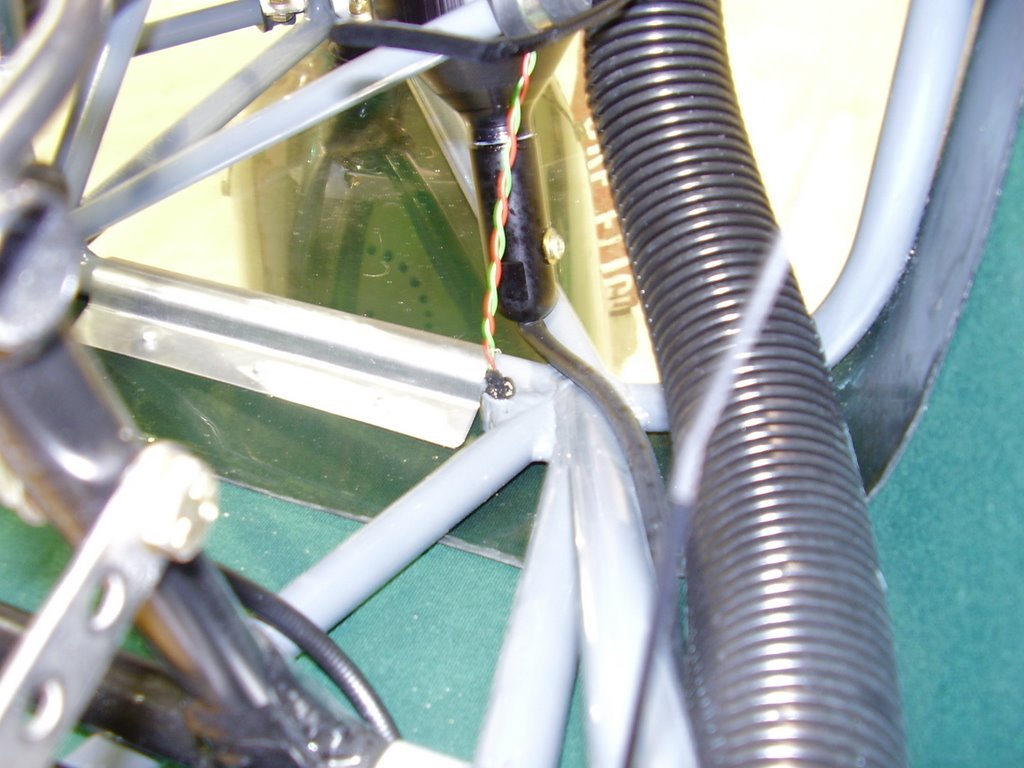
The last thing I did today was install a fitting that will be used for my oil tank vent.

I spent a lot of time looking for the right fitting that would allow me to port my oil tank vent to the exterior of the plane. I ended up using one of the extra fuel tank fittings that I had and a brass barbed hose bib. The fuel tank fitting was both light weight and small.

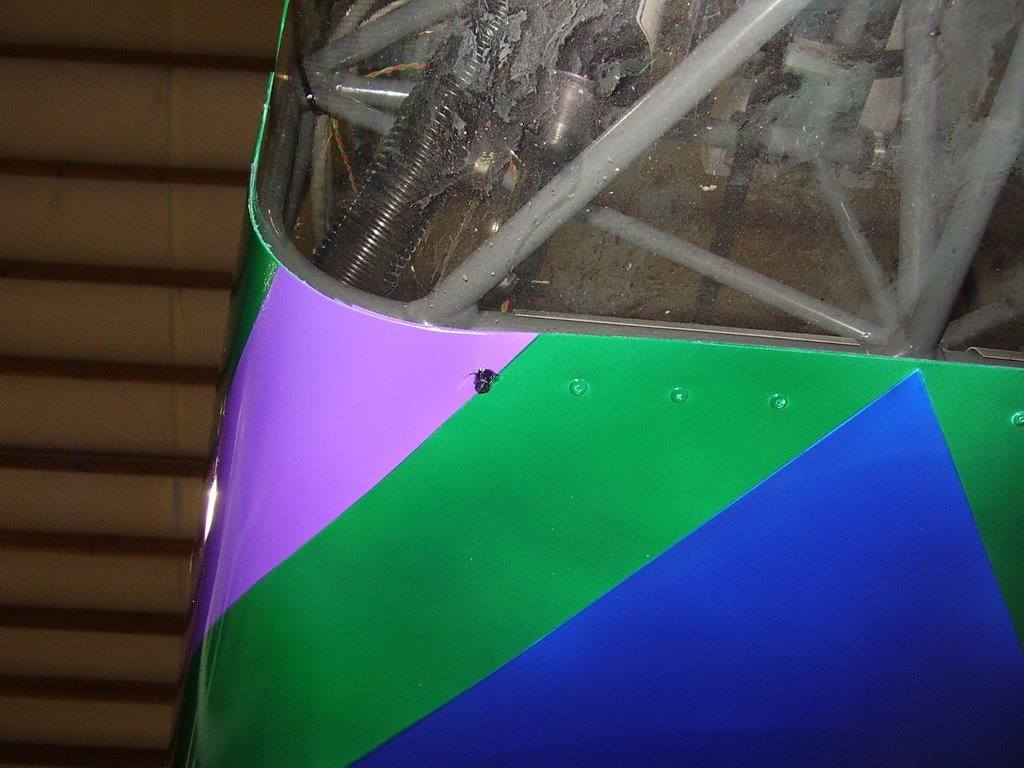
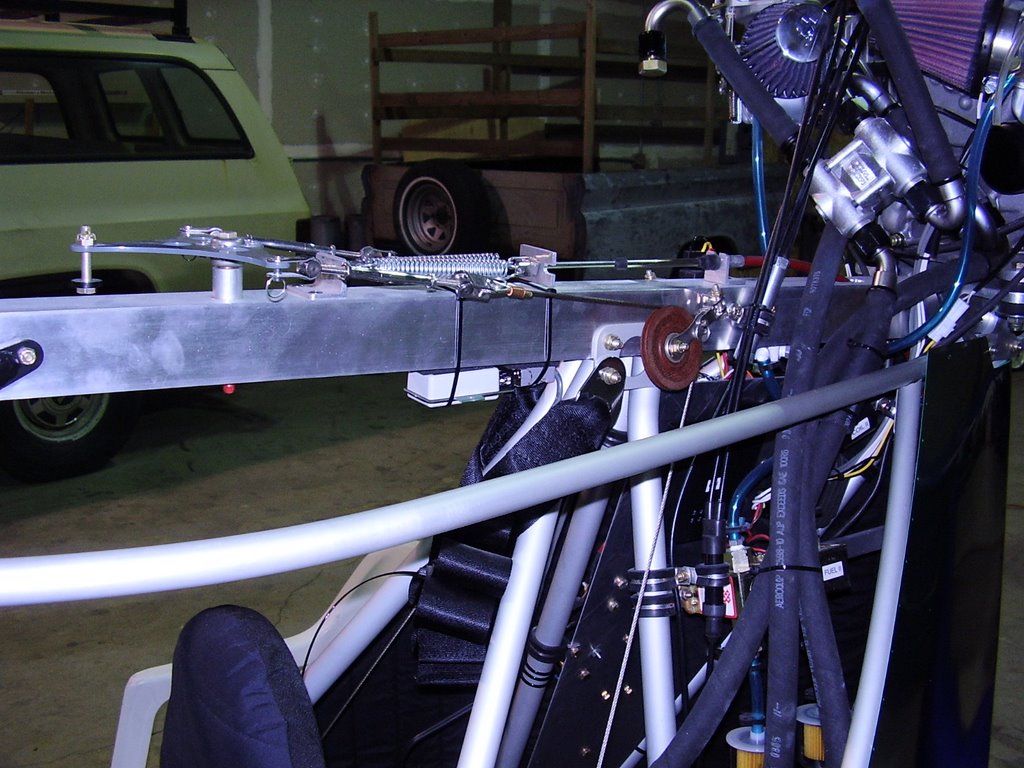
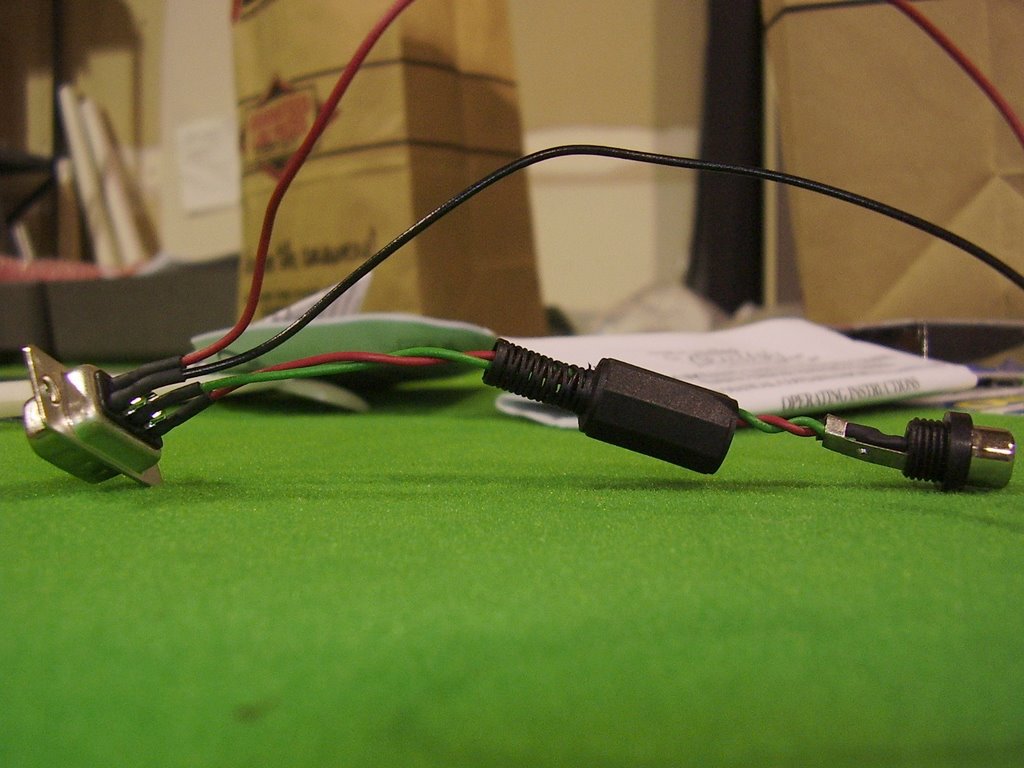
In the photos below, you can see where I drilled and mounted the fittings to the bottom of the plane near the left landing gear leg. Once I get the plane to the air field and install the wings, I will connect the oil vent hose. I need to secure the hose to the wing root to give the hose the proper height above the oil tank before dropping down and exiting the plane as per the HKS installation manual.


Instrument Panel - 2 hours (437 Total)

The next thing I did today was button up my instrument panel.

I started by marking and drilling holes in the top cover for my GPS antenna cable and the cable for my radio. The GPS antenna was attached to the top cover with double sided tape.

I then riveted the top cover into place. I had already drilled most of the rivet holes so the initial process went quickly. The edges were difficult to drill and rivet due to the top cover being slightly too large for the space between the aluminum tubes that the instrument pod mounts to. I was unable to get the forward right rivet (bottom rivet in first photo) to bite into front panel tab so the rivet you see is just for show.

The last photo shows the completed panel with the trim attached. Unfortunately, I started the trim on the wrong side. The seam should have been on the bottom of the right aluminum tube; it is currently on the left side. That would allow me to unscrew and partially remove the bottom cover (from the door side) for any maintenance on the instruments and switches. Since the instrument panel has a large cut out for the Enigma and the Enigma is easy to remove, I will probably use the Enigma as an access point instead of the bottom cover.


Ambient Temp Sensor - 1 hour (435 Total)

Below are some photos of the ambient temperature sensor I installed. I used black RTV to secure the sensor into the hole I drilled through the belly pan. The hole is aligned with a mounting point on the plane's frame to give the sensor a secure mounting point.


Compass - 3 hours (434 Total)

The first thing I did today was I wire and install my compass.

MGL came out with a new version of their SP-2 compass. Sport Flying Shop was willing to swap out my old compass for a newer version. The new compass doesn't have any new features but it is much smaller. The old version was approximately 3"x5"x2" in size. The new version is approximately 3"x1.5"x1" in size.

Before I mounted or built a cable for the compass, I needed to find a location that didn't have any magnetic distortion. I used a magnetic compass to measure any magnetic distortion at potential mounting points on the plane. Unfortunately, the locations I had in mind near the floorboard and instrument panel were too close to the steel frame of the plane. The closest location I could find to the instrument pod (to minimize cable length) was above and behind my head, on the Keel Tube.

Once my location was picked out, I used a four conductor wire to make a cable to connect the SP-2 to the Enigma. The cable is hardwired to the Enigma and instrument panel but uses a DB-9 to connect to the SP-2.

Below are some photos of the installed SP-2 and the original cable MGL provided.