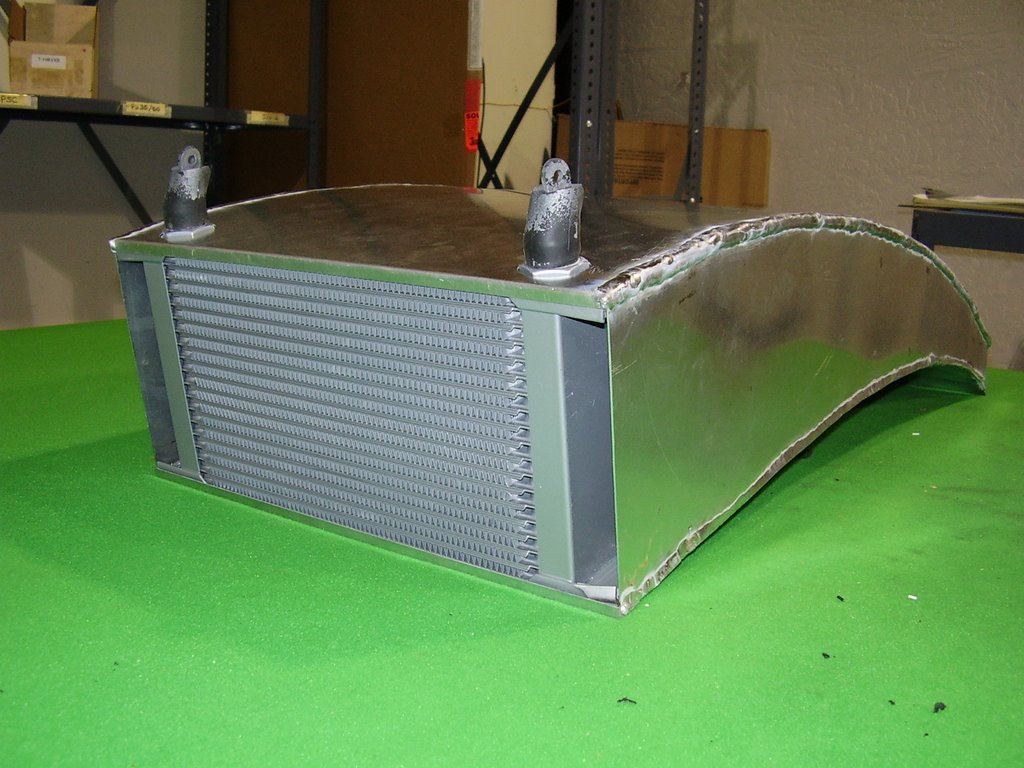
Today I receive my finished cowling and am happy with the results. I was initially disappointed in the looks of the cowl when I had seen the first welded seam. In my last post I discussed several theories on what I thought had occurred since I wasn't there to witness the welding. I was able to watch and help out with the welding of the three other seams. It turns out the problem with the welding was easily resolved by using clamps more often. By clamping the material together an inch to two inches away from the weld, we were able to keep the material from moving or warping. This required a lot of clamp moving but wasn't difficult. My extra set of hands moving the clamp allowed the welder to concentrate on the welding.
Once all four seams of the cowl were welded, we ground off the high points and ran a second and sometimes third bead. This cleaned up the welds nicely.
I still need to secure the oil cooler inside the cowl and cover the large holes on either side.
To mount the cowl I installed eight nut plates to the bottom surface of the cowl. I then cut four pieces of angle aluminum. In the pictures below you can see how the four pieces of angle aluminum clamp the cowl to the top edge of the root ribs of the wings. I have a piece of 1/4" dense foam under the cowl to absorb vibration and protect the wing fabric.

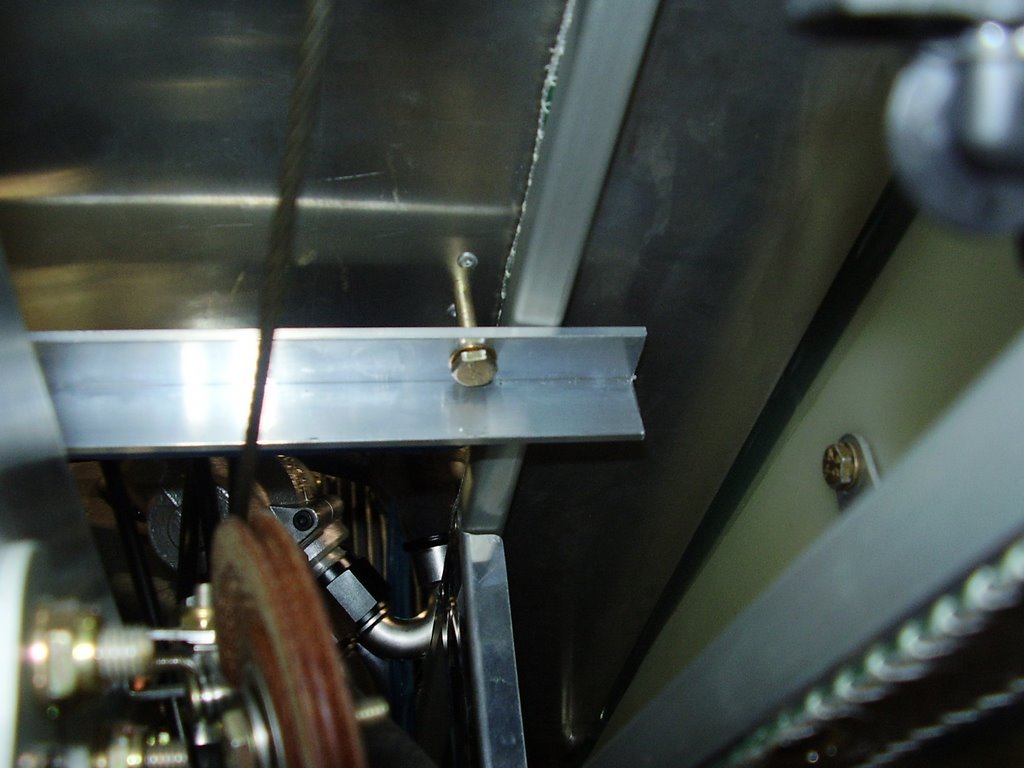
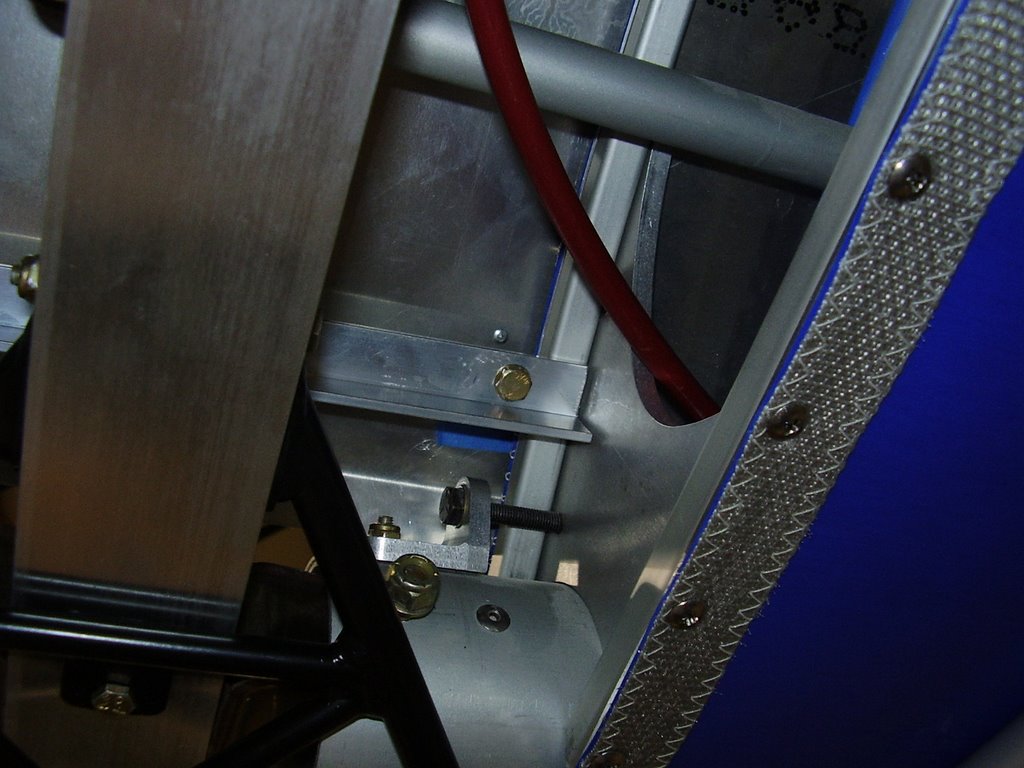
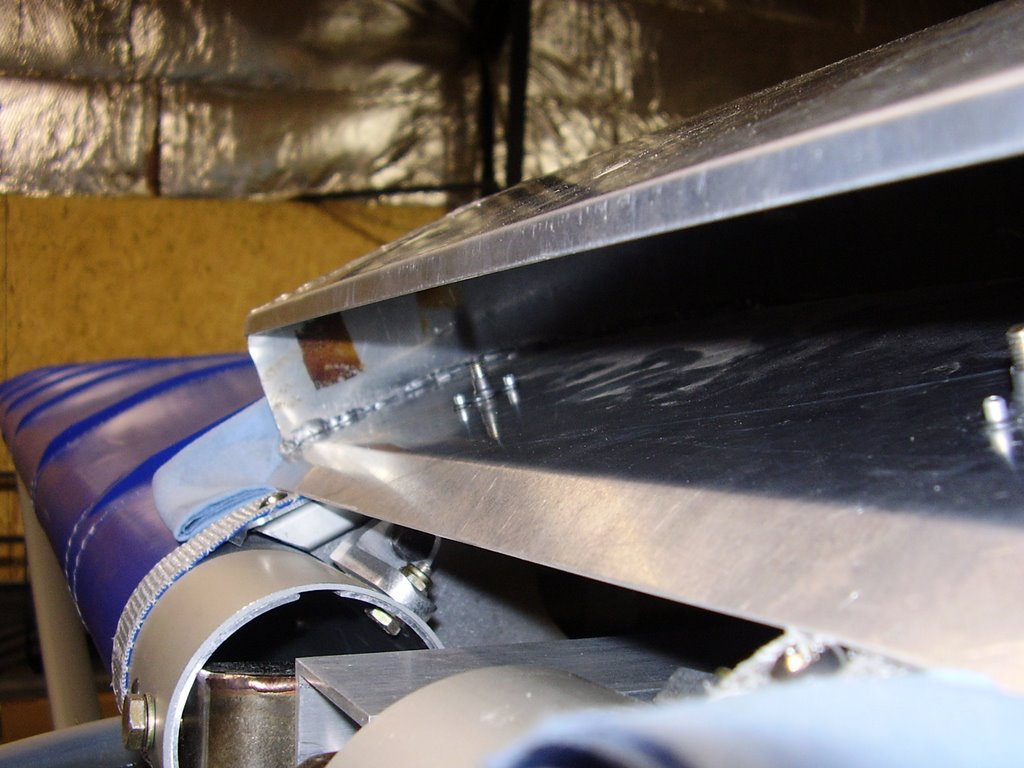
The corners of the cowl near the opening are sharp. I will need to round these over to prevent them from coming in contact with the wing fabric and damaging it. I placed blue paper towels under the corners in the mean time. You can also see the nut plate in the picture below.