Today was another long day. My goal is to get the enclosure finished so I get take the plane to the painter's place on Monday (tomorrow).
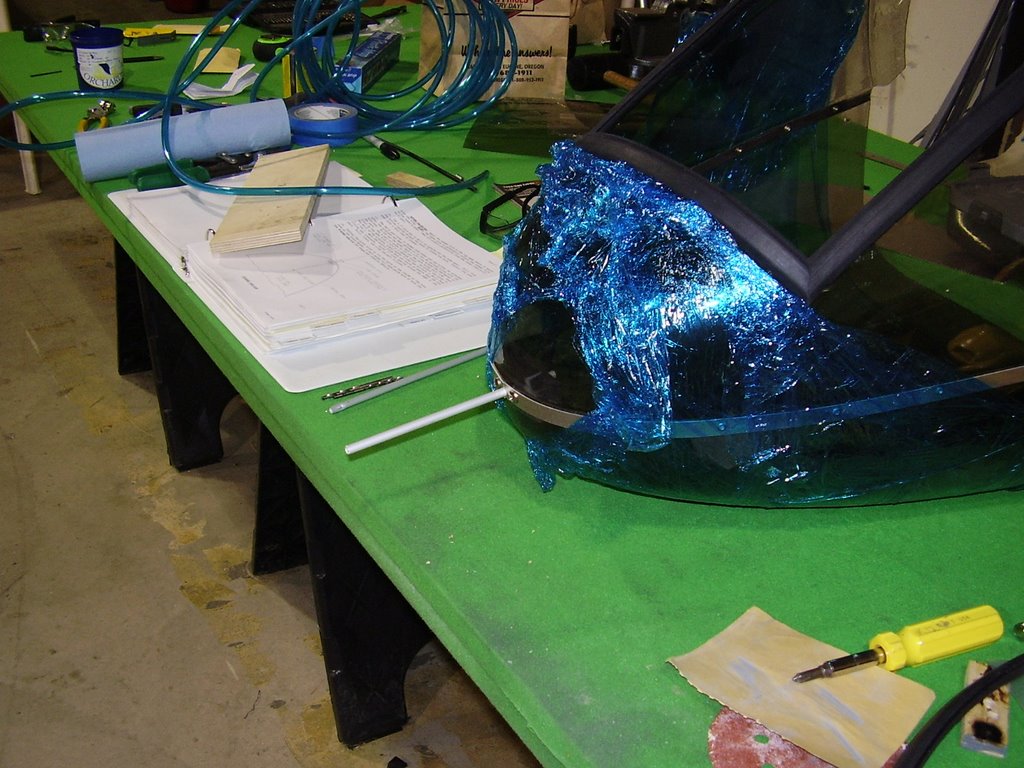
Today I focused on the nose cone. The first step was to correctly position the nose cone. The nose cone needs to be inline with the longerons and be 55 1/8 inches from the keel tube. This was simple enough to set but required grinding away some of the nose cone to allow it to fit around some of the weld joints in the frame.
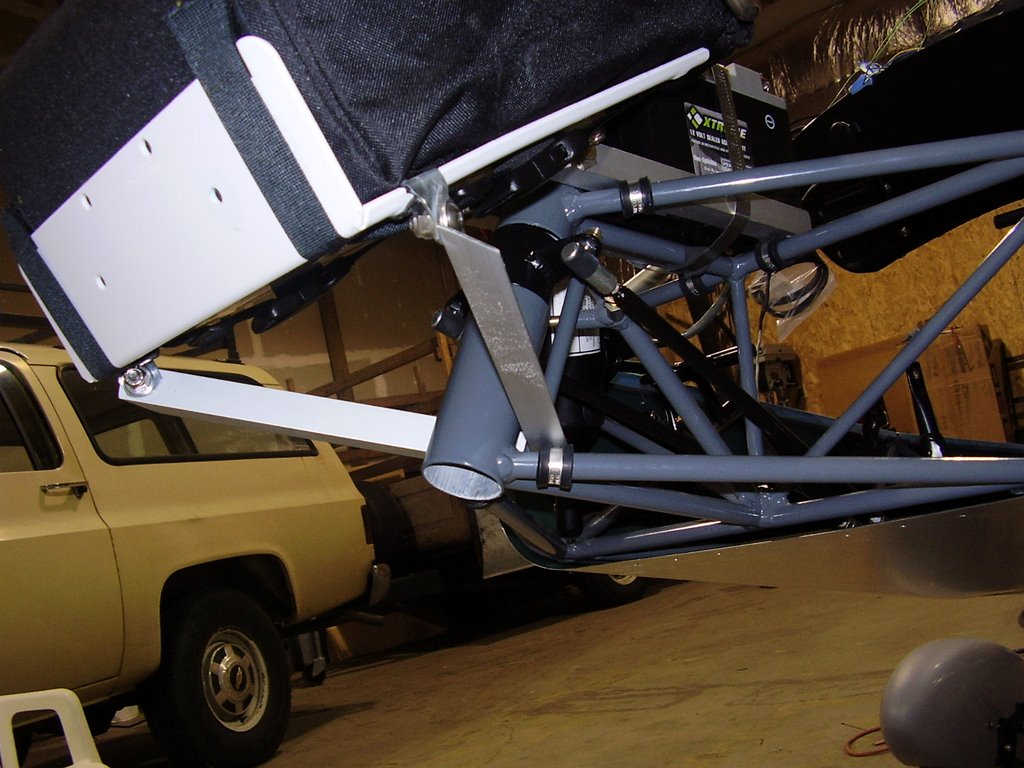
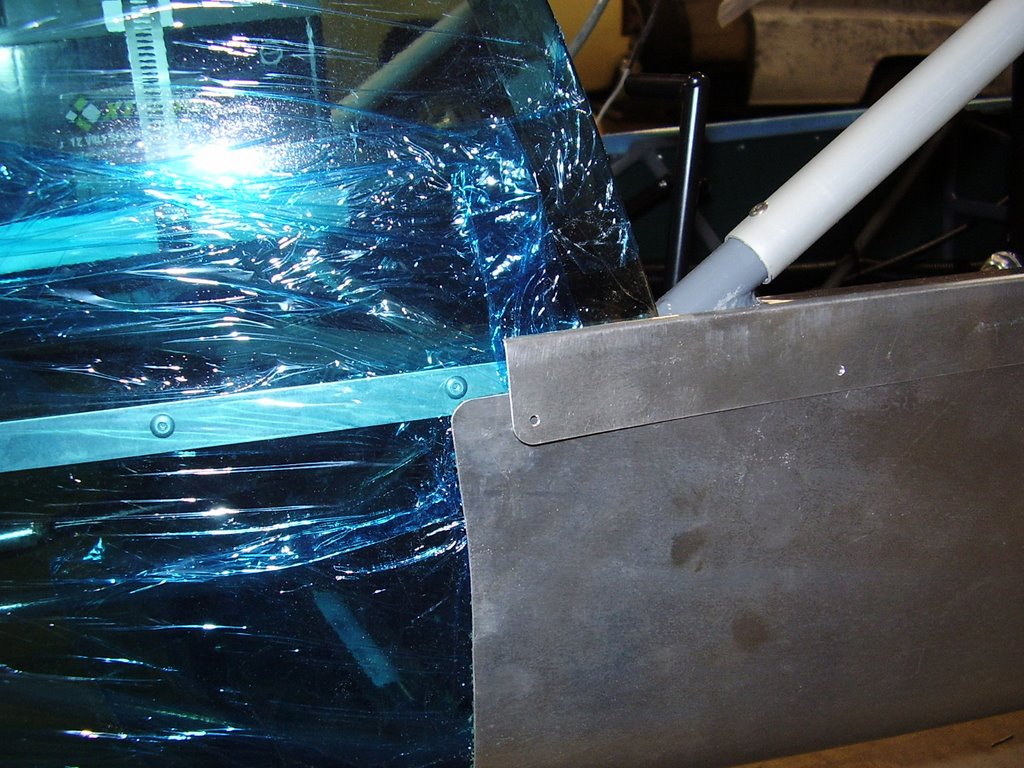
Once the position was set, I drilled and cleco'd the metal strips that hold the bottom of the nose cone and the forward most belly pan to the steel frame.
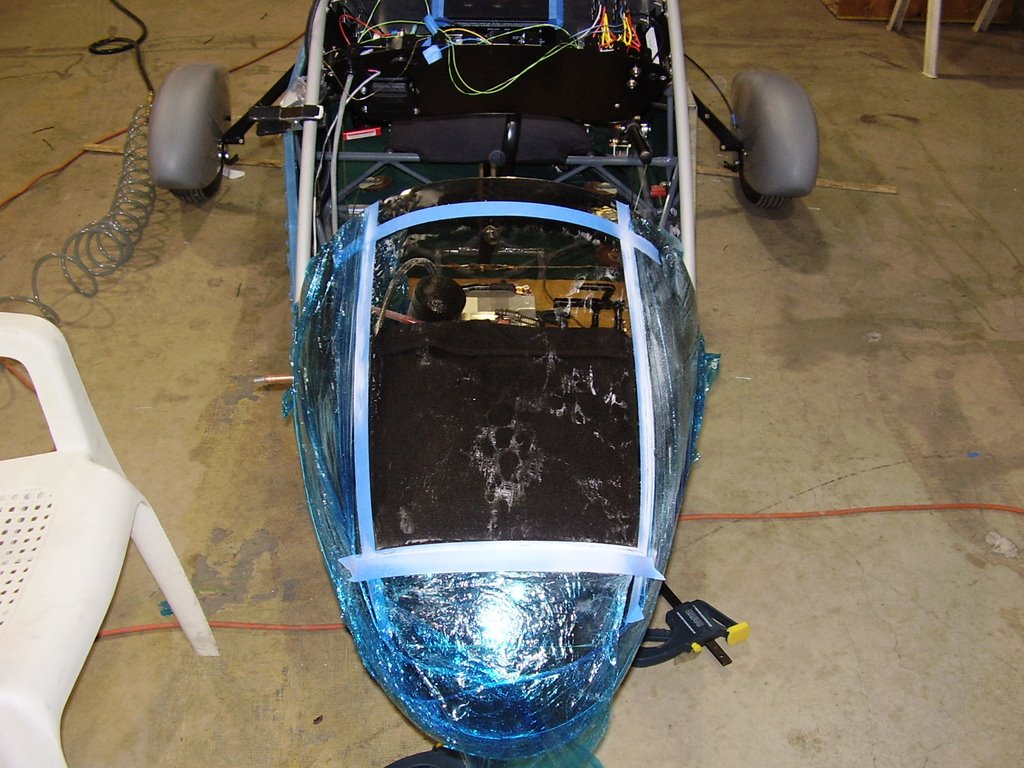
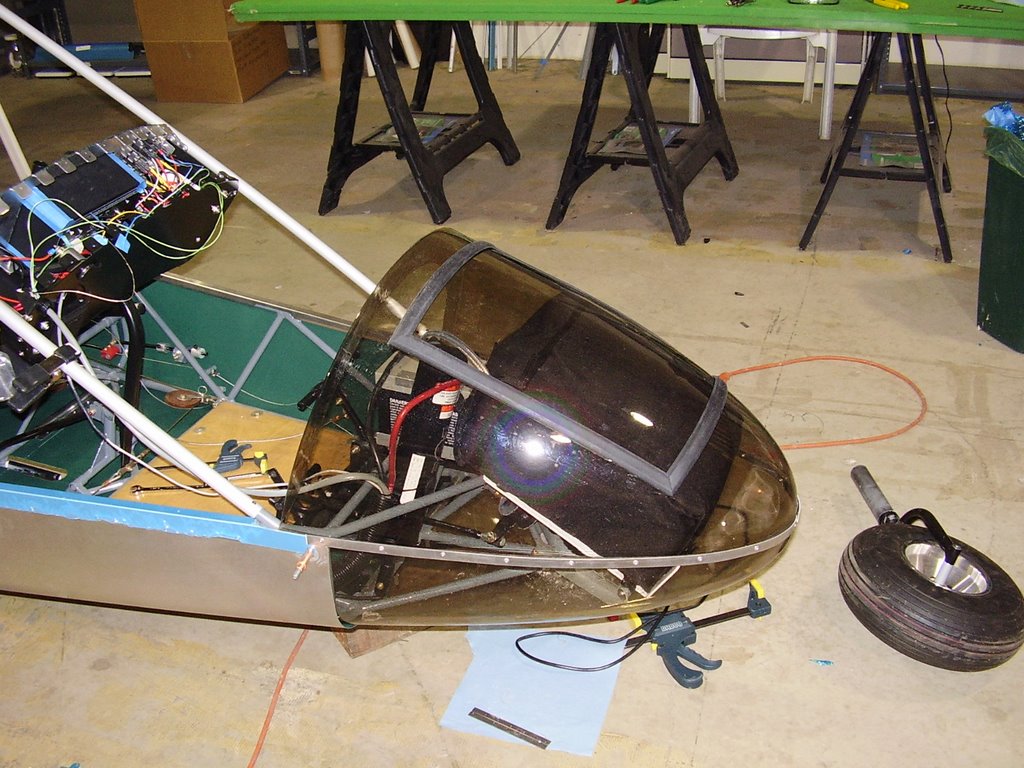
The way the longeron rails, forward most belly pan, and the metal strip around the nose cone meet was difficult to determine. Once this was determined I drilled and cleco'd through the three to hold the nose cone in place. Below is a photo of what I ended up with.
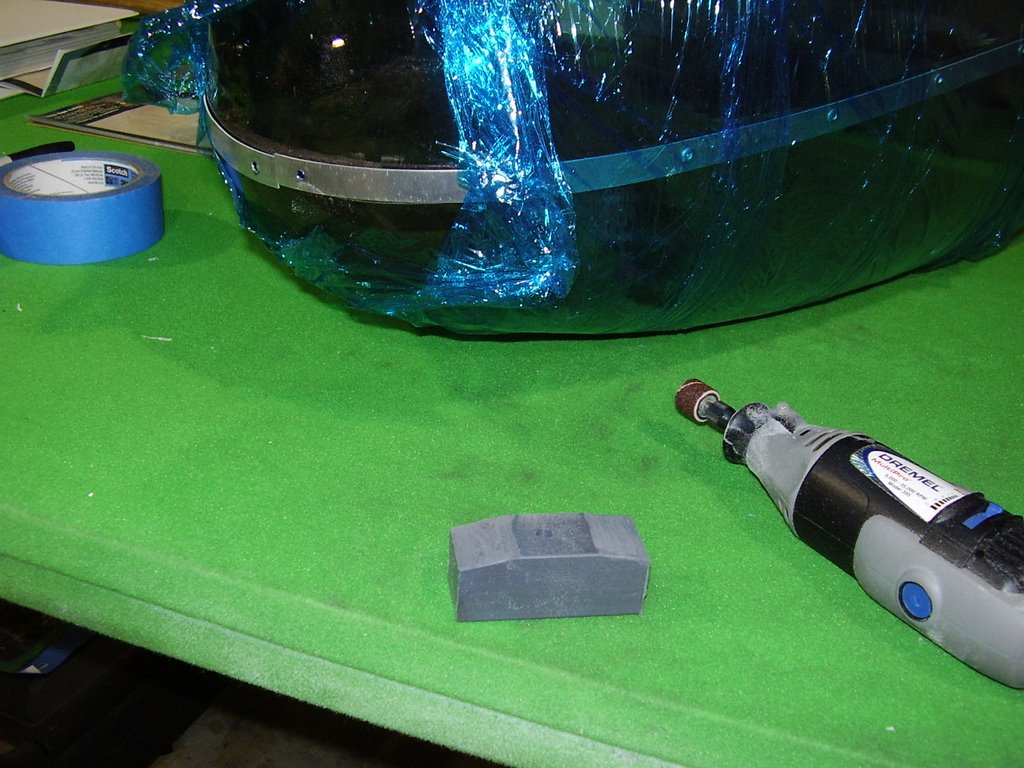
Now that the nose cone placement is set, I need to cut out my blow out panel for my parachute. I used my Dremel tool to cut out the panel once I was satisfied with my cut out outline placed with masking tape.
Once the panel was cut out, I then trimmed off 3/16 of an inch off on all four sides. This will allow room from the center portion of the H-channel rubber trim I bought.
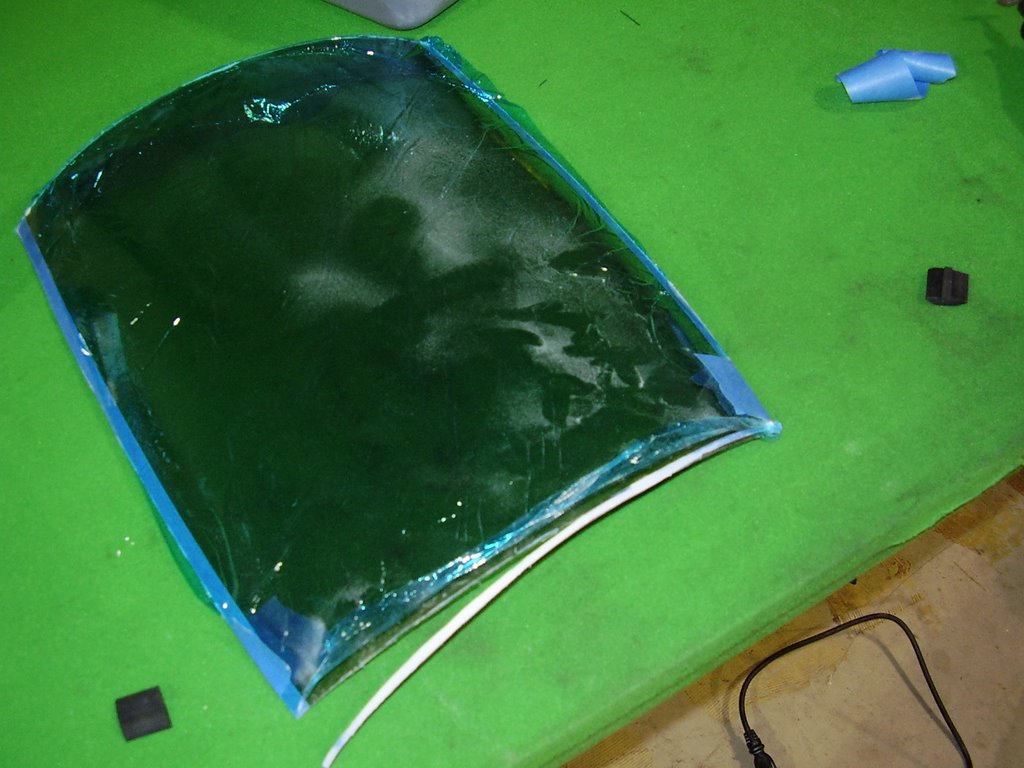
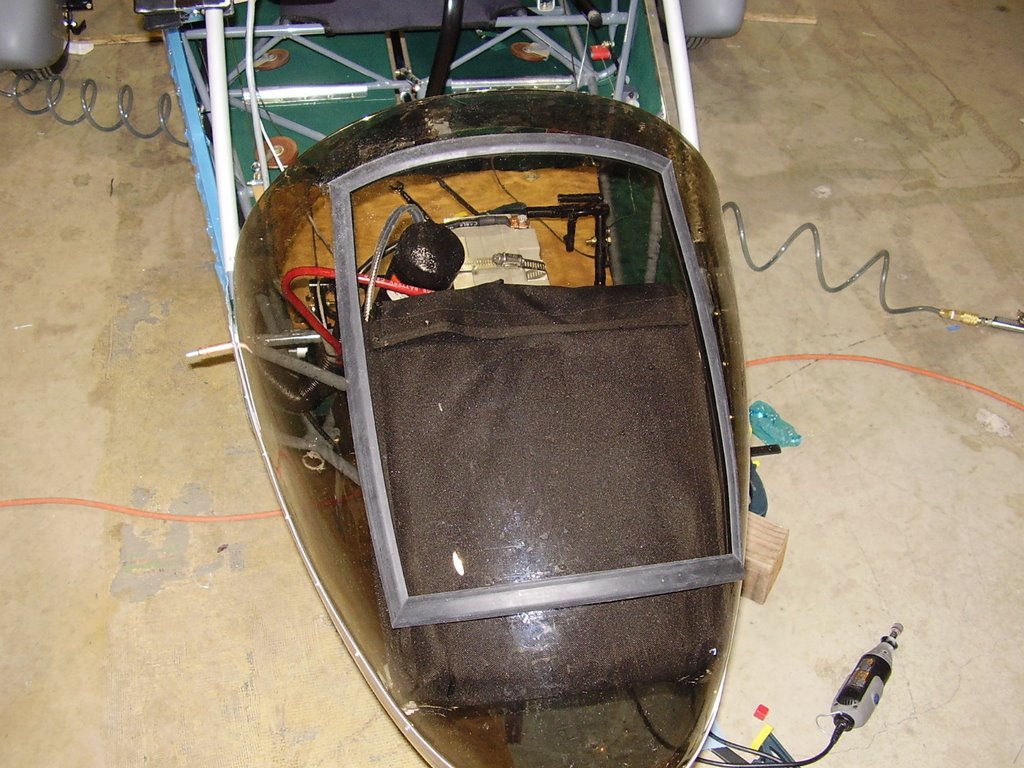
It was a little bit of a wrestling match to get the blow out panel back in place with the trim but it does have a good tight fit. The channels of the rubber trim are a little larger than I had hoped for. The Lexan material of the nose cone doesn't fill the channel completely but it should work. I may try to glue the channel to the top surface of the nose cone and the blow out panel.
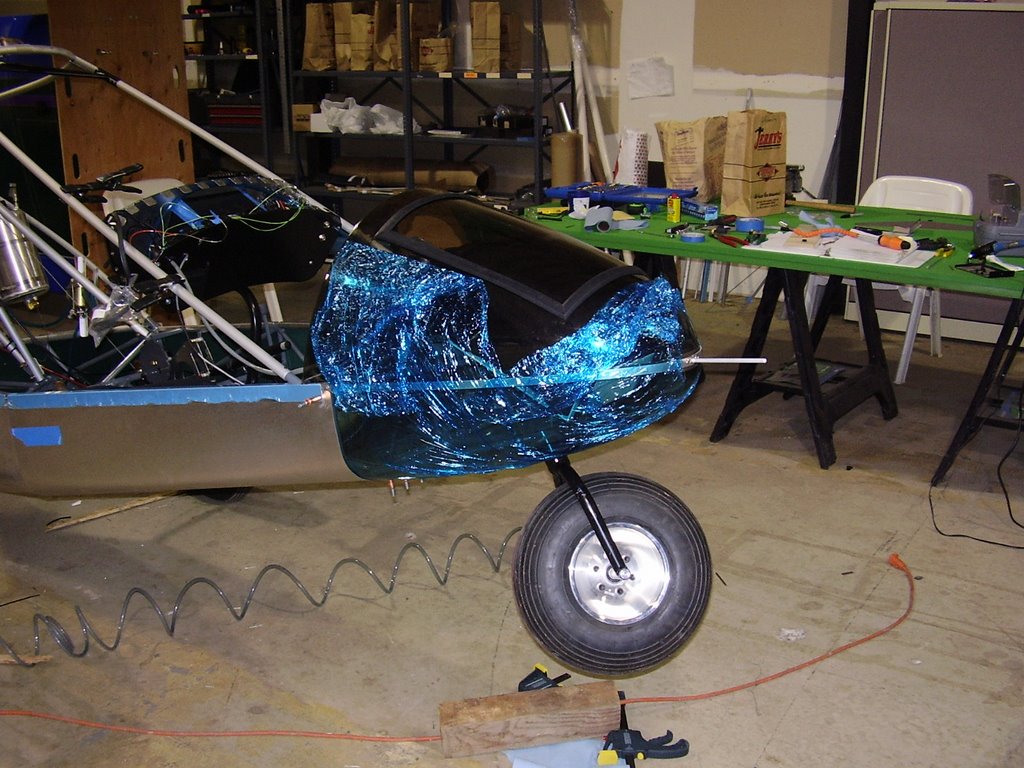
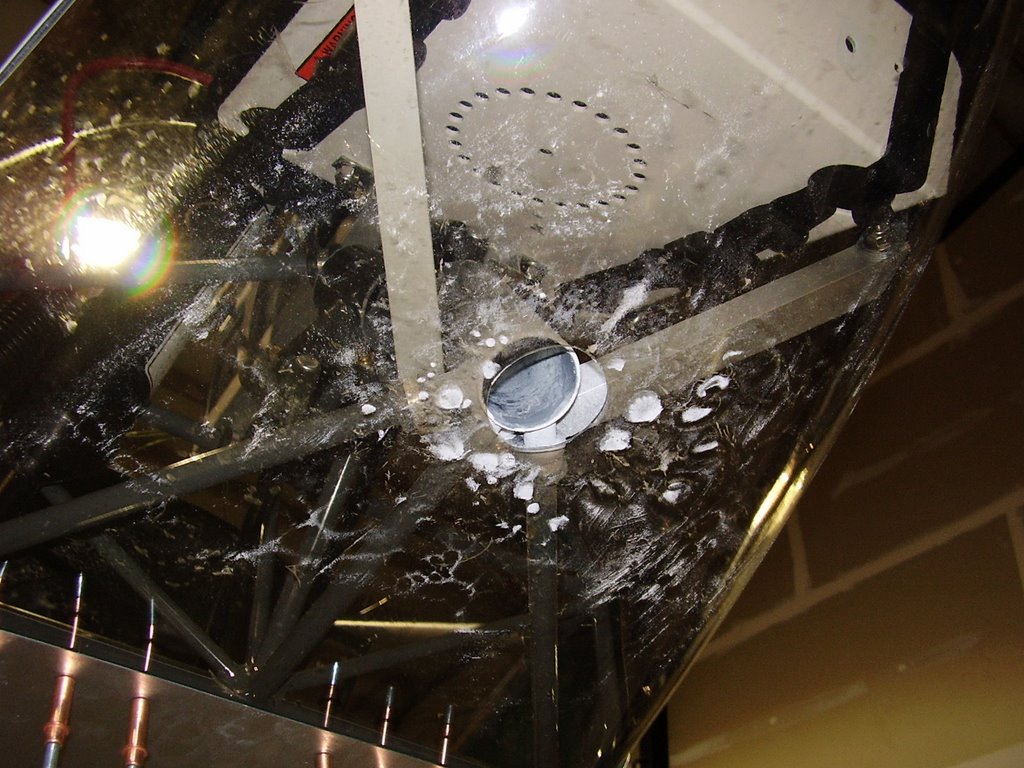
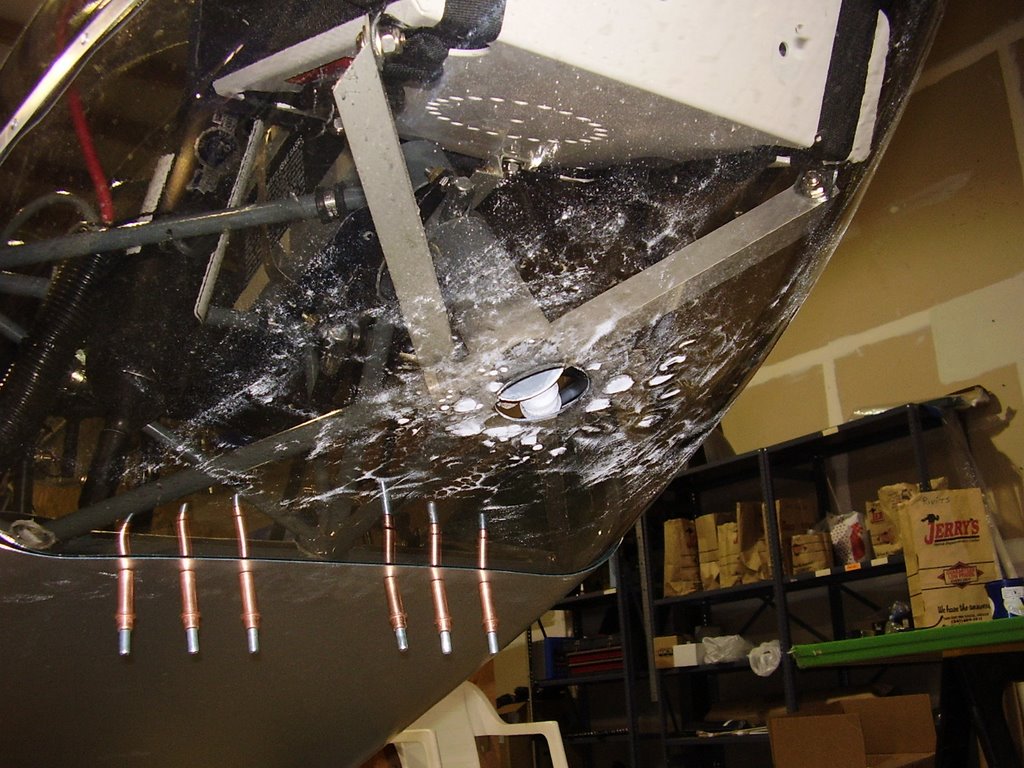
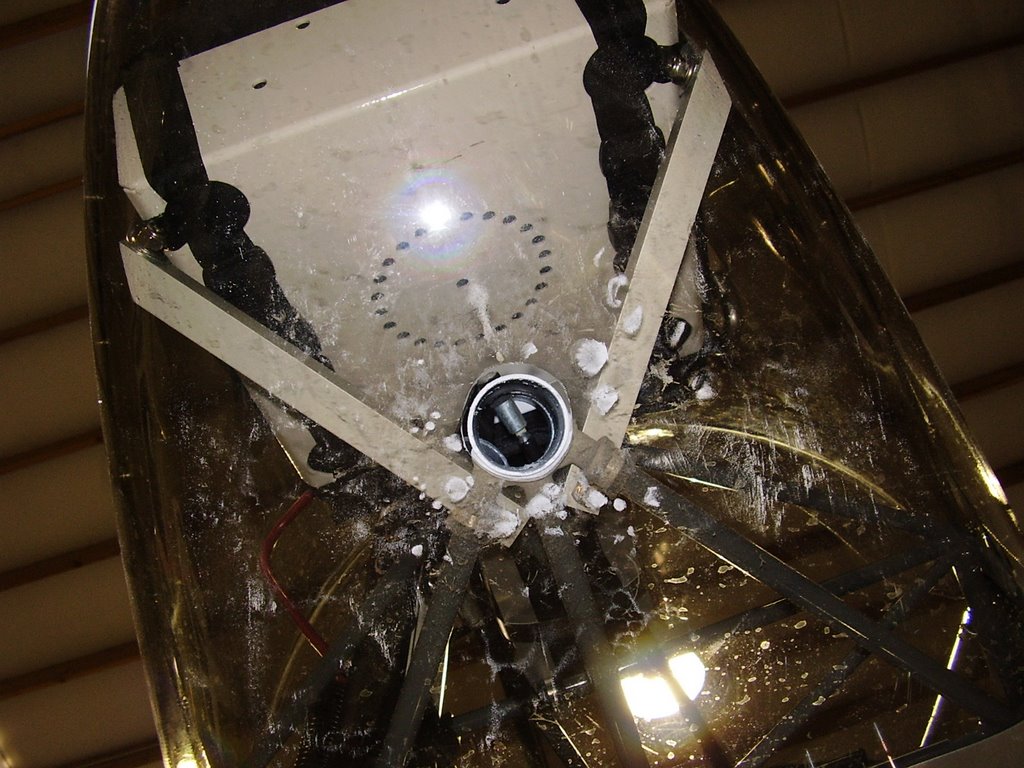
Now for the nose wheel... Again I used my Dremel to grind a hole in the bottom of the nose cone for the nose wheel. I oversized the hole to allow a 1/8 inch gap between the nose wheel fork and the Lexan.
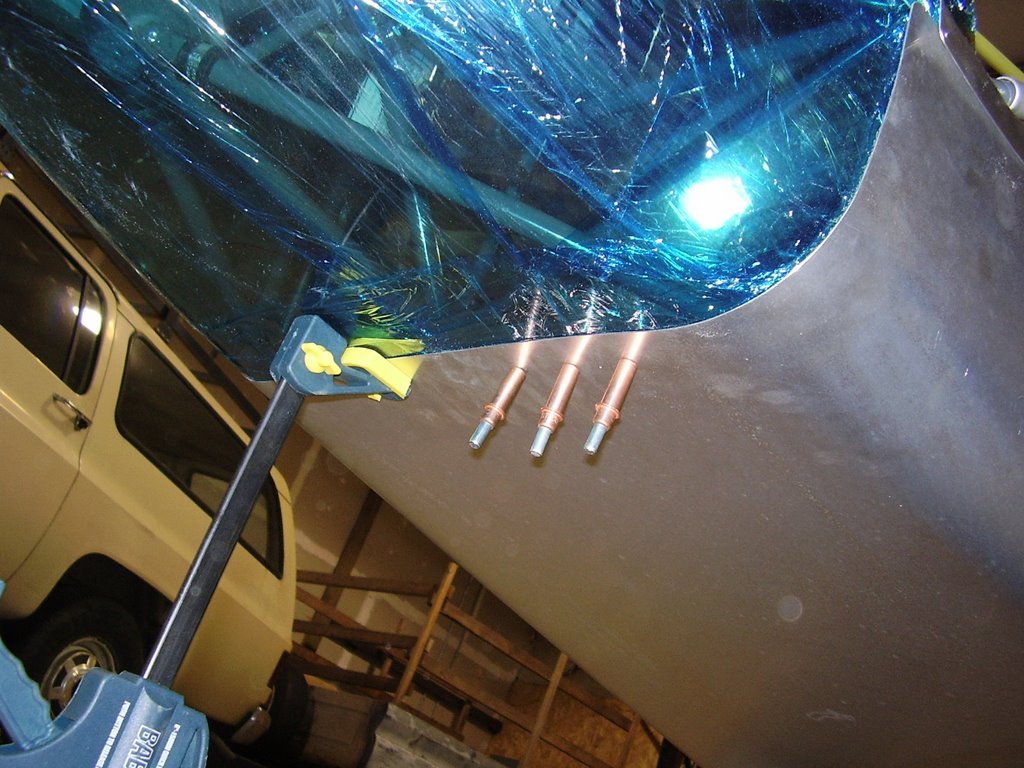
My next task was to install my pitot tube. I started out by predrilling a hole through the pitot tube mounting block. I drilled this hole one size smaller that the 1/4" pitot tube. I them contoured the block to fit well with the inside of the nose cone. I then screwed the block in place and drilled the 1/4" hole through block and nose cone. I then removed the block and attempted to install the pitot tube into the block. The hole was too tight and I ended up damaging the pitot tube. Luckily, I had another tube I could use. I partially drilled out the block with a slightly larger drill bit. This allowed me to install the pitot tube and still have a enough retention force.
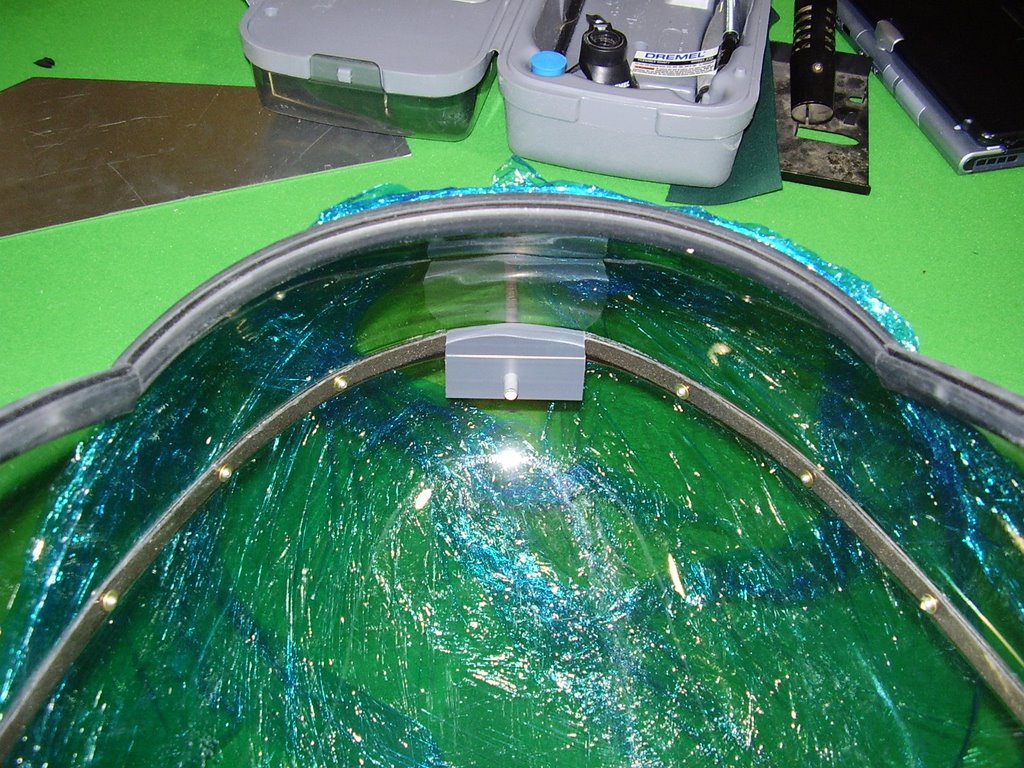
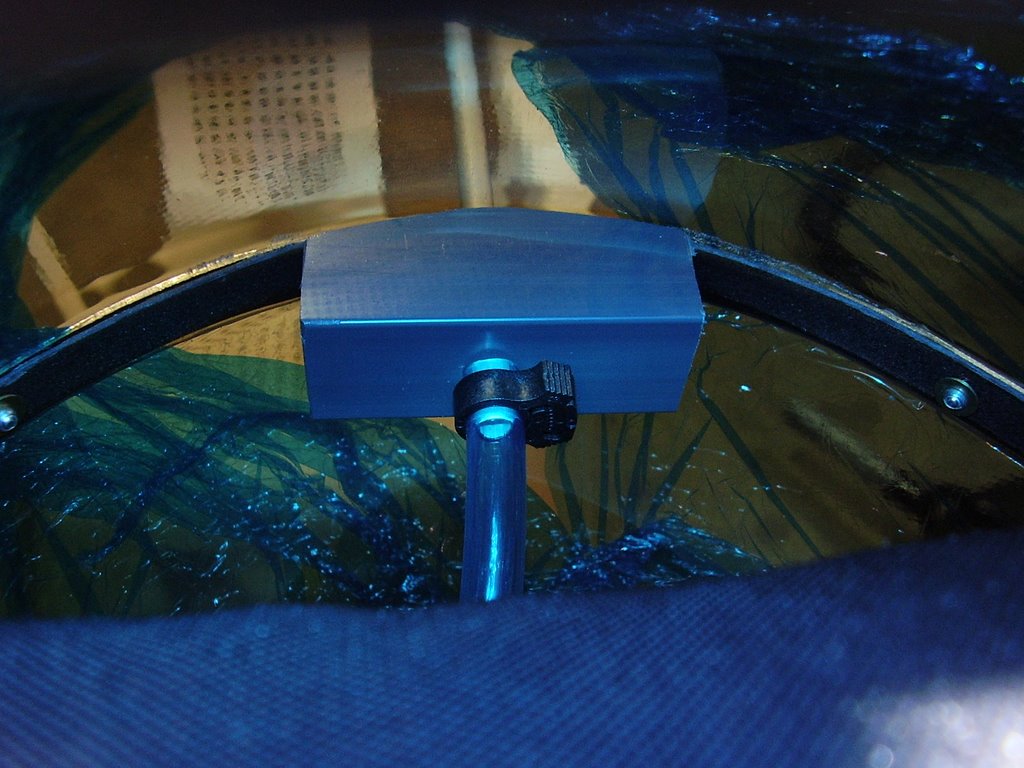
I then drilled out a 5/8" hole in the two inch flange on the top half of the nose cone. I placed a rubber grommet into the hole and threaded my pitot tube through it. This will hold my pitot tube nicely. My first attempt in drilling the grommet hole ended up being too large so I ended up having to drill a second hole.

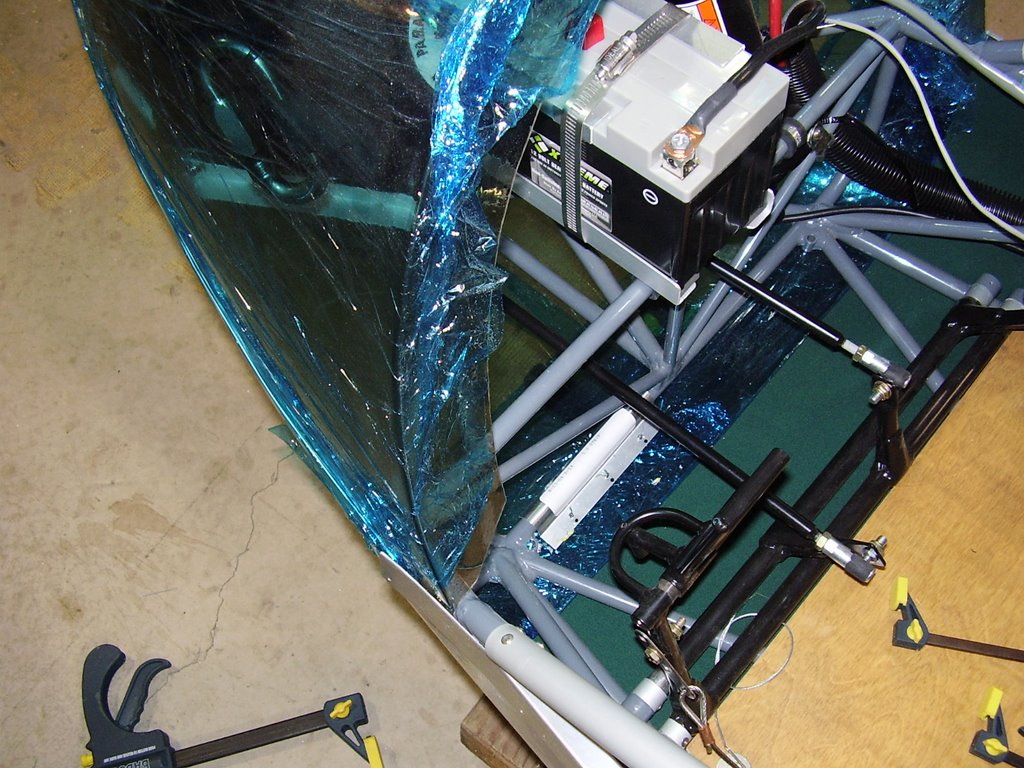
Just prior to permanently installing my nose cone, I cleaned out the grease for the nose wheel fork and replaced it with some clean grease. I then installed and riveted the nose cone into place. I then installed the nose wheel fork and bolted it into place. This was easier than I had expected. I was able to work around the battery, rocket, and parachute easily from the left side. It will be a different story once I get the windshield installed.