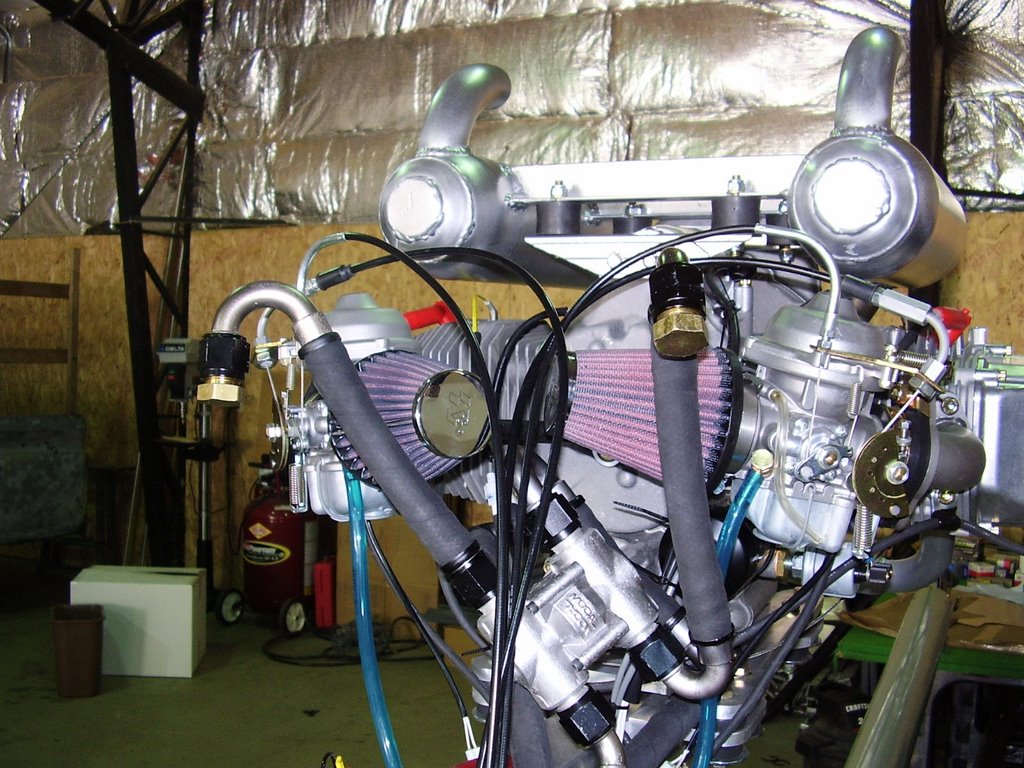
With the engine systems proven, I can now move forward with installing the enclosure. To make putting on the sheetmetal on the plane easier, I need to remove the wings. Prior to doing that I need to remove the cowl and oil cooler. I purchased some caps and plugs to place on the oil cooler and oil lines to keep them from spilling oil or becoming dirty. You can see the caps and plugs installed on the two pictures below.
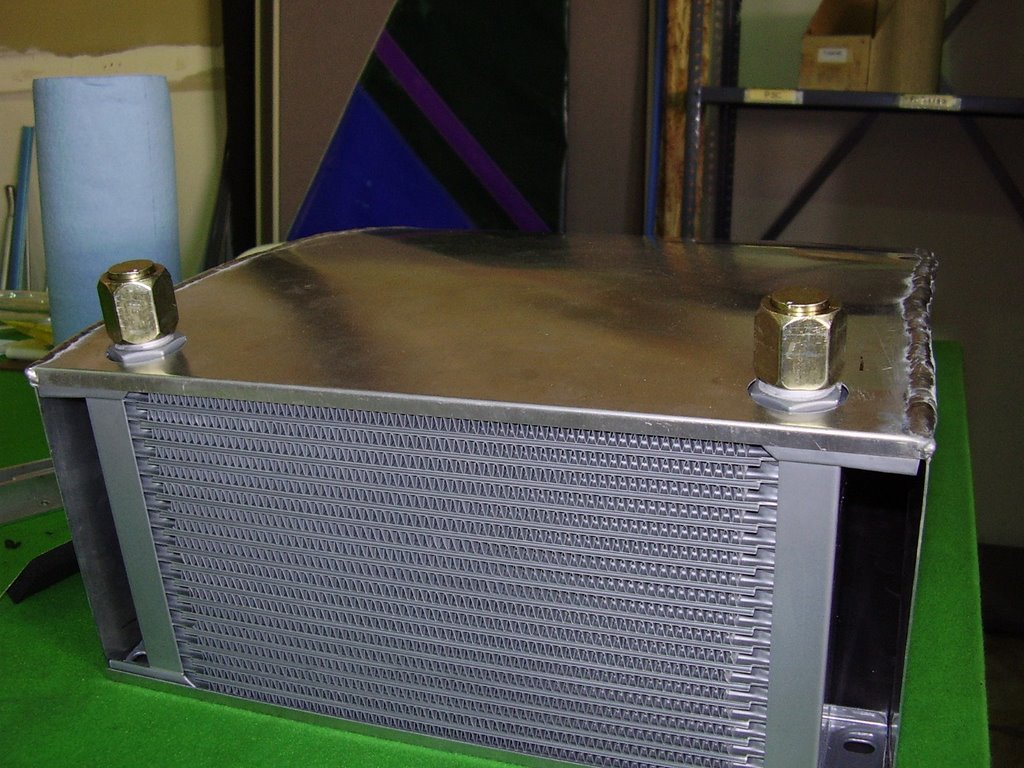
When I disconnected the oil fittings from the oil cooler I expected a small amount of oil to spill. To help minimize this, I tipped the plane on to its tail to allow more oil to drain from the cooler to the tank. I then righted the plane and removed the fittings. Not a drop of oil spilled. The oil level was about 4 rows down from the top of the cooler. My setting the plane on it's tail shouldn't have drained this much oil. I guess the oil may have siphoned itself out of the cooler when it was flowing into the tank.
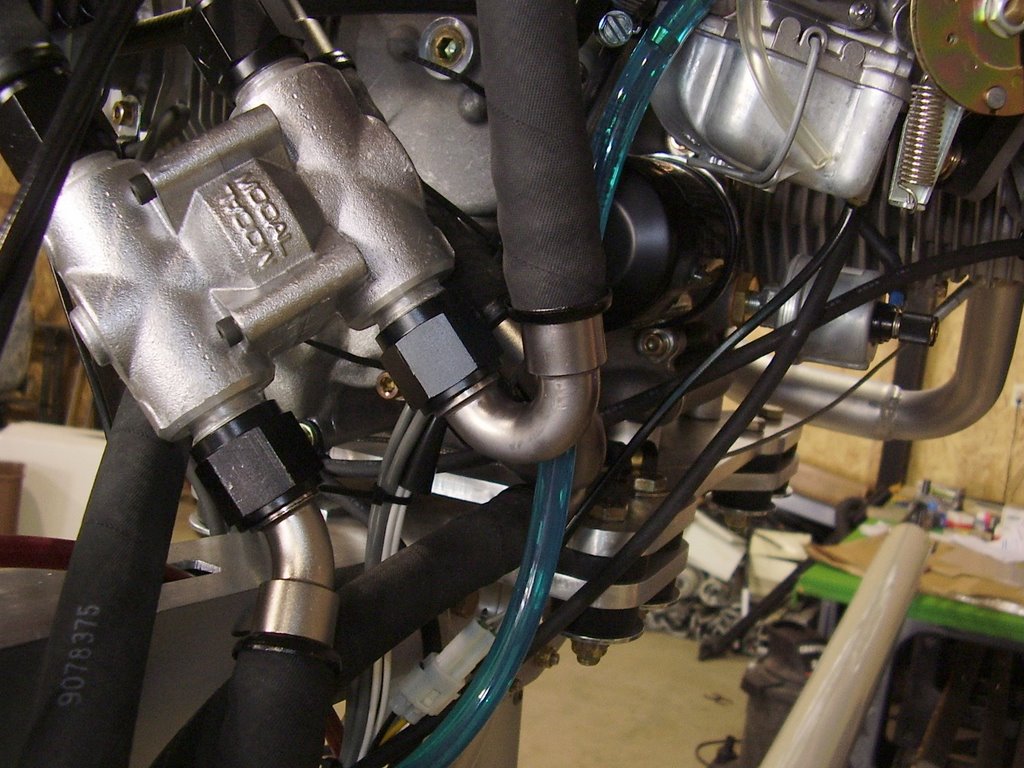
One of the oil fitting that connects to the thermostat does not have much clearance to the wing root To try and increase this clearance, I loosened and rotated the fitting. In the center of the photo below you can see the fitting that I rotated.
While the engine was cold, I torqued the spark plugs to 18 ft-lbs and the exhaust nuts to 20 ft-lbs. The spark plugs moved slightly because when I installed them, I only torqued them to 17 ft-lbs. The exhaust nuts were snug and didn't budge.
In the process of testing my headset wiring for my radio, I blew the 1 amp fuse in the insturment pod. I will need to up the amperage of this and the other fuses.