Today I installed the upper panels of the rear enclosure. I started out by taping the edges of the two rear belly pans in place.
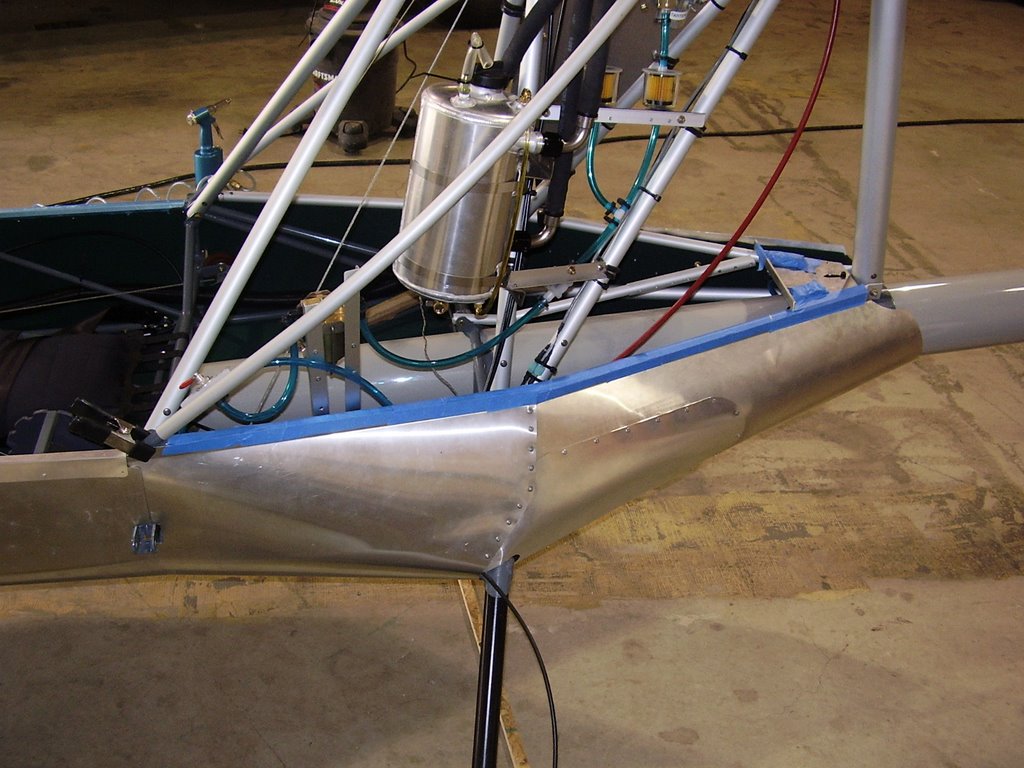
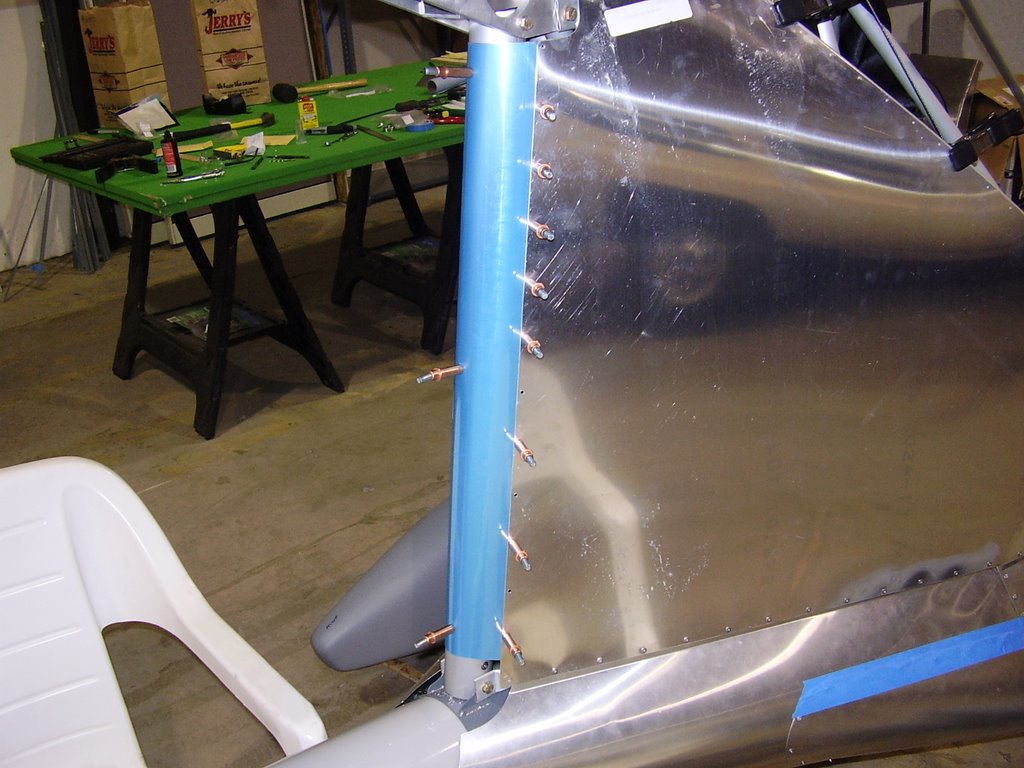
I then positioned the upper panel into place. Getting the right fit was tricky. Once I was satisfied with the positioning, I started drilling and clecoing the bottom edge. I had only drilled my first hole when I realized there was a problem. I had lined up the bottom edge of the upper panel with the crease in the belly pans. This was actually too low and caused the predrilled holes in the upper panel to miss the aluminum tube that I need to rivet into. I repositioned the upper panel and started drilling and clecoing. Unfortunately there is no way to hide that first hole which I drilled in the wrong place.
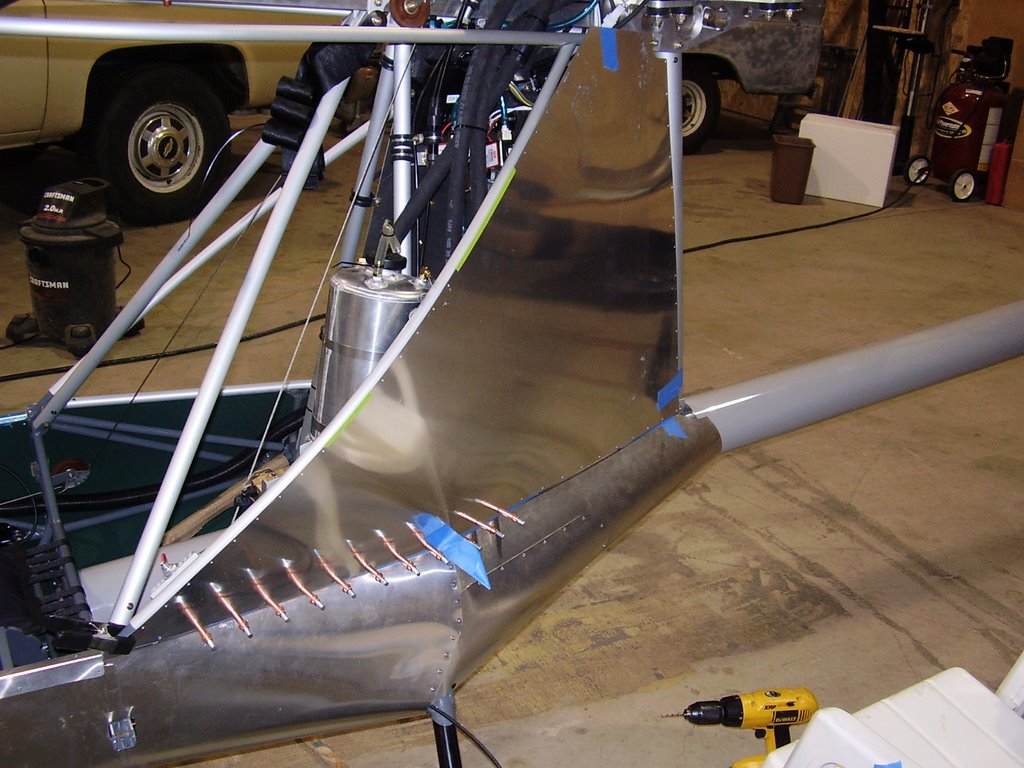
Once I finished drilling and riveting the holes, I attempted to install the upper panel support tubes. I did not like how these tubes are to be attached to the plane. Their straight shape also didn't do much to support the upper panels which naturally curve. I attempted to bent the tubes to fit the contour of the panels without much luck. I decided to omit the support tubes. If necessary, I'll come up with another method to support the panels.
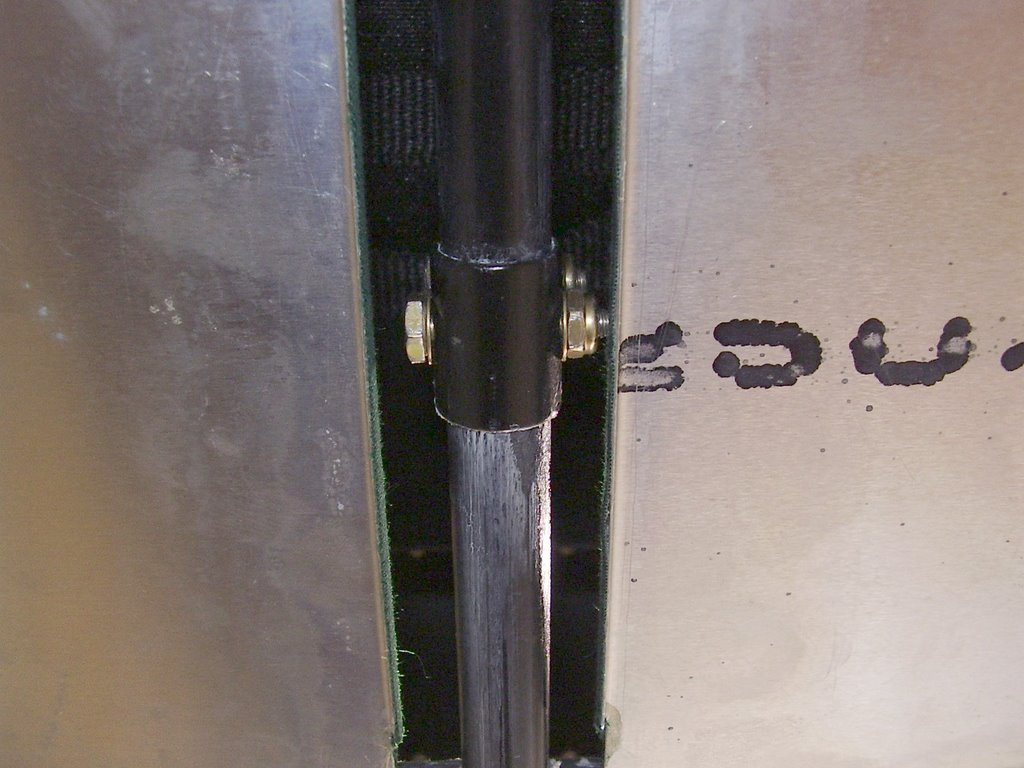
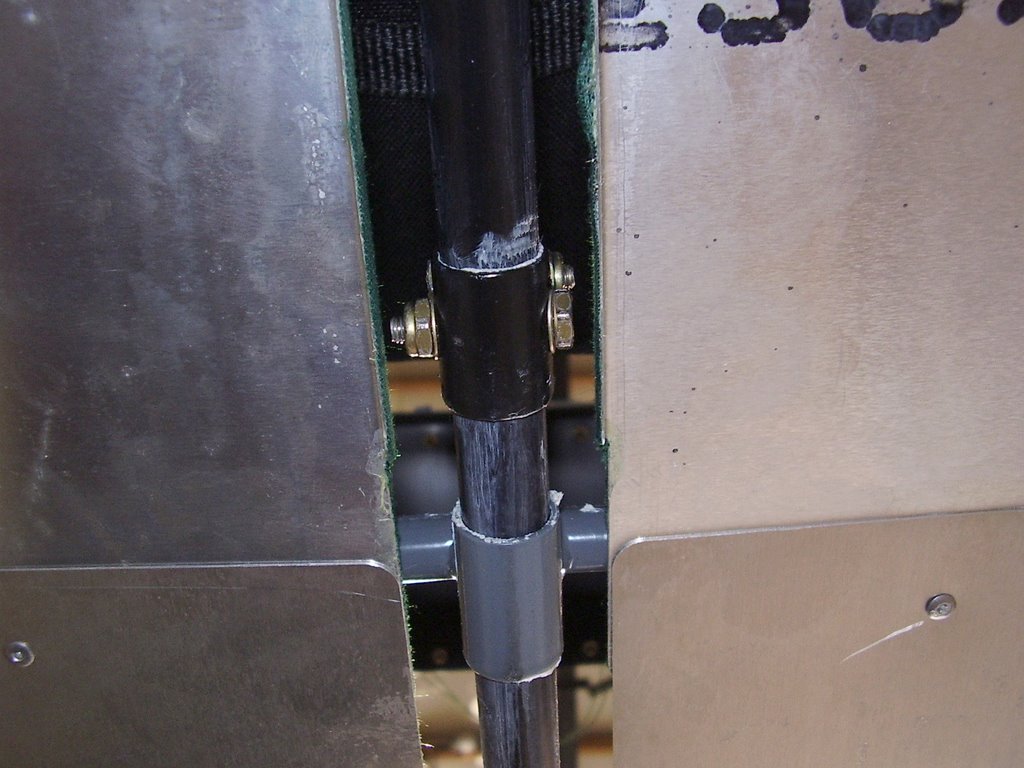
The right panel did not fit as well as the left panel did. With the left panel, the predrilled holes easily lined up with the bottom former tube and the vertical former tube that will also support the lexan. I ended up positioning the panel so the holes in the bottom former need to be angled down in the front, up in the back, and centered in the middle.
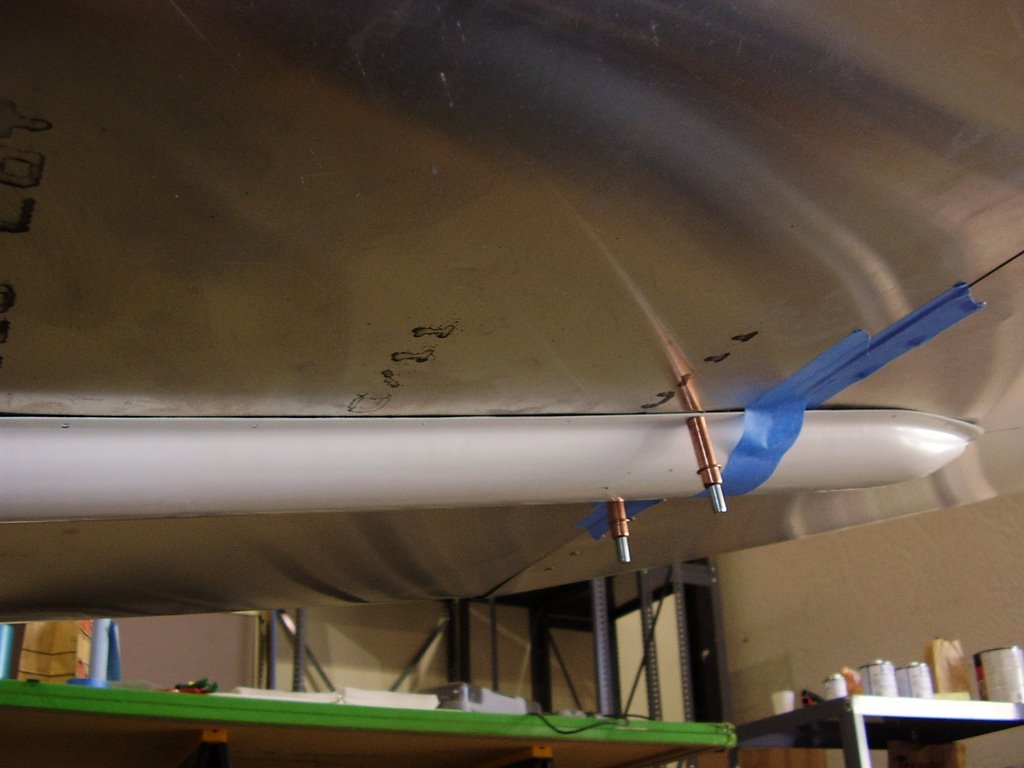
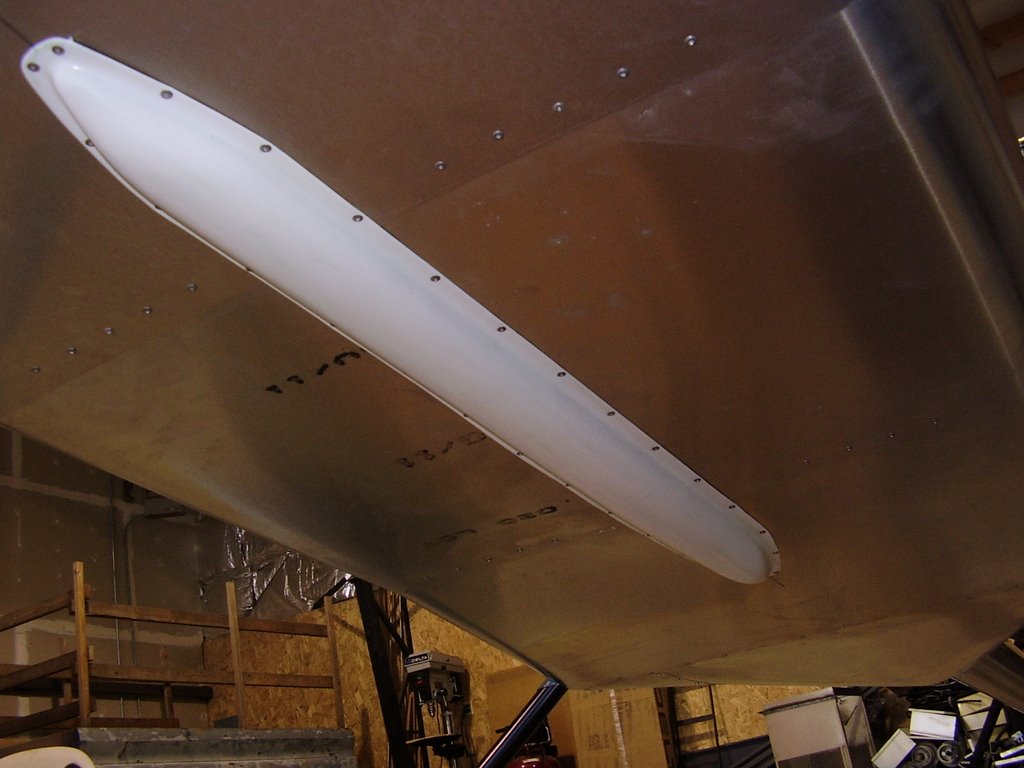
The upper edge of both upper panels overlap the top former by a significant amount. This shouldn't interfere with the wing but may cause problems with the fuel lines. I may need to trim or add rubber trim to the panel if the fuel lines come in contact with it.
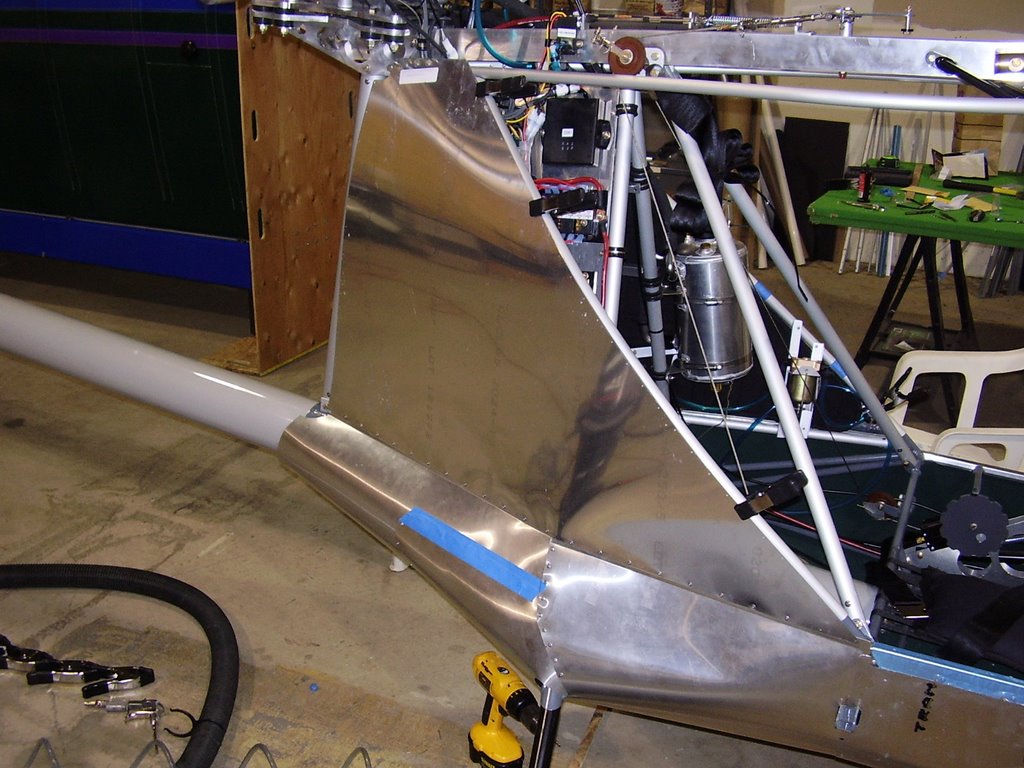
Once the two upper panels were riveted into place, I installed the rear enclosure. This pre-bent piece easily fit into place. The top edge of the rear enclosure revealed that the top edges of the two upper panels are off by 1/8". I positioned the rear enclosure to be flush with the right side. I also needed to ensure that the inside edges of the rear enclosure was tucked between the upper panels and the sound proofing inside the plane.