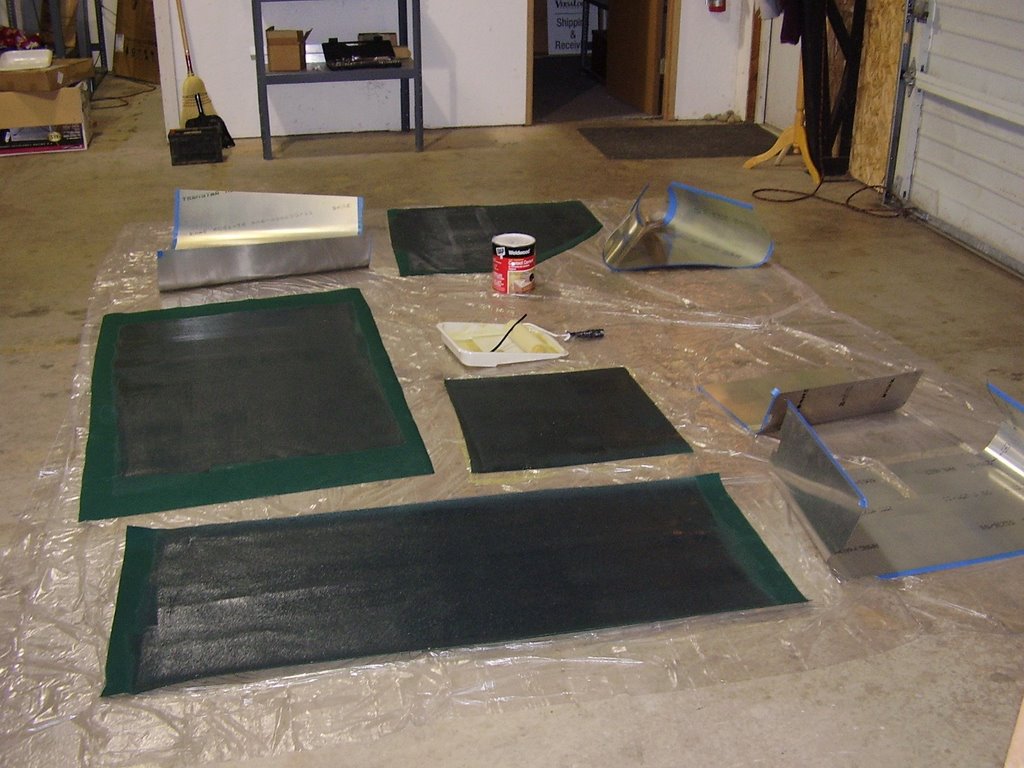
Today I planned to trim the fabric to size. Unfortunately, the S-18 glue that I used didn't adhere the fabric to the metal skin. The fabric, on all of the pieces, easily pulled right off the metal leaving a residue of glue on both the fabric and the metal. The glue had setup and wasn't tacky. It appears as if I had let it set for too long prior to pressing the fabric to the metal.
It looks like the two large bottles of glue I had used was faulty. On one of the pieces I needed to add glue to a fabric edge because I didn't spread it out enough. I used the small bottle of glue that I had originally bought and used because it was handy. The glue in this spot had held strong showing that the small bottle of glue worked fine.
Needing to start over again, I went and purchased a can of Contact Cement from the hardware store. This glue worked very well and set up faster than the original bottle of S-18 glue. Once I had finished re gluing all of the parts, the glue had set up enough that I could start trimming the fabric.
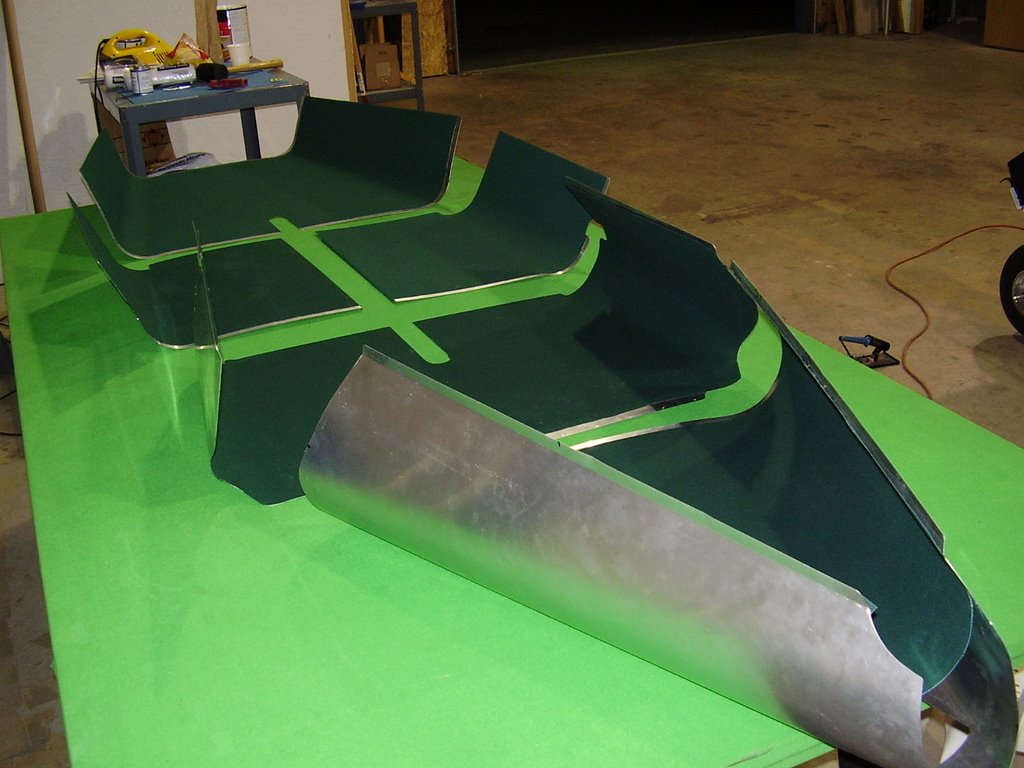
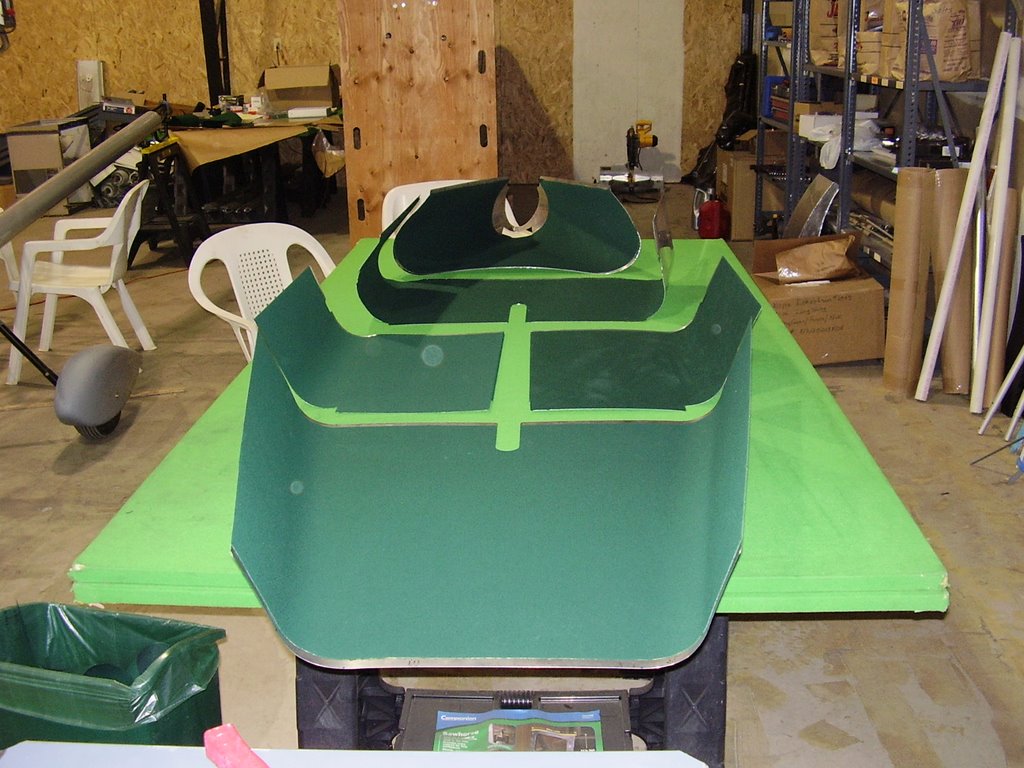
Below are some pictures of the trimmed fabric. I used scissors, a utility knife, and a soldering iron to trim the fabric. In the areas that I had placed masking tape over the metal to allow me to trim the fabric back, I ended up peeling the fabric off the tape instead of peeling the fabric and tape away from the metal. The tape didn't work as well as I had hoped and I ended up with some rough cuts on the fabric. In some places I ended up cutting too much fabric away from the metal's edge. It may have been easier if I had forgone the tape, glued and trimmed the fabric right to the edge of the metal, and then sliced the fabric with the utility knife where I wanted it trimmed and then peeled that fabric away. This would have left a glue residue on the edge but the glue is not thick enough to worry about.