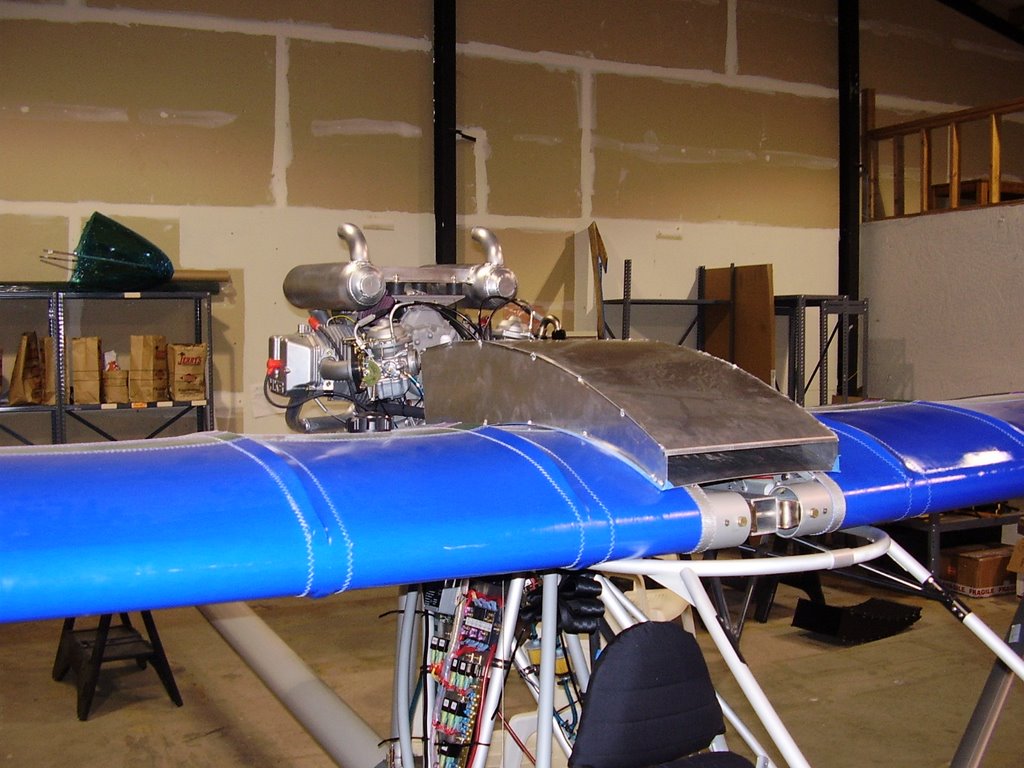
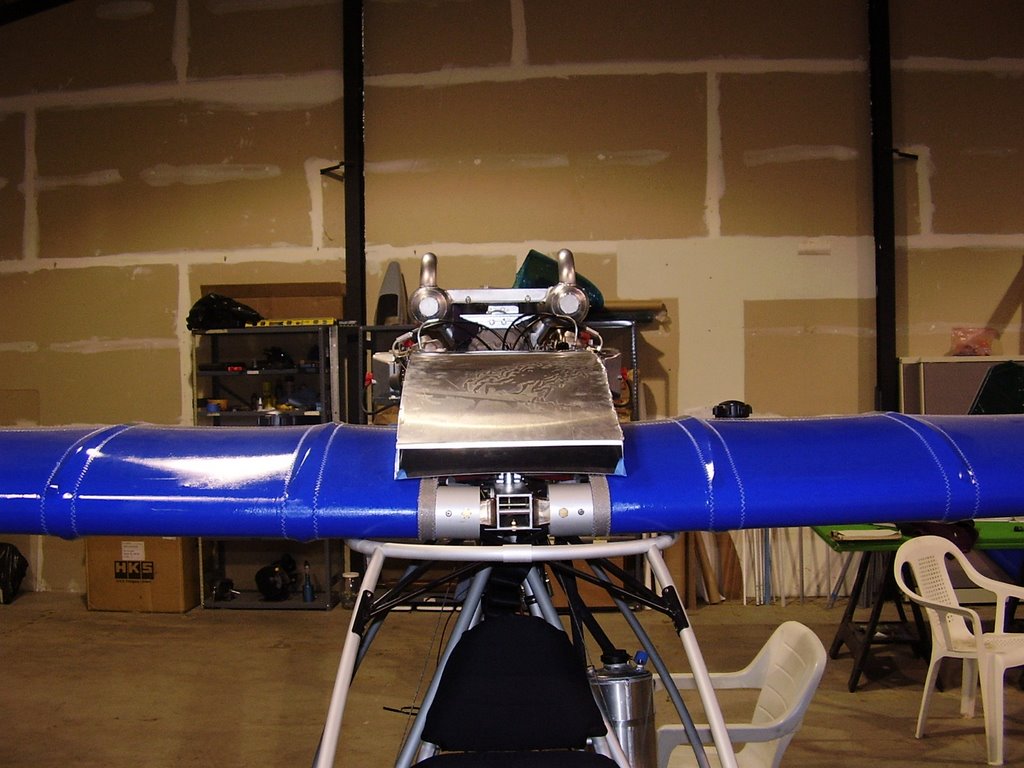
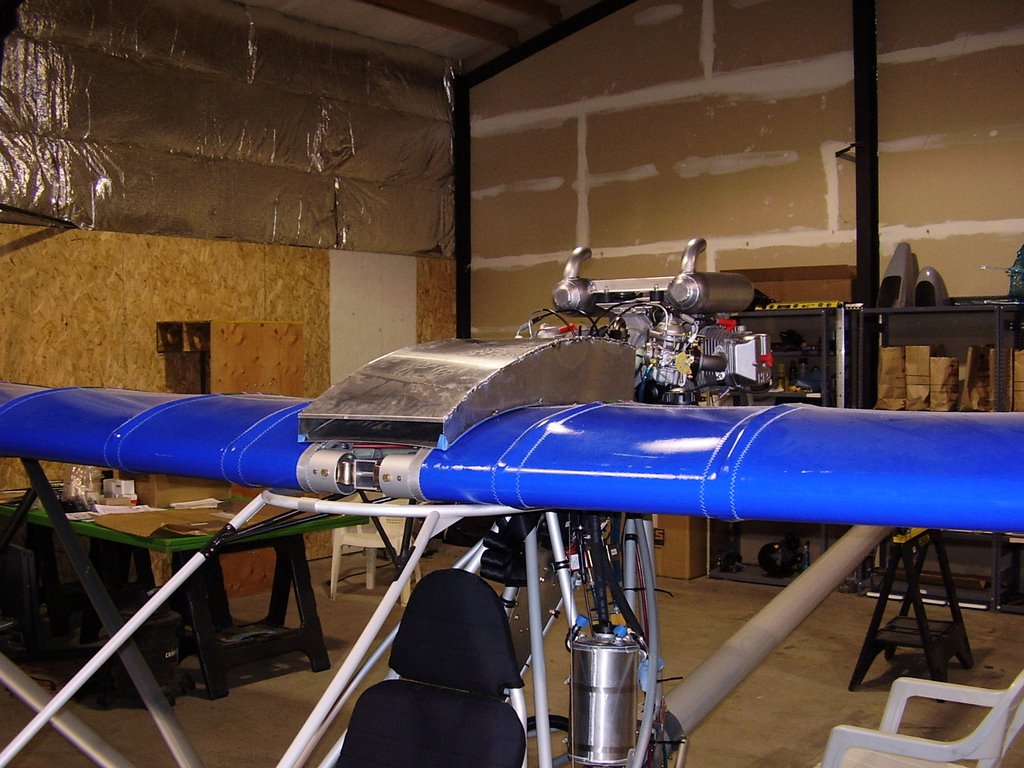
Below are some pictures of my cowling. The cowling is not completed yet, it still needs some more welding done to it. Only one seam is complete; the others are only tack welded.
There have been a few design changes since my last posting for the cowling. Instead of riveting the cowling together, I am having it welded together. Another design change was the lack of hems on the leading and trailing edges. The 6061-T6 material is too brittle to allow for the 180 degree bends. Instead I had 90 degree bends placed on the trailing edges and a 60 degree bend placed on the top leading edge. The bottom leading edge was left straight.
The opportunity to have the cowl welded kind of fell into my lap. The welder is a friend of a friend who has a TIG welder in his garage. He was willing to weld the pieces together for relatively cheap. It was thought that welding would be easier and quicker than cutting, bending, and riveting all of the tabs. Unfortunately, the welding is not going as smoothly as we (me and the welder) had hoped.
We tried tack welding the pieces together without creating a complete jig. The pieces held their shape while they were cold and held together with tape but when heated during the welding processes, they would distort. Clamping the pieces didn't help either since it only provided a local force. The metal would become soft during the welding and would warp around the clamp.
The top and bottom pieces started to pull away from the side pieces when heated during the tack welding process. This caused a gap to form and a small distortion to form at the start and stop points of the tack welds on the top and bottom pieces. This distortion will probably not be an issue once the seam is completely welded since the edge of the material is consumed into the bead of the weld.
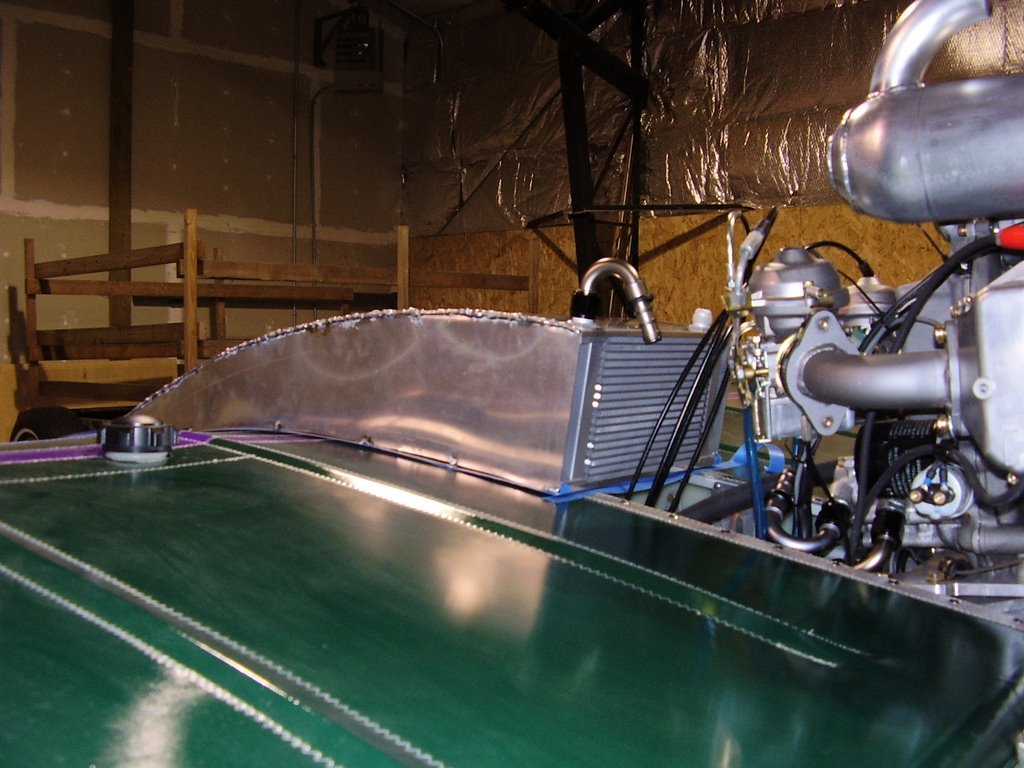
The various width gap between the pieces made the welding very difficult which made it impossible to created a "pretty" bead. You can see in the photos that the weld is very rough.
It appears that the pieces didn't expand the same amount under the heat of welding. You can see in the picture that the side piece became wavy. The curvature of the top piece probably allowed it to absorb the heat expansion all in the outward direction. Since the side pieces were tacked together, they were forced to bow both inwards and outwards. In hind sight, it would probably have been better not to tack the pieces together. One continuous bead would allow the metal to expand freely. This would allow the material to stay straight for the first weld on either of the sides but the second weld may see the same type of expansion problems.
Another theory is that the aluminum pieces don't expand uniformly. The aluminum could expand differently along the grain versus against the grain. The top piece has its grain running front to back, the sides run top to bottom.
Another problem is the bottom leading edge isn't holding the shape of the curved sides. You can see in the photos that the edge is curved upwards in the middle. The other seams are doing fine since they have bends which give them extra strength. I considered having top and bottom pieces rolled to give them their curve but decided against it since the bottom curve doesn't have a constant radius because of the airfoil shape. I will try to give the metal a slight bend or crease by hand to help it hold it's shape.