Wednesday, October 25, 2006

Windshield Install - 3 hours (452 Total)

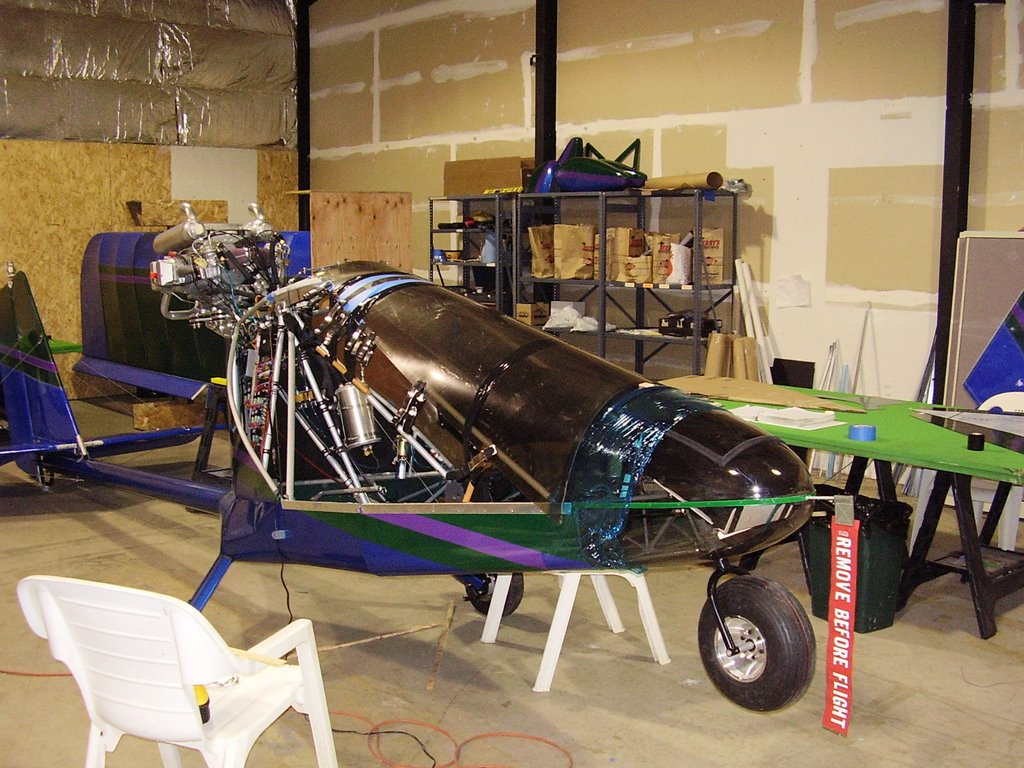
Prior to installing the windshield I needed to do a few more items of prep work.

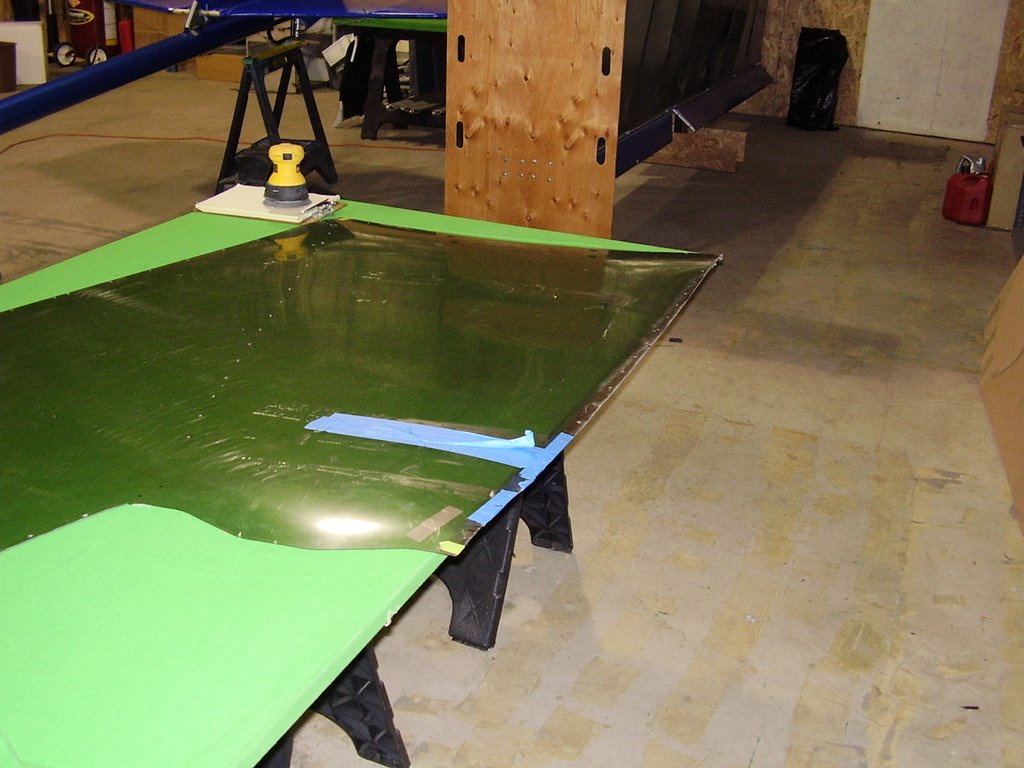
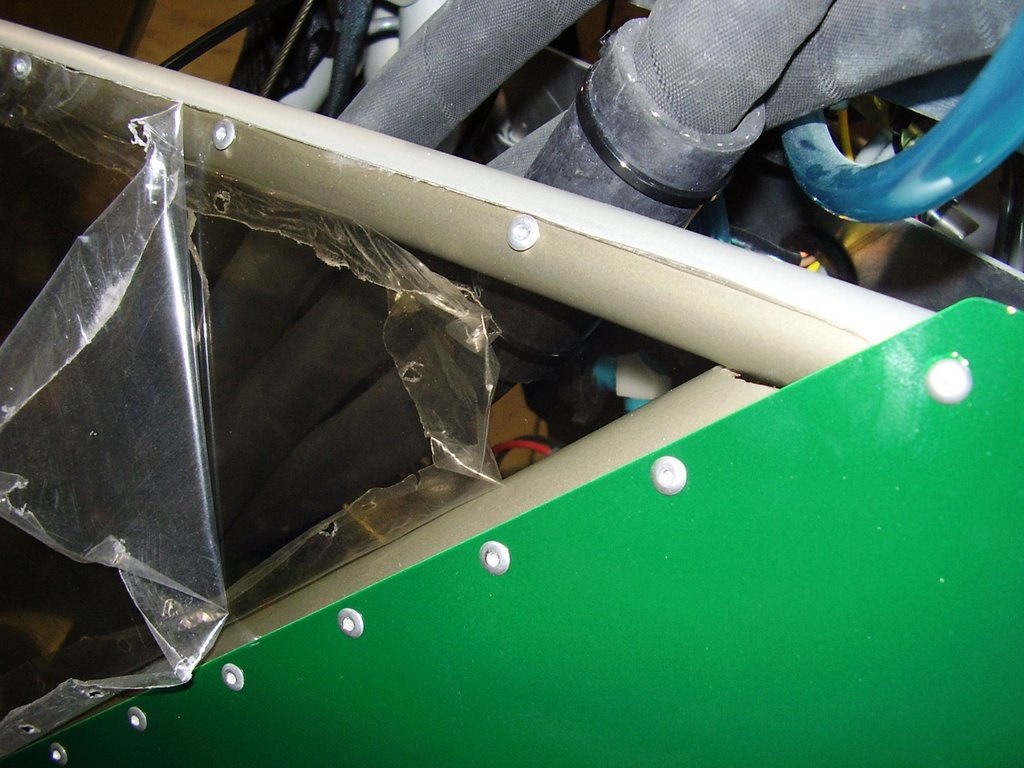
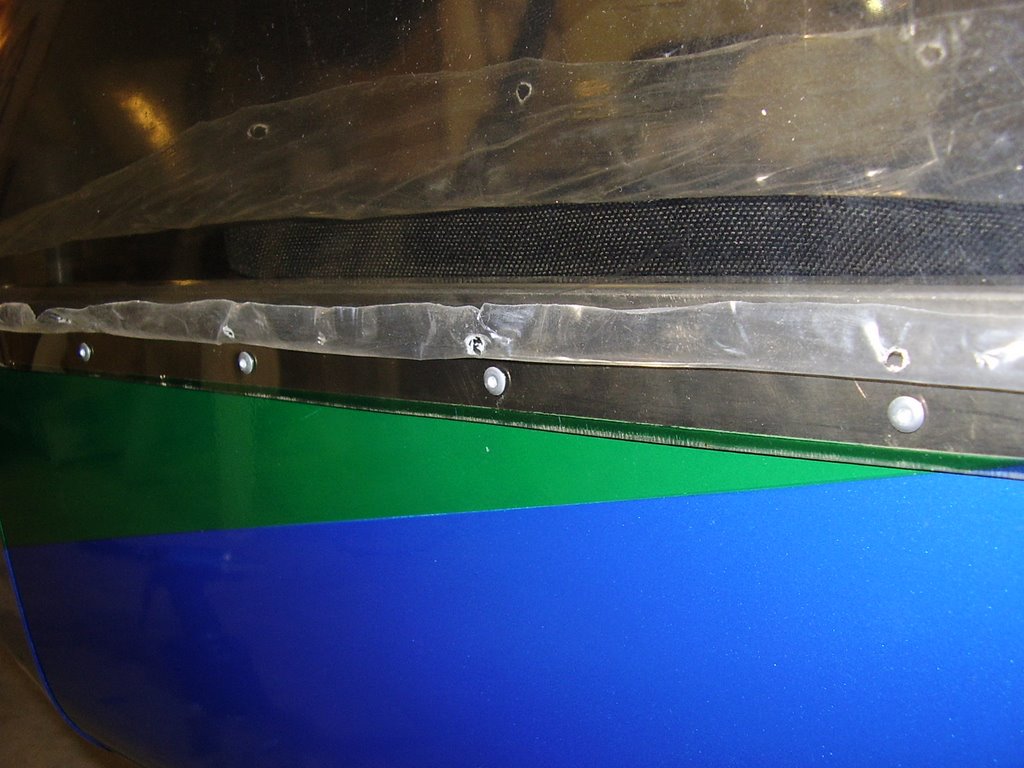
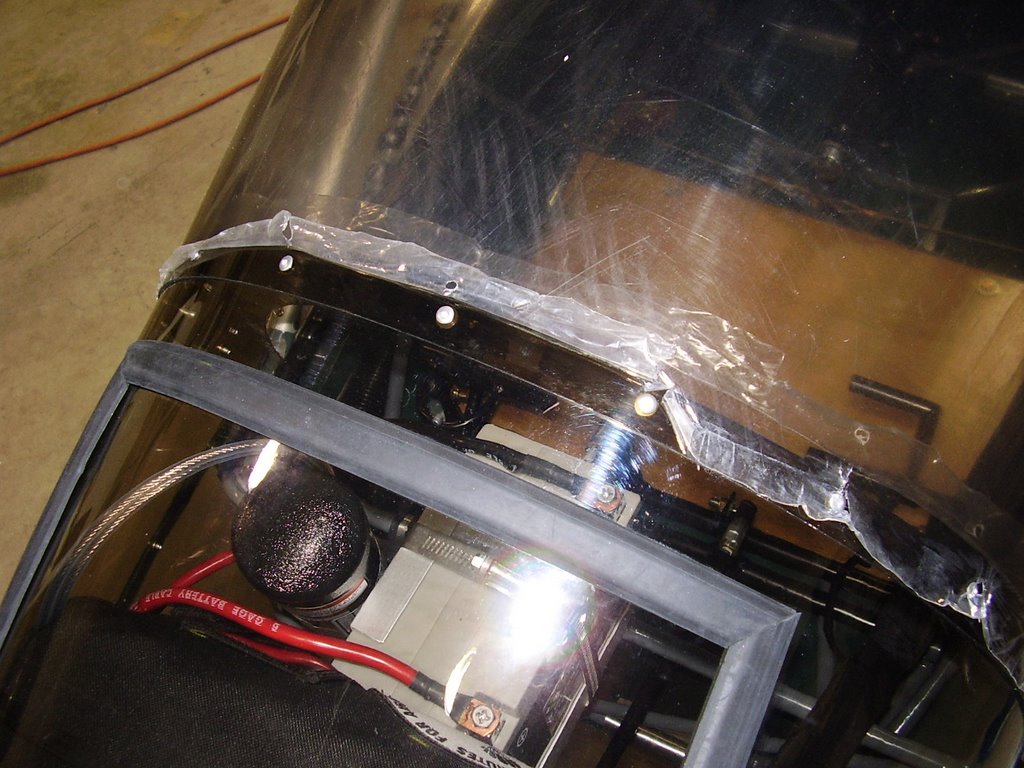
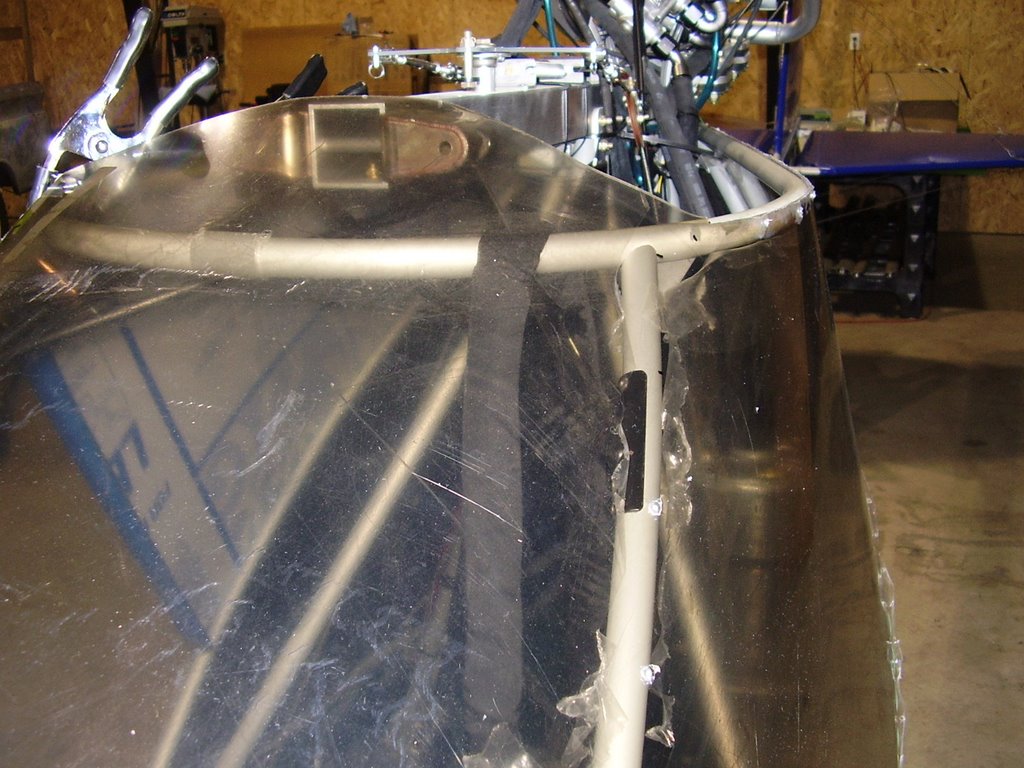
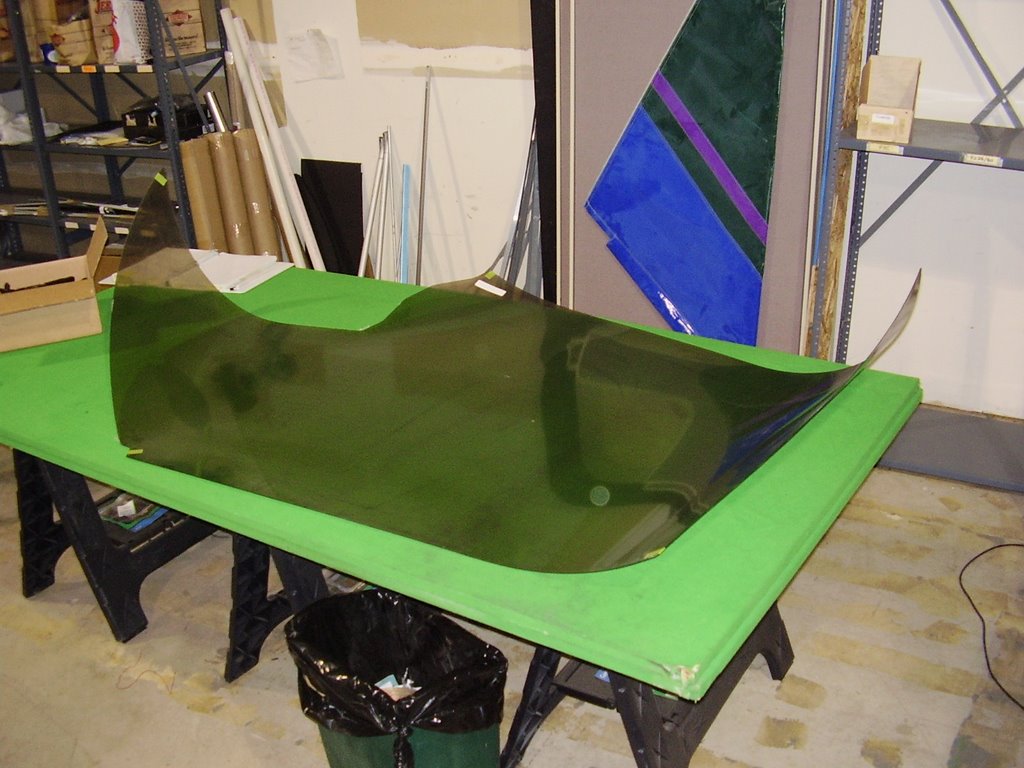
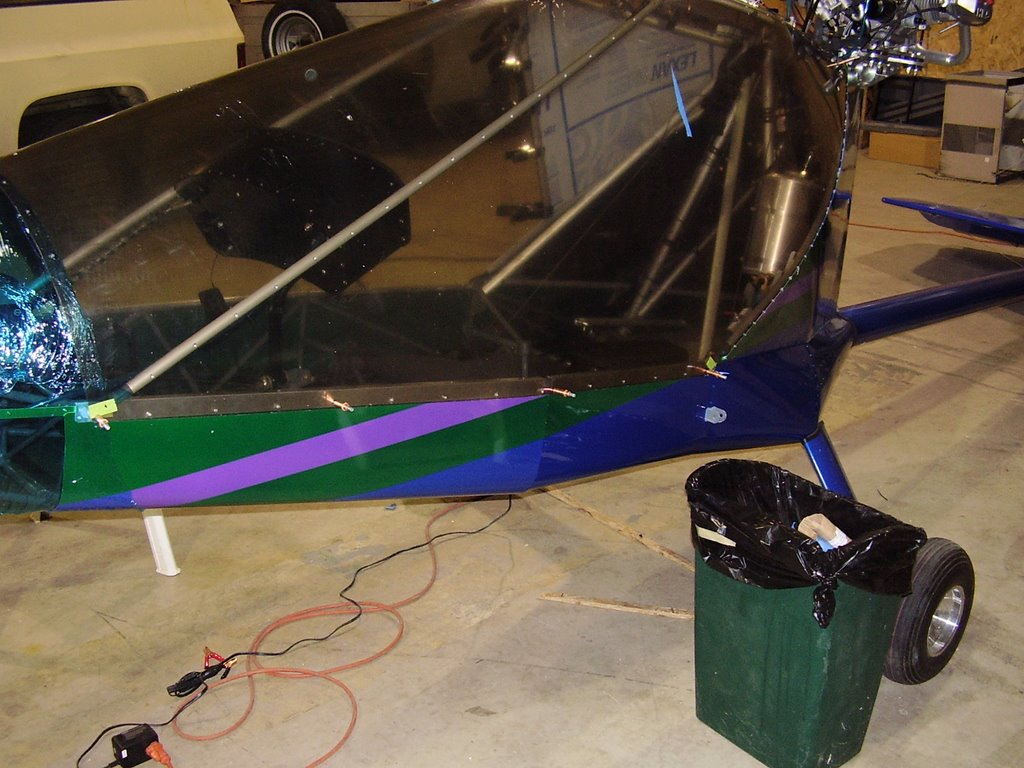
The first thing was to trim the windshield. The Lexan material trims very easily by scoring with a utility knife and breaking. I needed to trim the windshield where it meets the lower half of the door and where it meets the top former on the left side of the plane. The trimmed edges required some sanding to soften the sharp edges.

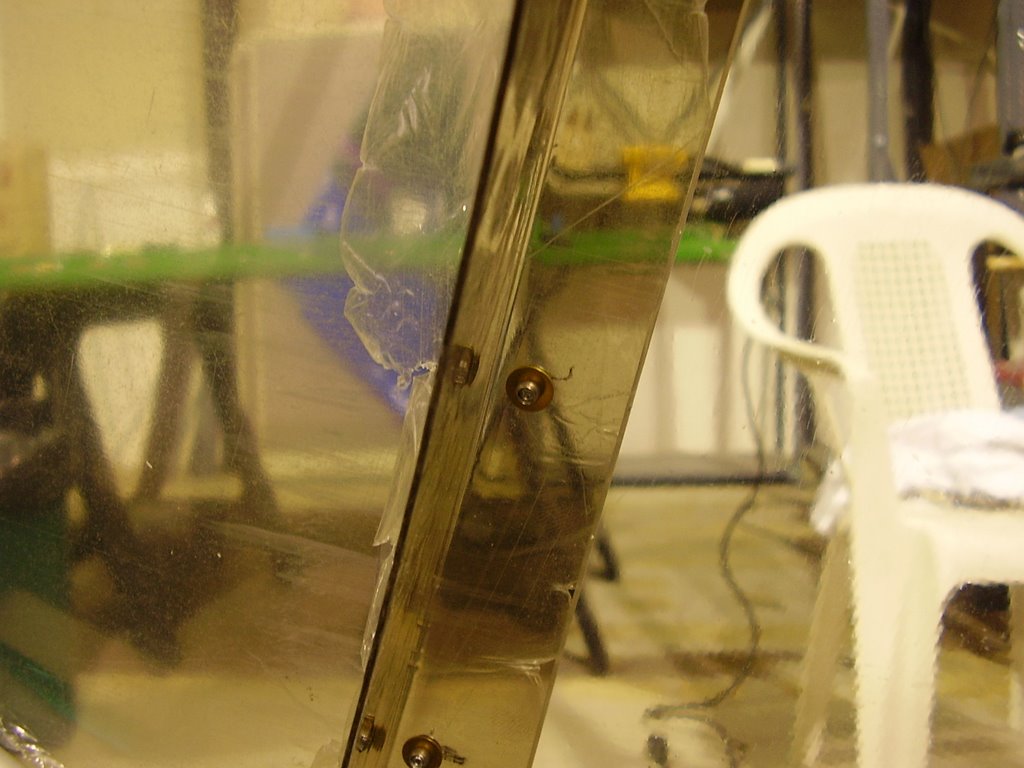
I then cleaned and deburred the rivet holes in the Lexan and the plane. There were a few holes that still needed to drill out on the plane. These holes were where the windshield would be riveted into the steel frame. I needed to be extra careful when drilling these holes to keep from breaking drill bits.

The last step was loosening or removing the windshield's protective plastic cover where it would be connected to the plane. The most difficult area was where the windshield connected to the aluminum tube that runs down the left of the instrument pod. I needed to tear the protective coating away by hand. I tried gently scoring the plastic coating with a utility knife but no matter how soft I pressed, it would always scratch the Lexan.

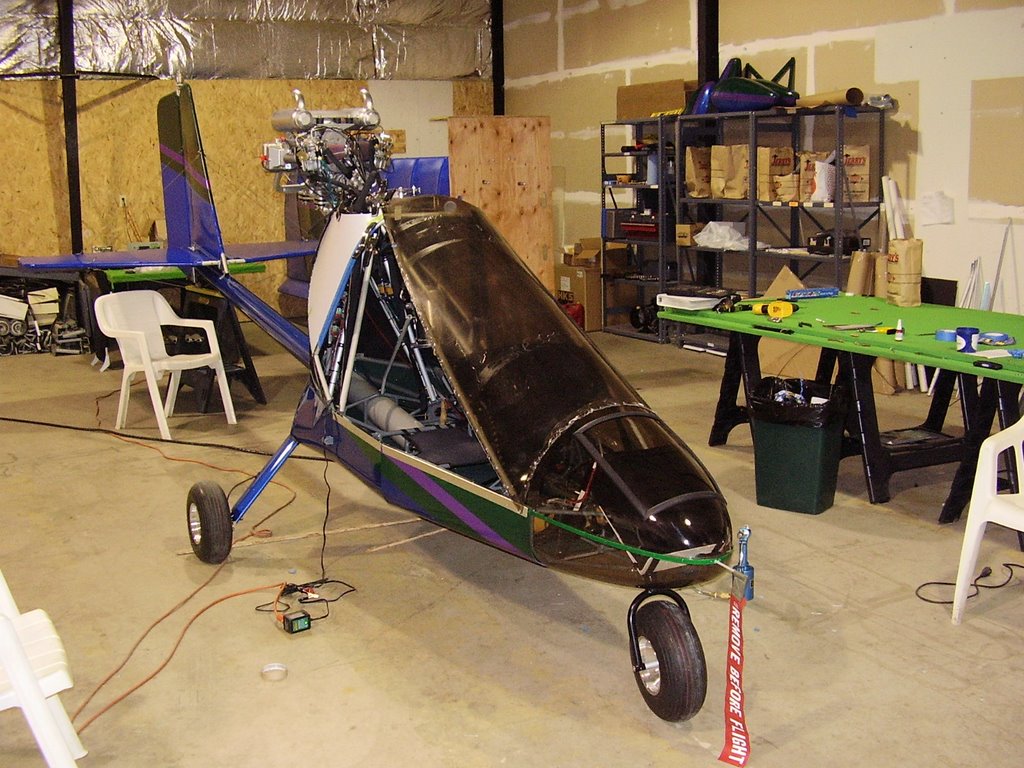
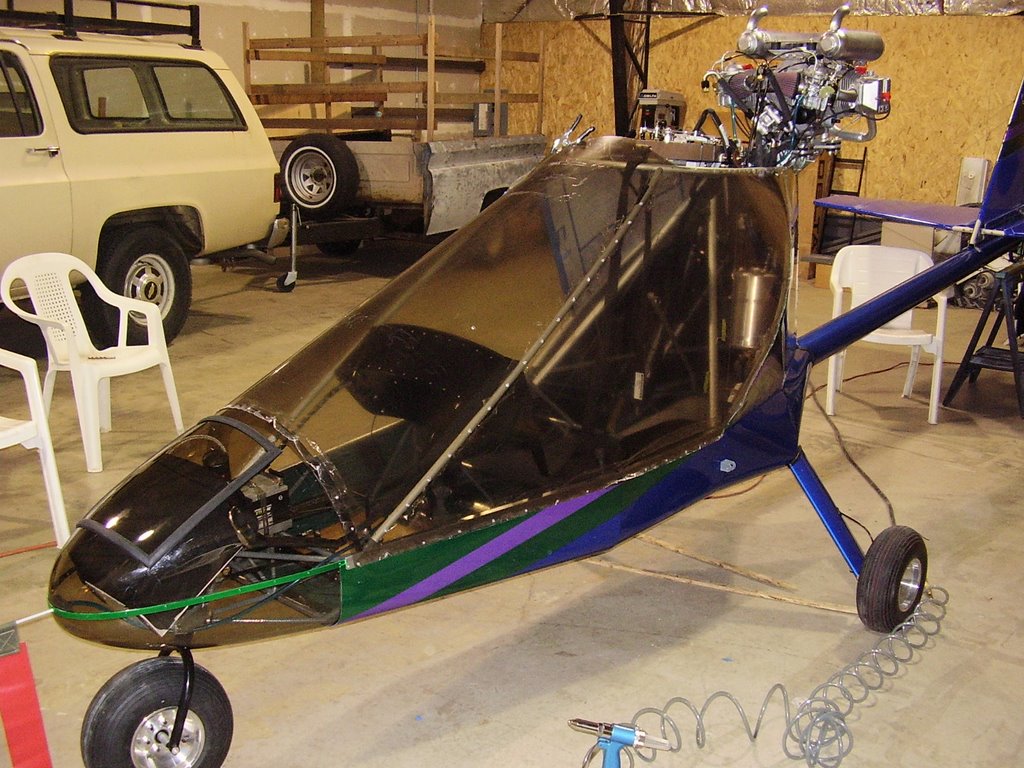
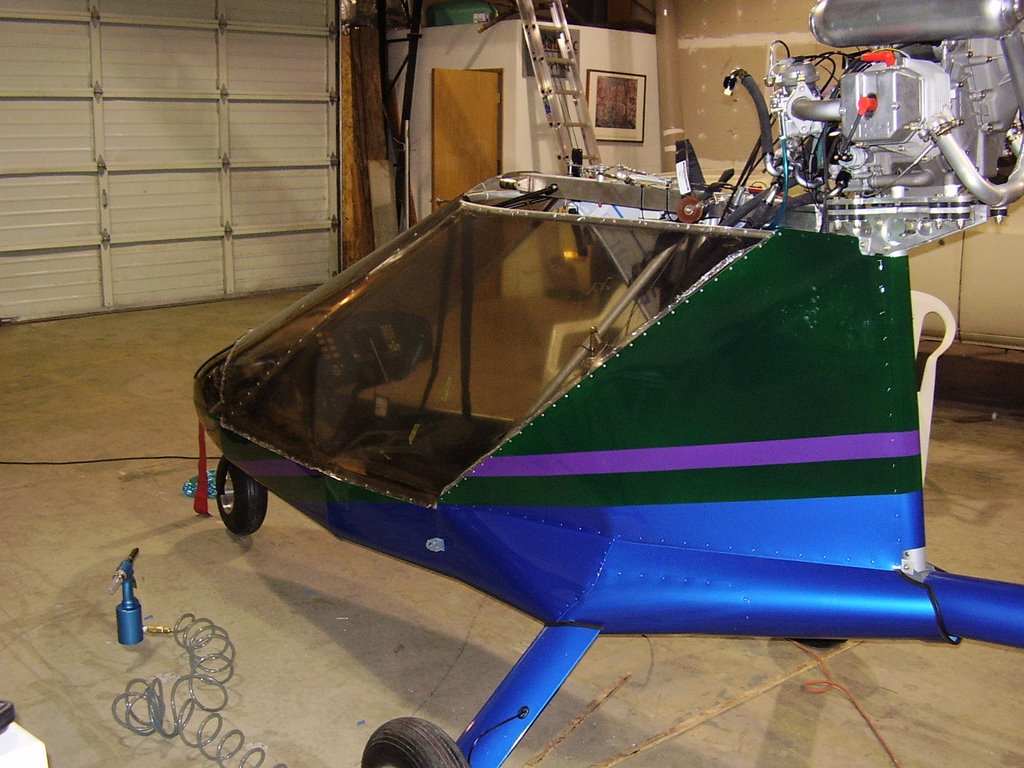
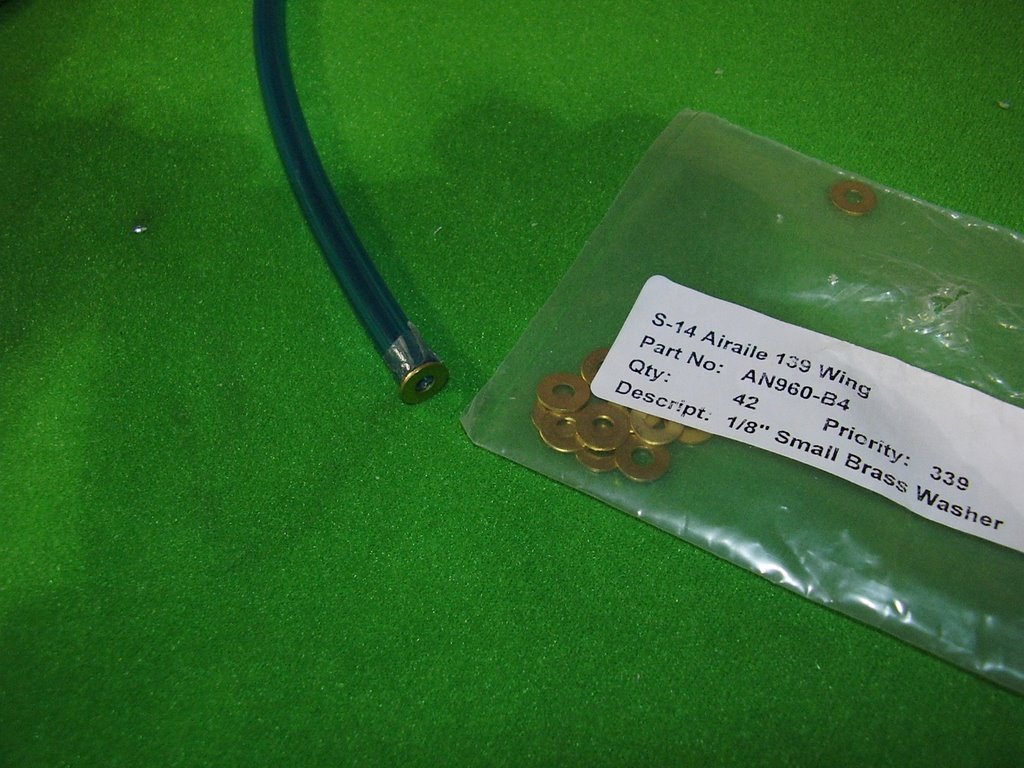
After placing the windshield, I started the long process of riveting. The only challenging part of the riveting was where the windshield met the nose cone. I needed an extra set of hands to hold the backing washers in place while I riveted from the other side. I ended up using some fuel line that was intended to be used as primer line to hold the washers in place. I would stick the washer to the end of the primer line with double sided tape and then push the primer line onto the rivet. The primer line was just small enough to grip the end of the rivet, holding itself in place, while I pulled the rivet.




Fuse Labels and Chute Bridle - 0.5 hours (449 Total)

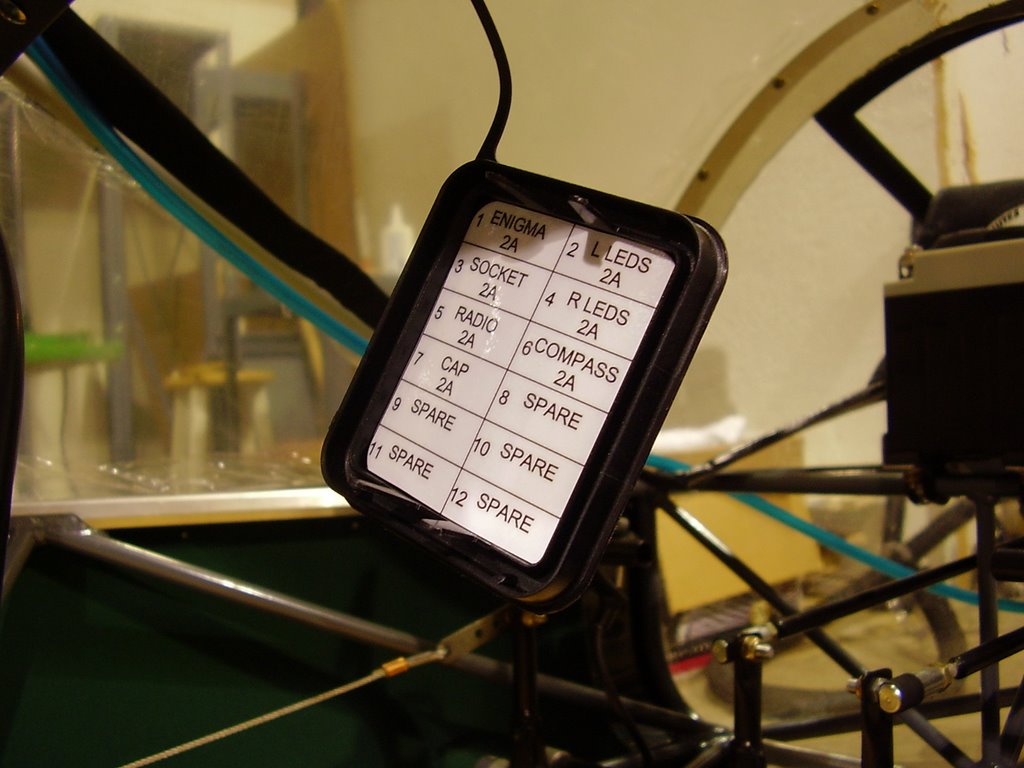
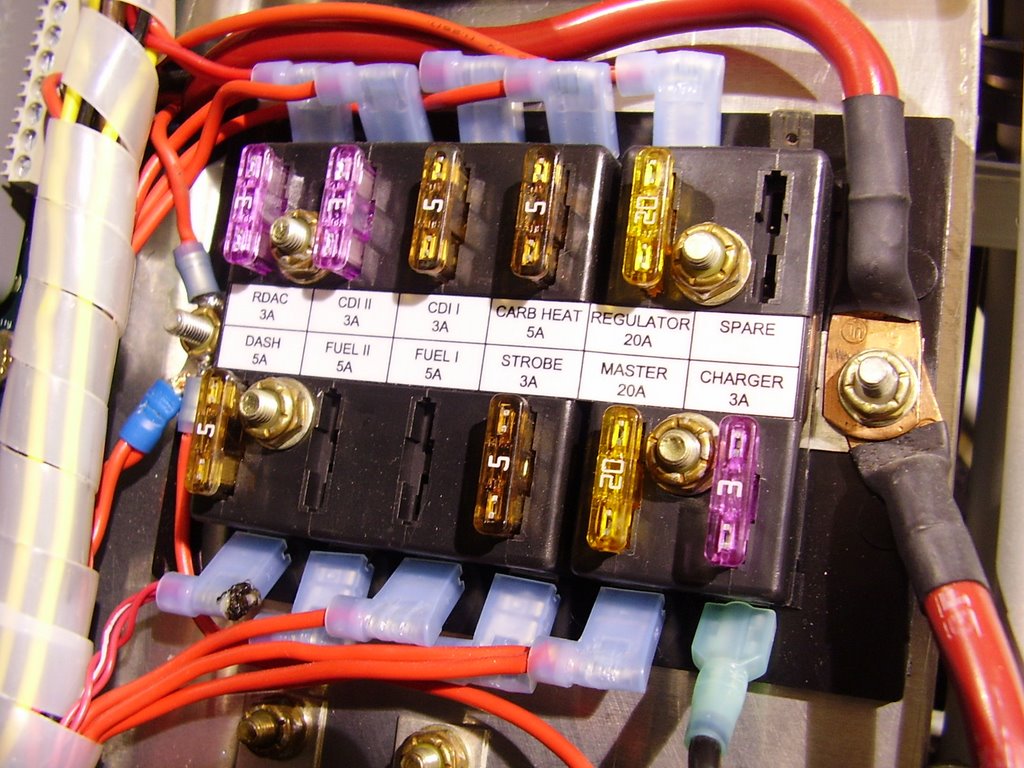
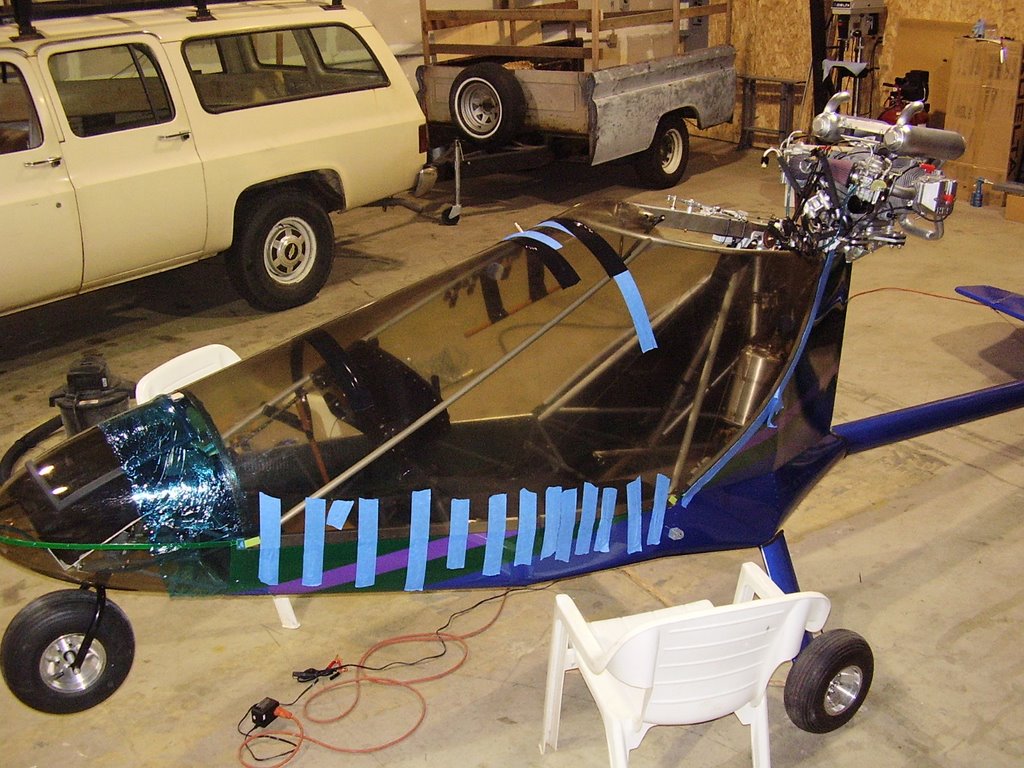
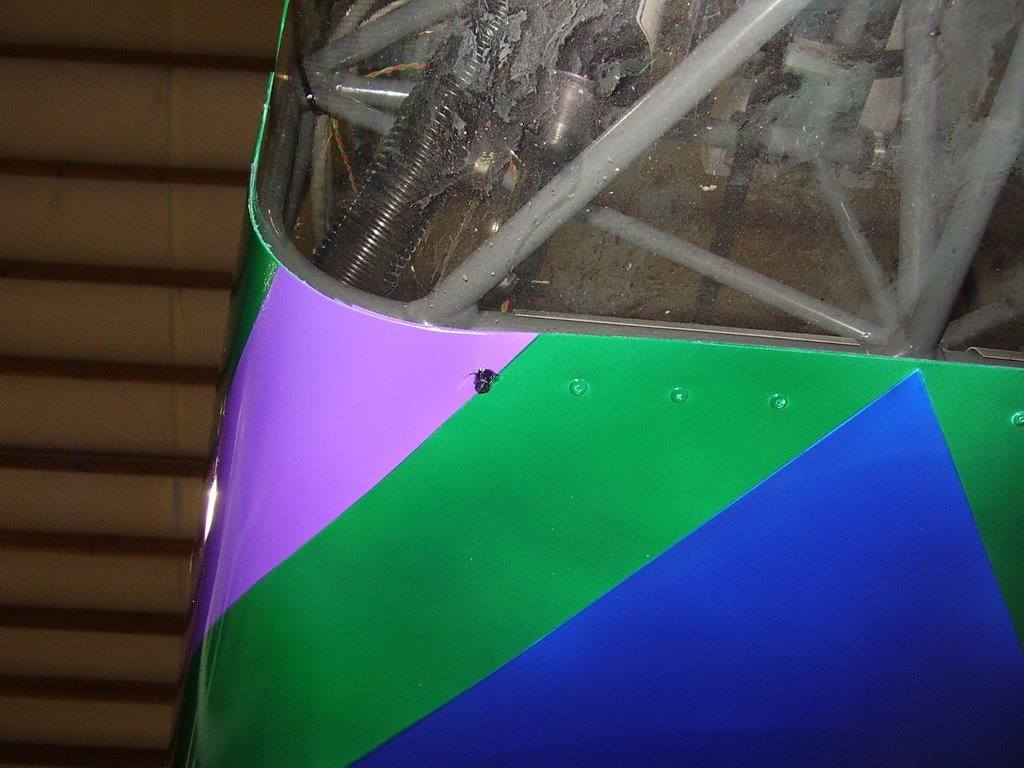
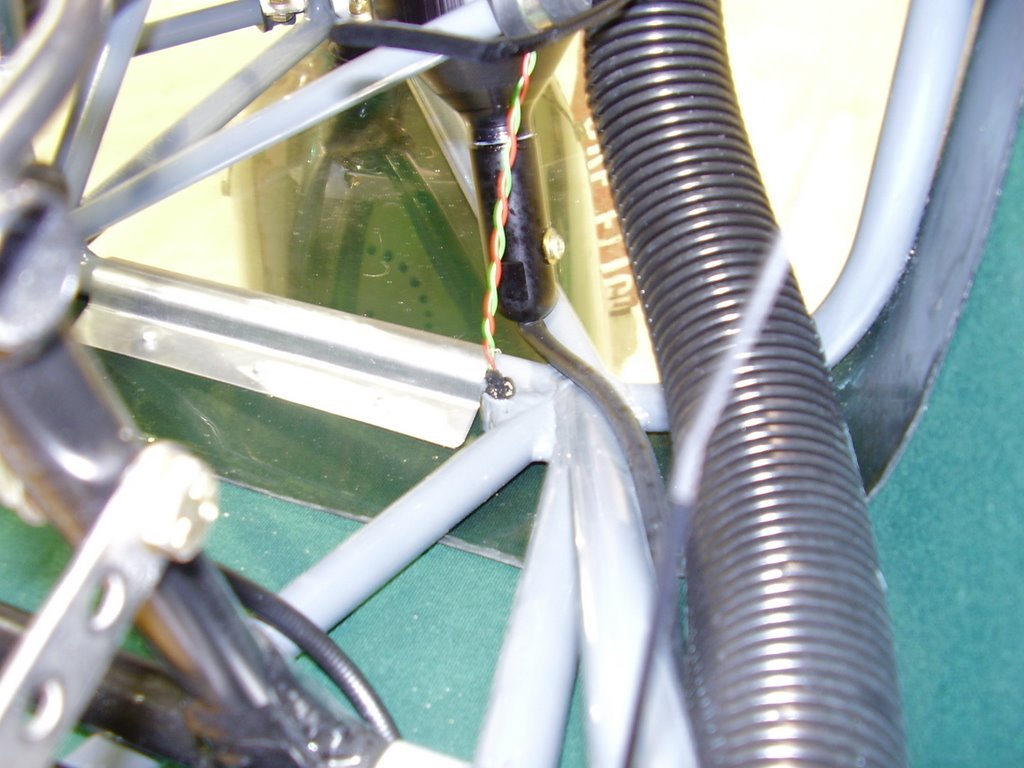
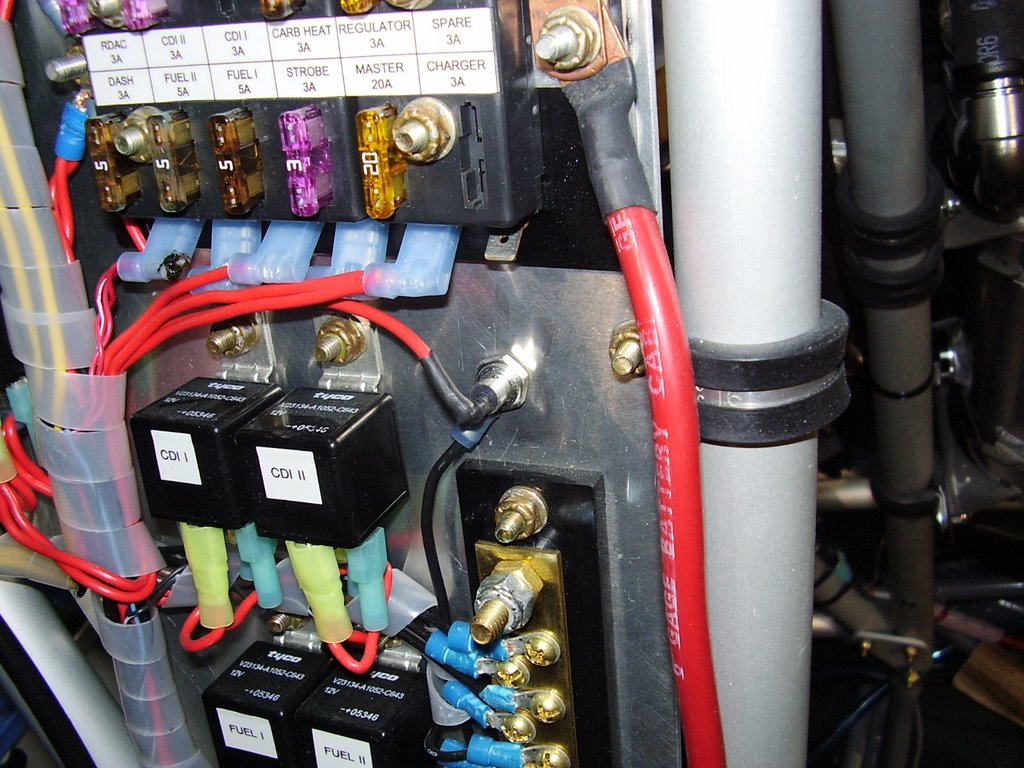
Before I install the windshield there are a couple of things I need to do while I still have easy access to the inside of the plane. The first is to update my fuse block labels. I will only have problems accessing the fuse block on the electrical panel but I went ahead and correct the instrument pod fuse block label at his time.


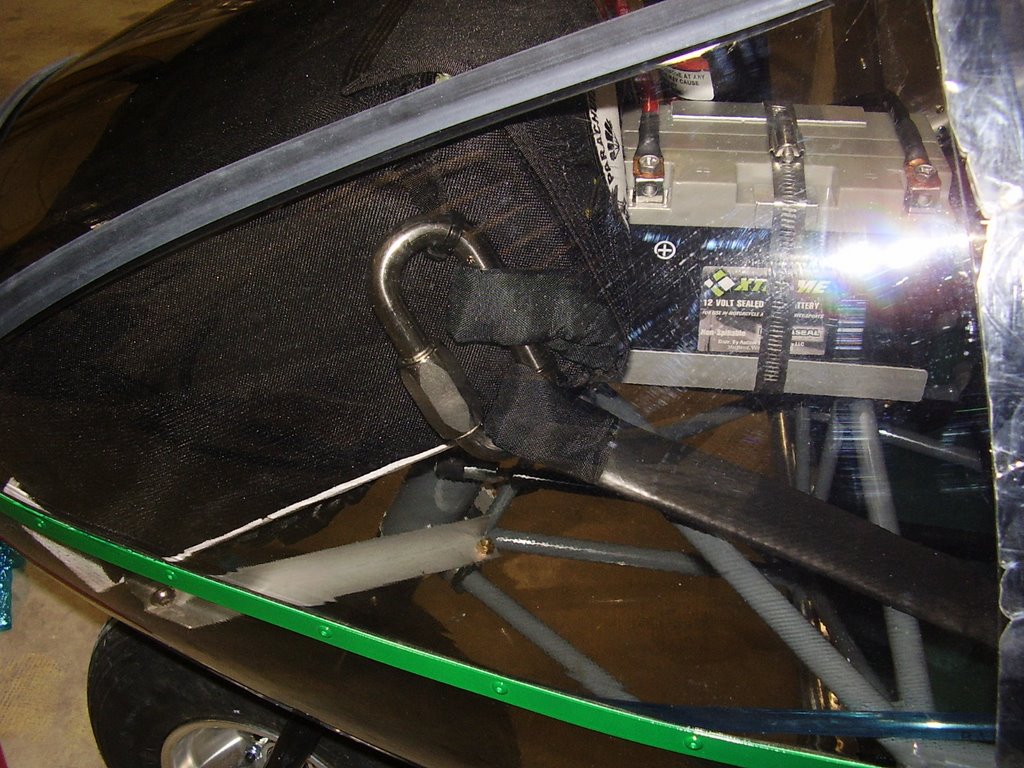
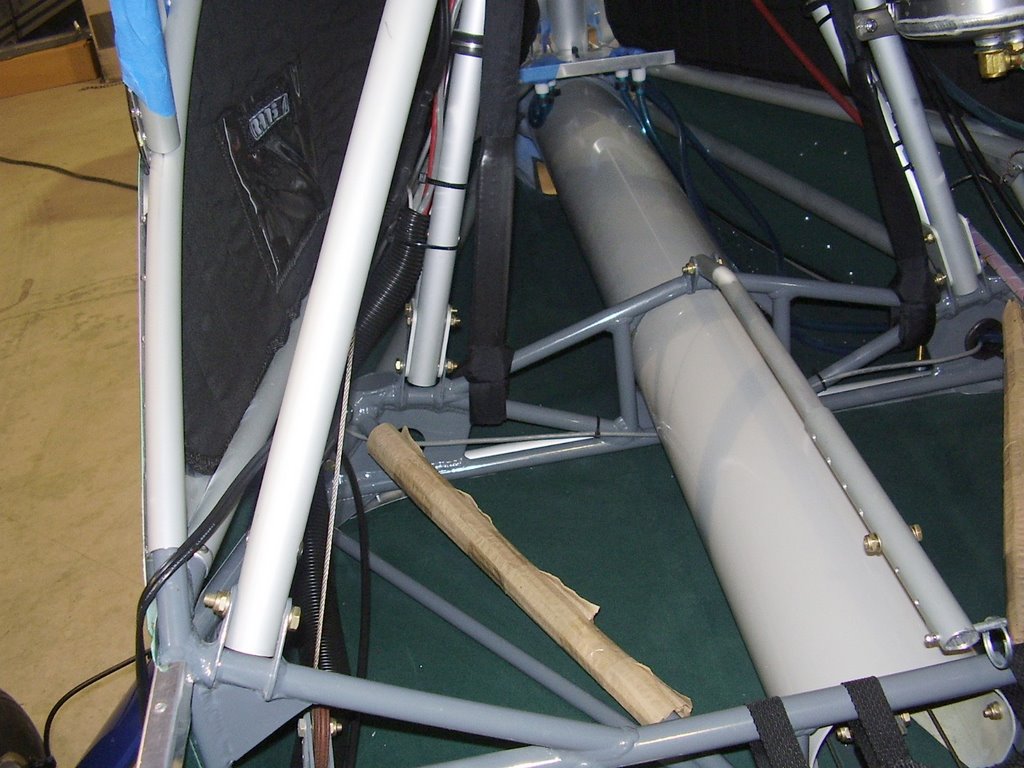
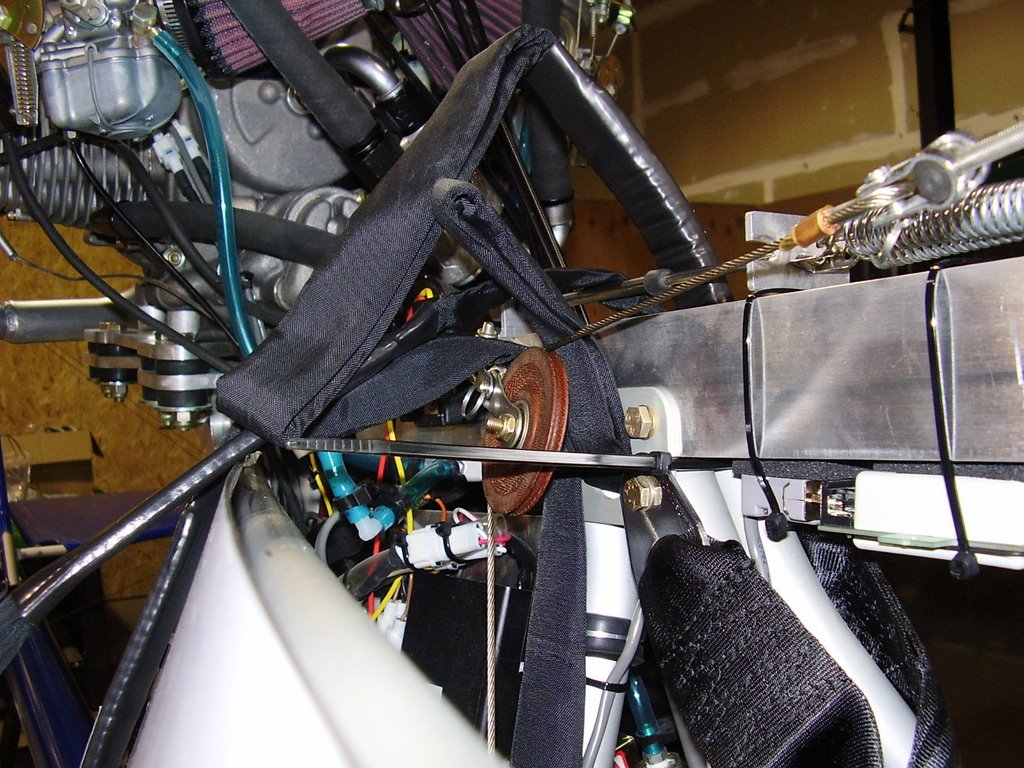
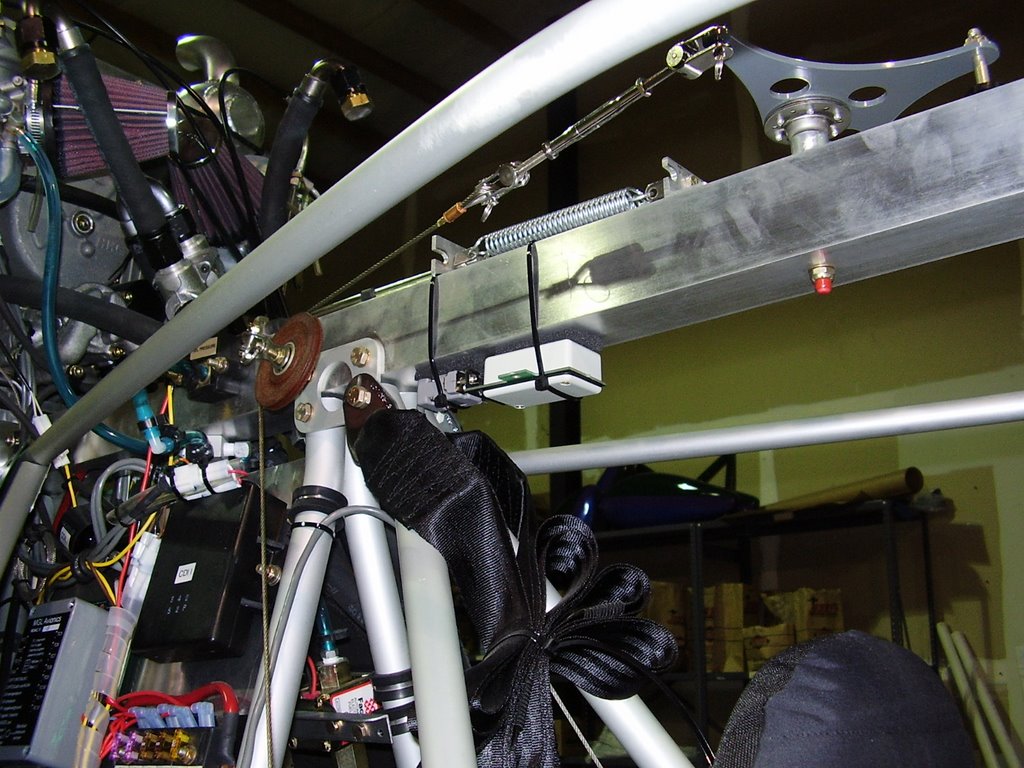
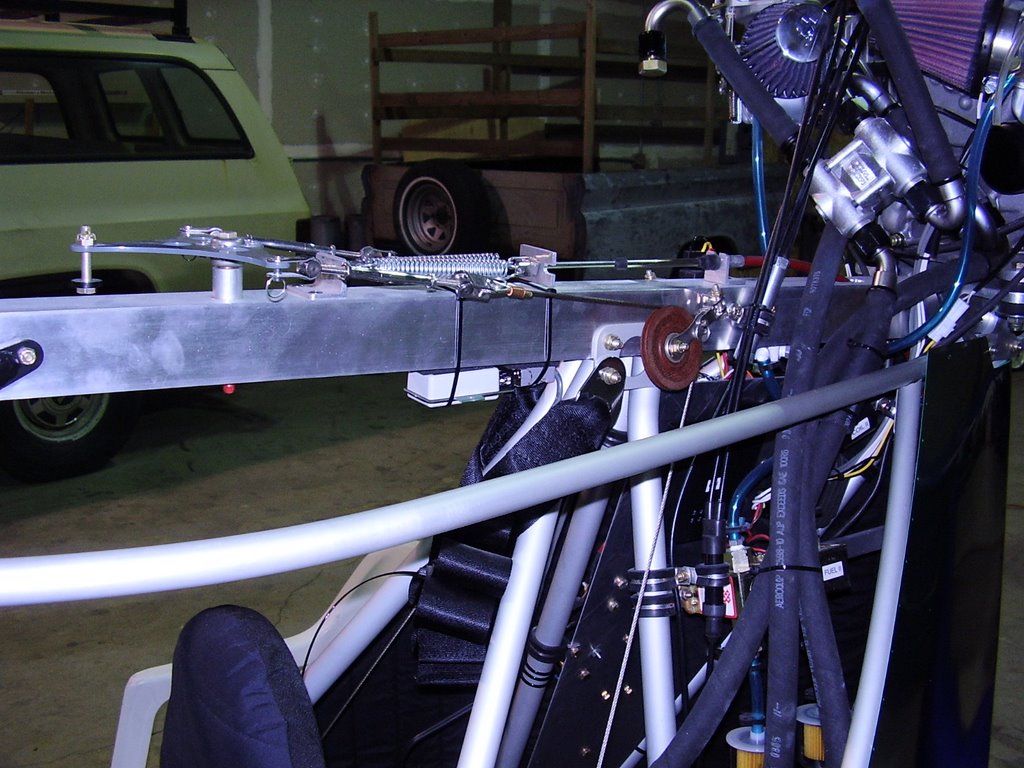
The next thing I need to do is route the parachute bridle. This needs to be routed between the windshield and any metal structure of the plane, most importantly, the leading edge mounting points of the wing. I also routed the smaller bridles that connect to the lower portion of the plane. I will need to carefully secure the bridles so they don't interfere with any of the control mechanisms.


Tuesday, October 24, 2006

N Numbers - 0.5 hours (448.5 Total)

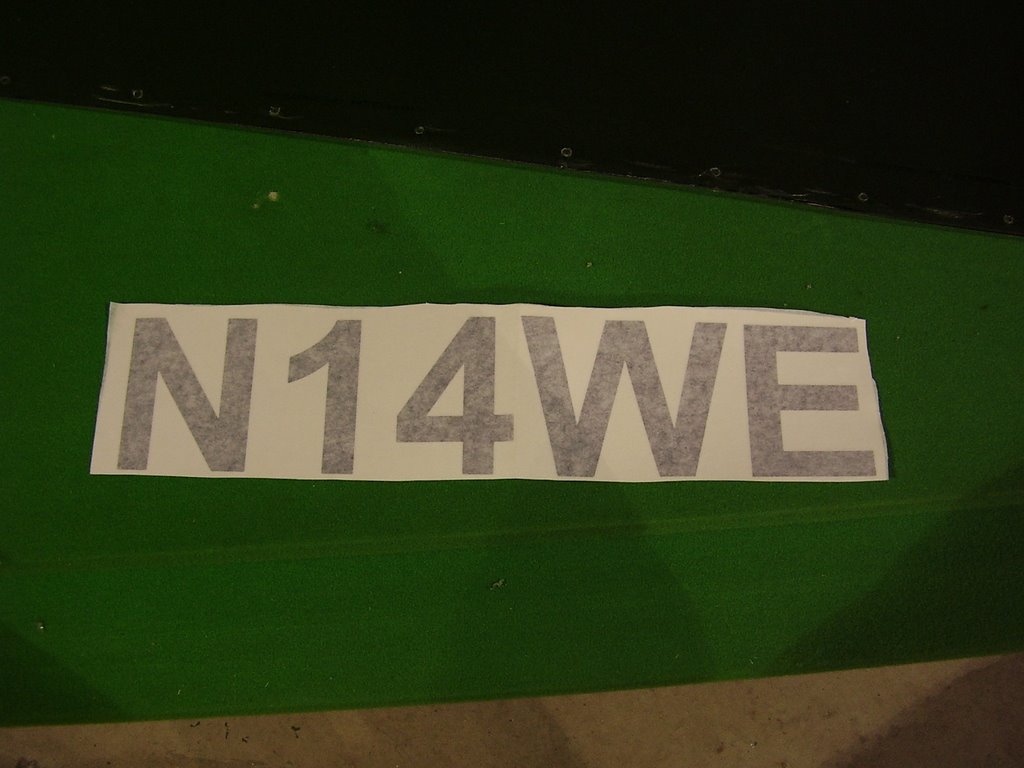
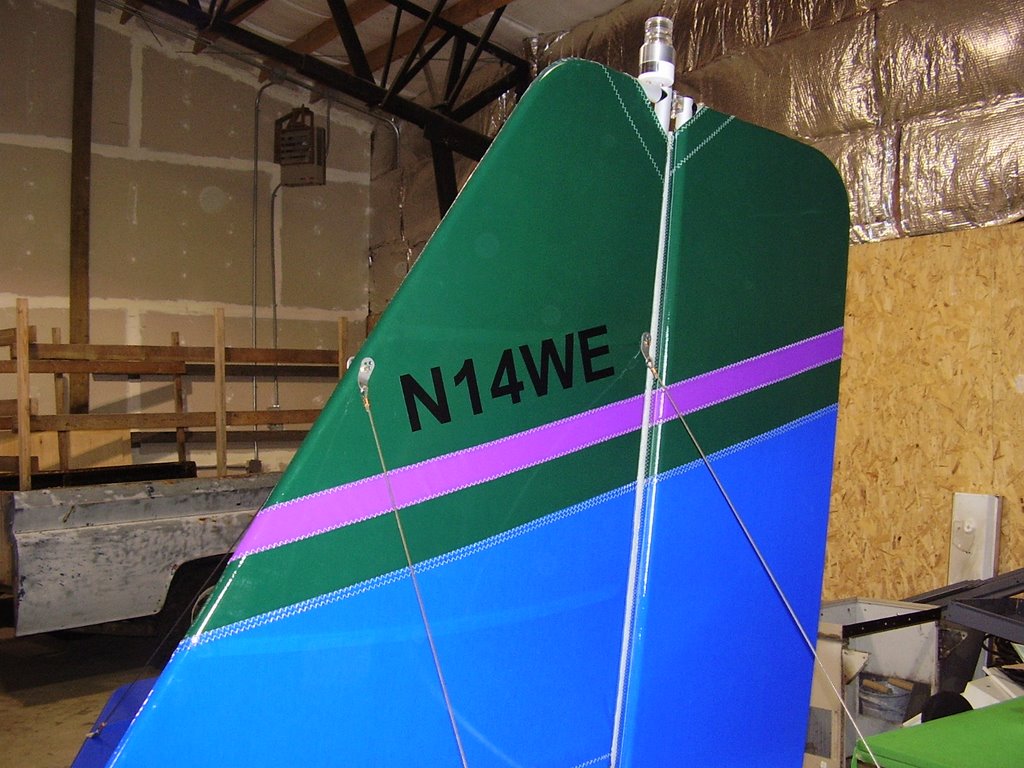
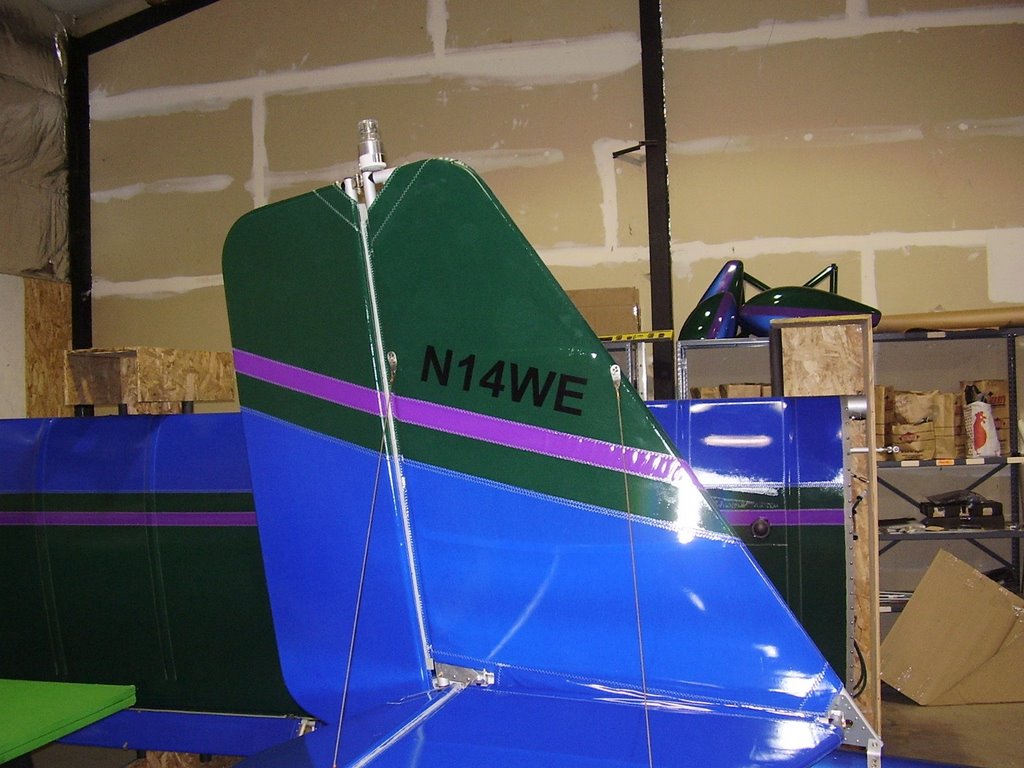
I received my N-number decals today. These are self adhesive stickers I order through SportFlyingShop. I can hear it now... "November-one-four-whisky-echo you are cleared for take off!"


Saturday, October 21, 2006

Windshield Fitting - 10 hours (448 Total)

Over the course of two days I fitted, refitted, and fitted again, the windshield. Trying to get the windshield to line up on all sides was a challenge. The problem points were on the upper edge where the windshield will meet the door and where the windshield slips underneath the upper left sheet metal enclosure. I think it would have been easier if the windshield was slightly larger in one of these places. I could have then trimmed off the excess.

Once I positioned the windshield in the best position I could, I drilled the rivet holes and marked the areas I needed to trim. The edge near the door frame doesn't extend out as much as I would have liked but we'll see what it looks like when I get the door installed.


Friday, October 20, 2006

Oil Tank Vent - 1 hour (438 Total)

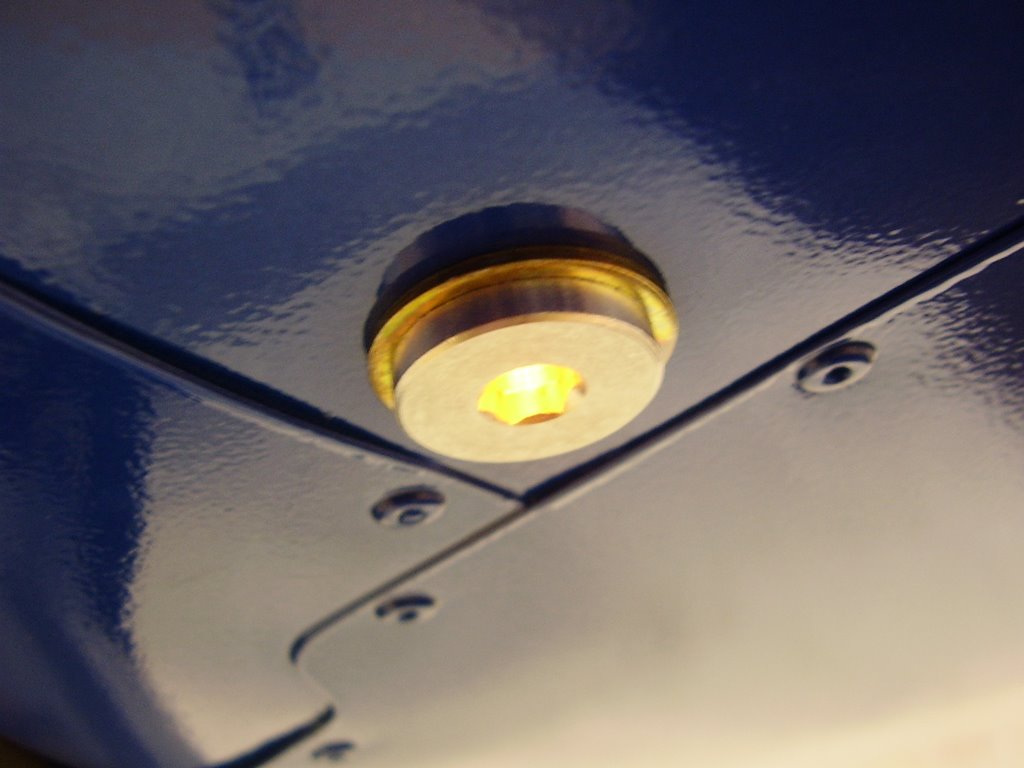
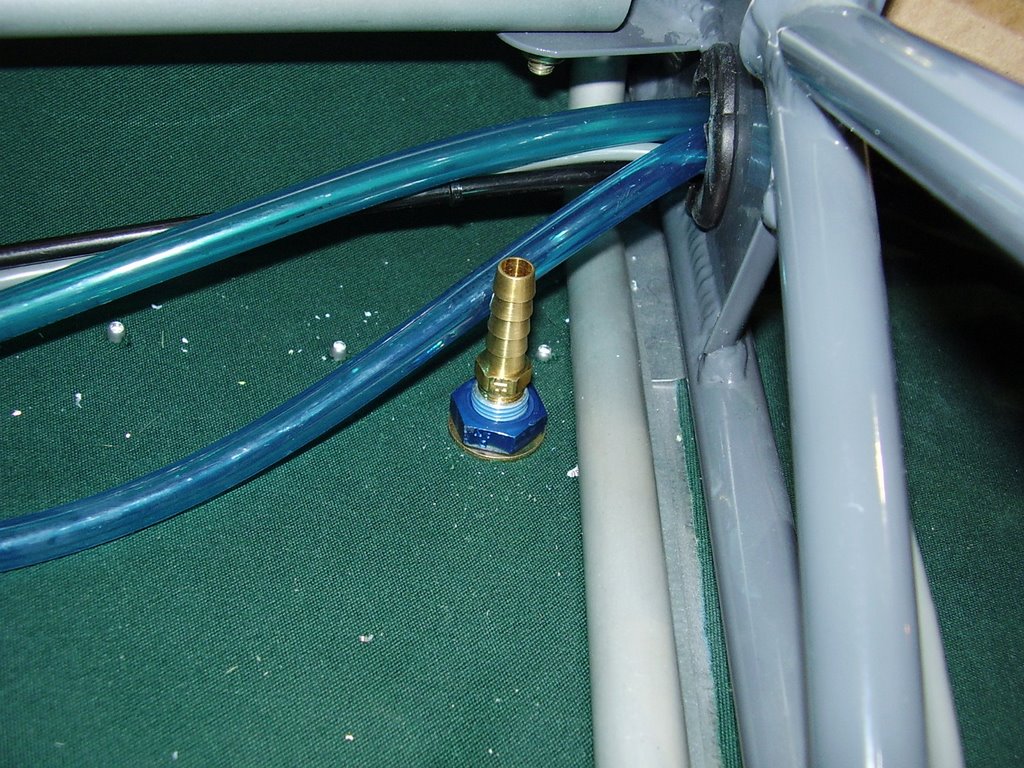
The last thing I did today was install a fitting that will be used for my oil tank vent.

I spent a lot of time looking for the right fitting that would allow me to port my oil tank vent to the exterior of the plane. I ended up using one of the extra fuel tank fittings that I had and a brass barbed hose bib. The fuel tank fitting was both light weight and small.

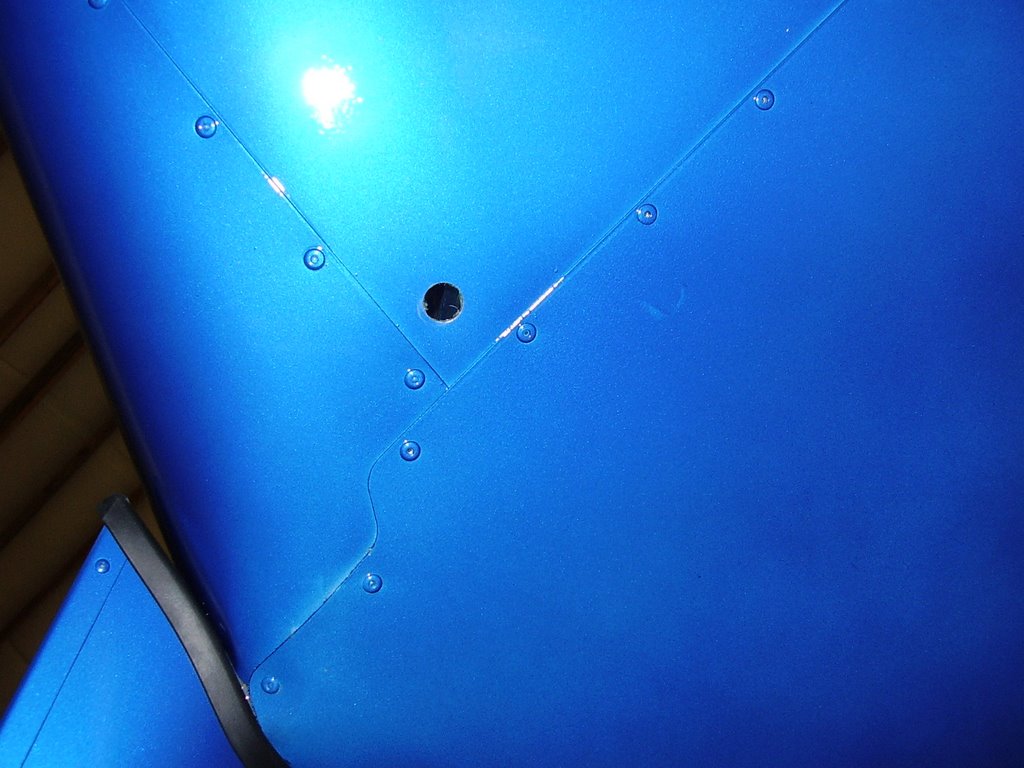
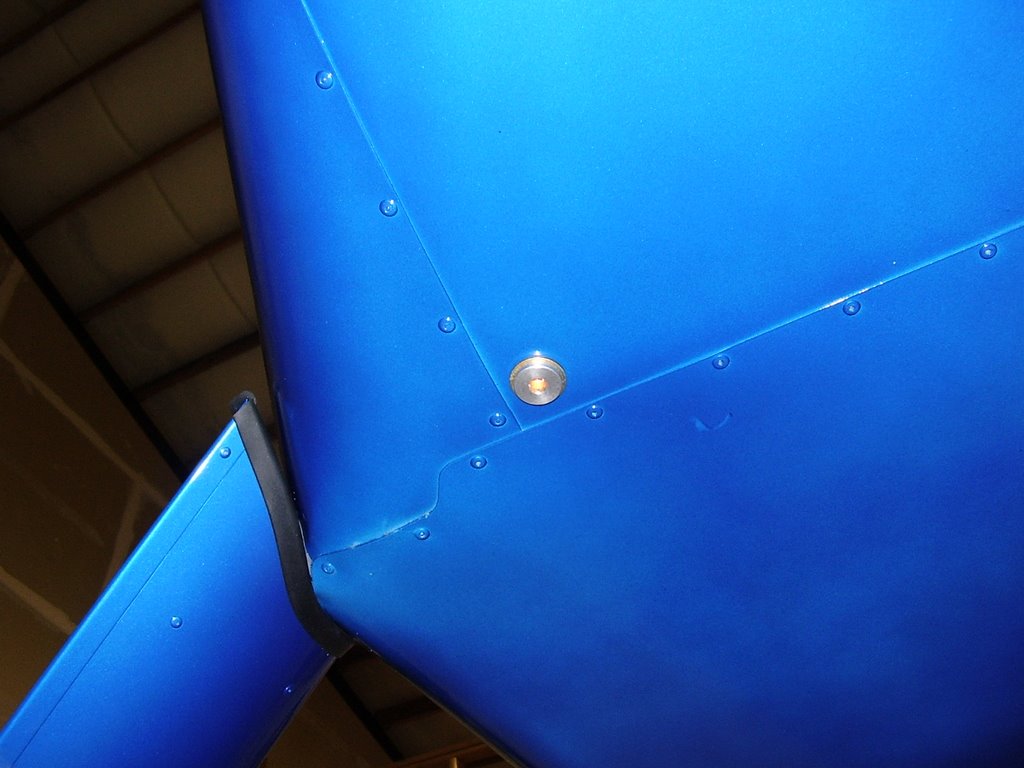
In the photos below, you can see where I drilled and mounted the fittings to the bottom of the plane near the left landing gear leg. Once I get the plane to the air field and install the wings, I will connect the oil vent hose. I need to secure the hose to the wing root to give the hose the proper height above the oil tank before dropping down and exiting the plane as per the HKS installation manual.


Instrument Panel - 2 hours (437 Total)

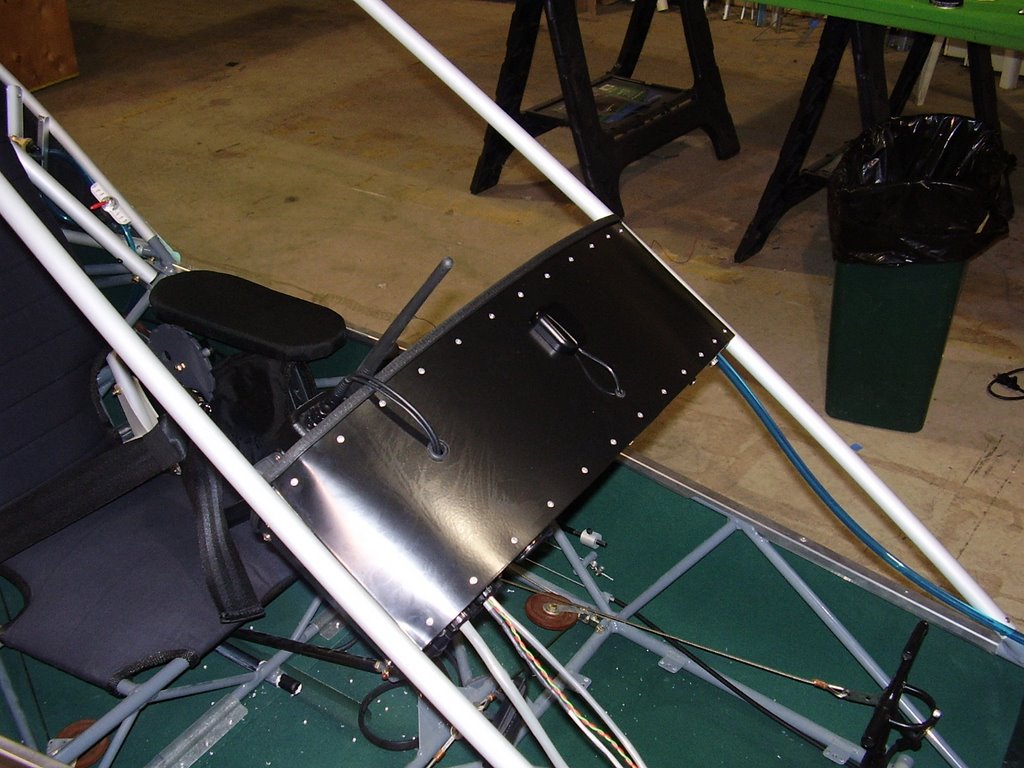
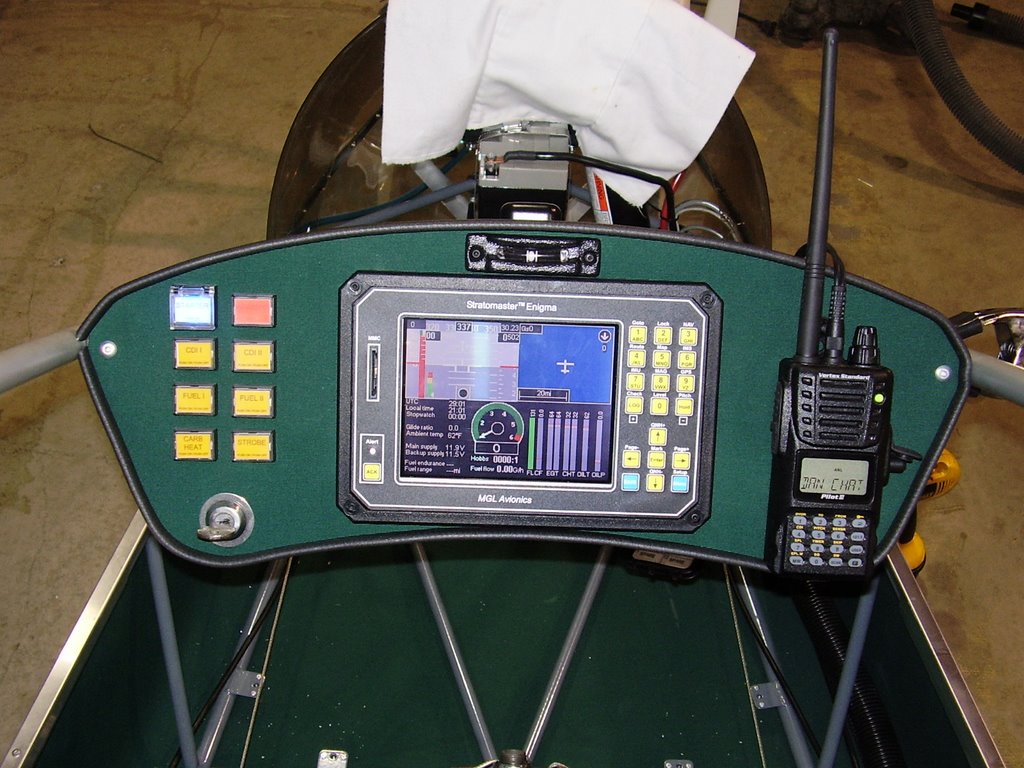
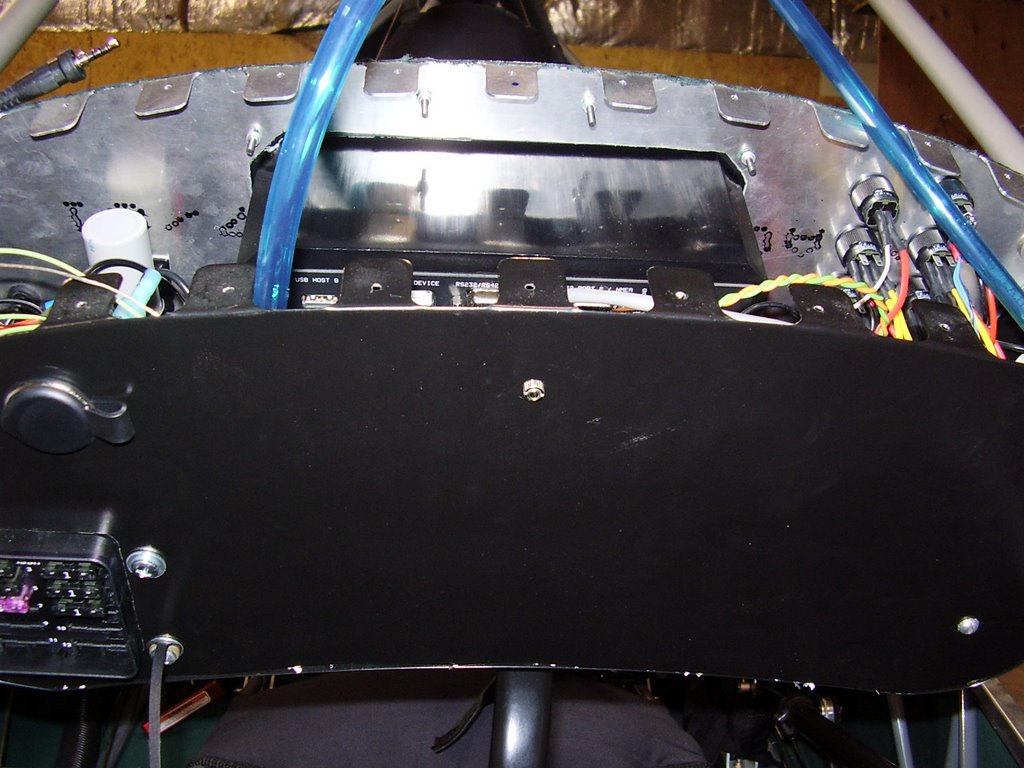
The next thing I did today was button up my instrument panel.

I started by marking and drilling holes in the top cover for my GPS antenna cable and the cable for my radio. The GPS antenna was attached to the top cover with double sided tape.

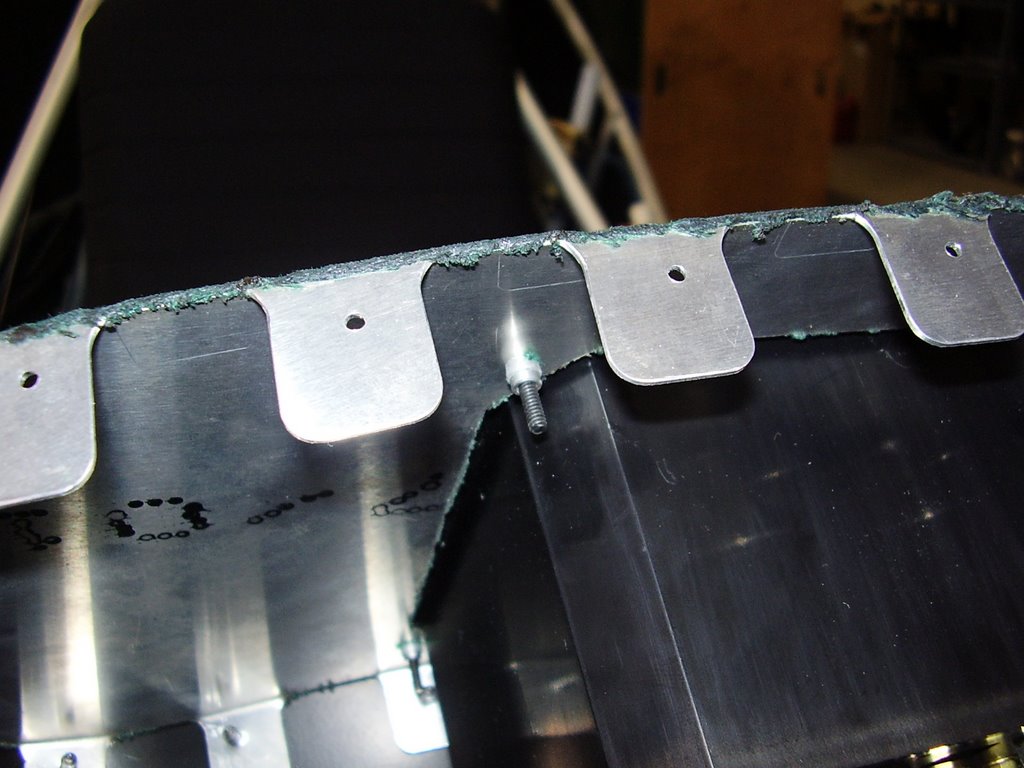
I then riveted the top cover into place. I had already drilled most of the rivet holes so the initial process went quickly. The edges were difficult to drill and rivet due to the top cover being slightly too large for the space between the aluminum tubes that the instrument pod mounts to. I was unable to get the forward right rivet (bottom rivet in first photo) to bite into front panel tab so the rivet you see is just for show.

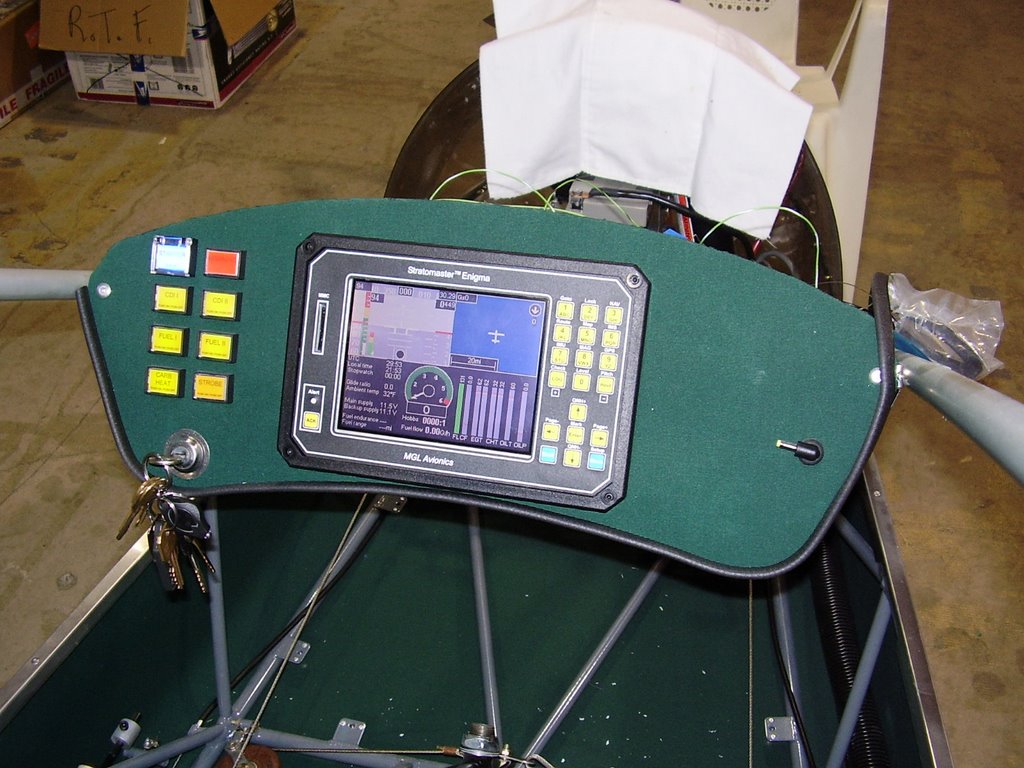
The last photo shows the completed panel with the trim attached. Unfortunately, I started the trim on the wrong side. The seam should have been on the bottom of the right aluminum tube; it is currently on the left side. That would allow me to unscrew and partially remove the bottom cover (from the door side) for any maintenance on the instruments and switches. Since the instrument panel has a large cut out for the Enigma and the Enigma is easy to remove, I will probably use the Enigma as an access point instead of the bottom cover.


Ambient Temp Sensor - 1 hour (435 Total)

Below are some photos of the ambient temperature sensor I installed. I used black RTV to secure the sensor into the hole I drilled through the belly pan. The hole is aligned with a mounting point on the plane's frame to give the sensor a secure mounting point.


Compass - 3 hours (434 Total)

The first thing I did today was I wire and install my compass.

MGL came out with a new version of their SP-2 compass. Sport Flying Shop was willing to swap out my old compass for a newer version. The new compass doesn't have any new features but it is much smaller. The old version was approximately 3"x5"x2" in size. The new version is approximately 3"x1.5"x1" in size.

Before I mounted or built a cable for the compass, I needed to find a location that didn't have any magnetic distortion. I used a magnetic compass to measure any magnetic distortion at potential mounting points on the plane. Unfortunately, the locations I had in mind near the floorboard and instrument panel were too close to the steel frame of the plane. The closest location I could find to the instrument pod (to minimize cable length) was above and behind my head, on the Keel Tube.

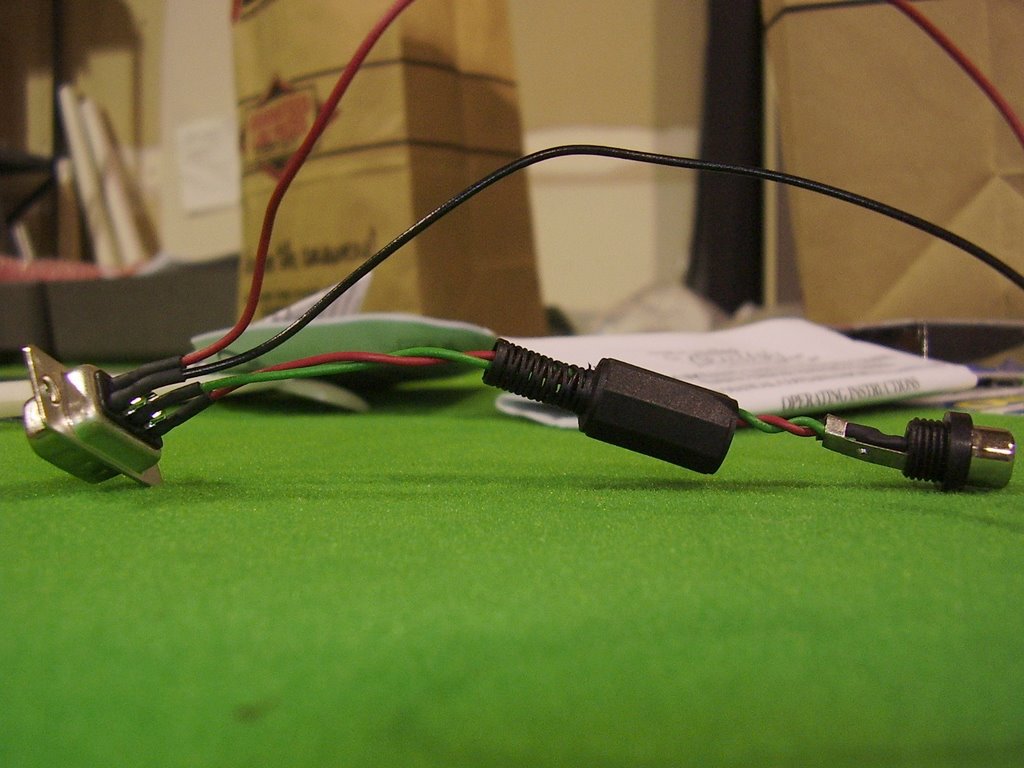
Once my location was picked out, I used a four conductor wire to make a cable to connect the SP-2 to the Enigma. The cable is hardwired to the Enigma and instrument panel but uses a DB-9 to connect to the SP-2.

Below are some photos of the installed SP-2 and the original cable MGL provided.


Thursday, October 19, 2006

Instrument Panel - 2 hours (431 Total)

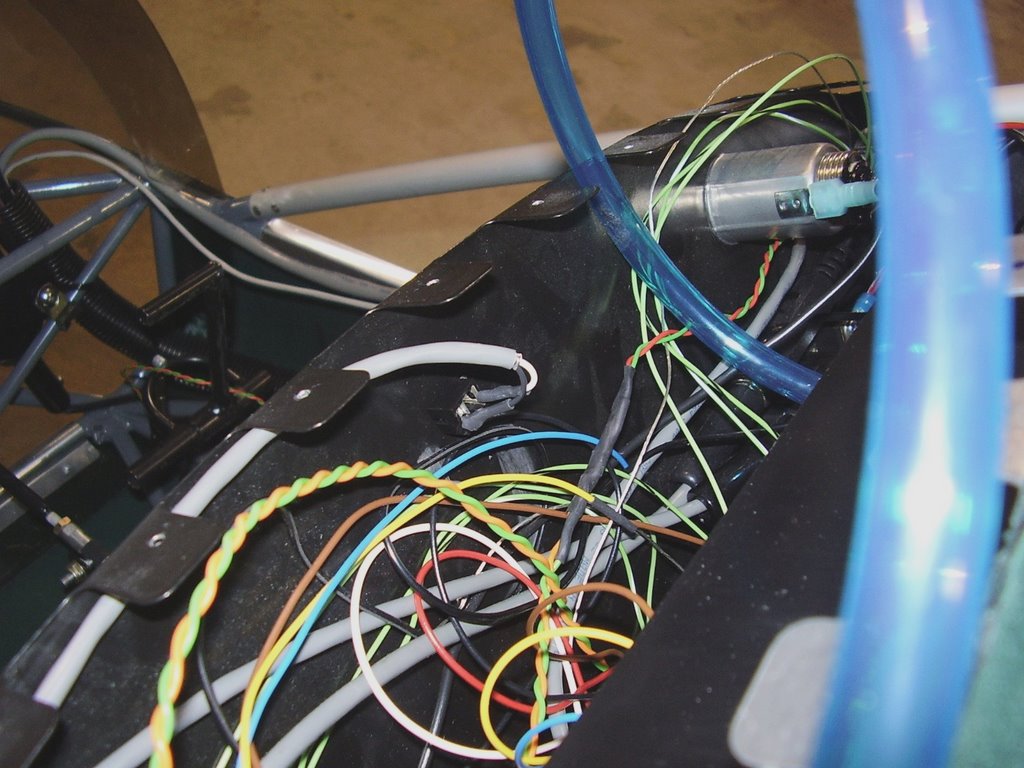
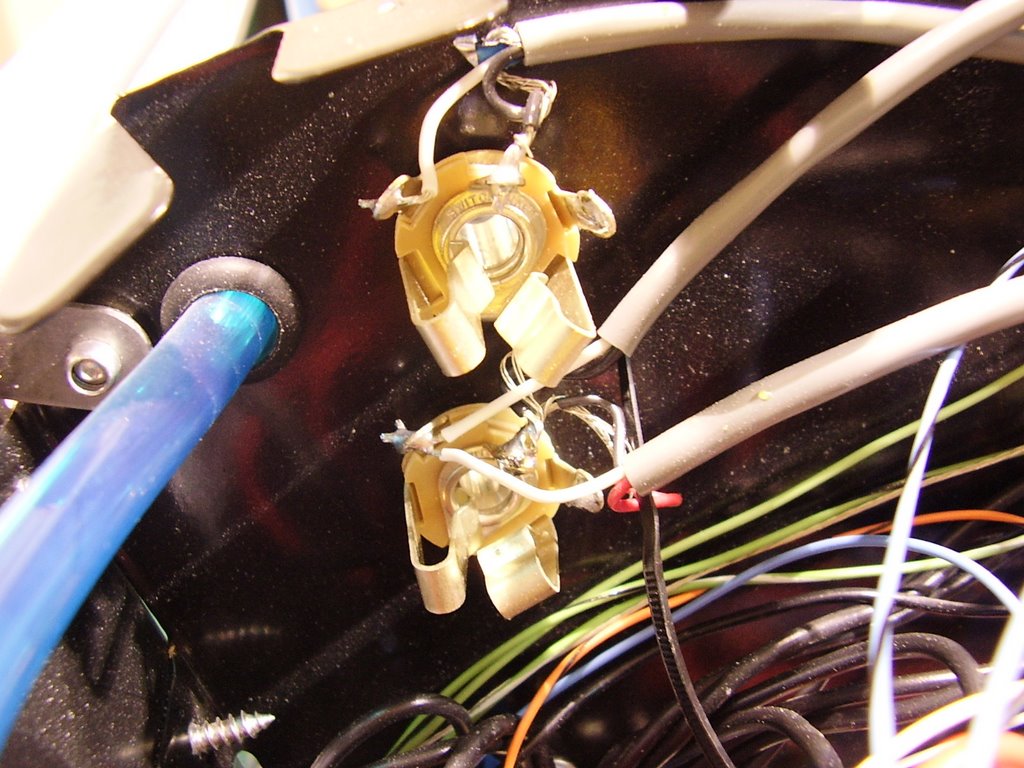
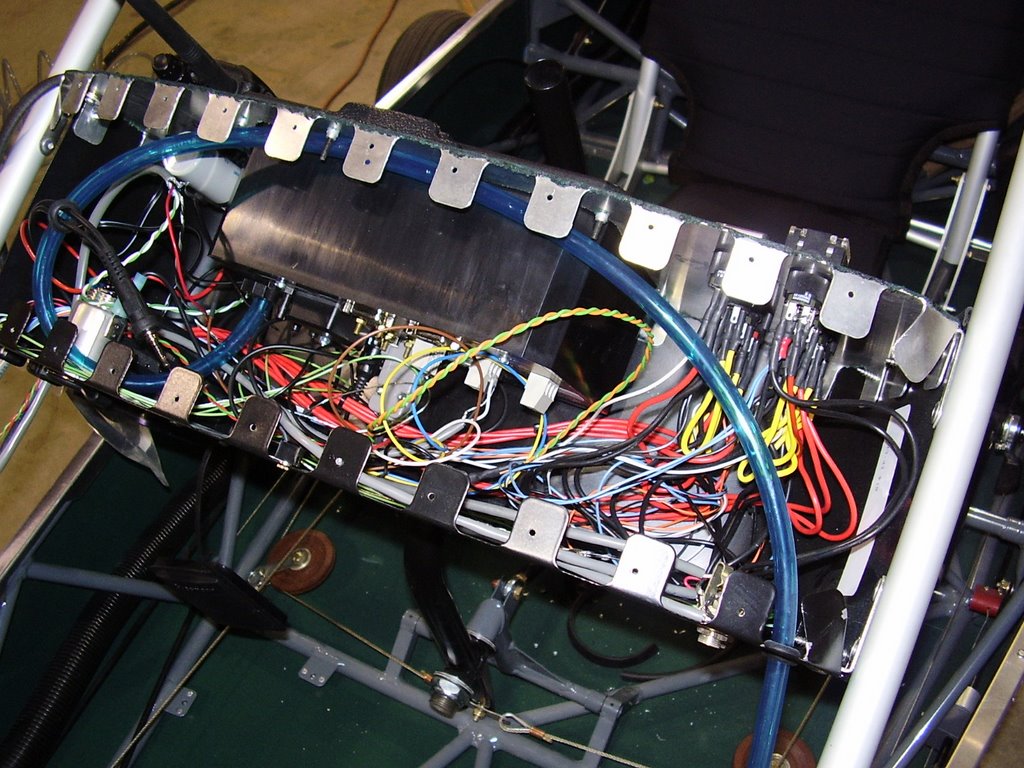
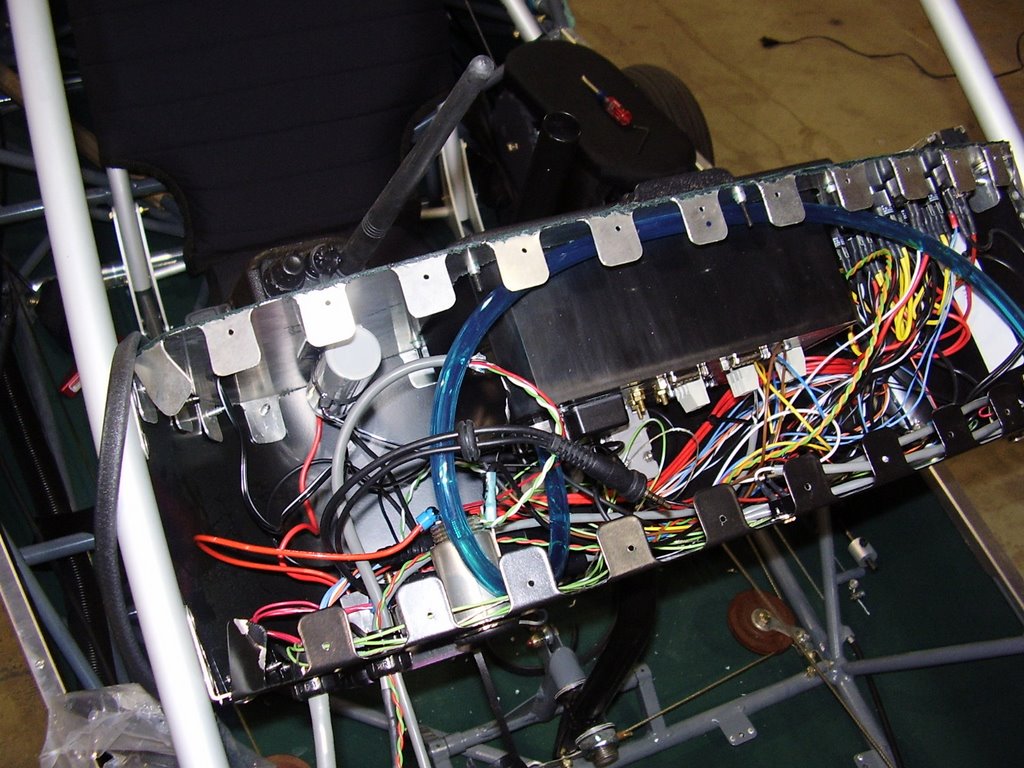
Today I finished wiring my instrument panel. The last bit of wiring I needed to do was add a stereo jack for the push to talk (PTT) cable and button I will install later. I bought a coiled cable similar to a telephone hand set cable but with 2.5mm stereo connectors. I installed a stereo jack in the back side of the panel. You can see the jack and wiring in the three following photos.


Below are two photos of the completed wiring... What a mess! I considered using wire ties to secure some of the wires and neaten thing up but I figured that would only cause me problems if I needed to do any future work or repairs on the wiring. One thing that I did do was coat the hot end of the cigarette lighter plug with some liquid electrical tape. This will hopefully prevent it from shorting out to the non-shielded ground wires.


Wednesday, October 18, 2006

Enigma is here! - 3 hours (429 Total)

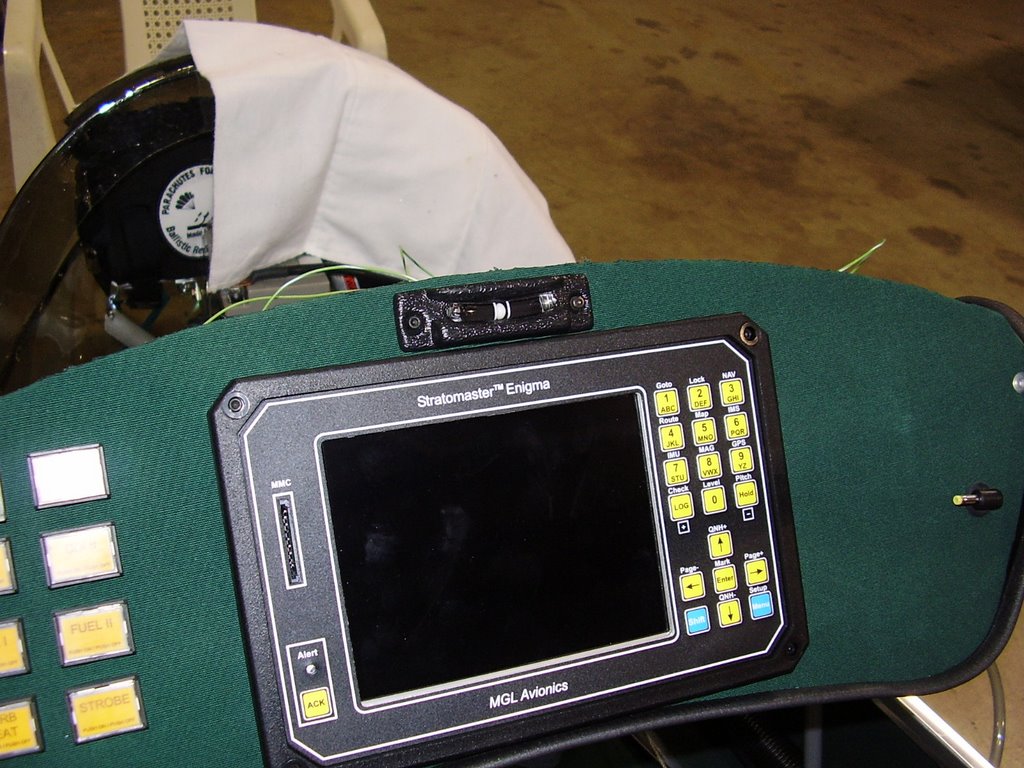
My Enigma finally arrived. The Enigma is the color upgrade to my Stratomaster instrument display. Other than having a color display, the other neat feature is the built in GPS.

Below is a photo of my installed Enigma. The second photo shows the rivnuts I used to mount the Enigma.


Below is a photo of my slip indicator. I mounted it with the rivnuts also.


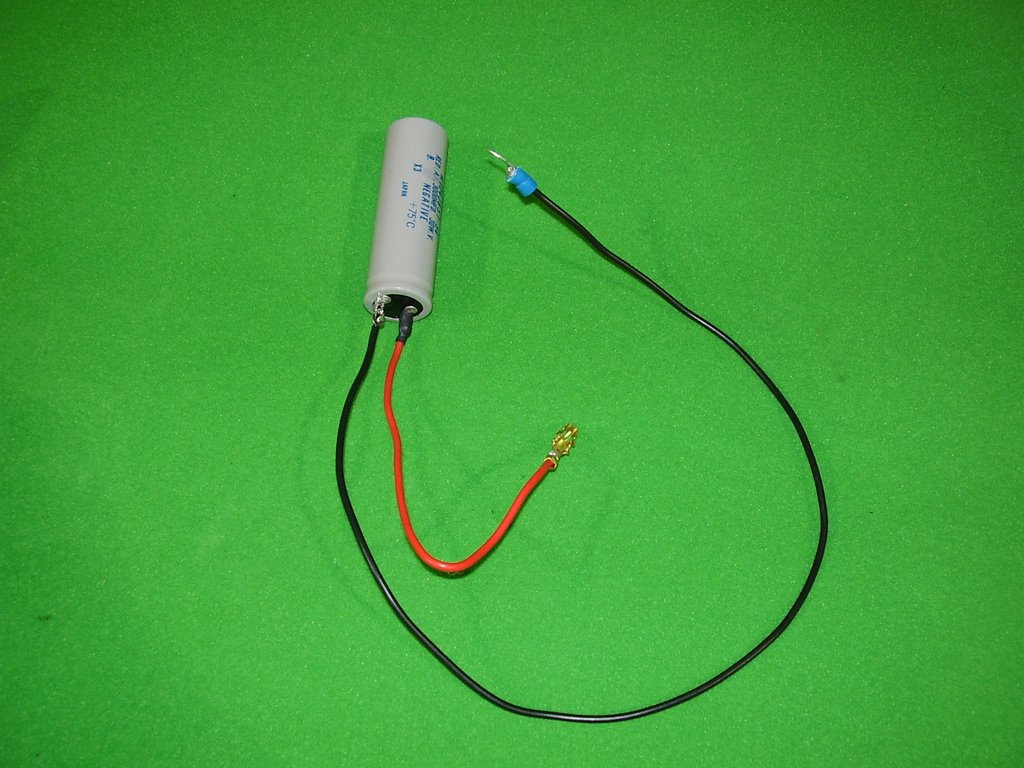
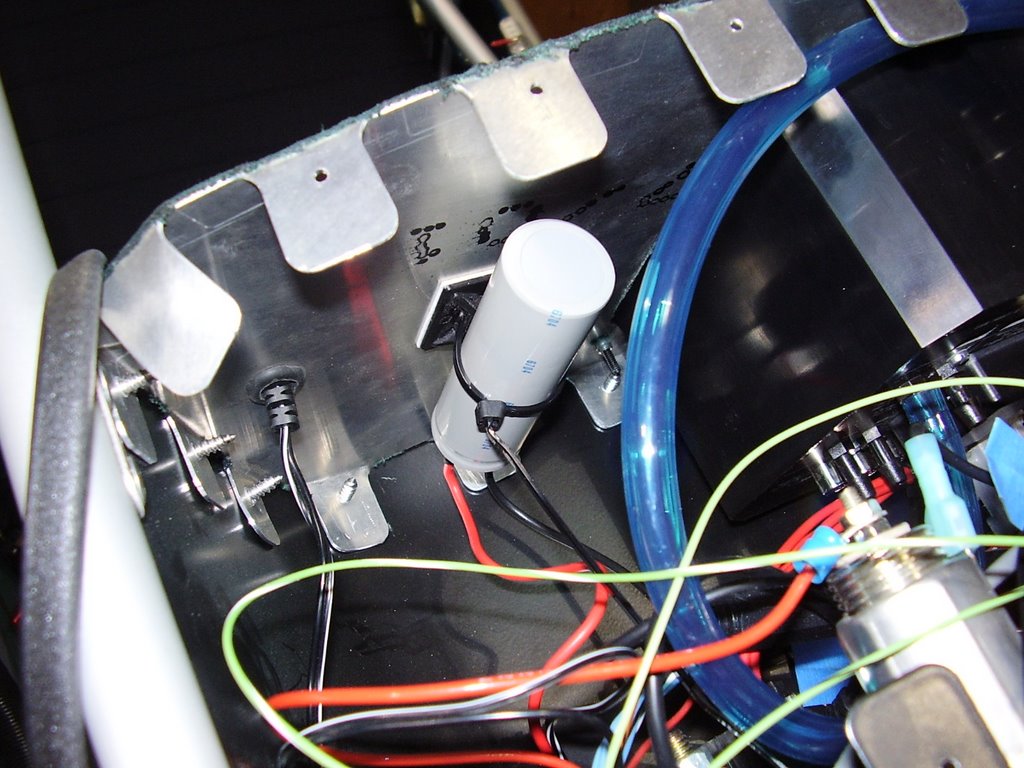
My Stratomaster suffered from resets occasionally when I attempt to start my engine. The starter would suck so much current that the voltage would drop to levels below what the Stratomaster required to operate. I installed the 3000uF, 30V capacitor into my instrument pod to try to alleviate this problem. I chose this cap because of the large solder lugs it has.

The cap seemed to help some but I still got some resets when I continued to crank the engine to the point where the battery drained down and was having difficulty turning the engine over. The resets would be expected at this point since the starter is drawing a huge amount of current when stuck.


Wednesday, October 11, 2006

Electrical Panel Changes - 1 hour (426 Total)

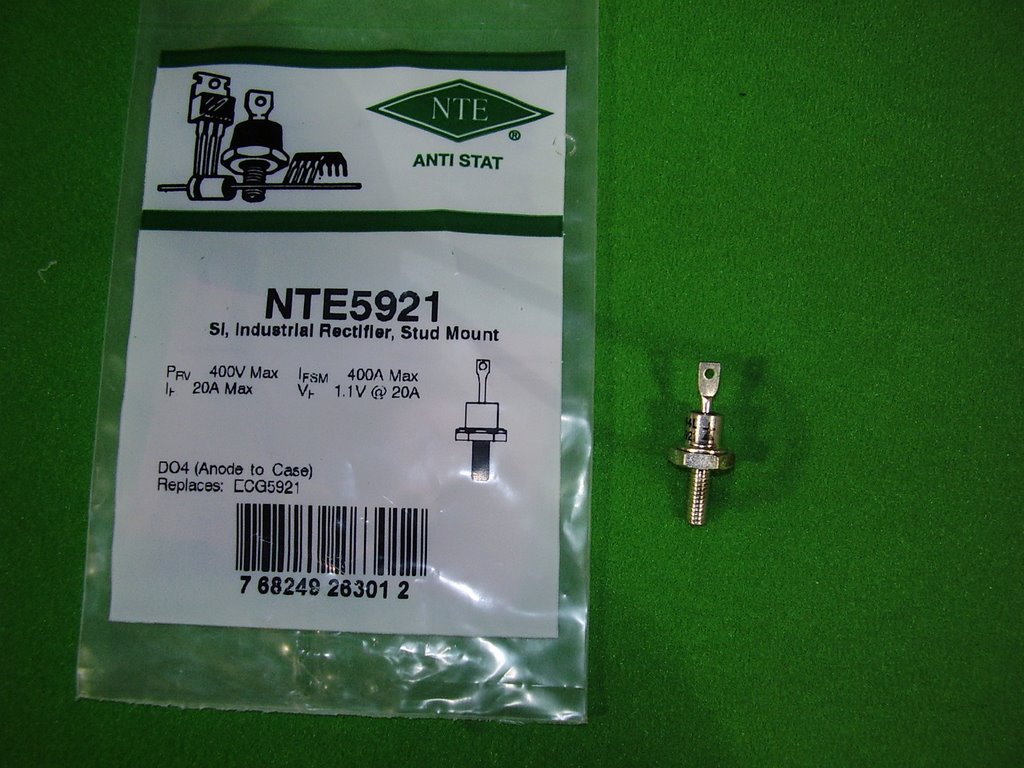
The instructions for the strobe that I installed recommend a diode to be installed to protect the electrical system from negative voltage spikes. Below are some pictures of the diode I installed.


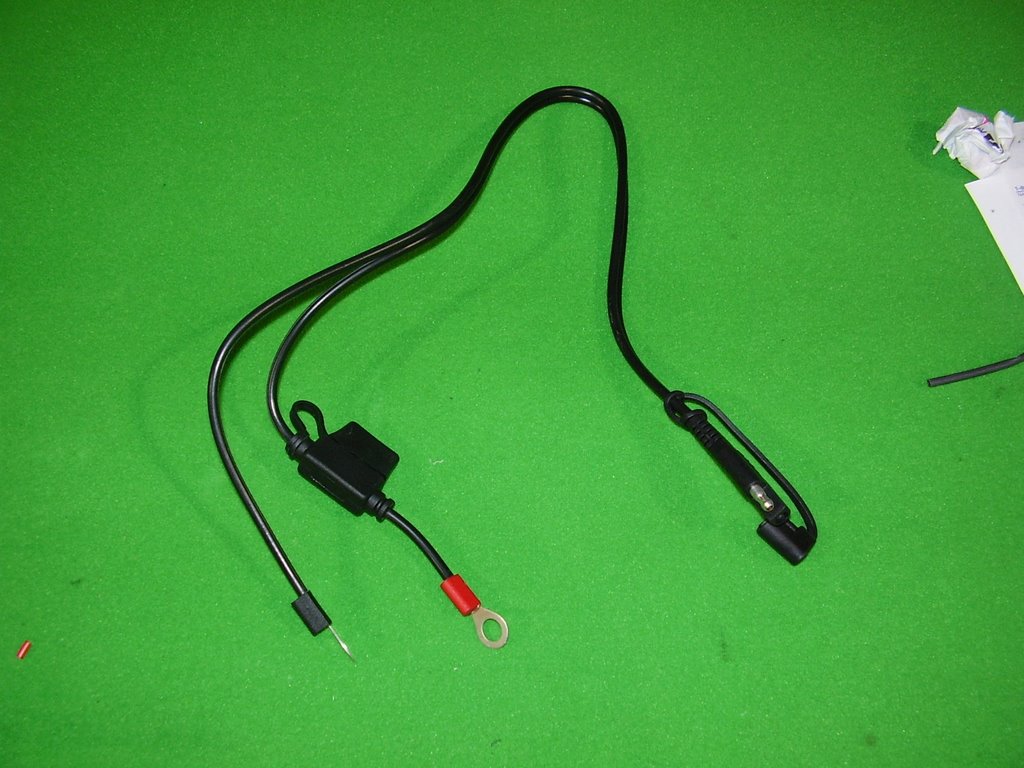
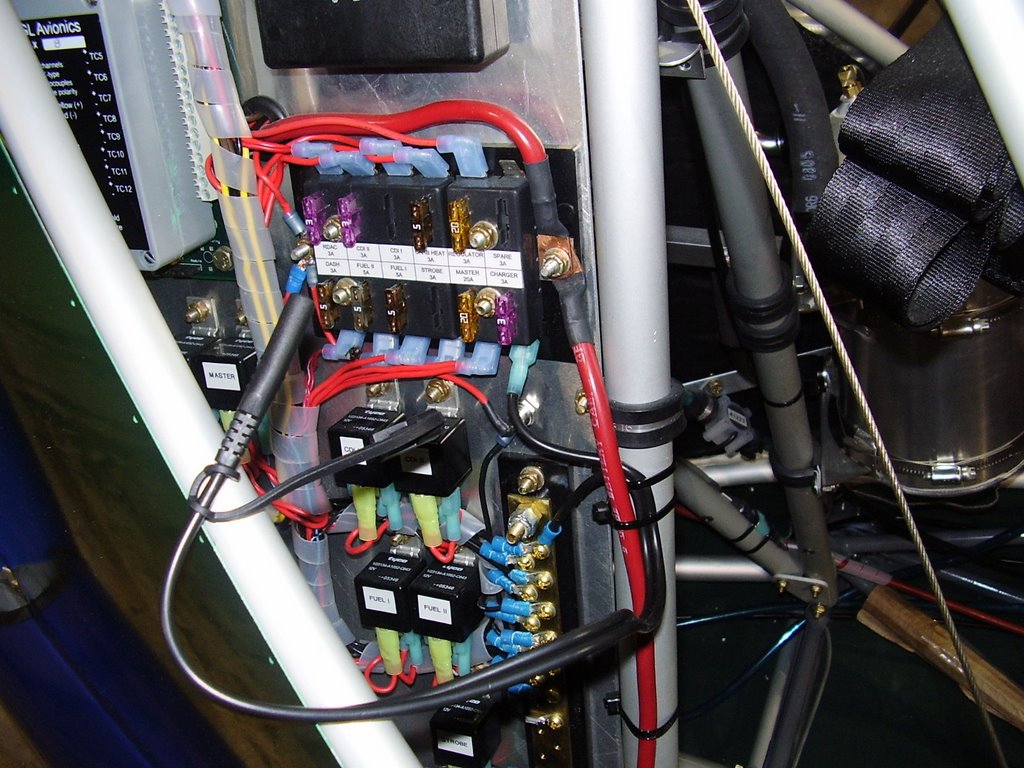
I also purchased a battery charger/tender. The unit came with a cable designed to be wired into your electrical system for easy connecting to the charger. The cable came with a built in fuse holder which I cut off. I wired the cable in to one of my empty fuses; see the pictures below.


Nose Wheel - 1 hours (425 Total)

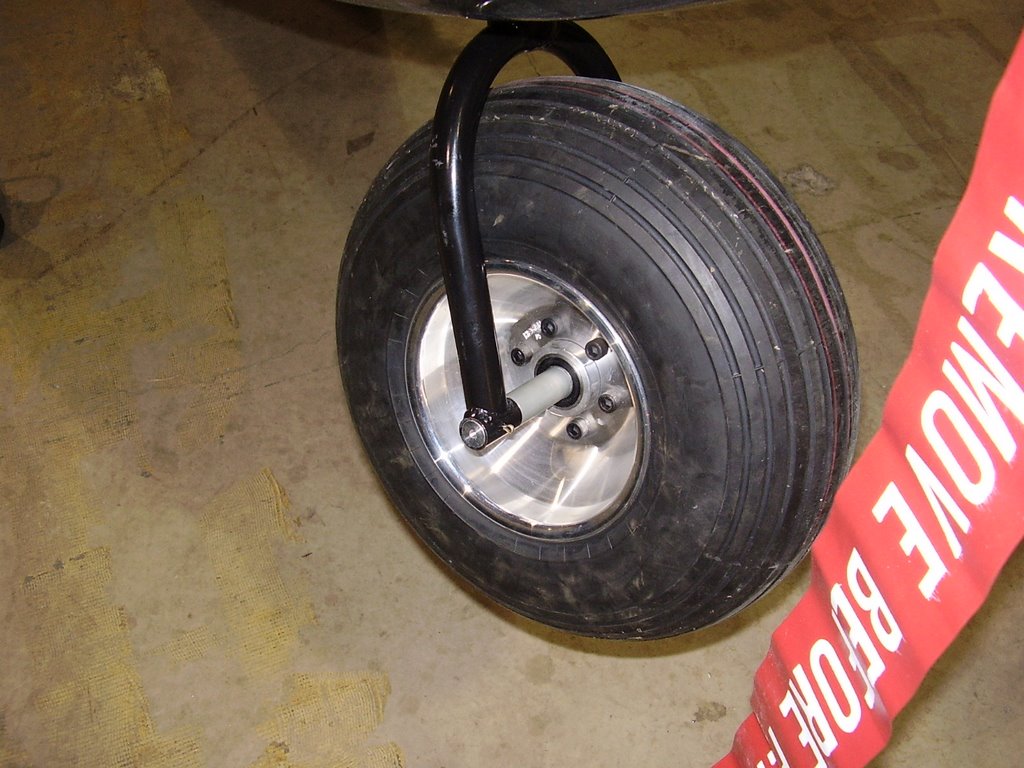
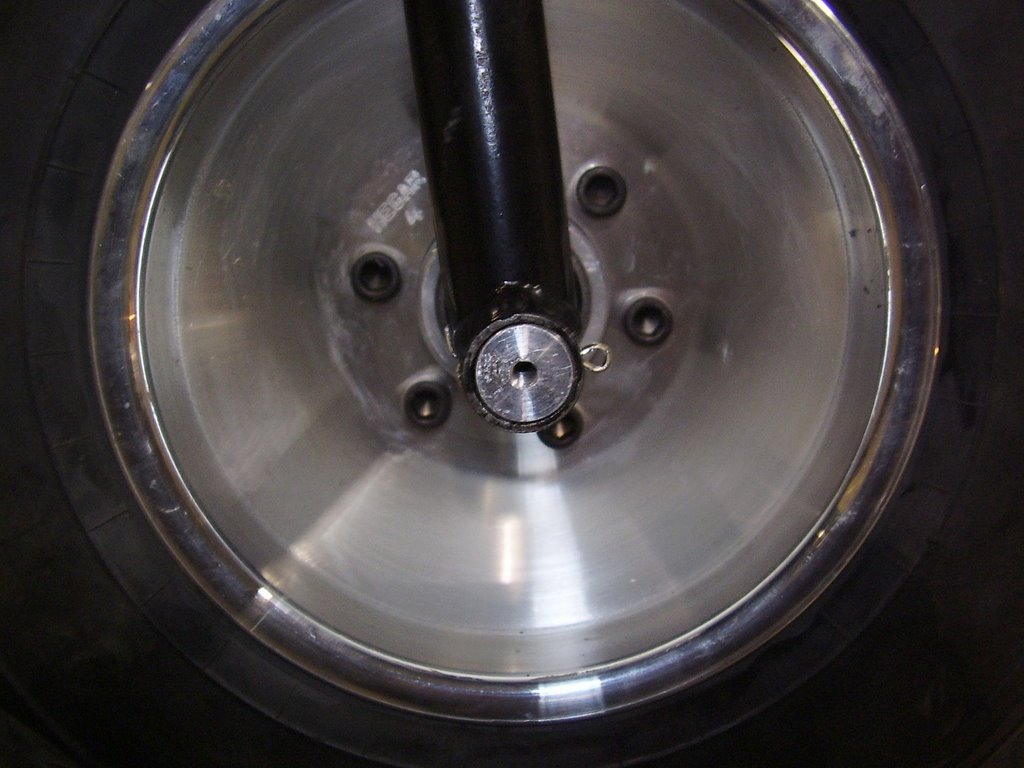
Today I drilled and installed the cotter pins that hold the nose wheel axle in place. This would have been a pretty easy and quick task if I hadn't has broken off my drill bit in one of the holes.