Sunday, May 07, 2006

BRS and Seatbelts - 2 hours (240 Total)

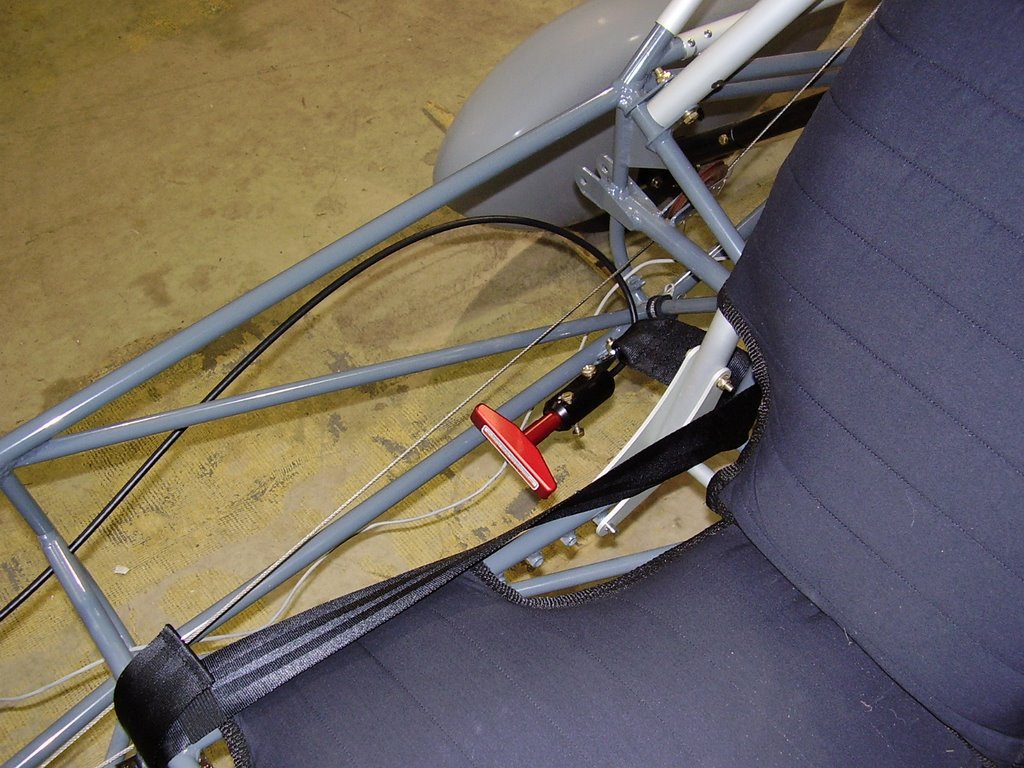
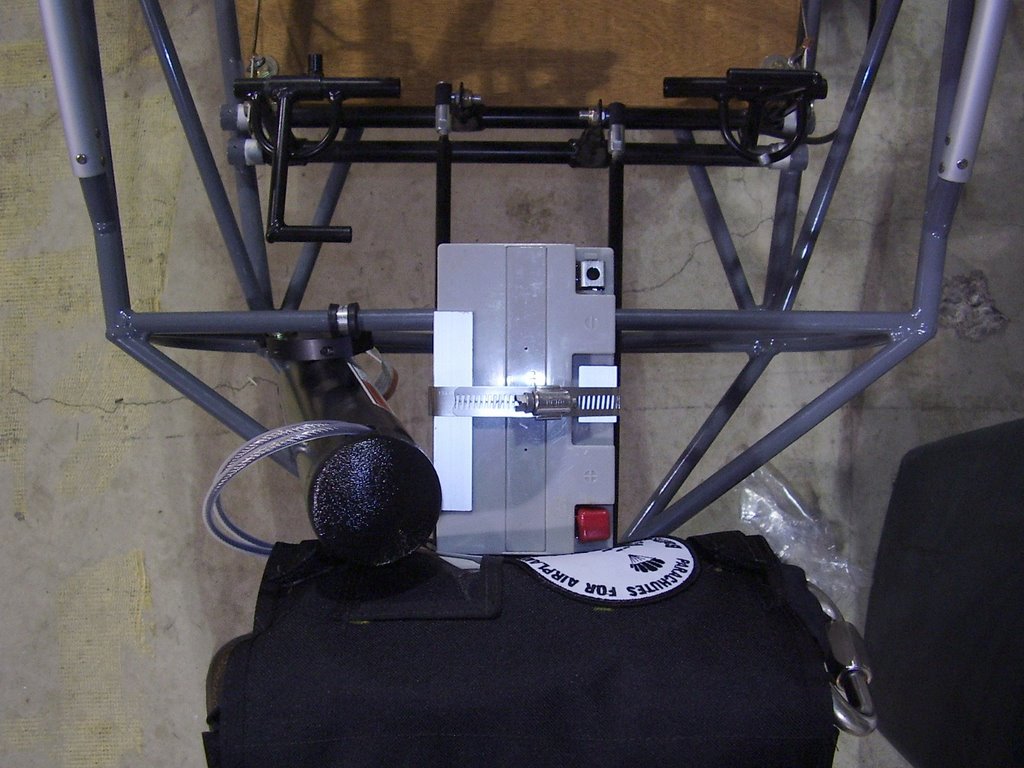
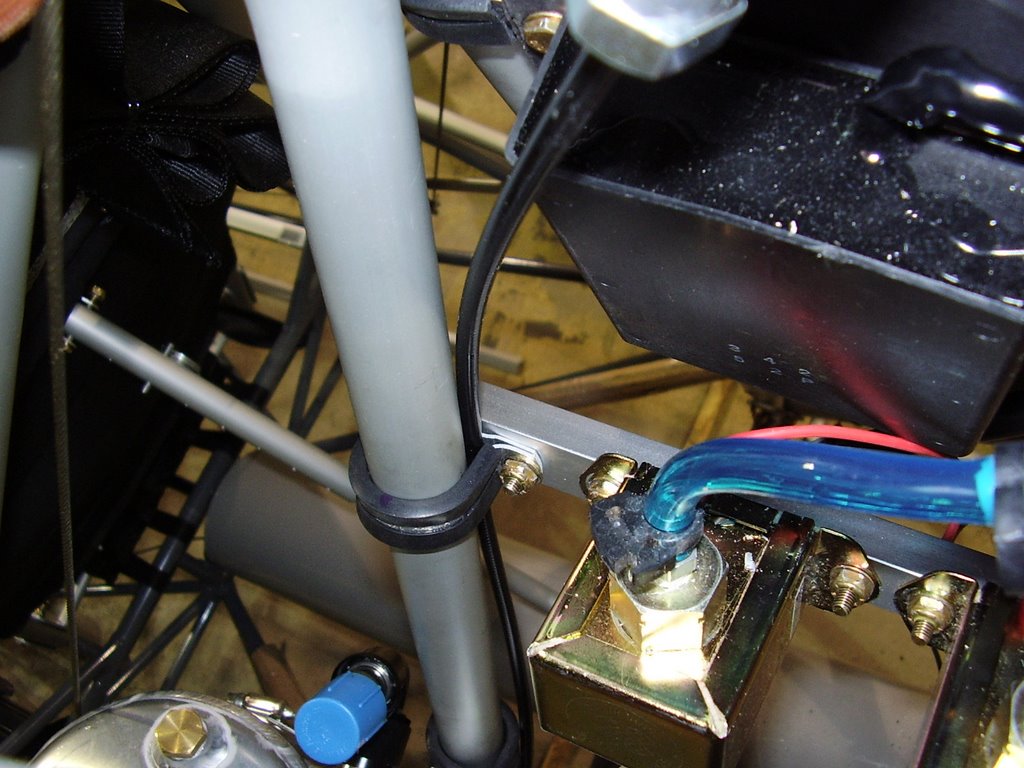
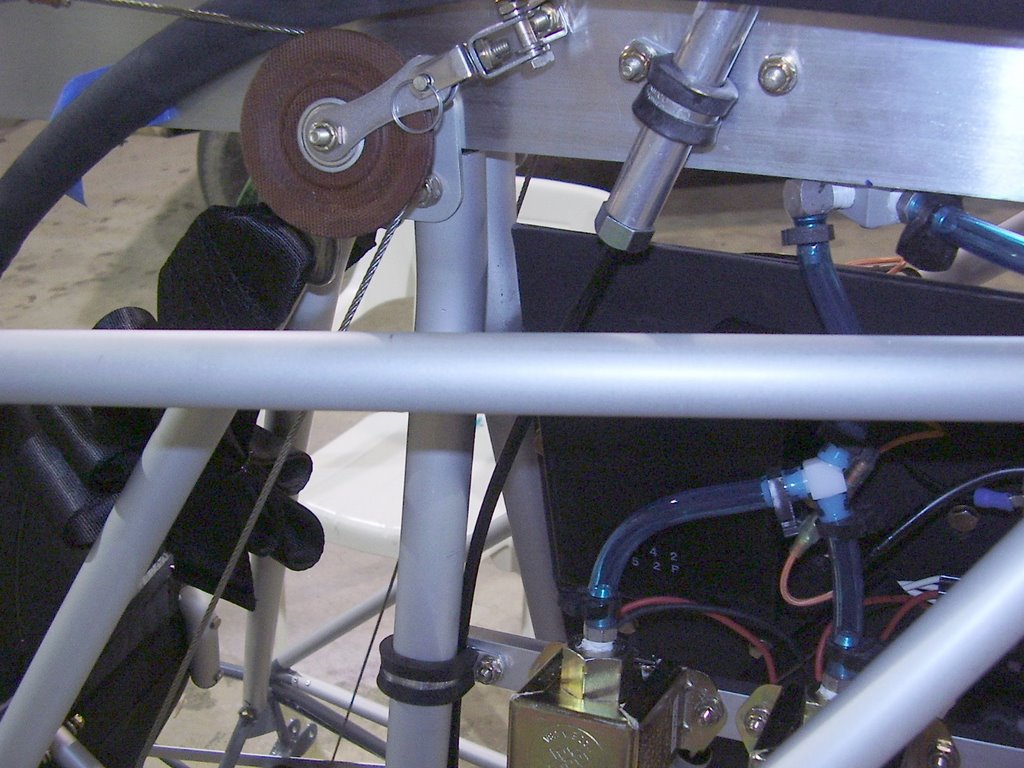
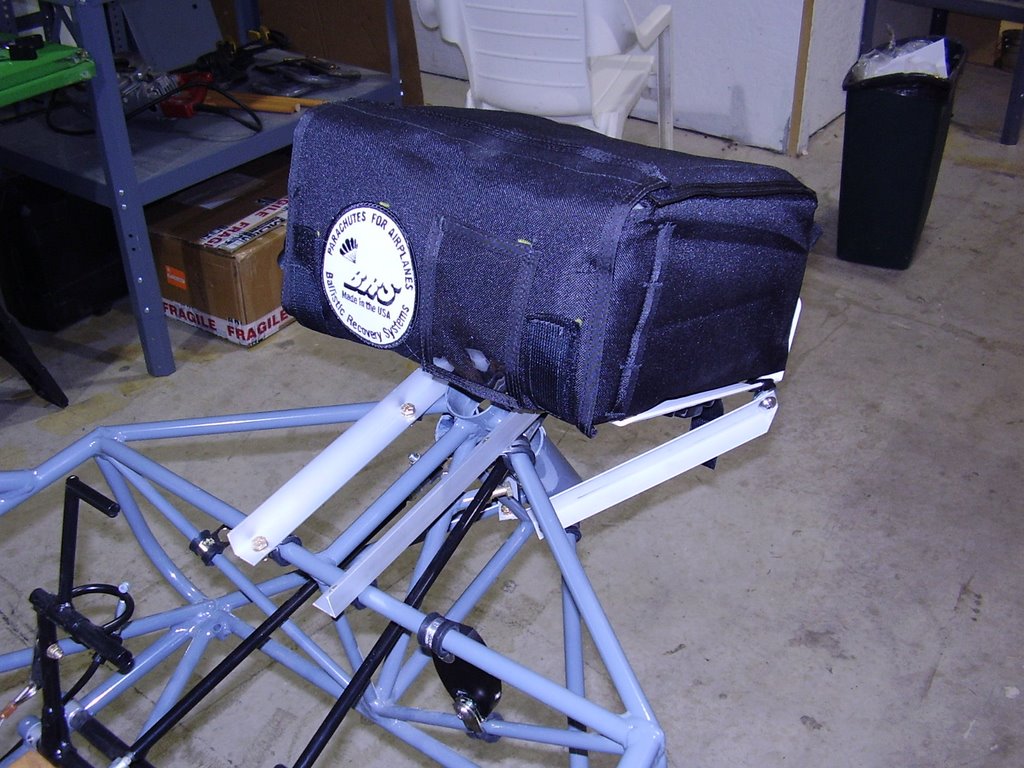
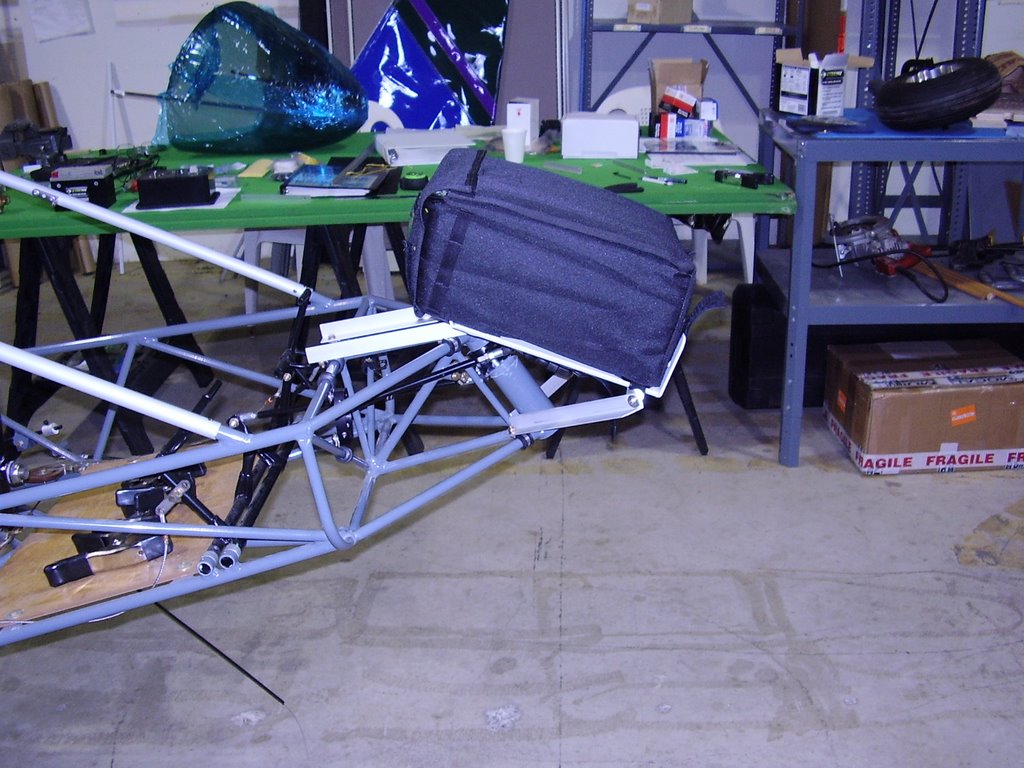
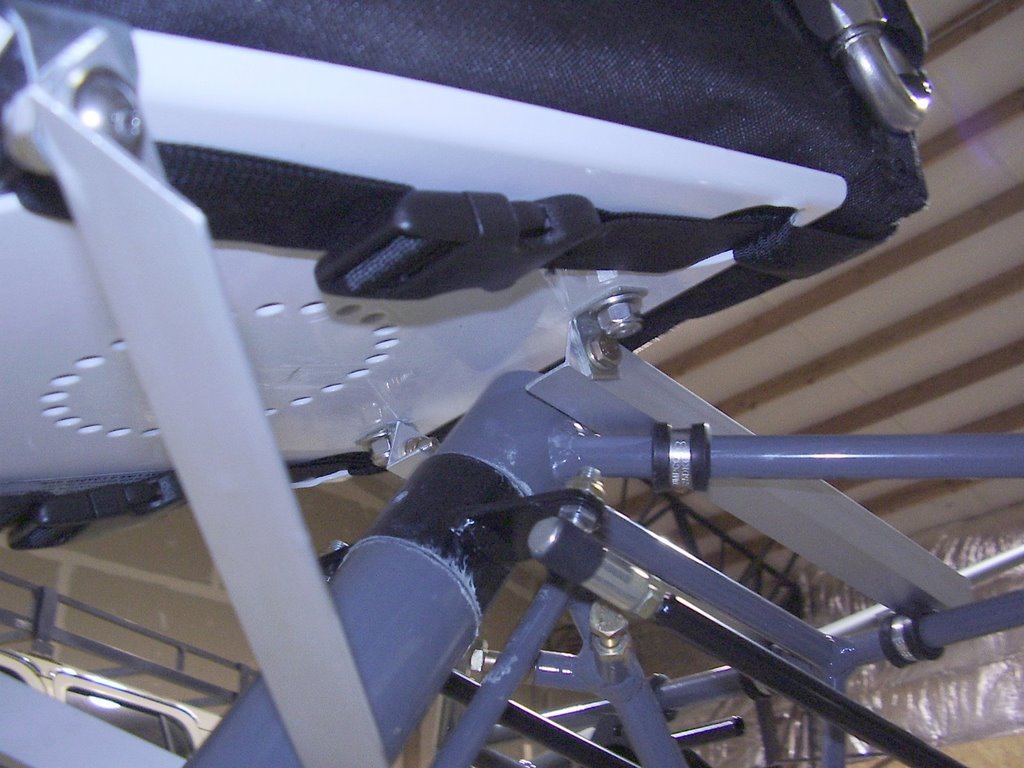
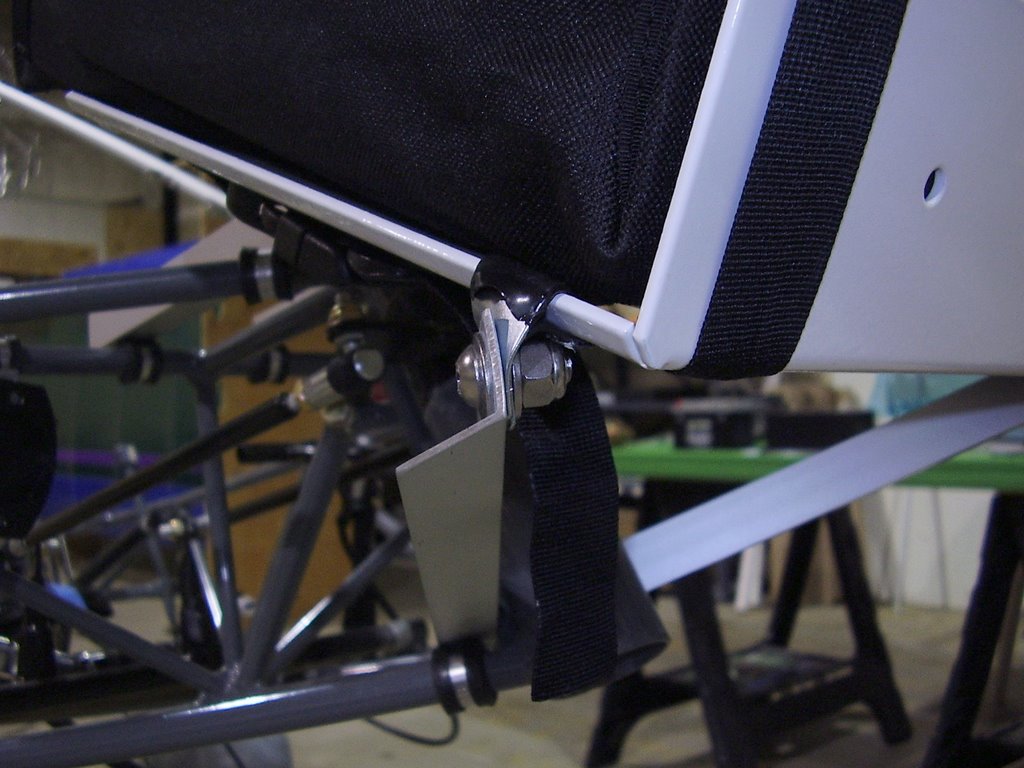
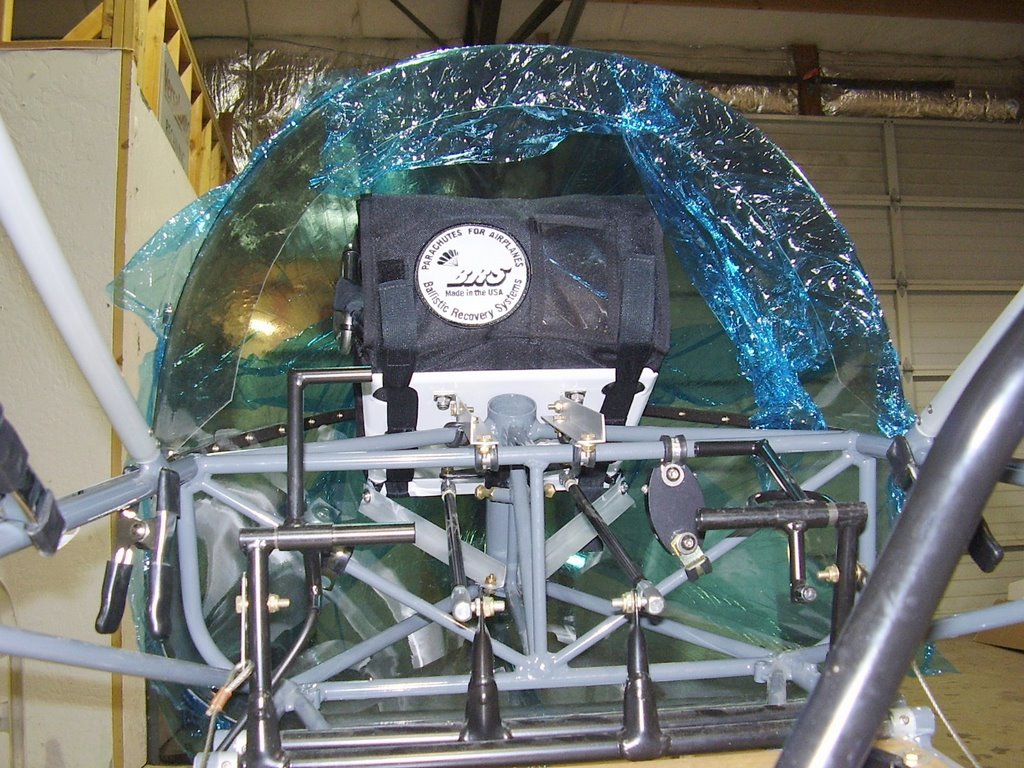
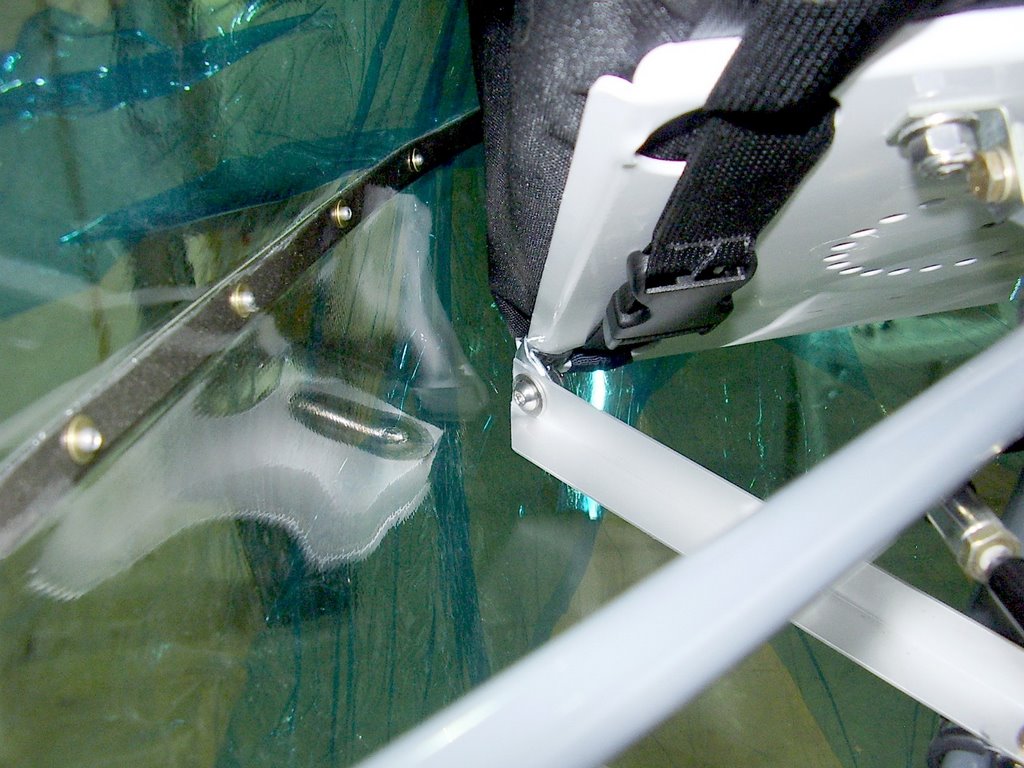
Today I mounted the BRS activation handle and right seatbelt.

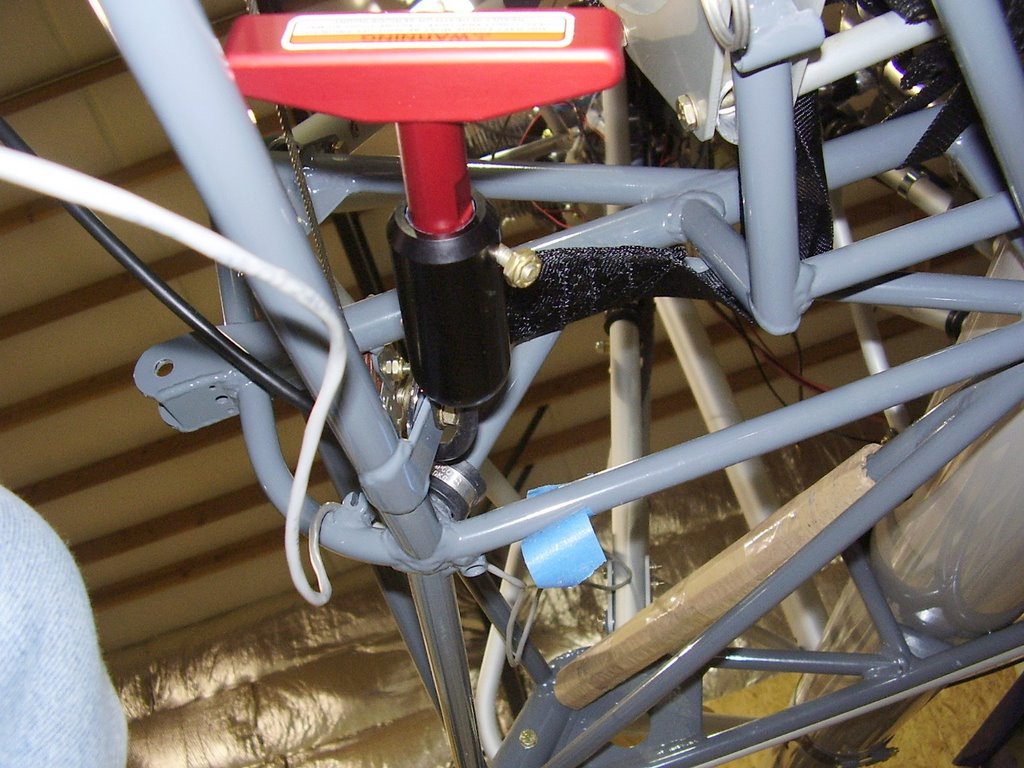
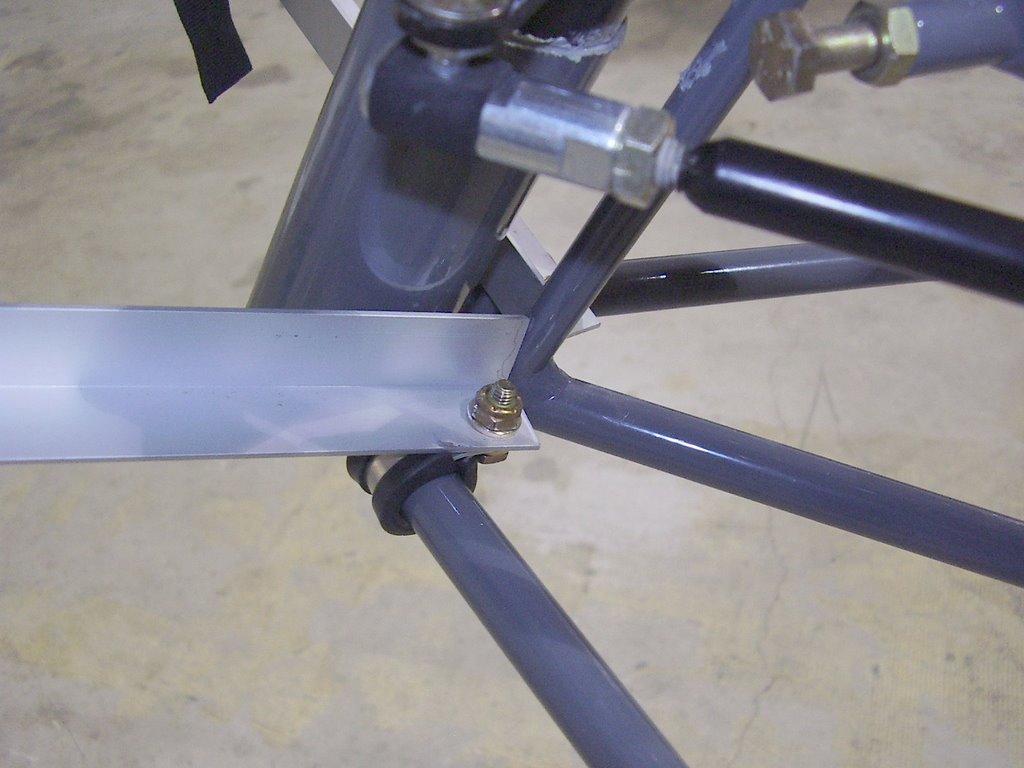
The BRS activation handle is mounted to the same bracket that the right side seatbelt mounts to.

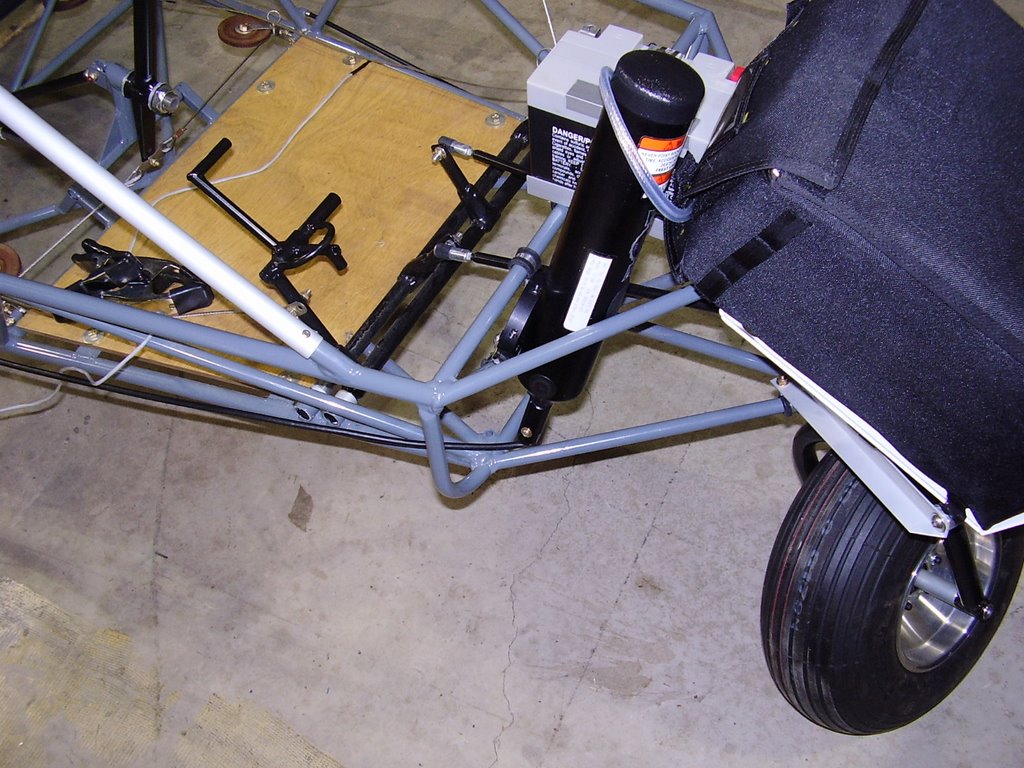
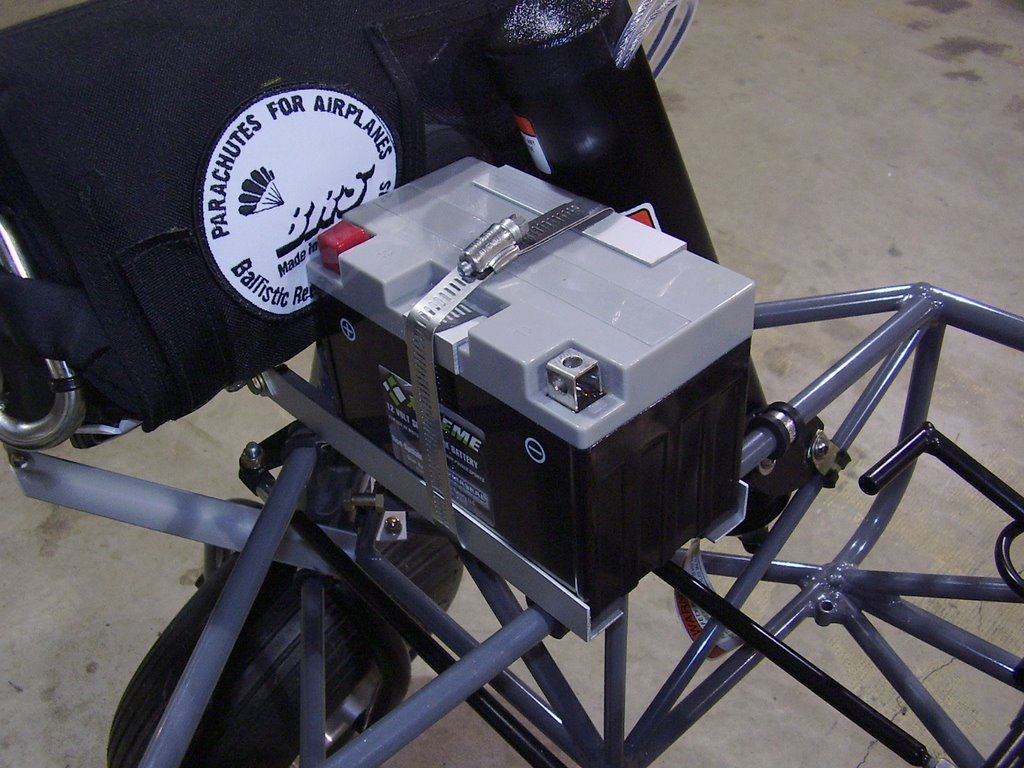
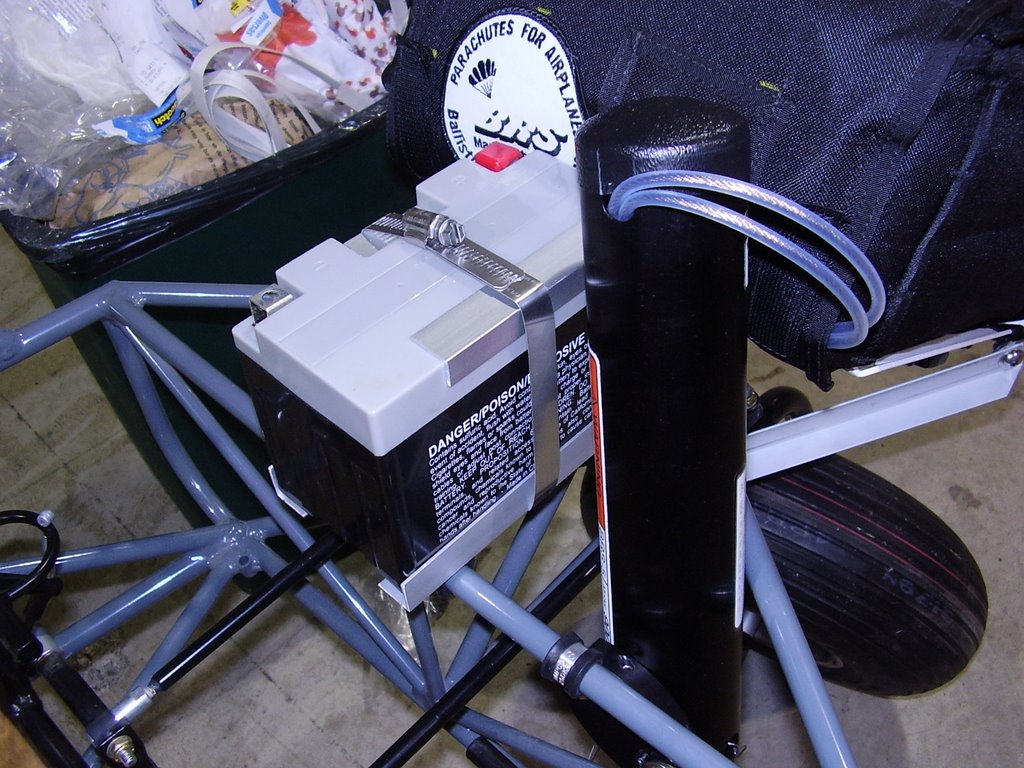
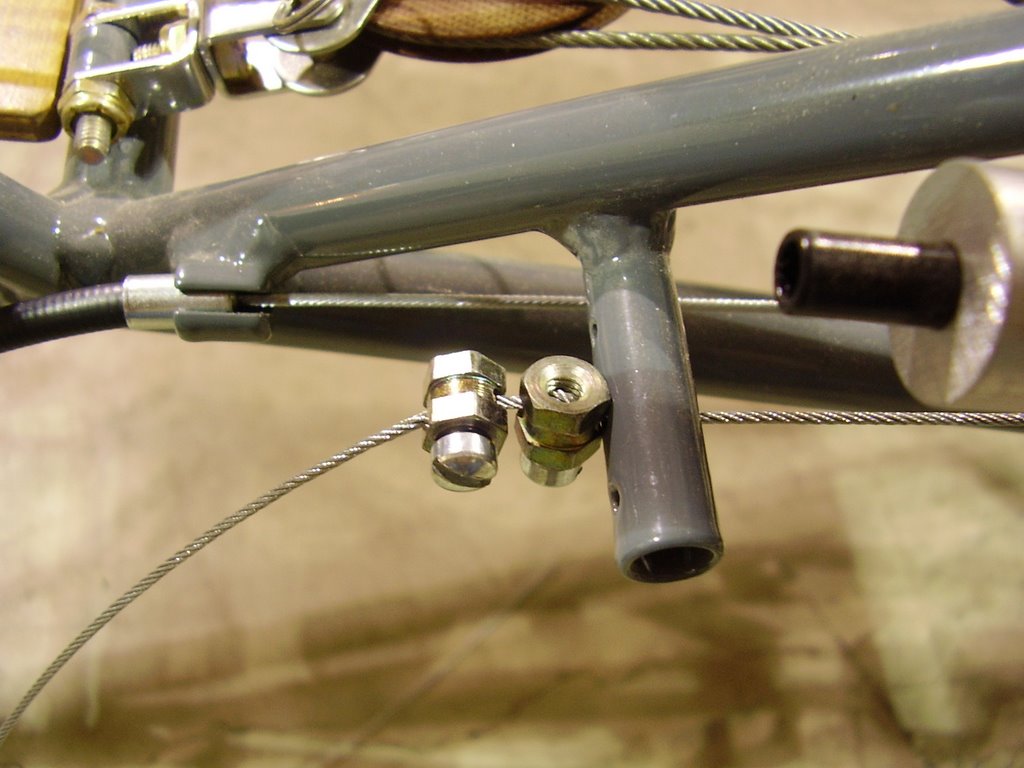
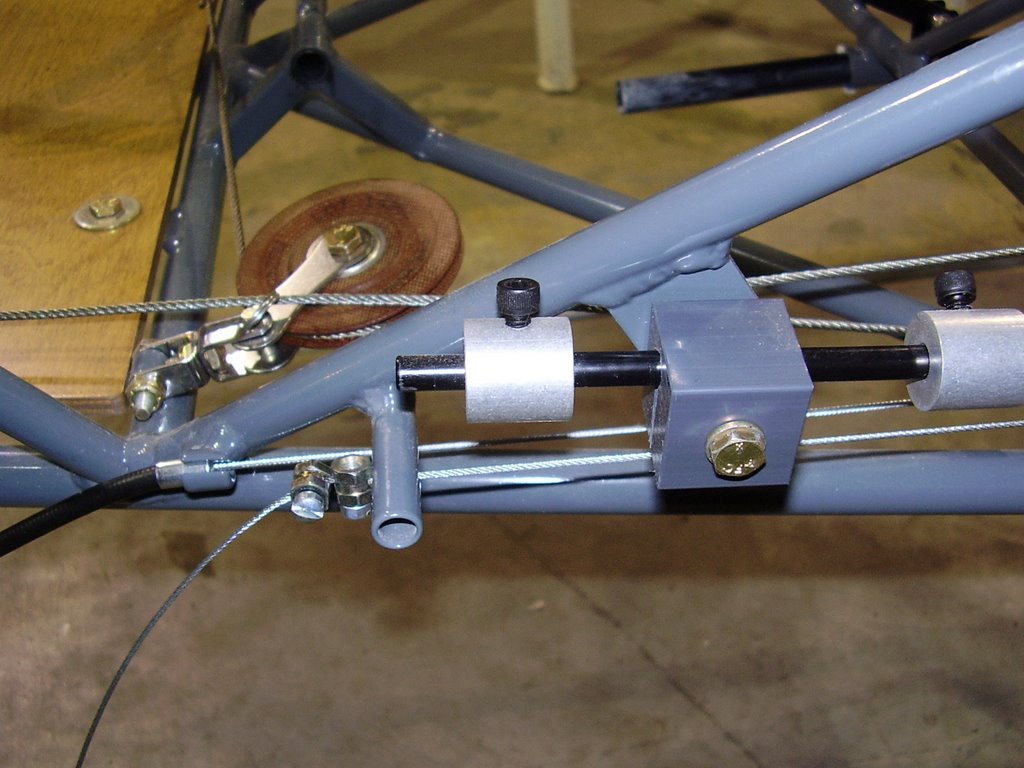
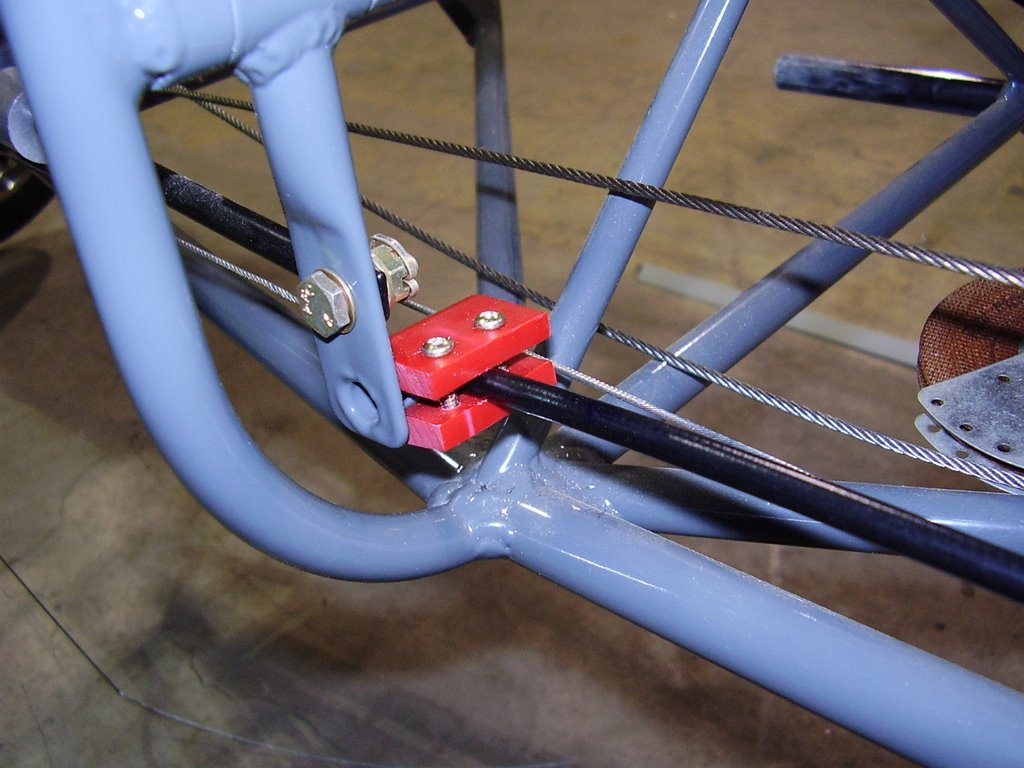
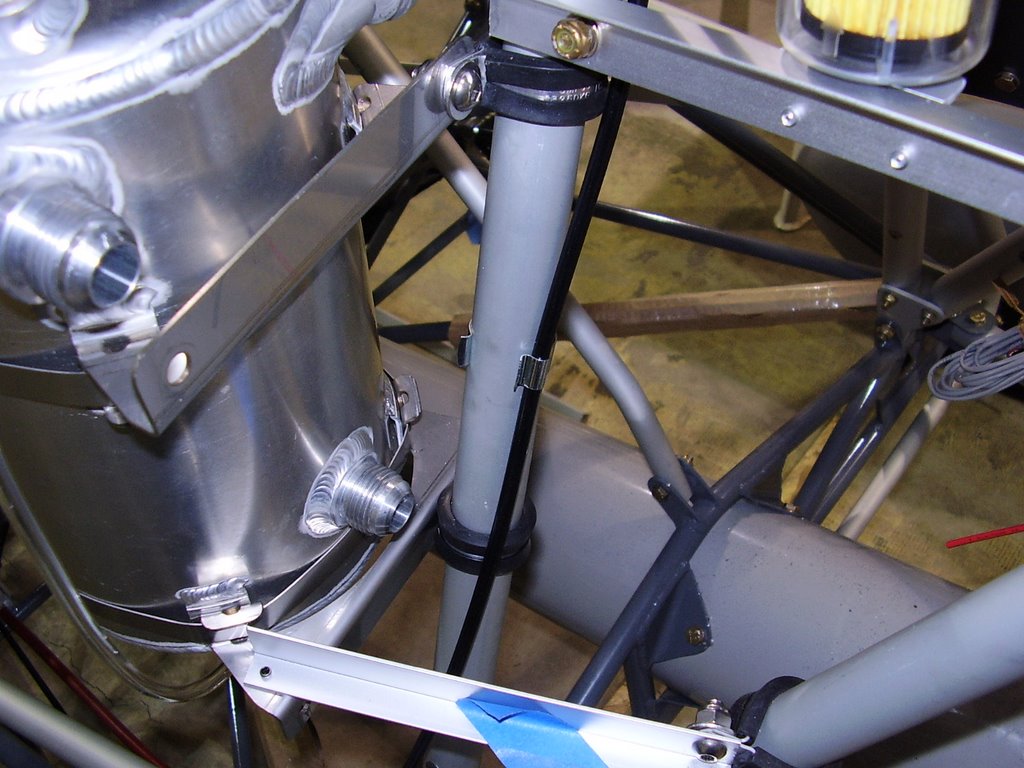
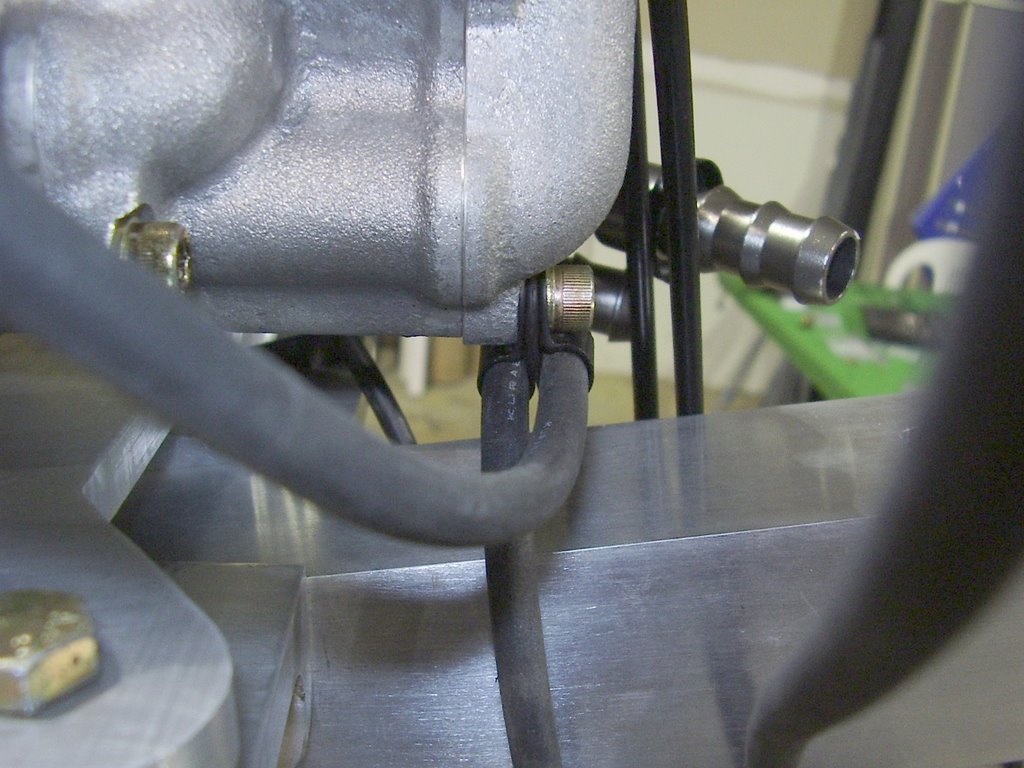
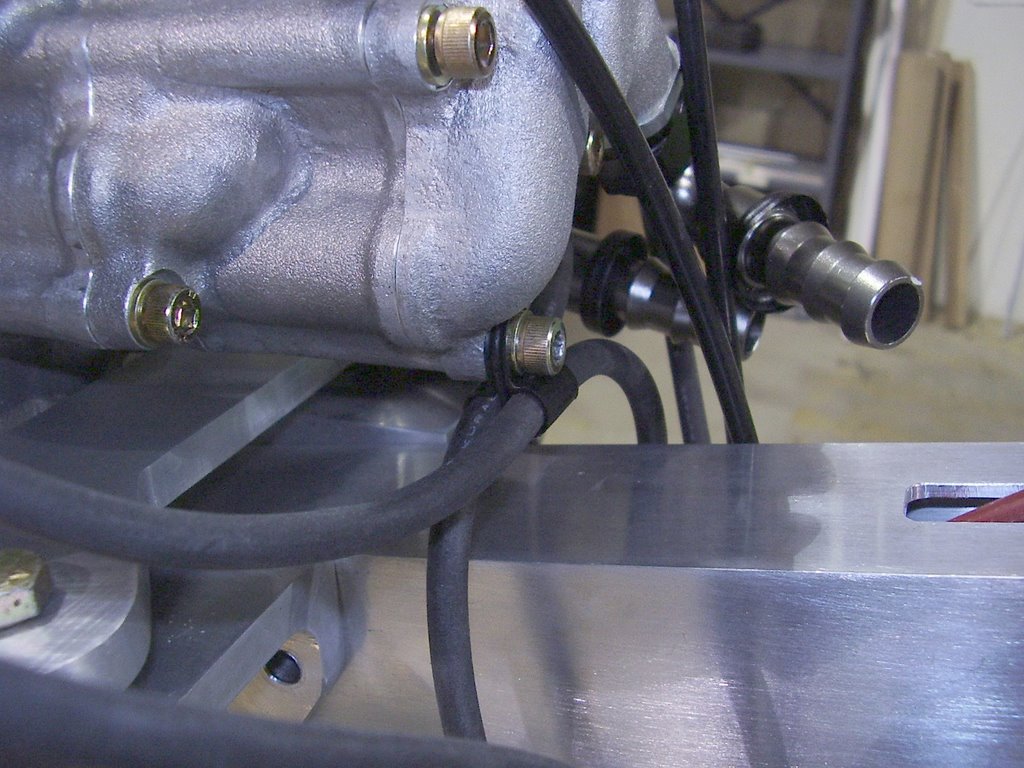
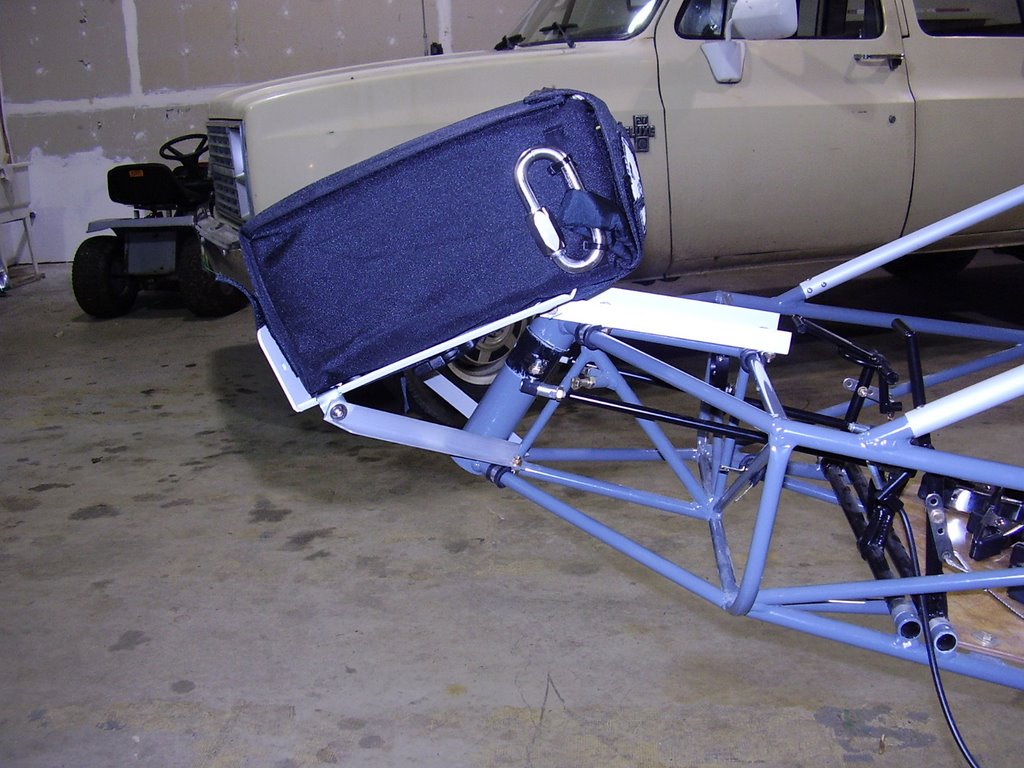
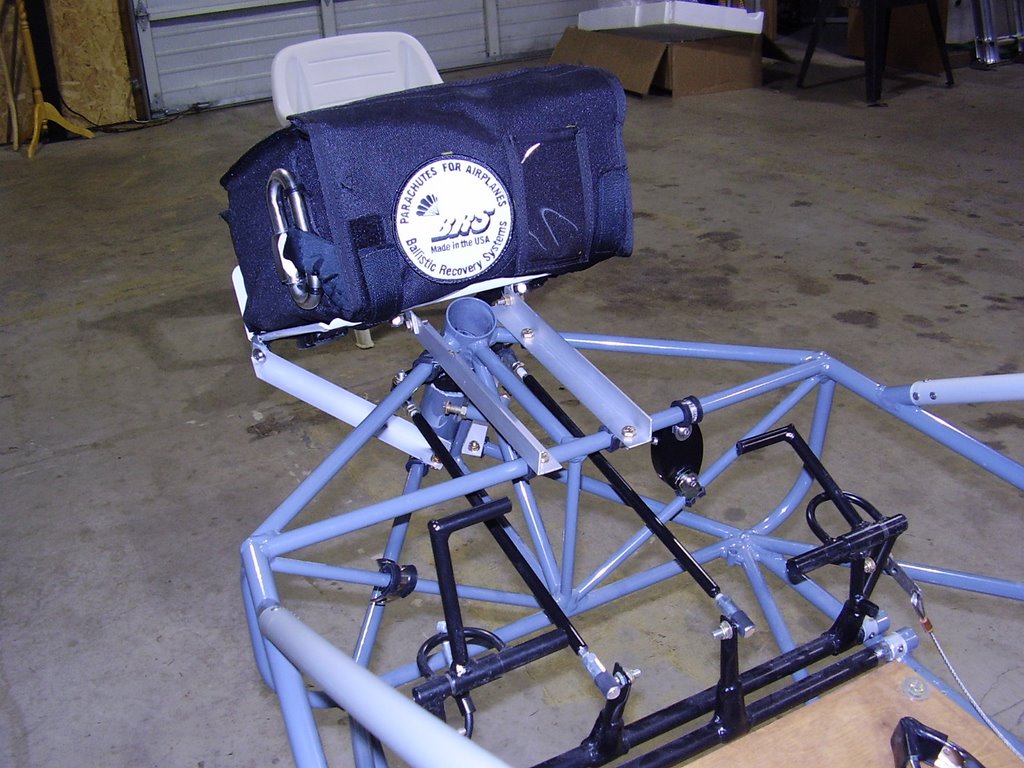
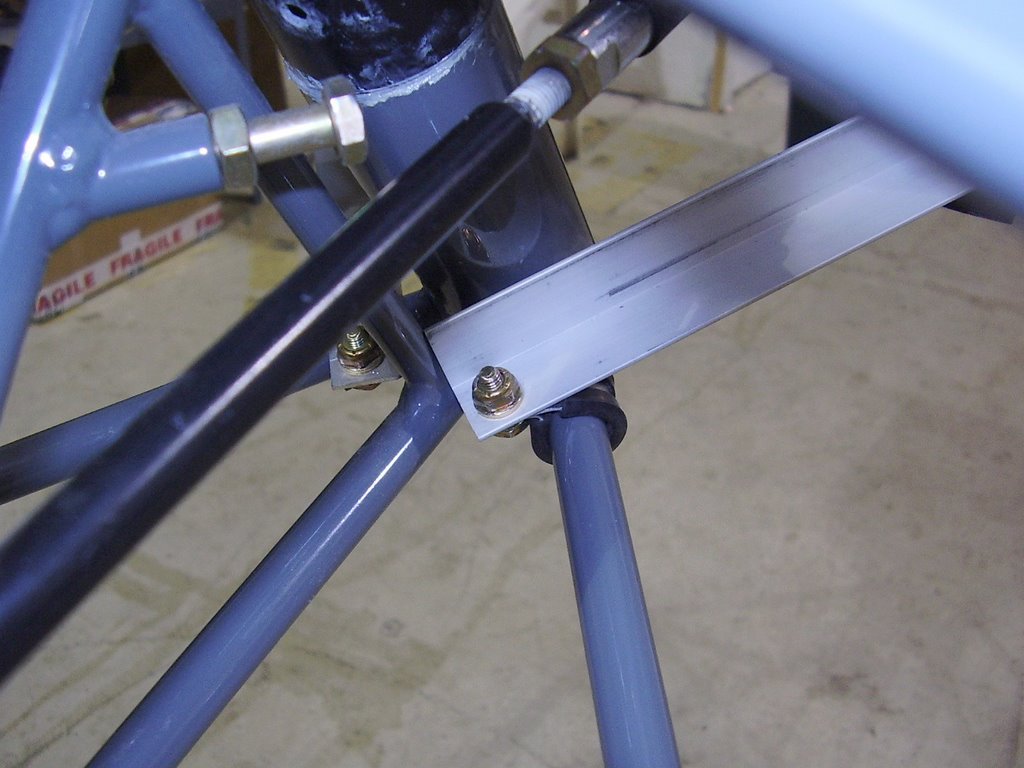
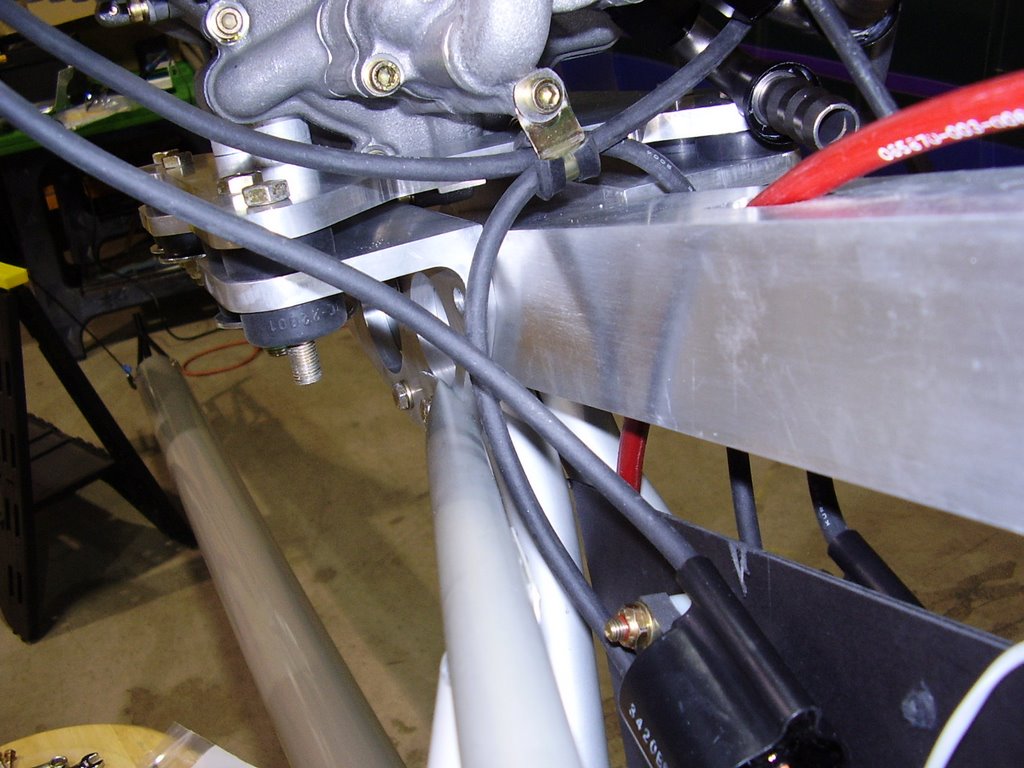
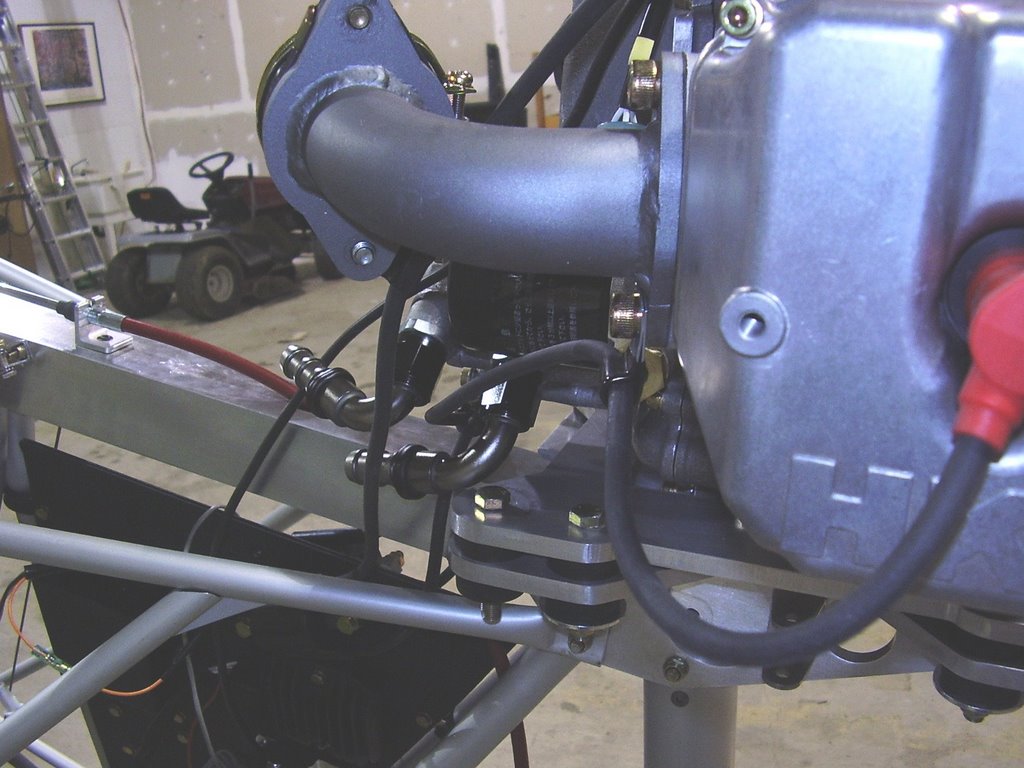
I connected the activation cable to the rocket so it is now live! I replaced the safety pin with a 3/16 bolt so I didn't have to worry about the safety pin and warning label being inadvertently removed.

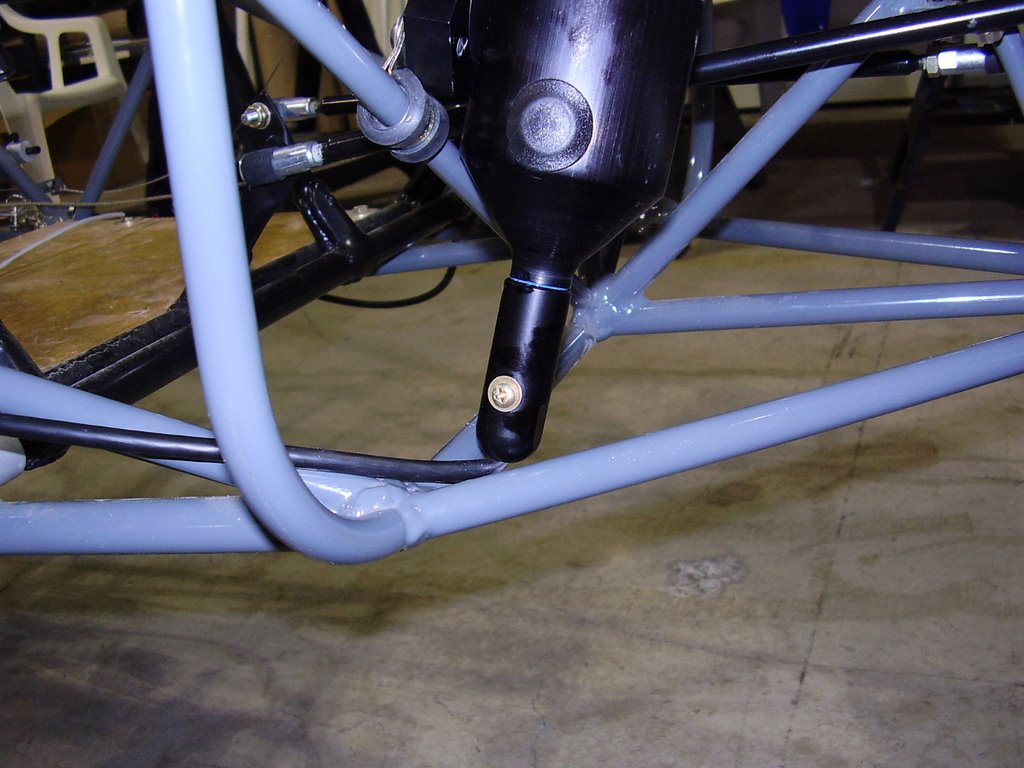
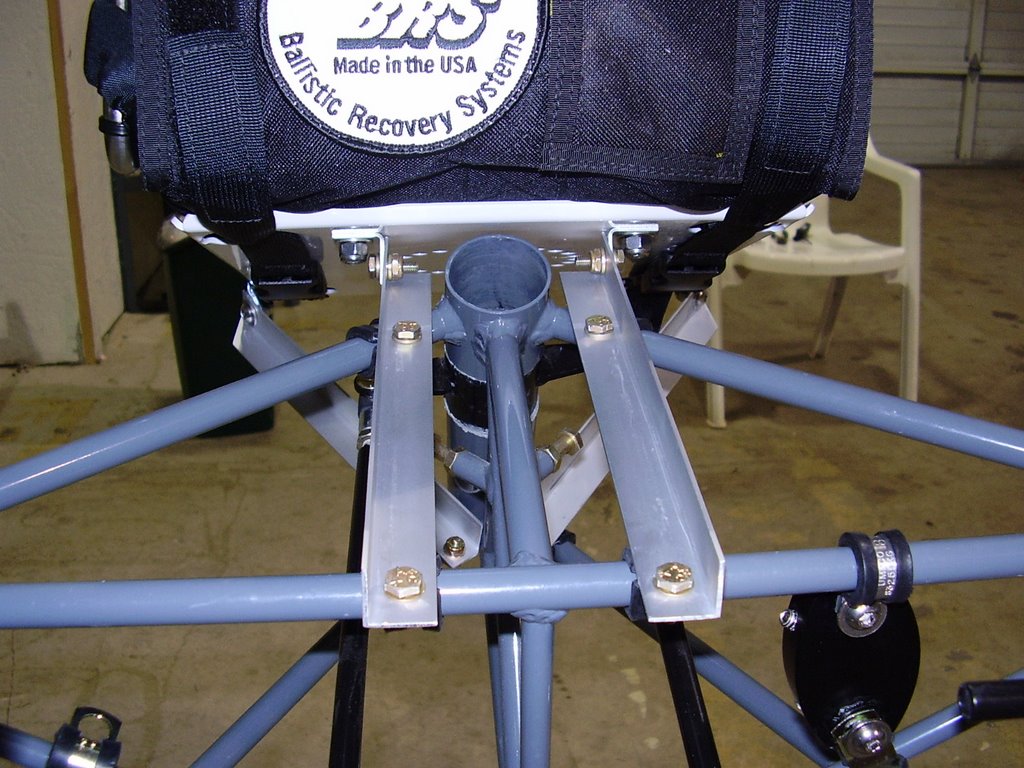
I used locktite on the two bolts that hold the rocket mount, on the threaded cable connection to the rocket, and the clasp that holds the rocket bridal to the parachute.


Saturday, May 06, 2006

Battery - 2 hours (238 Total)

Today I placed the battery and BRS rocket.

When installing the hardware for the BRS parachute, I spaced the hardware so the battery would fit between the aluminum angles.

Since the battery is resting on two bolts which hold the aluminum angle in place, I put thick pieces of foam rubber under the battery. This should keep the bolt heads from damaging the batter due to vibration.

I also used some excess aluminum angle to protect the top of the battery from the pipe clamp I used to hold it into place.

The pictures don't show it, but the pipe clamp is also holding onto one of the steel frame members for extra support.


Friday, April 21, 2006

Throttle Cable - 1 hour (236 Total)

Today I finished routing my Throttle Cable.


I used two wire stops with a small gap between them. I will verify the gap during pre-flight inspections to insure the main stop has not slipped. I used locktite on the threads.


I rotated the bolt that hols the friction block. It appears that the bolt will be easier to tighten in this configuration (nut facing inside).


Since I only had one throttle cable to route to the throttle lever, I hastily drilled the screw holes and cable exit hole in the red cable housing gripper without measuring. Of course the cable exit hole didn't line up with the pre-drilled hole in the lever. I ended up trimming the red cable housing gripper to allow the holes to line up.


I place the throttle cable inside of the cable bracket that is holding the fuel pump rail. This holes the cable nicely and eliminates the need for a wire tie but I imagine I'll be cursing it when I need to service the cable.


Here you can see a cable holder I bought at the local hardware store. These look a little nicer than wire ties but as Randy would say, "They add weight!" I haven't decided if I'll use them or not.

Thursday, April 20, 2006

Engine Plumbing - 10 hour (235 Total)

Over the course of several days I routed a majority of the engine plumbing. This was a tedious process of positioning and re-positioning trying to get everything to fit well together. The work consisted of routing some oil lines, fuel lines, fuel pressure sensor, fuel distribution box, and throttle cables.

The pictures below do a better job of describing the routing.


Low Temp Oil Return Line.


Oil source line (from tank to engine) on left


Oil lines and tank


Fuel Lines from Pumps to Distribution Box


Fuel lines between pumps and filters


Fuel Pressure Sensor


Fuel Pressure Sensor


Fuel Distribution Box.


Fuel Distribution Box and Throttle cables.

Monday, April 10, 2006

Sparkplug Wires- 1 hour (225 Total)

I found some new plastic wire brackets to use on the sparkplug wires. I used these to individually hold the sparkplug wires at the fuel pump. I did not like having the wires compressed together in a single bracket.


Wednesday, April 05, 2006

Parachute Bracket- 6 hours (224 Total)

Figuring out how to mounting the parachute in the nose was a difficult task. Because the S-14 Long Wing is so tail heavy to begin with, adding the 15 extra pounds of HKS engine caused the center of gravity to be very far back. With my estimated CG calculations, I would be right at the edge of the CG window if I placed the parachute in the rear of the fuselage. Moving the parachute to the nose of the plane moves my CG forward by almost 2.5 inches.

My other goal with the parachute mount was to create a location that the battery would be able to sit.

I used the BRS supplied plate as a starting point. I jerry-rigged the plate to correct location while I dry fitted the nose cone into place.

Once I had the right location for the plate, I drilled two holes into the plate to accommodate two 90 degree brackets that would connect to two pieces of 3/4" x 3/4" aluminum angle. These two pieces of angle aluminum are the top pieces you see in the pictures. They are spaced such that my battery will sit inside of the frame they create.

The two lower pieces of aluminum angle keep the plate from rotating around the brackets. These pieces are connected to the plate with two metal pipe/wire brackets that have be deformed to grip the at an odd angle. The other ends of the aluminum angel is connected to the planes frame with similar, but not deformed, metal pipe/wire brackets.


Monday, April 03, 2006

Fuel Filter Brackets - 3 hours (218 Total)

I spent a lot of time researching the correct fuel filter to use. I came up with the 33001 filter from Wix. These filters are sold by Carquest under the 86001 part number. They are rated at 12 microns.

The HKS manual states to use a 15 micron or less, mesh type filter. Unfortunately, most filters and their suppliers don't state the filter's micron rating.

I spent several hours creating mounting brackets that would hold the fuel filters. I use some 3/4" x 1/2" aluminum angle which I drilled a 5/8 inch hole in. The hole accommodates a rubber grommet that holds the filter nicely.


Sunday, April 02, 2006

Oil Pressure Sender - 1 hour (215 Total)

Today I bolted on an oil pressure sender to the engine. I purchased the sender from Aircraft Spruce. It is a 0-150 PSI unit from Mitchell


Saturday, April 01, 2006

Panel Wiring - 6 hour (214 Total)

I spent several hours wiring the component of my electrical panel together. I am several hours from being finished but this is the majority of the power and ground wiring.

Thursday, March 30, 2006

Sparkplug Wires - 1 hour (208 Total)

Today I routed the sparkplug wires. This required five different wire clamps to keep the wires from rubbing on any of the metal components.

I needed to replace the lower carb bolts with a longer ones to accommodate the wire clamps.