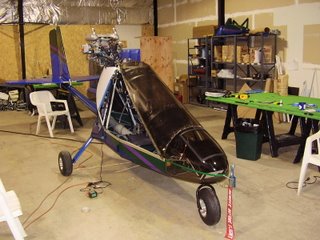
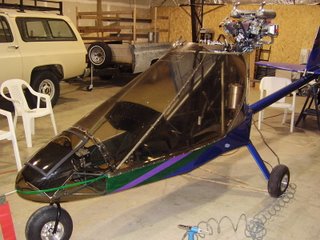
Prior to installing the windshield I needed to do a few more items of prep work.
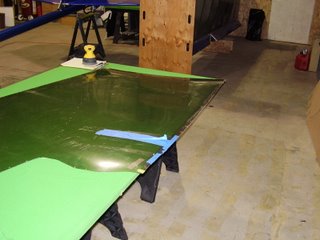
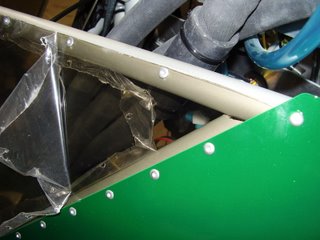
The first thing was to trim the windshield. The Lexan material trims very easily by scoring with a utility knife and breaking. I needed to trim the windshield where it meets the lower half of the door and where it meets the top former on the left side of the plane. The trimmed edges required some sanding to soften the sharp edges.
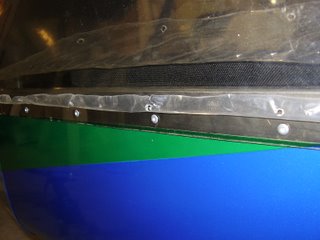
I then cleaned and deburred the rivet holes in the Lexan and the plane. There were a few holes that still needed to drill out on the plane. These holes were where the windshield would be riveted into the steel frame. I needed to be extra careful when drilling these holes to keep from breaking drill bits.
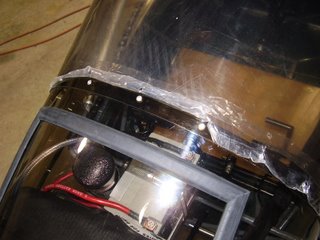
The last step was loosening or removing the windshield's protective plastic cover where it would be connected to the plane. The most difficult area was where the windshield connected to the aluminum tube that runs down the left of the instrument pod. I needed to tear the protective coating away by hand. I tried gently scoring the plastic coating with a utility knife but no matter how soft I pressed, it would always scratch the Lexan.
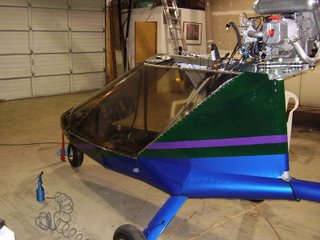
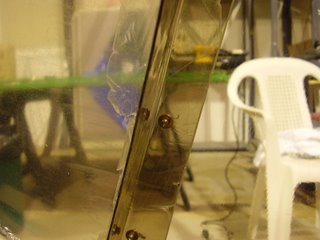
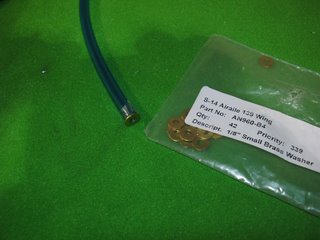
After placing the windshield, I started the long process of riveting. The only challenging part of the riveting was where the windshield met the nose cone. I needed an extra set of hands to hold the backing washers in place while I riveted from the other side. I ended up using some fuel line that was intended to be used as primer line to hold the washers in place. I would stick the washer to the end of the primer line with double sided tape and then push the primer line onto the rivet. The primer line was just small enough to grip the end of the rivet, holding itself in place, while I pulled the rivet.
