Elevator Trim - 5 hours (423 Total)
Today I installed the elevator trim tab.
The hinges for the trim tab went together pretty easily. They use an aluminum tube cut to 1/16" long as a bushing to reduce the friction in the hinge. There is still a significant amount of friction but the tab does move. If this doesn't loosen up over time I may need to replace the 1/16" bushings with slightly larger ones.
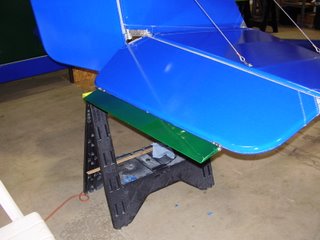
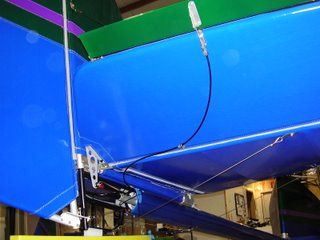
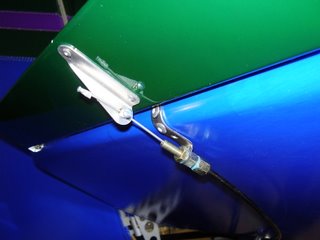
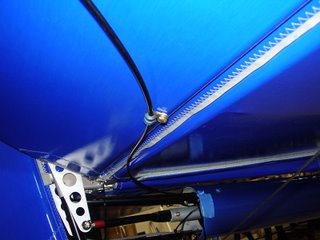
The actuator cable for the trim is routed out the tailboom, through a cable clamp, to a stopper that is riveted to the trailing edge of the elevator.
The cable clamp is attached to the leading edge of the elevator with a bolt and a rivnut. I purchased a tool specifically designed to install rivnuts. Unfortunately, it worked too easily. I over tightened the rivnut and stripped out the threads. I needed to drill out the rivnut and install a second one. The manual only calls for one rivnut and cable clamp but the kit came with two. Rans may have intended for the second one to be used on the trailing edge of the horizontal stabilizer to prevent the cable from rubbing on the fabric.
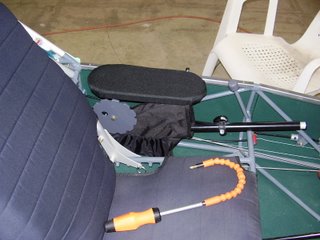
To cut the cable and housing to the proper length, I needed to unbolted the trim wheel from the flap lever mechanism. This allowed me to disassemble the trim wheel and pull the cable out of the housing. Otherwise, there wouldn't have been a way for me to cut the housing shorter than the cable.
I cut the cable so that I have an inch or so of extra length in case I need to make any adjustments. I set the trim tab to be in line with the elevator while the trim wheel was centered. I crimped a cap onto the end of the cable to keep the sharp cable end away from my skin.
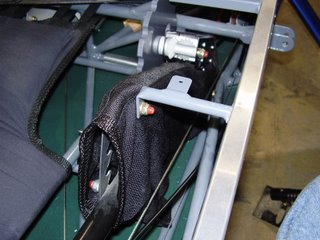
Since I had to remove the trim wheel from the flap lever mechanism, I went ahead and installed the fabric covering over the flap lever mechanism. I needed to cut the fabric with my soldering iron so it would fit over the trim wheel bracket.

I used Locktite to secure all the bolts and screws.
