With the help of a couple friends, I was able to attach the wings to the fuselage. The wings attached to the root tube very easily once we realized to attach the rear spar and universal hinge prior to bringing the leading edge spar even close to its mounting bracket. The leading edge wing strut has a very snug fitting used to connect to the leading edge spar of the wing. This connection needs to be attached first to allow the strut to be wiggled and pounded on. The other attachment points of the leading edge struts and trailing edge struts went on pretty easily.
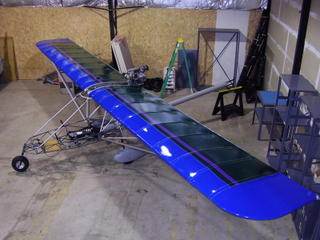
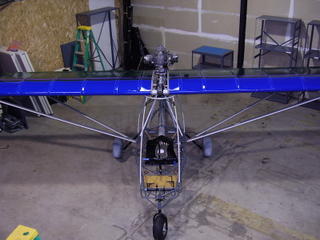
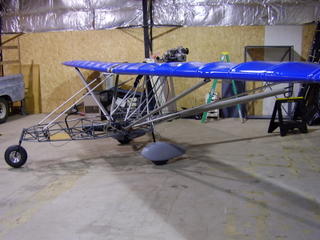
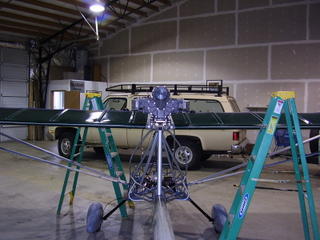
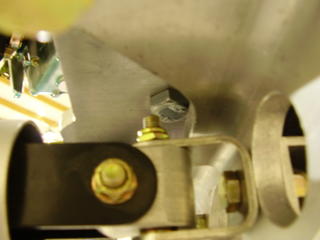
Below you will see the connections of the leading edge spar to the root tube and the clearance between the universal hinge and the engine mount. You can see that the cut out in the engine mount plate is not needed but it does add some finger clearance and style. The cutout in the engine mount bracket gives plenty of clearance for the universal hinge and bolt.
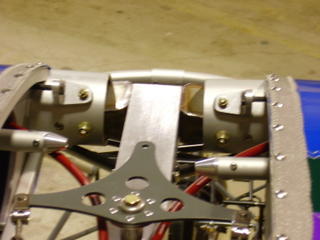
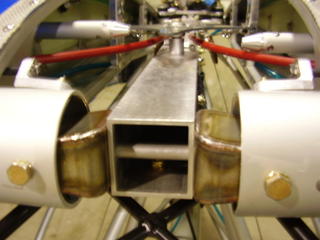
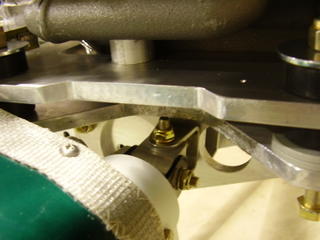
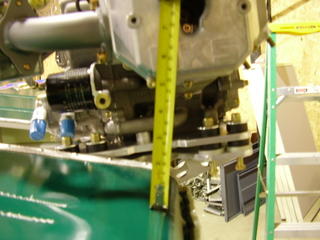
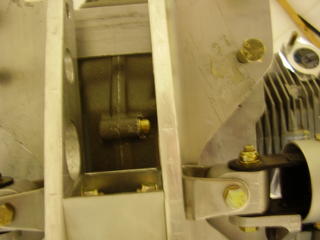
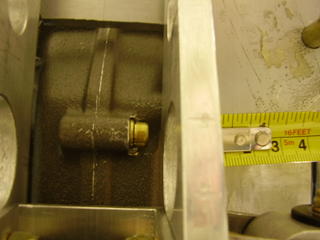
Below you can see two photos of the bottom of the engine looking up. To the right of the ridge in the cast aluminum is the location of the oil drain plug. This shows approximately 1.5 inches of metal on the engine mount bracket in front of the oil drain plug. A hole could be drilled within that 1.5 inches for a 90 degree quick drain fitting.
The following pictures show the clearance between the engine mount and the wing. At the narrowest point, there is a quarter of an inch between the engine mount plate and the root of the wing.
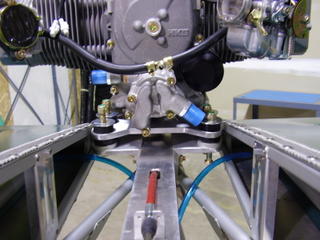
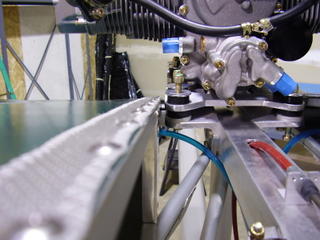
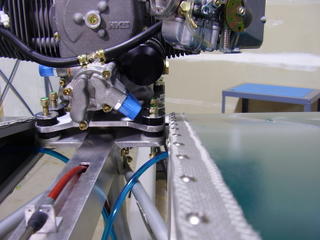
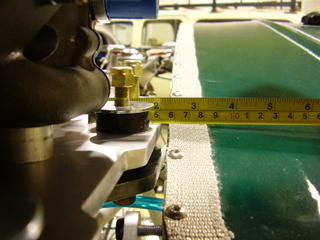
The following two pictures show clearance measurements between the wing and the engine cylinders for exhaust design.
