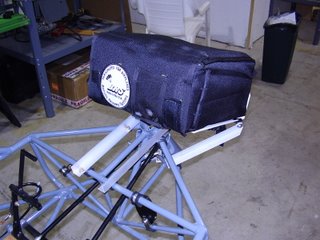
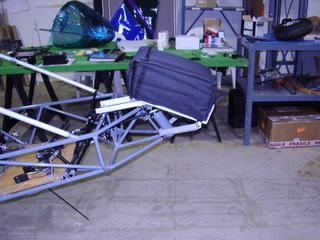
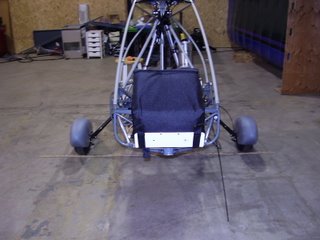
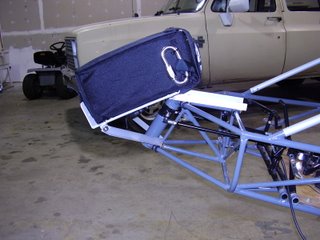
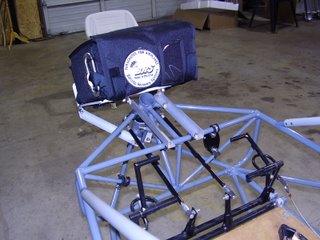
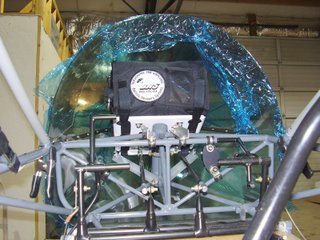
Figuring out how to mounting the parachute in the nose was a difficult task. Because the S-14 Long Wing is so tail heavy to begin with, adding the 15 extra pounds of HKS engine caused the center of gravity to be very far back. With my estimated CG calculations, I would be right at the edge of the CG window if I placed the parachute in the rear of the fuselage. Moving the parachute to the nose of the plane moves my CG forward by almost 2.5 inches.
My other goal with the parachute mount was to create a location that the battery would be able to sit.
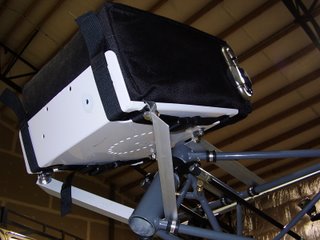
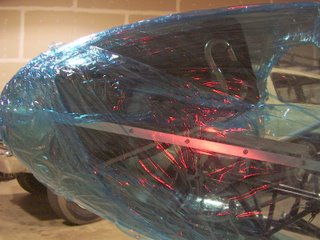
I used the BRS supplied plate as a starting point. I jerry-rigged the plate to correct location while I dry fitted the nose cone into place.
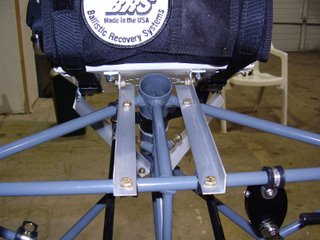
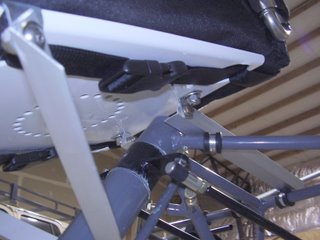
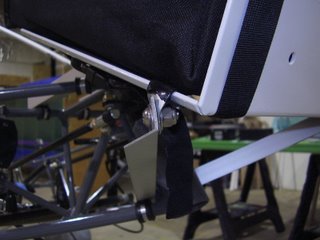
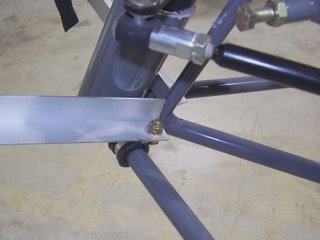
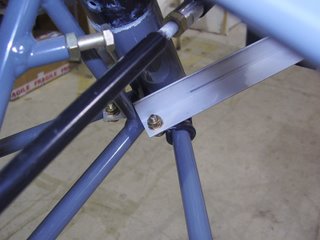
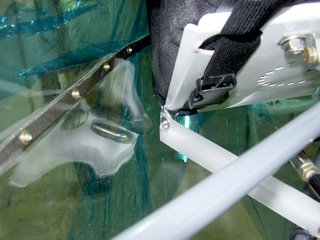
Once I had the right location for the plate, I drilled two holes into the plate to accommodate two 90 degree brackets that would connect to two pieces of 3/4" x 3/4" aluminum angle. These two pieces of angle aluminum are the top pieces you see in the pictures. They are spaced such that my battery will sit inside of the frame they create.
The two lower pieces of aluminum angle keep the plate from rotating around the brackets. These pieces are connected to the plate with two metal pipe/wire brackets that have be deformed to grip the at an odd angle. The other ends of the aluminum angel is connected to the planes frame with similar, but not deformed, metal pipe/wire brackets.
