Today was a long day but I was able to get the rest of the belly pans installed.
The first thing I did was start installing the landing gear cuffs. These are used to cover the large hole between the two rear most belly pans. There isn't much to go by in terms of how to position these so I made the top edge of the cuffs parallel with the seam of the rear most panel. Below are a couple pictures of the cuffs.
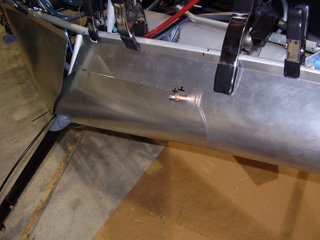
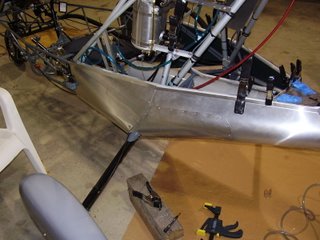
The picture below shows an enlarged rivet hole. Not liking the look of how the belly pans were riveting together, I drilled out a couple of rivets to replace. Unfortunately, the hole in the sheet metal enlarged to the point that I was having trouble with the rivets. To alleviate this I purchased and used some slightly larger rivets.
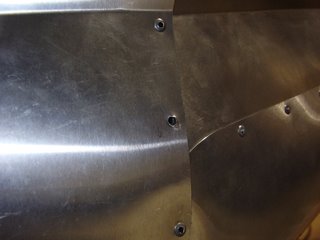
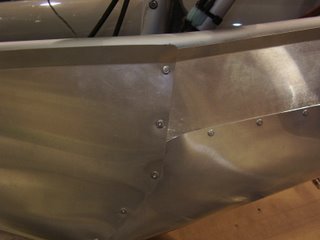
Here are some other pictures of cuffs in various stages of the install.
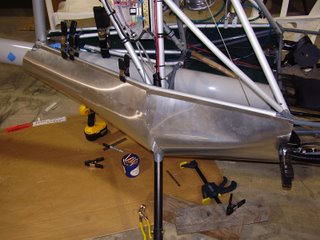
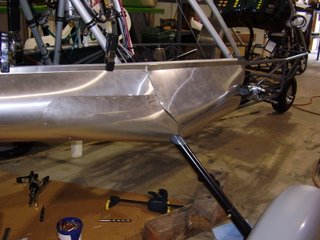
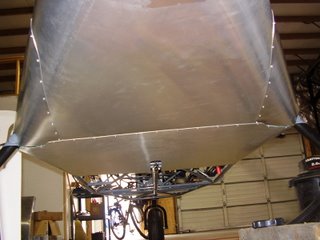
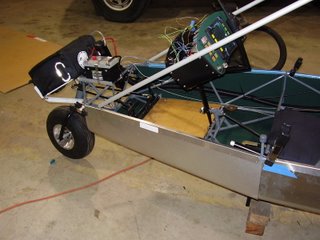
Next came the front two belly pans. The pan that fits below the seat is actually two pans, a left and a right. These three pans are attached to the frame by rails that fit over the longerons of the steel frame. The pans are then riveted to the rails.
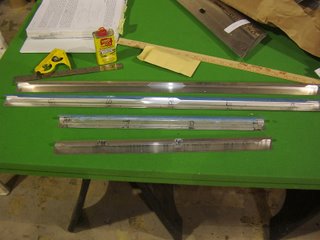
All but one of the rails needed to be modified to allow it to fit around welded points on the frame.
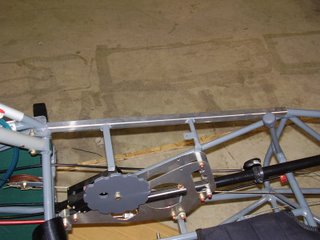
Below are some pictures of the front two belly pans and their accompanying rails. I permanently riveted the rails on the right side of the plane but only used some #40 temporary rivets to hold the rails on the left side. These will be permanently riveted when the windshield is installed.
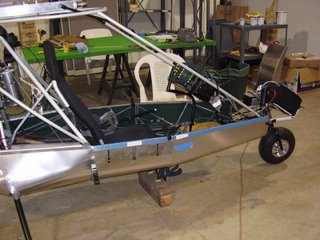
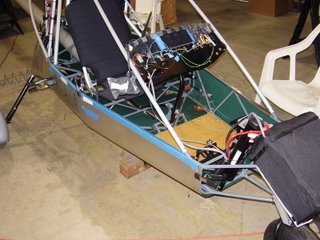
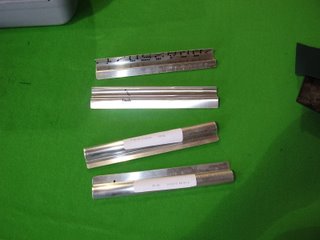
The belly pans are held in place to the bottom of the plane with the metal pieces pictured below. They fit over the horizontal members of the steel frame and are riveted to the belly pans at the belly pan seems. Prior to riveting these in place I deformed them slightly so they grip the frame and sheet metal tightly.
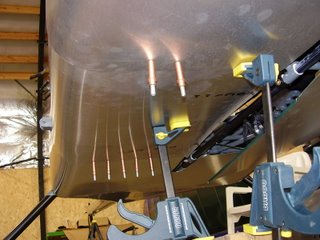
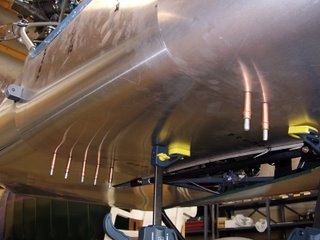
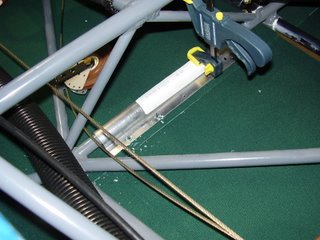
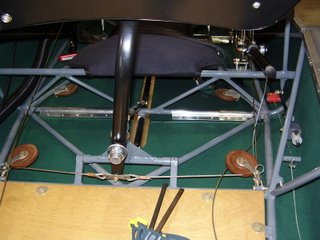
The piece below needed to be trimmed to fit around the weld that holds the flap lever bracket in place.
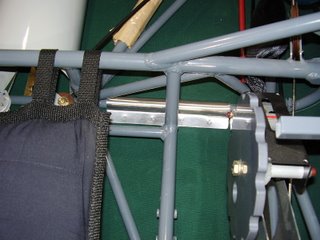
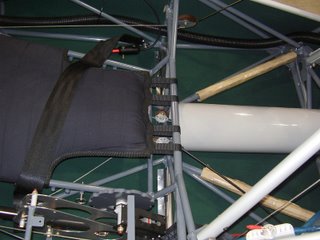
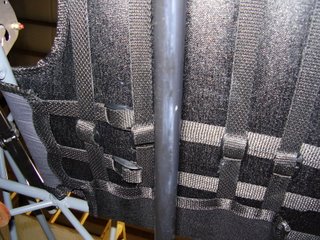
Prior to fully installing the belly pans, I tightened the straps on the seat bottom. This is my last, easy opportunity to tighten these straps.
