Over the past few days I have been wiring the electrical panel and the rest of the engine systems. Below are some pictures and some applicable notes.
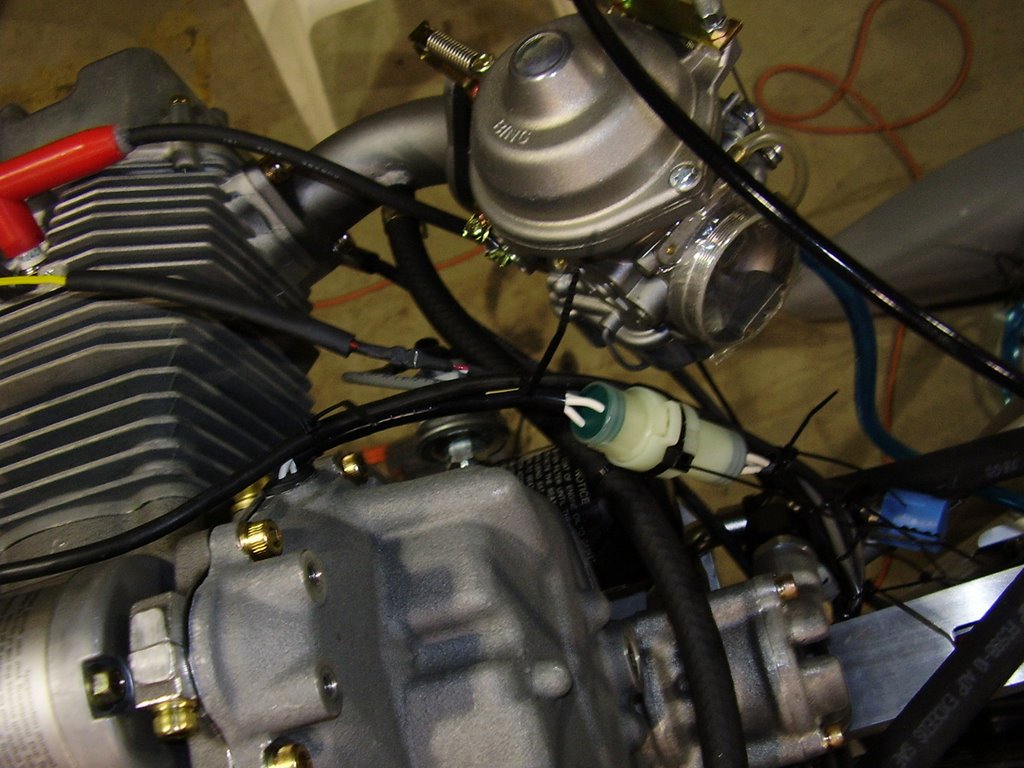
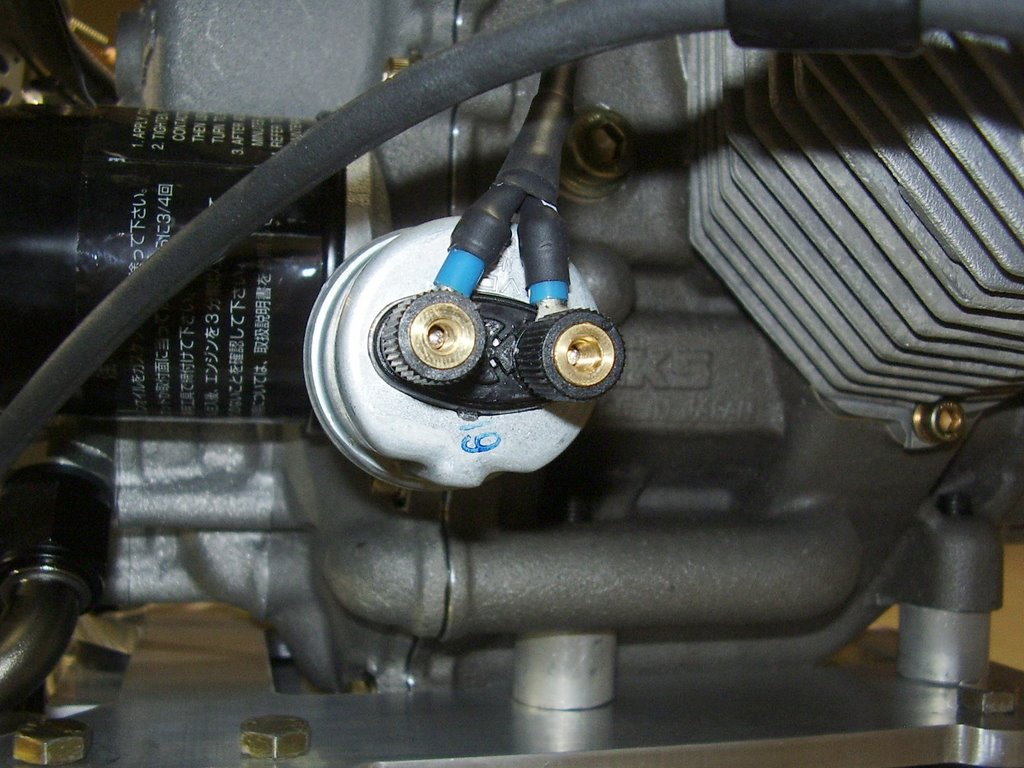
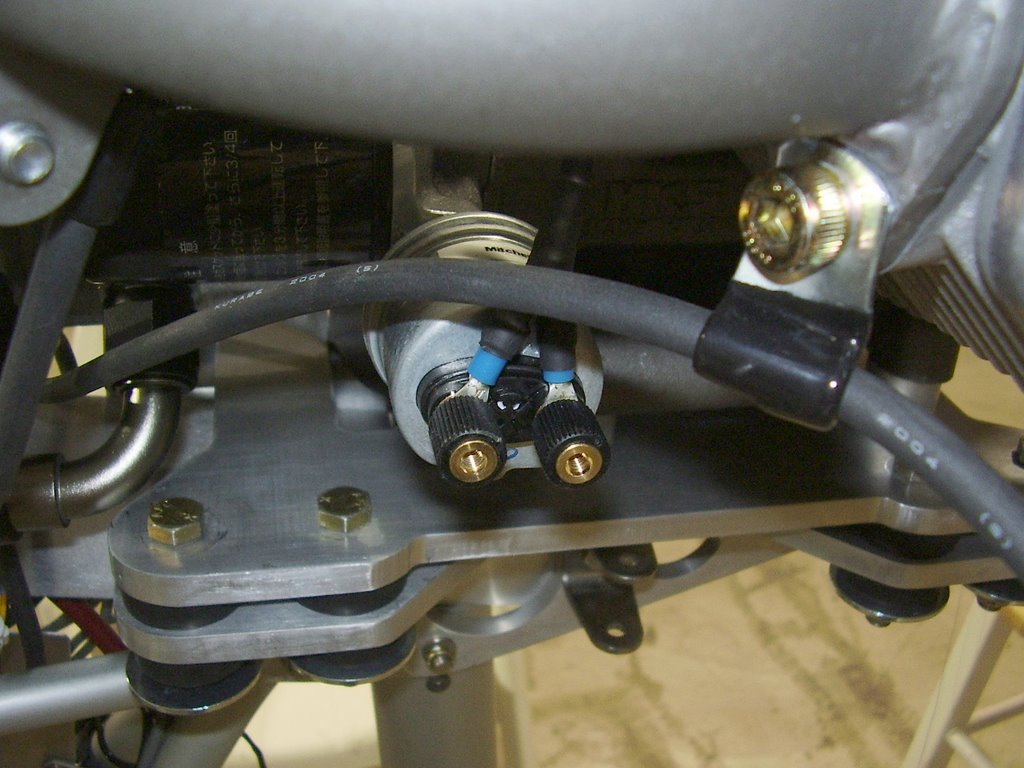
Above you can see the fuel pressure sensor. I rotated the sensor by 180 degrees to keep the wiring from interfering with the fuel line. I also added a small hole to the connector to keep fluid from pooling within it.

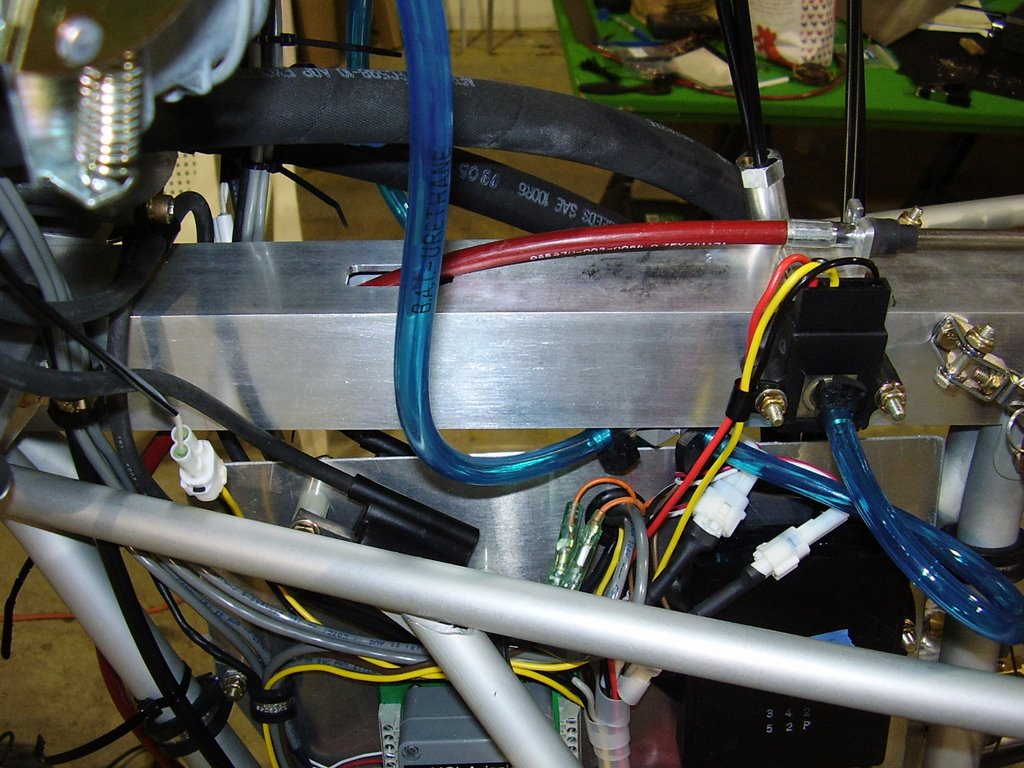
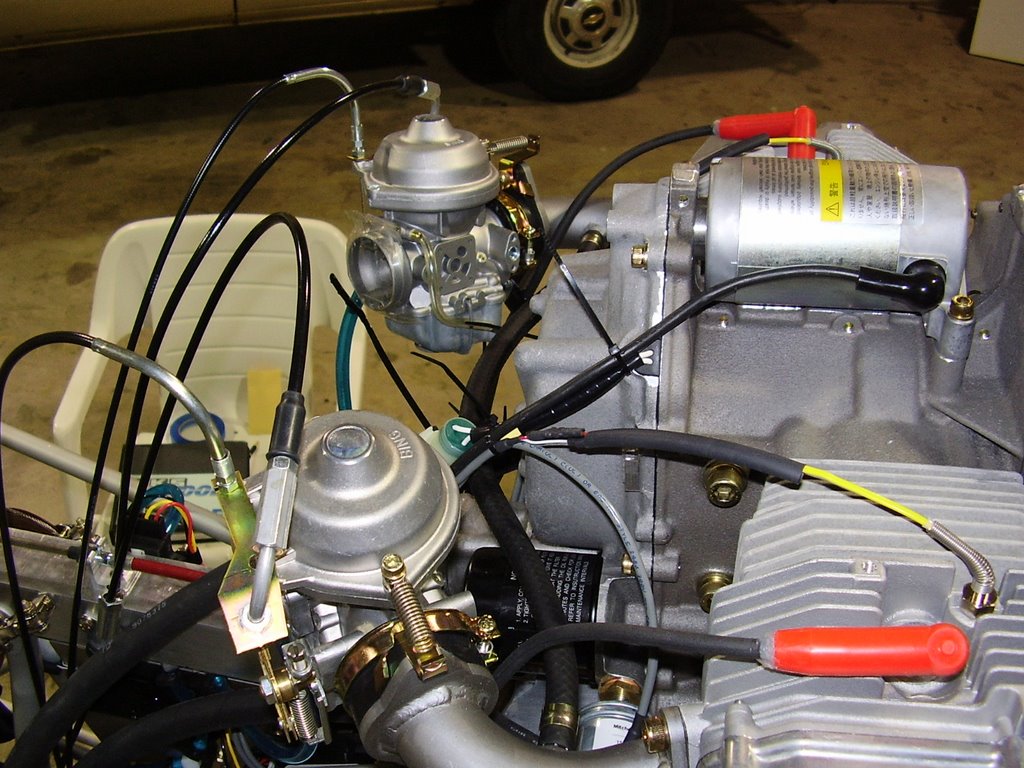
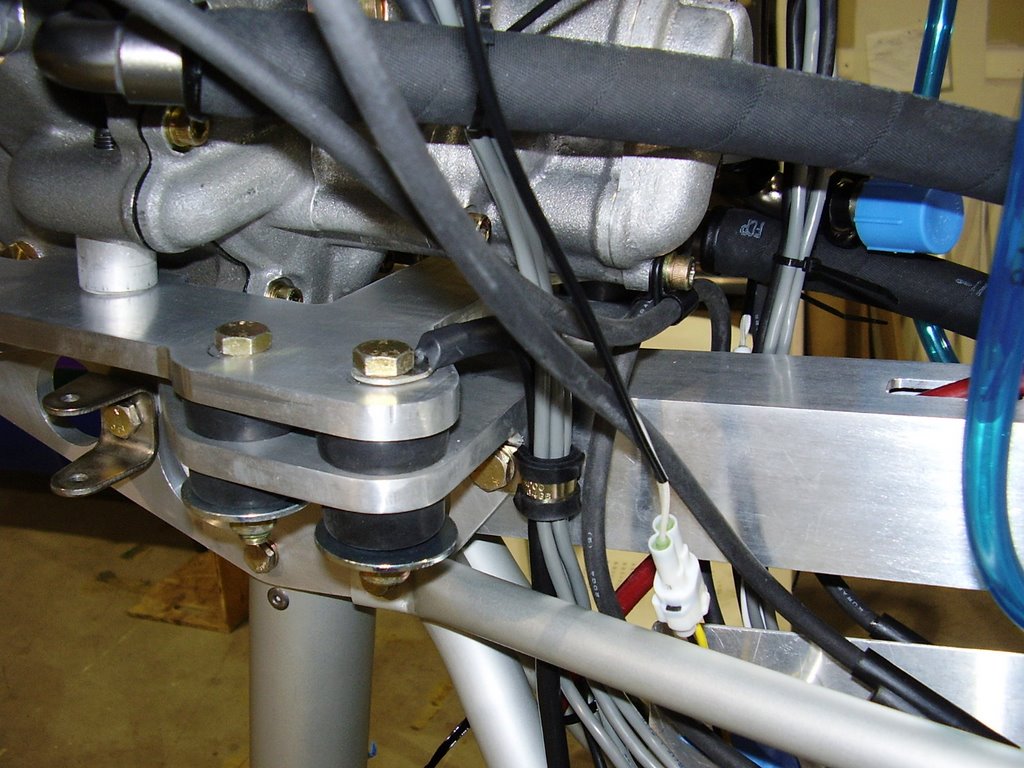
The picture above shows a top down view of the keel tube. The bundle of wiring barely clears the keel tube and the oil fitting. I may need to add another wire clamp to keep the wires from rubbing on the oil fitting or keel tube.
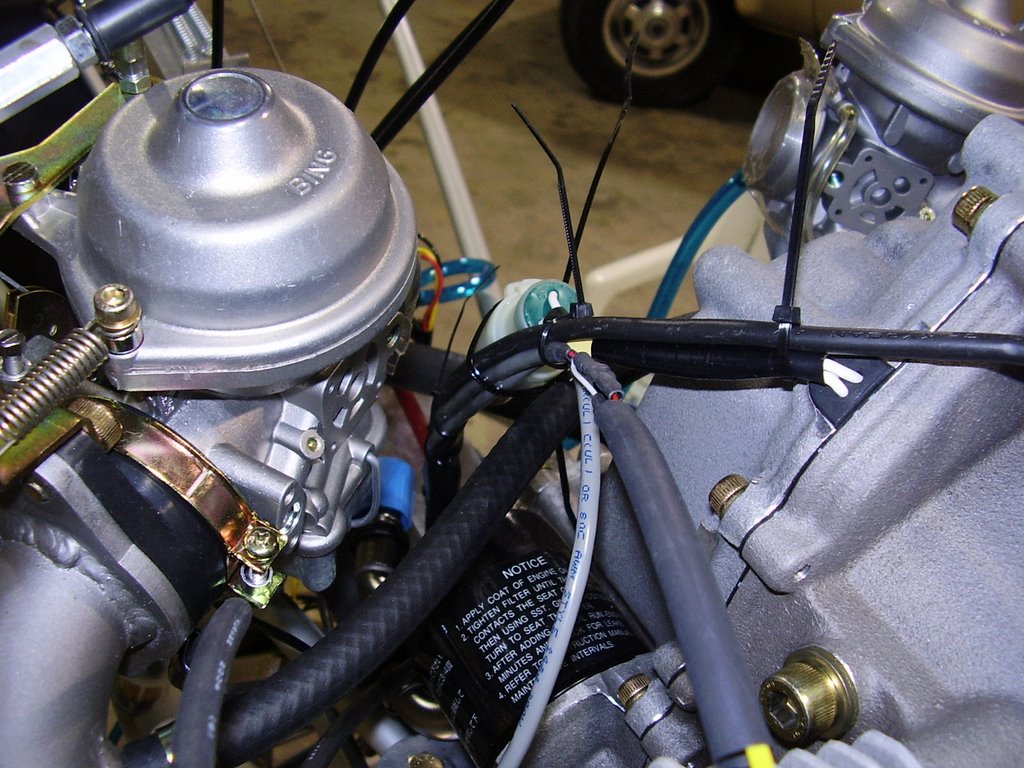
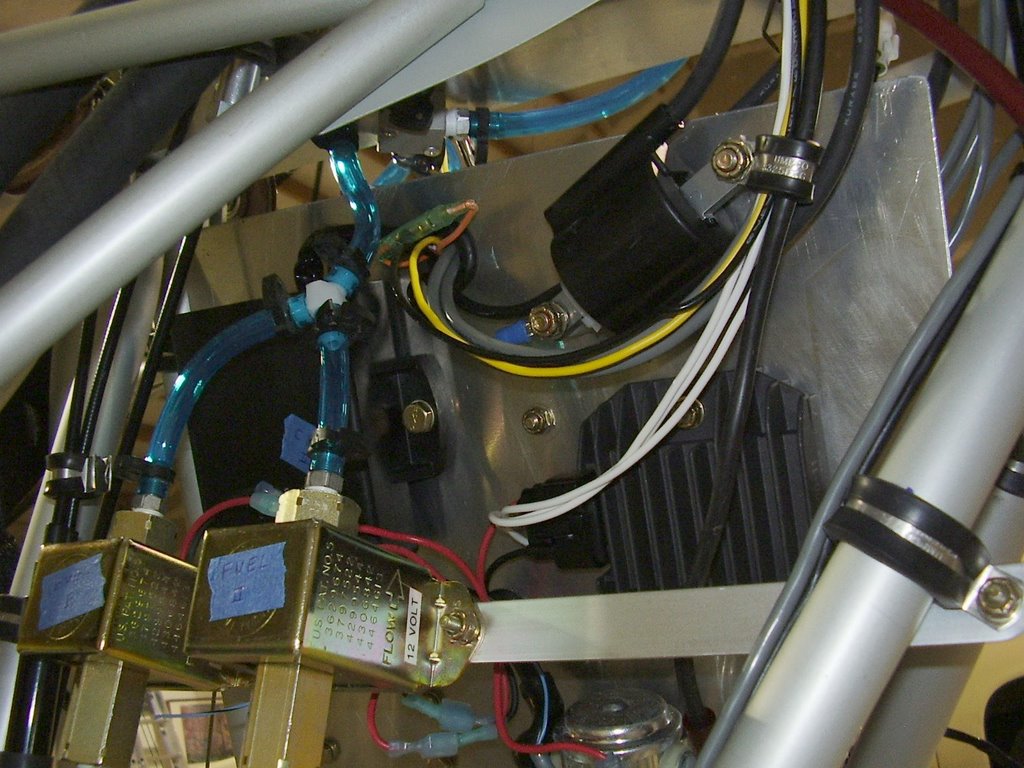
In the picture above you can see the carb balance tube I replaced. I removed the existing one because it had a fitting for a pulsed fuel pump. I am using two electrical fuel pumps.
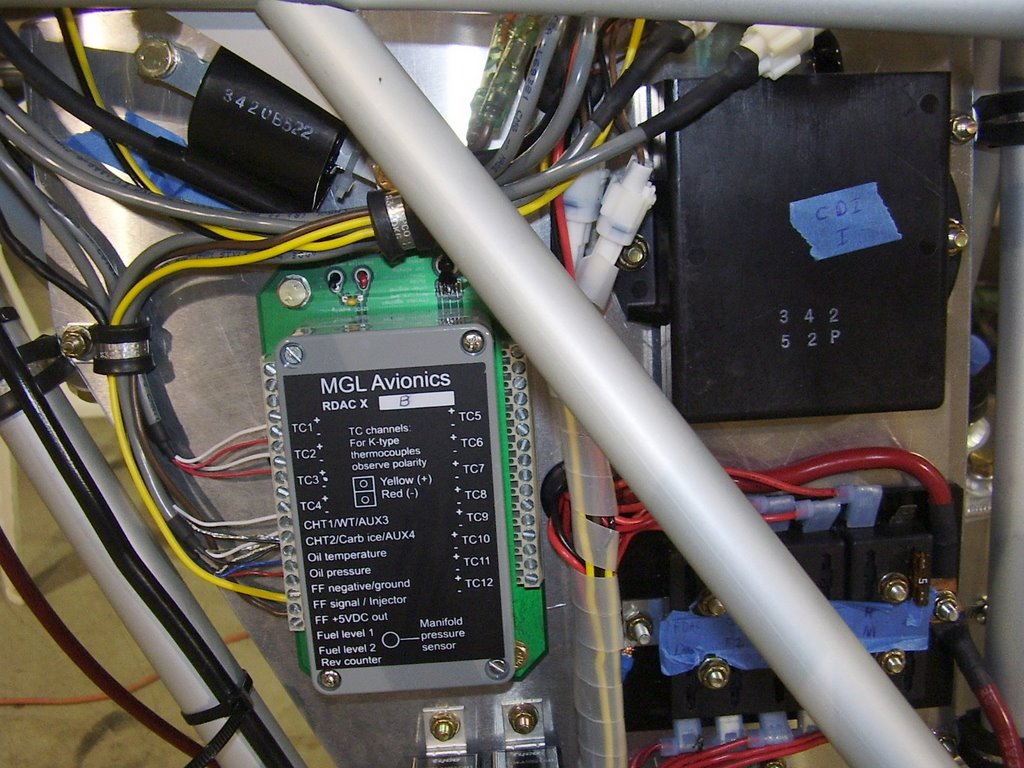
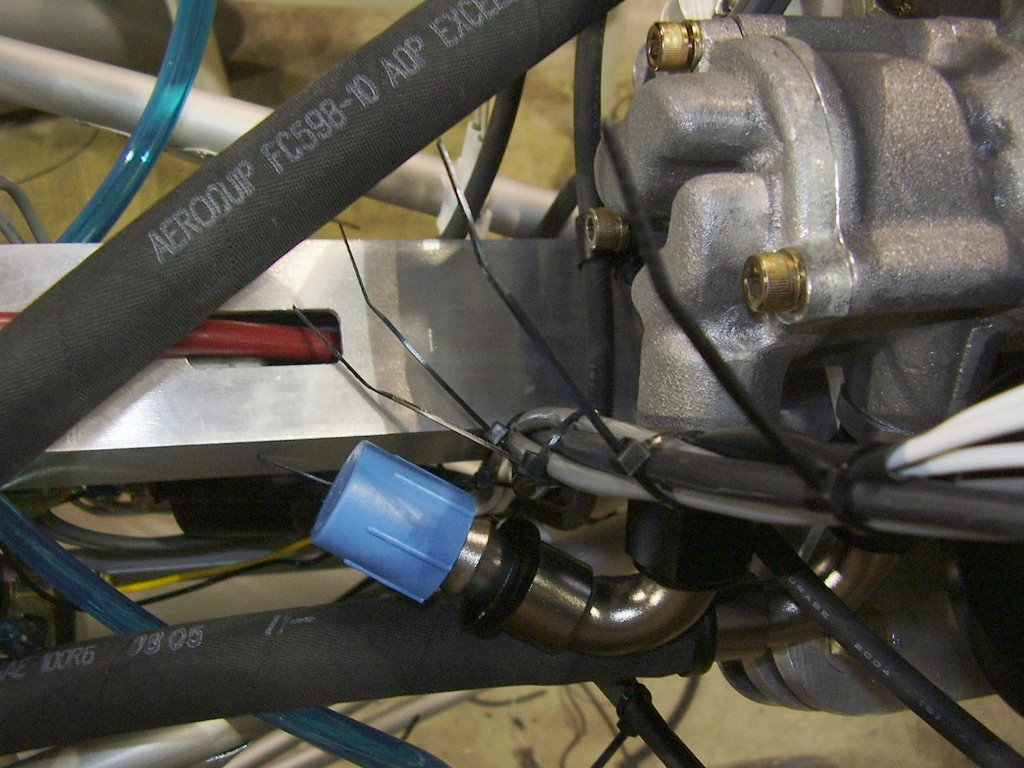
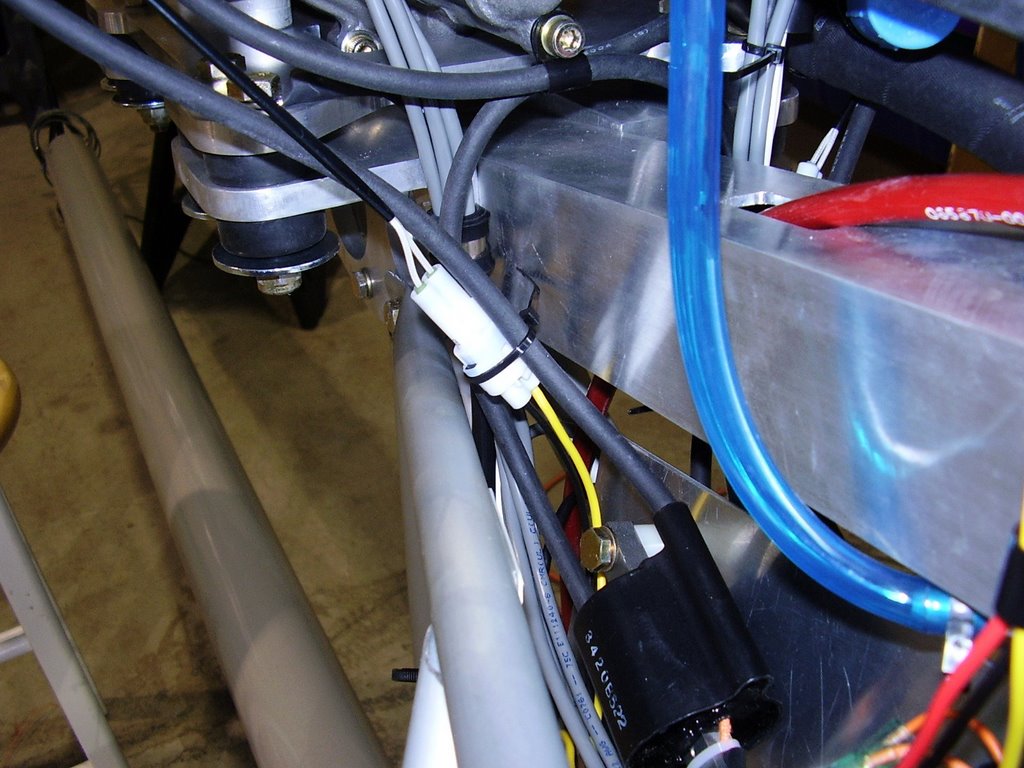
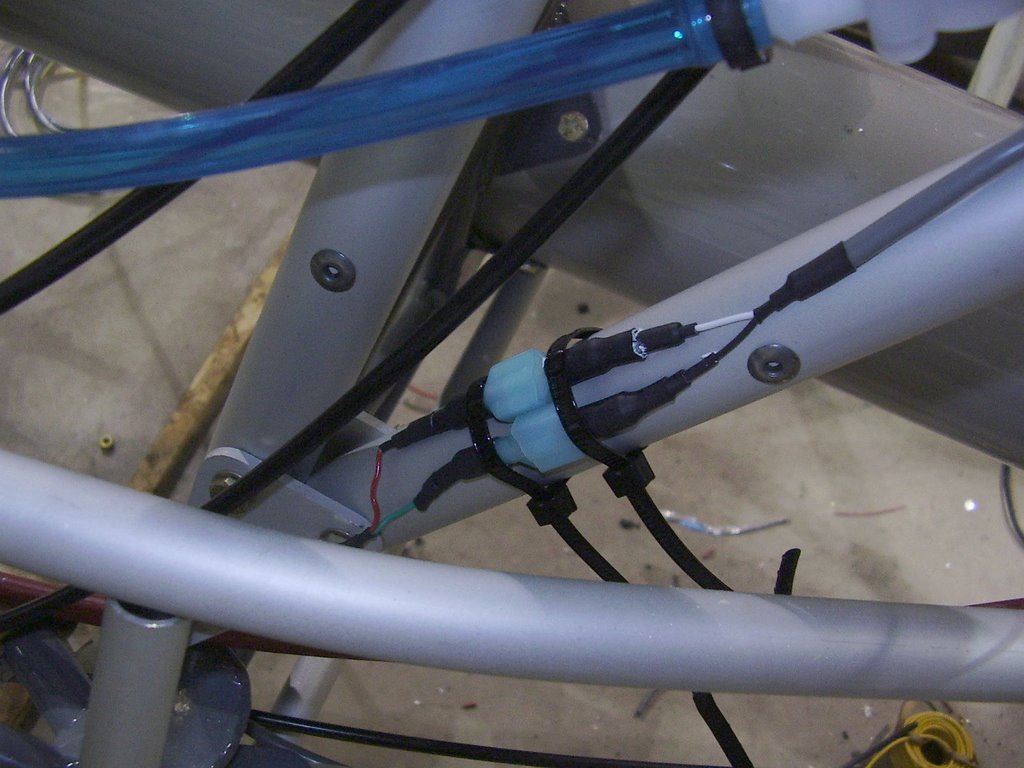
The white connectors in the center of the above picture are the timing sense lines for the engine computers. I used a three conductor, shielded cable to make extension cable for this and many other wires within the plane. I liked the cable because of it's thick outer jacket but it only uses 20 AWG stranded wire. I was concerned that the individual wires may break at the junction between the connector housing and the jacket due to vibration. To alleviate this I used several layers of heat-shrink tubing to keep the cable from flexing at these locations. I also filled the heat-shrink tubing will silicon sealant to further strengthen these joints.
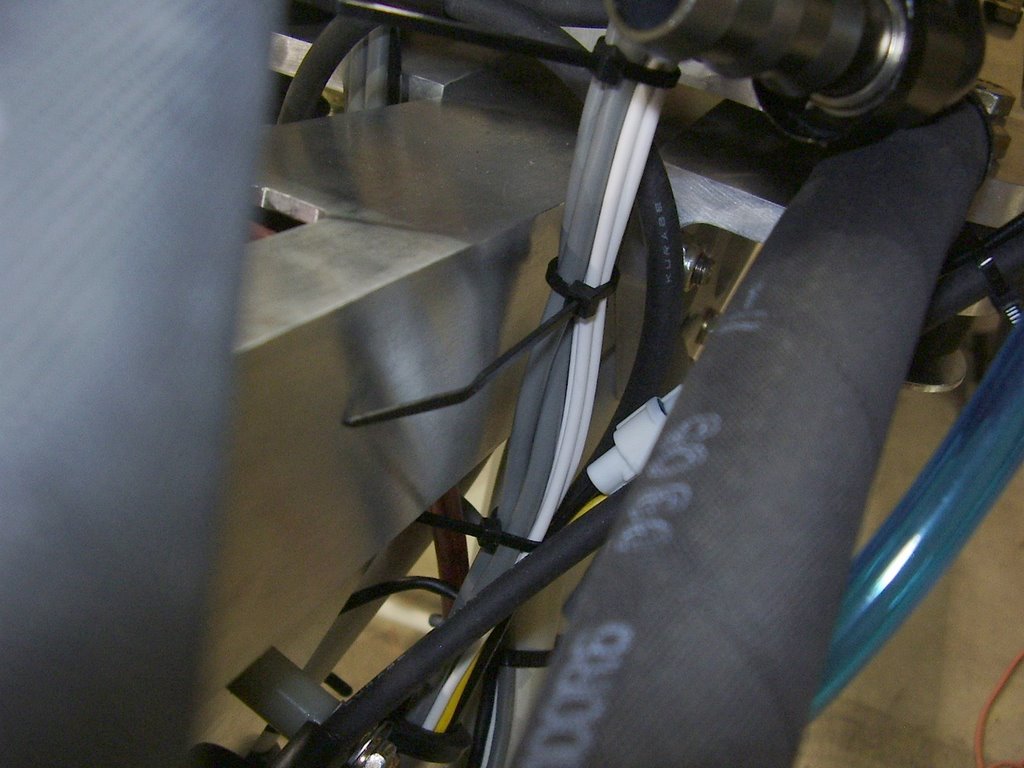
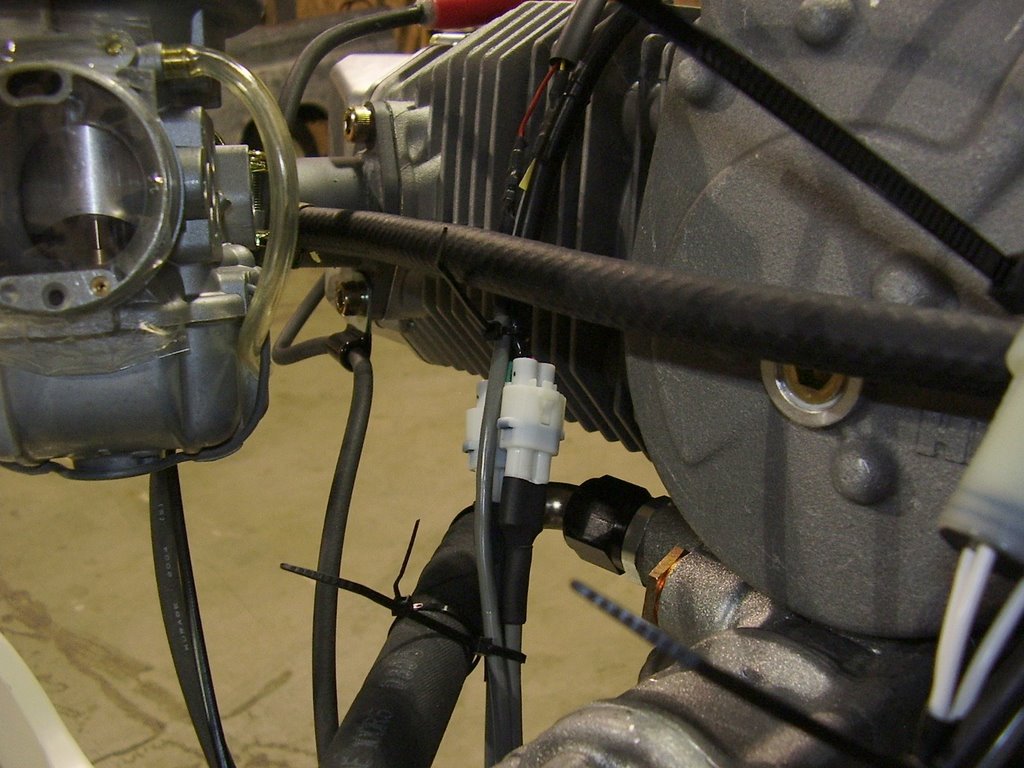
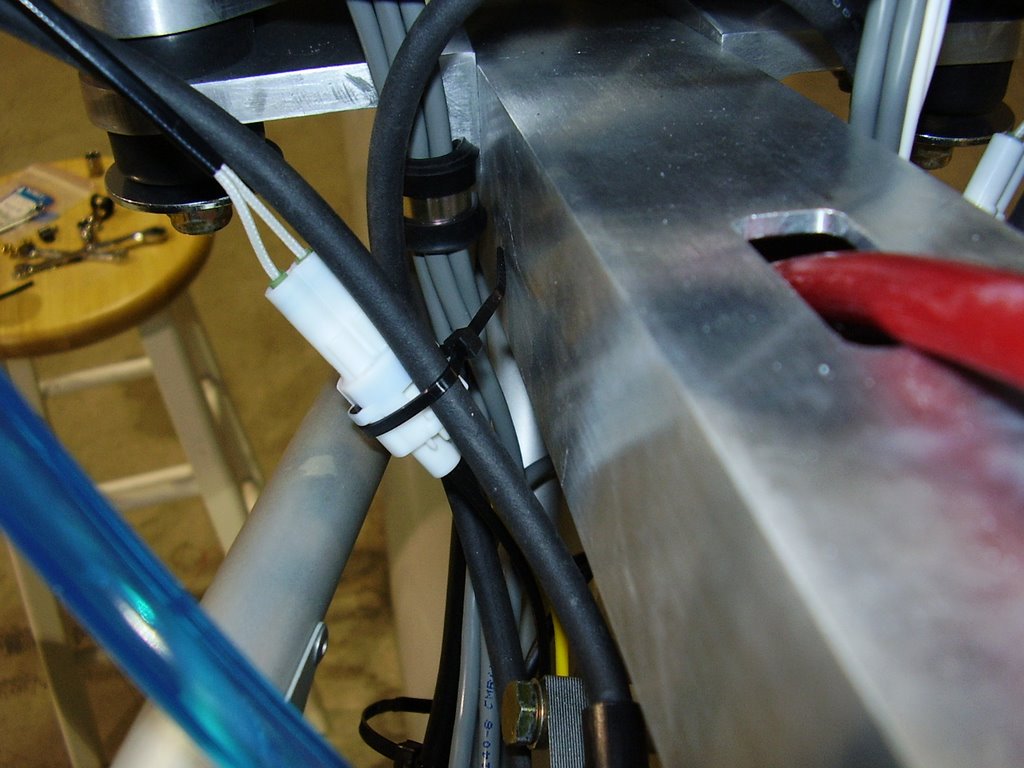
The white connector in the center of this picture is the carb heat cable. This cable and the one for the second carb need to be wire-tied to one of the spark-plug wires for mechanical support. These were the only wires that I needed to route along the spark-plug wires.

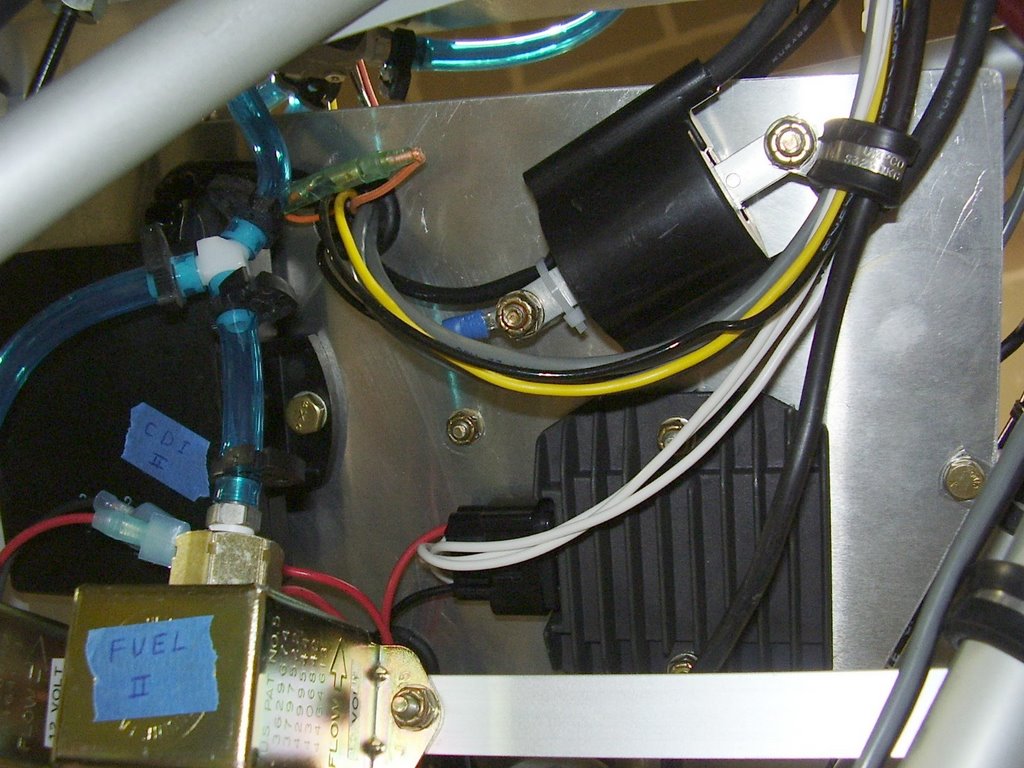
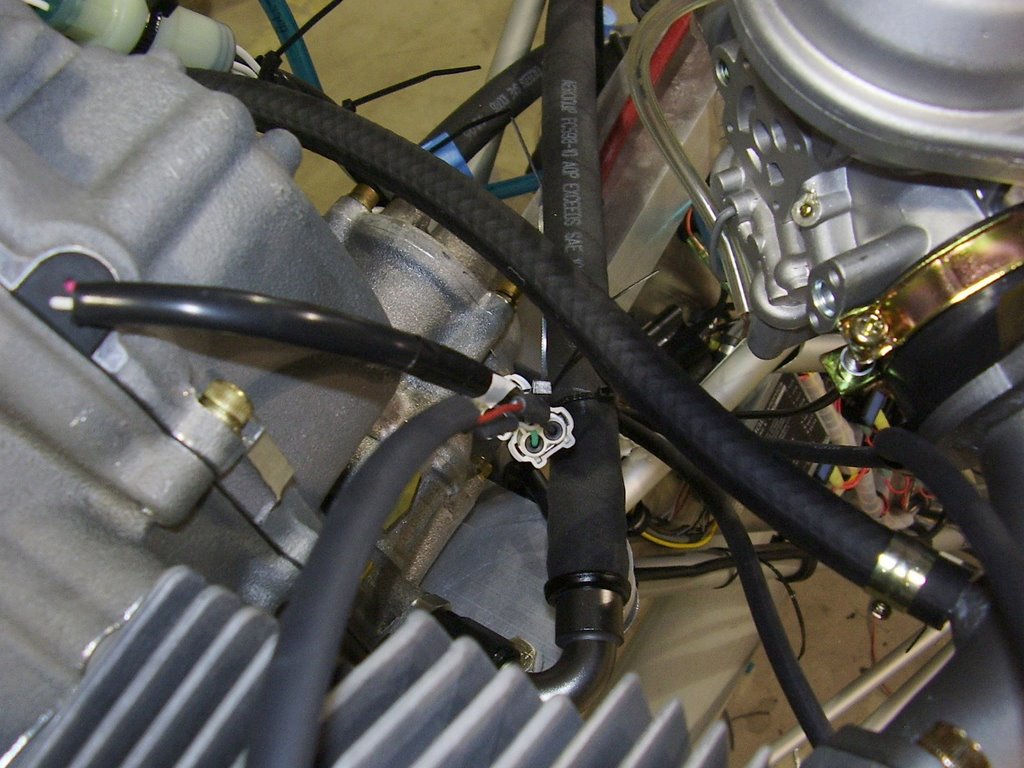
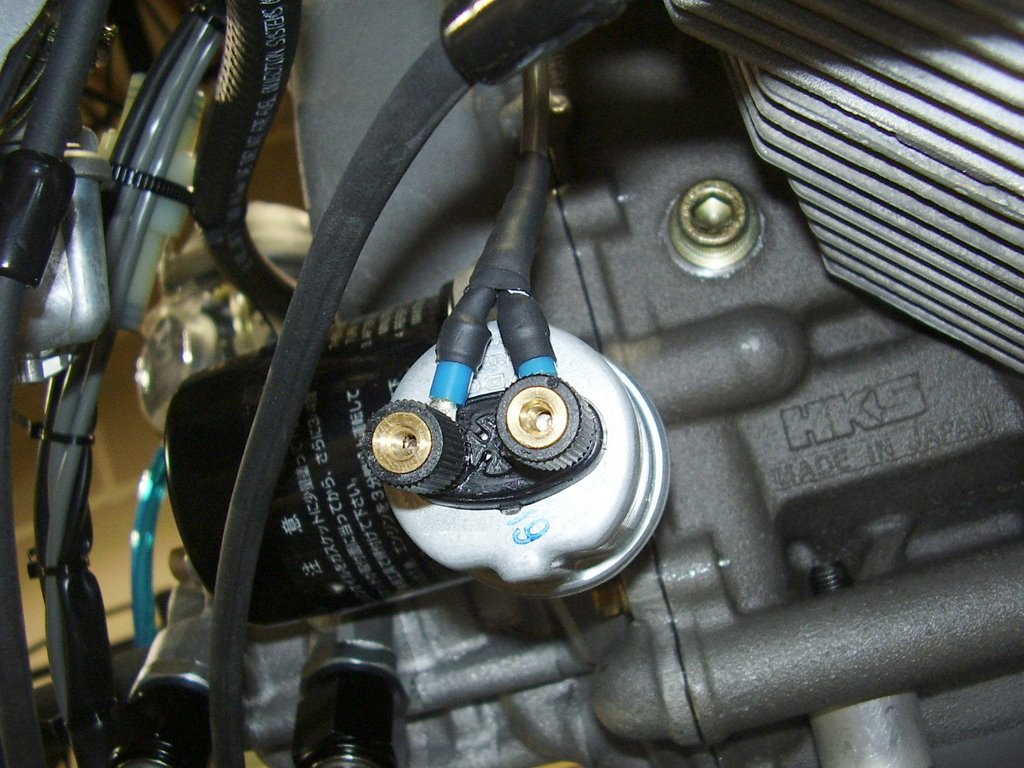
In the picture above and the two that follow, you can see the wiring for the oil pressure sensor. I used silicone and heat-shrink tubing to reinforce these wires.
The picture above shows the connectors that were used for the oil temp sensor.