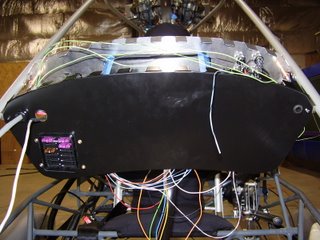
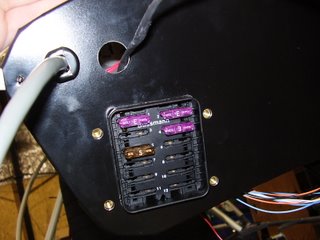
Today I started out by cutting out holes in the back side of the instrument panel. In the picture below you can see two holes on the left for the wiring. Below that is a large square hole for the fuse block. On the right side you can see a rubber grommet for pitot tube.
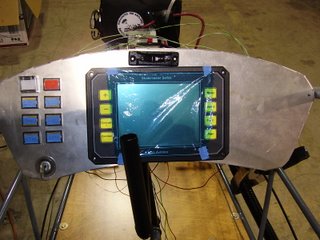
Below you can see the installation of the switches and Stratomaster display. Above the Stratomaster is a coordinated turn indicator. It will be bolted into place when everything is done.
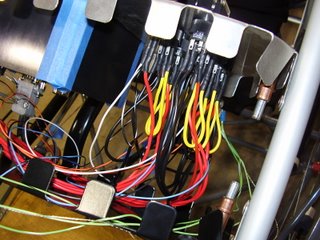
Below are some pictures of the wiring inside the instrument pod.
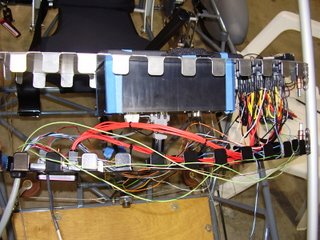
Below is a picture of the powered on system. You can see that some of the switches are illuminated and the Stratomaster display is turned on.
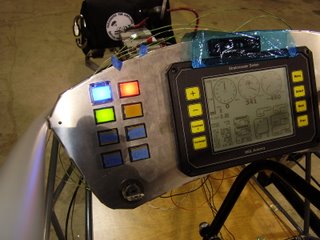
I tested all of the switches and their functionality except the starter. I don't want to engage the starter until I have the oil system complete.
With the Stratomaster functioning, I tested all of the temperature sensors. I used my hot air gun to verify that I didn't have any of the wiring crossed.