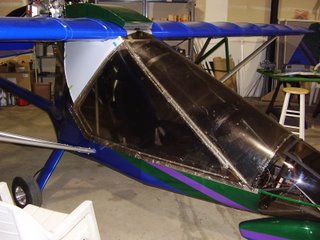
As I had mentioned in my October 31st post, I decided to rebuild my door due to the hinges not aligning properly. I purchased a new Door Frame Hinge Tube from Rans.
The instruction manual indicated that I should mount the hinges and Lexan to the Door Frame Hinge Tube and then mount the mating hinges to the wind shield tube. I decided to do it differently this time around.
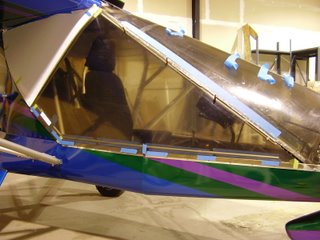
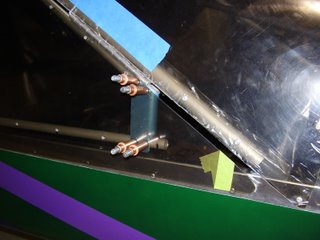
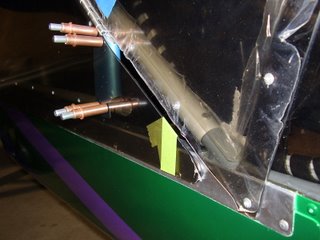
I started by positioning (rotation) the Door Frame Hinge Tube so the slight bend is has on the top mates flush with the window frame tube. You can see this in the first three photos. My first attempt caused the door to dip significantly inward which probably would have caused problems later on.
Once that was aligned, I attached the top hinge to the Door Frame Hinge Tube. The mating hinges are already attached to the Windshield Frame Tube. I then connected the other two hinges to the Door Frame Hinge Tube. This allowed the hinges to properly mate with the hinges on the Windshield Frame Tube.
While I was connecting the two lower hinges, I made sure that the secured hinge was in a midpoint within it's mating hinge. In other words... When the hinges are mated together, there is a small amount of play between them, approximately 1/32". I made sure the hinge was centered while I was securing the other hinges. I used masking tape to secure the hinge in place prior to drilling and riveting. Because of the problems I had the first time, I moved very slowly and double checked all my alignments before I drilled or riveted.
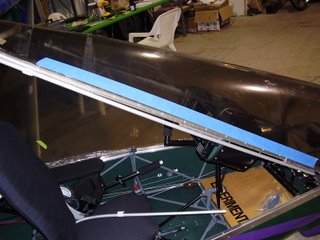
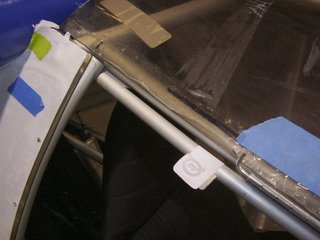
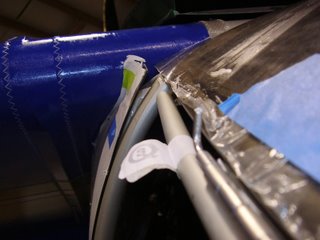
Once all of the hinges were in place and I was happy with the Door Frame Hinge Tube, I taped the Lexan onto the tube and plane. This allowed me to check the alignment of the door Lexan in reference to the window. I decided that instead of making the door and window Lexan flush as the instruction manual suggests, I allowed the door Lexan to overlap the window. This will give me tighter seal.
I then positioned and tapped the bottom door frame to the Lexan. I also positioned the rear door frame that sits adjacent to the window. To get the proper fit, I needed to trim a half an inch off of the rear door frame tube. Without the trimming, the bend in the bottom tube would not have matched up with the curve in the plane's frame.
Once I was happy with the positioning and clearances, I drilled and cleco'd the tubes into place. I aligned my drill holes with the rivets that are in the window and sheet metal.
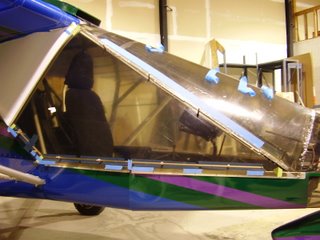
I then positioned the positioned, drilled, and cleco'd the first gusset. Since I had a limited number of clecos, I went ahead and riveted the inside gusset into place. I left the gusset that sits between the Lexan and the frame unriveted. I'll rivet it into place with the Lexan.
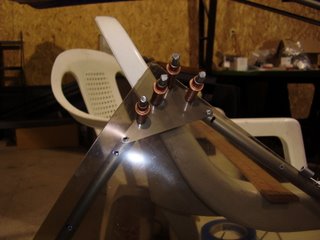
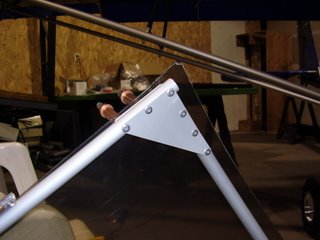
For some reason the second set of gussets didn't fit right. This may have been caused by my decision to allow the door to overlap the window and the need to trim the rear tube. I was able to trim the gusset to fit.
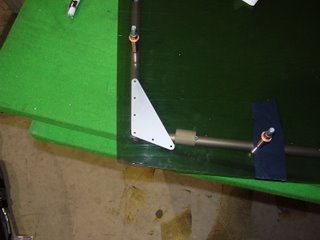
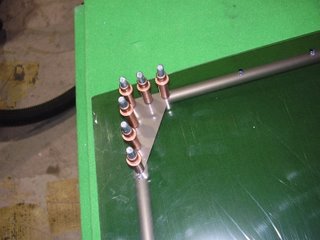
The forward gusset took the most work. Instead of having two matching gussets for either side, the forward gusset was made of a single piece of sheet metal that wraps around the front corner of the door. I needed to trim the gusset to allow it to fit around the bottom tube. The instruction manual states the you want to twist the door prior to installing this gusset. This twist will allow the door to close snuggly against the sheet metal and frame of the plane. Since I had already drilled most of the holes through the Lexan and bottom tube, I was concerned that these holes wouldn't line up after the twist. Luckily, I didn't have an issue.
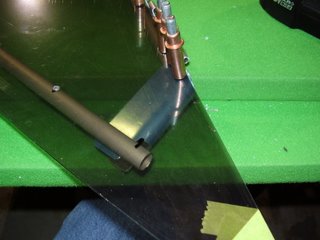
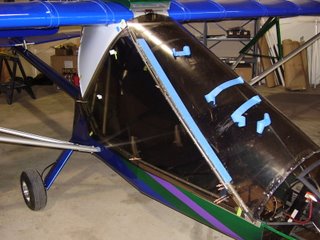
Before I riveted the Lexan to the door frame, I decided to drill some rivet holes into the frame. These holes will hold a set of gussets for a gas strut that will hold the door open. I used one of the door gussets as a template to get accurate hole spacing. I needed to do this now because once the Lexan is installed, I won't have room for the drill.
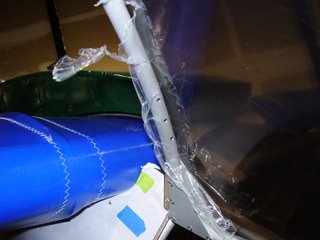
Now that all the gussets were in place and I was happy with the fit of the door, I went through the process of peeling back the protective coating from the Lexan and riveting it to the frame.
