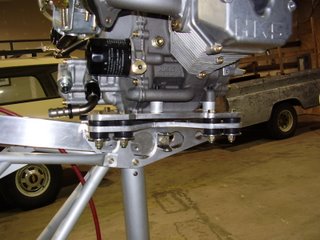
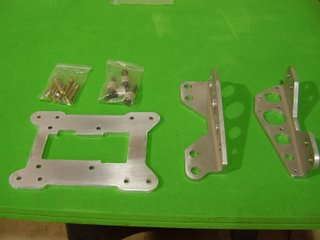
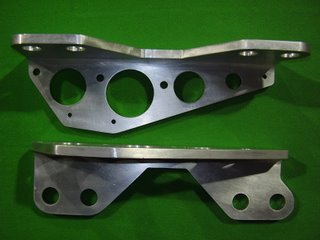
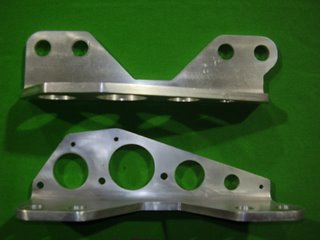
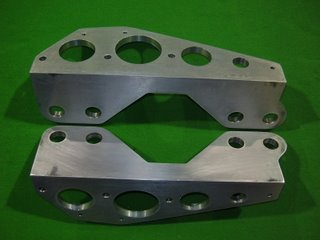
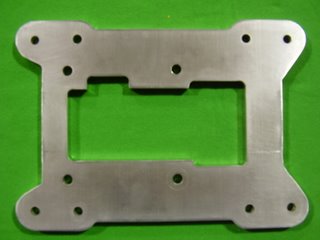
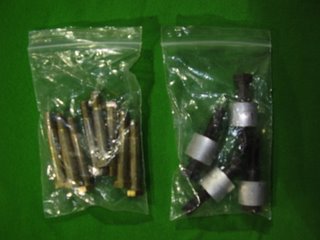
With the help of a few friends, I removed the wings from the plane. This was necessary to install the new engine brackets.
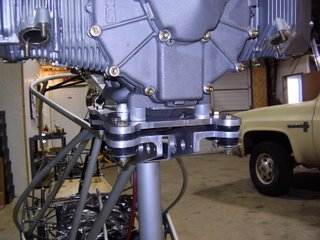
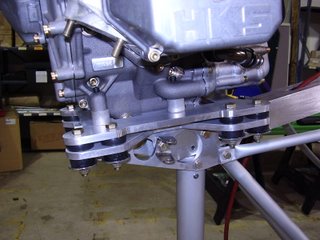
I then installed the new engine bracket and mounted the engine. I tightened the four bolts that hold the engine to the plate to the proper torque specified in the HKS manual. Since the tips of the bolts protrude through the engine block, I intend to mark the bolt with nail polish so I can quickly check the bolts during my pre-flight check.
I also tightened down all eight Barry mounts until they were snug. I used soft Barry mounts.
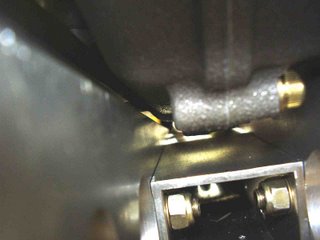
The new mount has resolved most of the clearance issues that the original had. The spacing between the sharp corner of the mount brackets and the bottom side of the engine is still close at 3/32". If the spacing proves to be too little, a simple solution would be to round over or chamfer the sharp edge of the bracket to increase the clearance.
The oil fitting clearance was also resolved but the type of fittings that can be used is limited due to the spacing. The 90 degree fitting I'm planning to use just barely clears the bolt head.
