Well I didn't get the plane over to the painter yet. I still have quite a bit to do. Luckily the painter is behind schedule also.
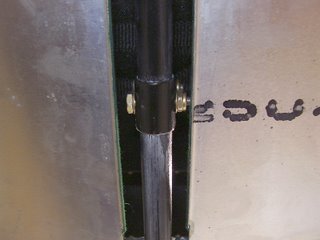
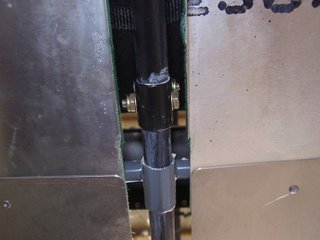
My first task is to install the belly pan cover. I had the painter paint the inside of this plastic cover with a green that matches the interior fabric. While I was placing the belly pan cover to check for proper fit, I noticed that the push pull tube that it is suppose to cover is having some slight rubbing issues. It turns out that the bolt is just barely rubbing on one of the belly pans. To fix this I removed the bolt and installed it from the other side. You can see from the before and after photos below that there is about a sixteenth of and inch more clearance on one side of the tube than the other.


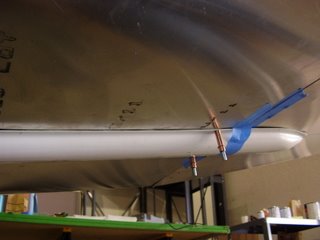
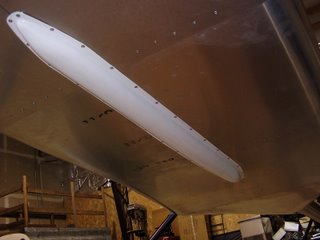
To installed the belly pan cover I first marked my proposed holes into the cover and made sure there was clearance in the plane for the rivets. I ended up having some problems with the rivets interfering with the end of the tail boom. I ended up drilling my holes into to the tail boom to allow the rivets to recess into it.
I predrilled all the holes with a #40 drill bit and then drilled through the pan cover and the belly pans with the proper #30 bit while positioning the pan cover in place using masking tape and clecos. I worked from the middle out to allow for the plastic pan cover to distort around the slight curvature (forward to back) of the bottom of the plane.

