Wednesday, January 10, 2007

Labels - 1.0 hour (494 Total)

While taking the 16-hour course to get my inspection rating for my E-LSA, I learned that I had made a couple of mistakes on my airplane.

The first mistake was that I put Rans down as the builder of my airplane. I had done this on my application for airworthness certificate and on the serial number plate I installed onto my plane. The FAA confirmed this and had me resubmit some of my paperwork.

The hard part was getting a new serial number plate, engraving it, rolling it, and then replacing the old one.


I also learned how a trim tab works and how the airflow over it effects control surfaces. This meant that I needed to replace the sticker I placed on trim tab wheel. Luckily I hadn't thrown out the other sticker Rans provided.

Sunday, December 17, 2006

Door Strut - 4.0 hours (493 Total)

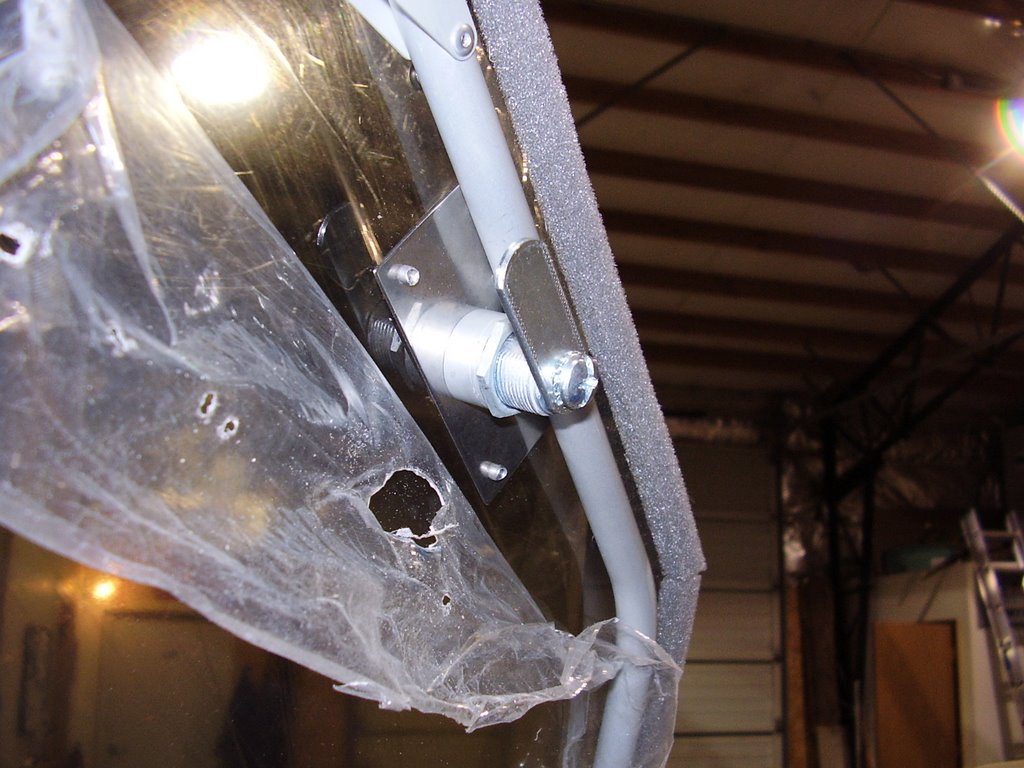
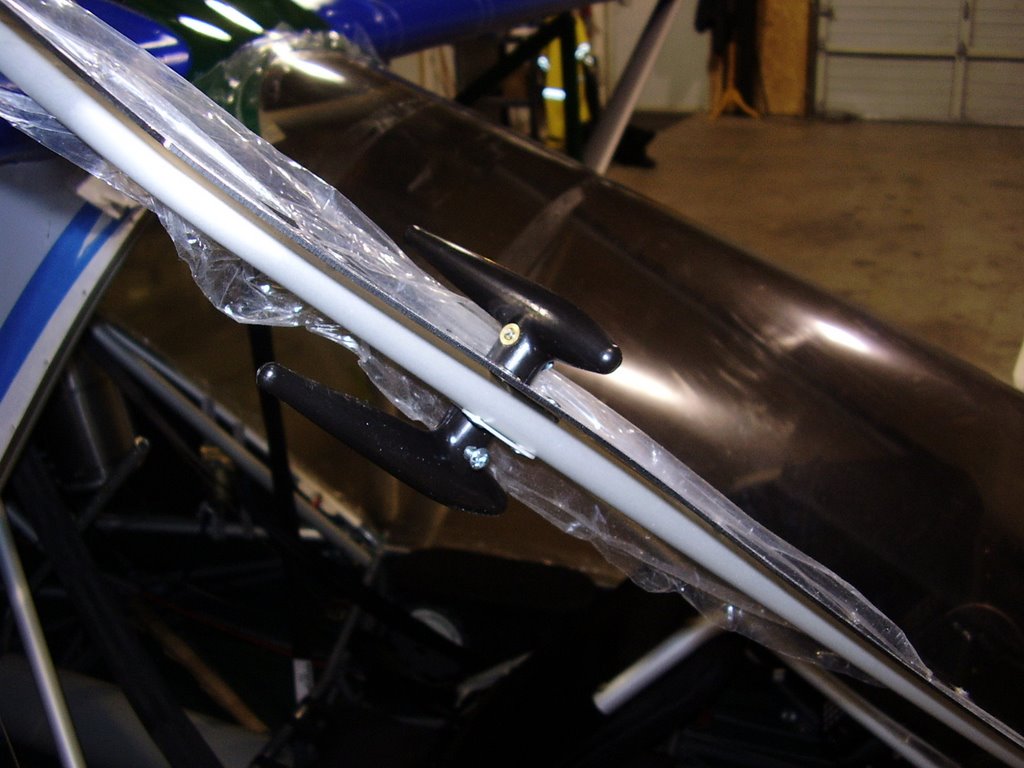
Today I installed a lift strut for my door. This was an addition above and beyond the Rans kit. I purchased a 15lbs lift strut for the job. I tried using a 10lbs lift strut but it wasn't strong enough. Keep in mind the strength required depends on the geometry of the mounting points.

I used some left over gussets from the door frame to make brackets to hold the lift strut ends. I trimmed and drilled the gussets to to the required shapes.

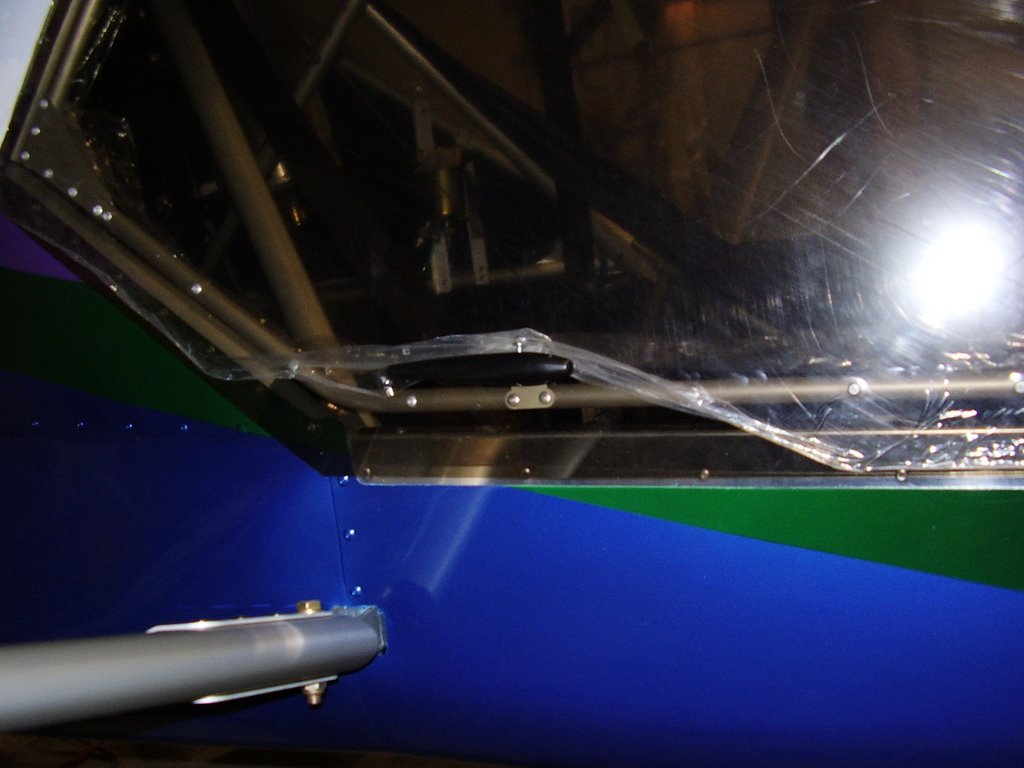
I had pre-drilled holes in the door frame and window frame for the brackets prior to installing the Lexan. Unfortunately, I did not drill the holes very precisely so I had trouble lining them up with the holes in the brackets. (Getting a full size drill behind the Lexan was almost impossible)

The brackets on the door end needed to be slightly bent to allow the bolt to clear the door frame.

The lift strut for the door works great!


Saturday, December 16, 2006

Parachute Rigging - 3.0 hours (489 Total)

Today I installed my oil cooler cowl and routed my parachute rigging.

Prior to installing the oil cooler cowl, I attached the adhesive foam rubber to the bottom of the cowl to protect the wing fabric. I then bolted the cowl down using long bolts. I then replaced the bolts, one at a time, with shorter ones to further compress the foam rubber. I did this a second time with the final bolts. This gave me a snug fitting cowl.

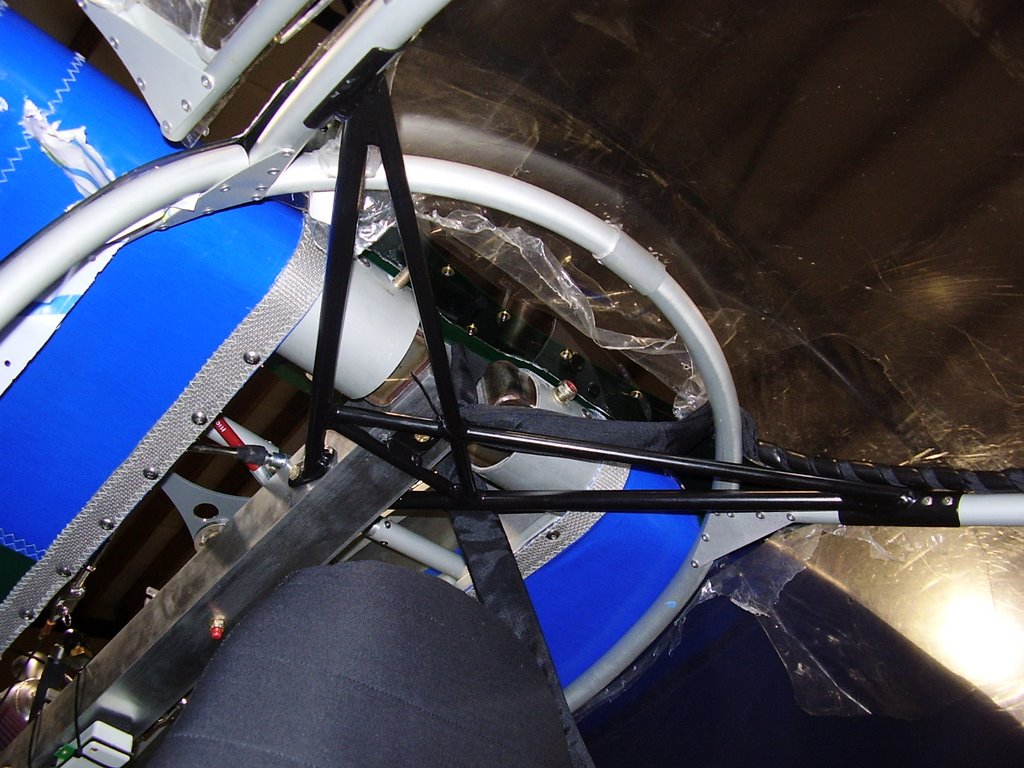
I then routed the parachute rigging between the cowl brackets and the cowl. This included two straps down to the steal tub, a short strap wrapped around the root tube (square beam), the strap that connects to the parachute, and a quick link to connect them all together. I used several wire-ties to secure the straps to the root tube and the cowl brackets. This is necessary to prevent the straps from interfering with the aileron cables and pulleys.

I used some Goop brand adhesive to glue the parachute strap along the aluminum tube that runs along the left side of the windshield.


Sunday, December 10, 2006

Reattach Wings - 4.0 hours (486 Total)

With the help of a couple of friends I reattached the wings to the airplane. This is the third time the wings have been installed onto the plane and I was hoping it would be a little easier. Attaching the lift struts was a little easier since I have learned the technique for installing them. Unfortunately, connecting the leading edge of the right wing became very difficult.

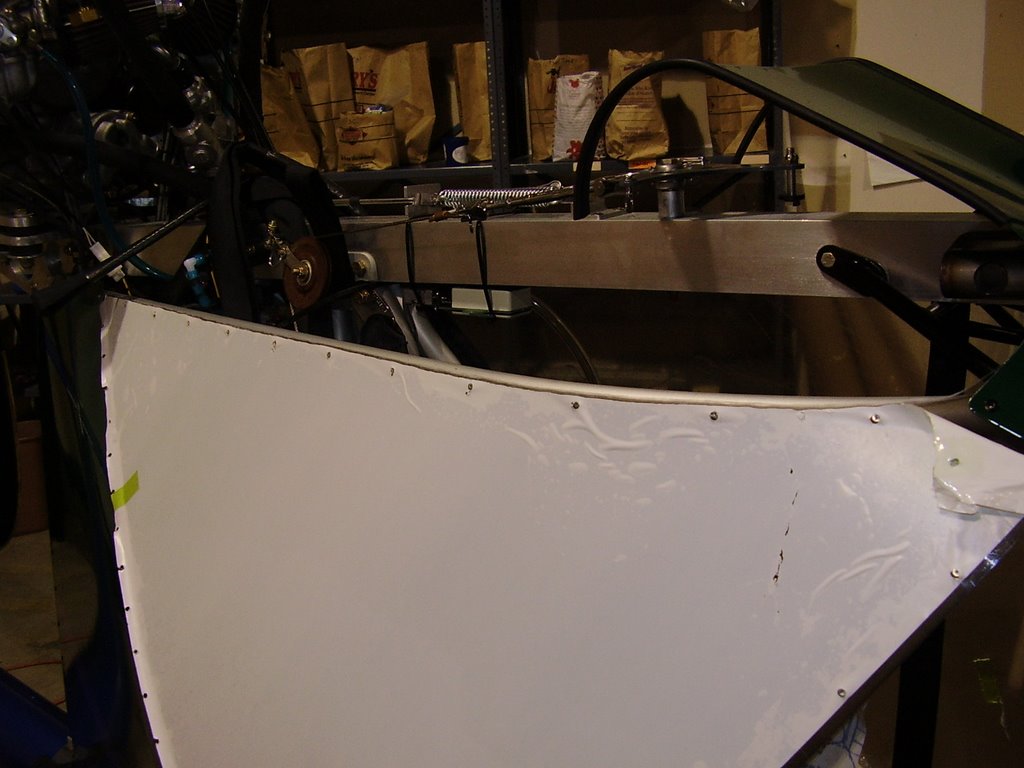
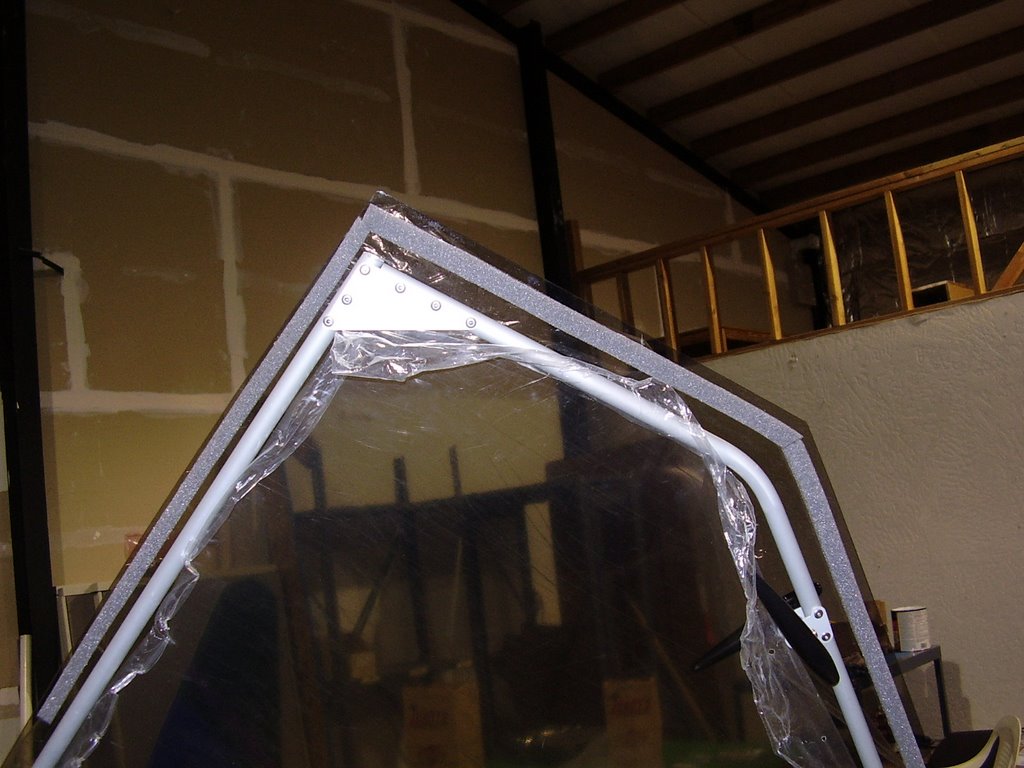
When I installed the window, I forced the window former (aluminum tube) into place. This lifted up the curved tube that the top of the window connects to. Which then caused the leading edge of the right wing to misalign with the wing bracket. I was still able to install the wing but it took a great amount of effort to get the bolt holes to align. I should have trimmed the window former prior to installing it.

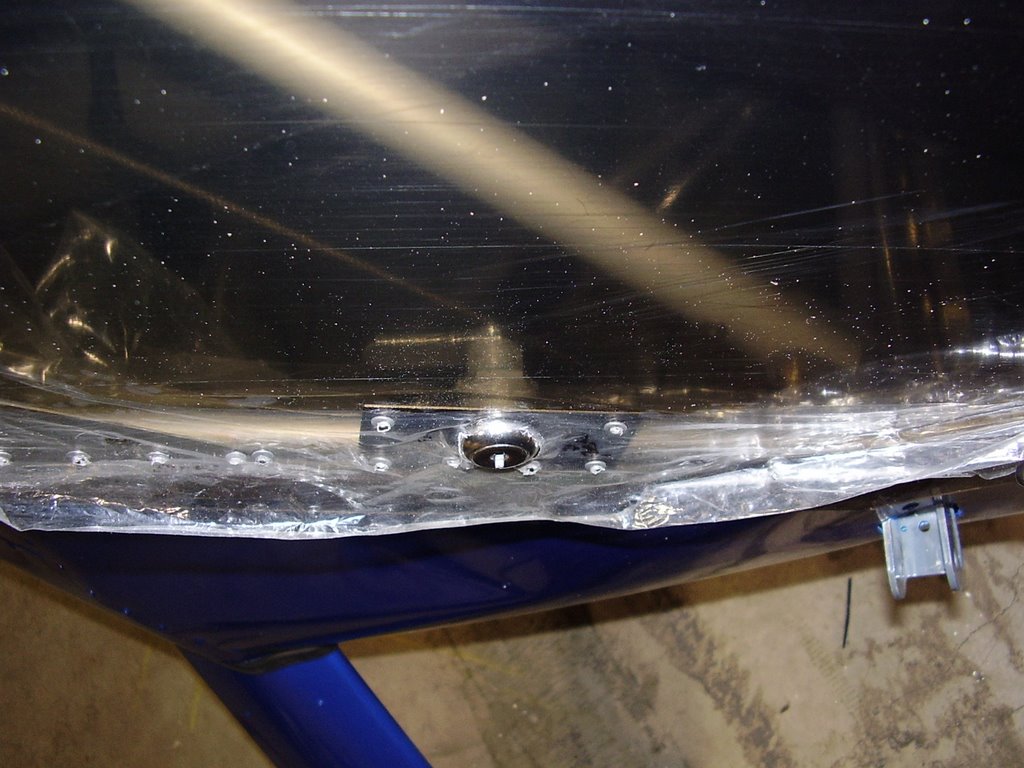
I replaced several of the wing bolts that have been worn from the installing and removing process. The last photo shows the eye bolt I installed into the leading edge lift strut. This will hopefully give me a good tie down point.

While installing the wings, I did damage the right carb heat probe. I'll need to replace it.

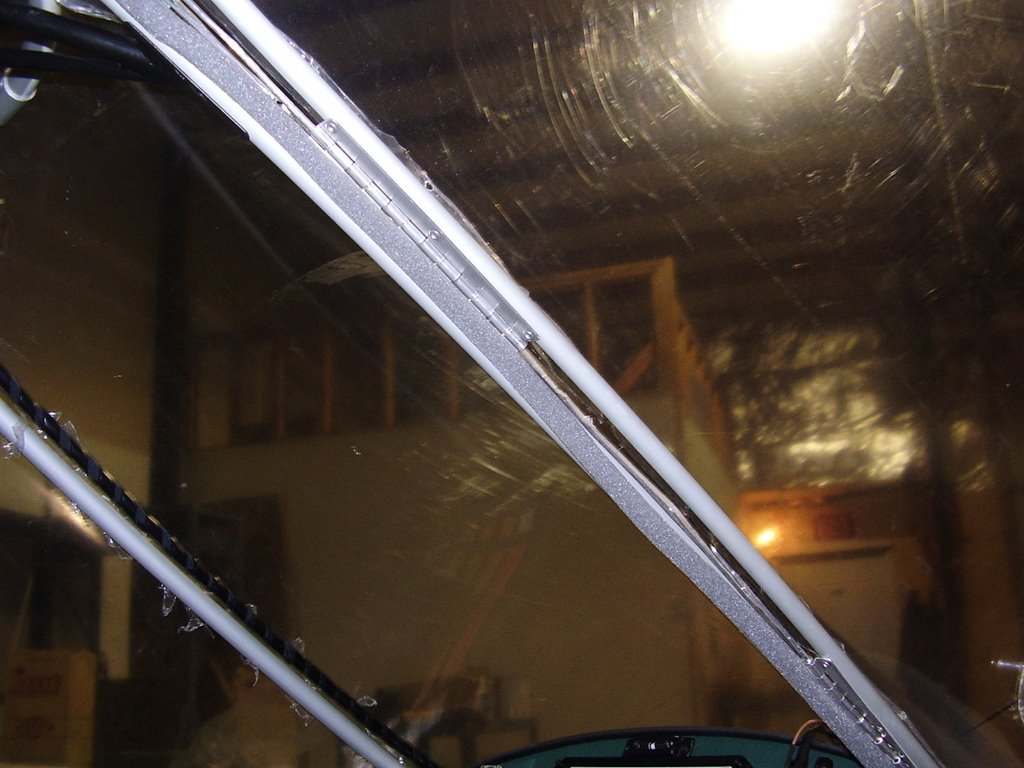
Just prior to installing the wings, actually in the middle of it, I installed some rubber and foam trim.


Wednesday, December 06, 2006

Moving Day - 0.0 hours (482 Total)

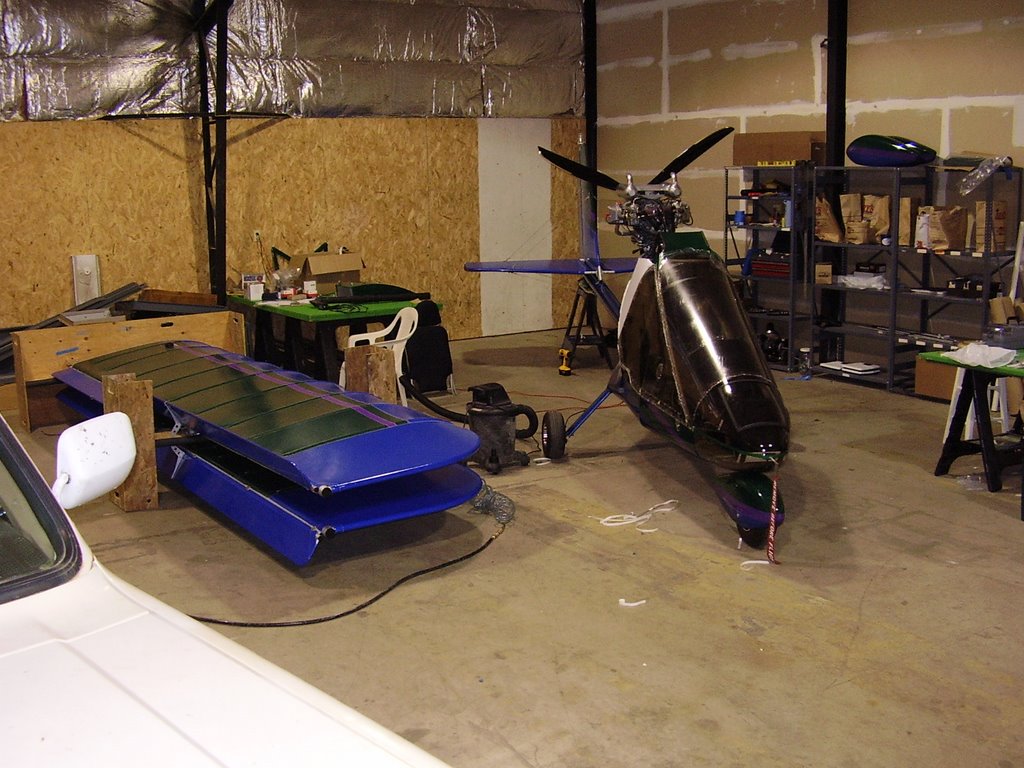
Today I moved my plane from my workshop to my hanger. My hanger is located at Daniels Field, Harrisburg Oregon (OR78).

I hired a professional moving company to move the plane for me. The move went very well and no "hanger rash" occurred. I did need to fold up one of the horizontal stabilizers to allow the plane to fit into the truck. The move cost $250.


Saturday, November 18, 2006

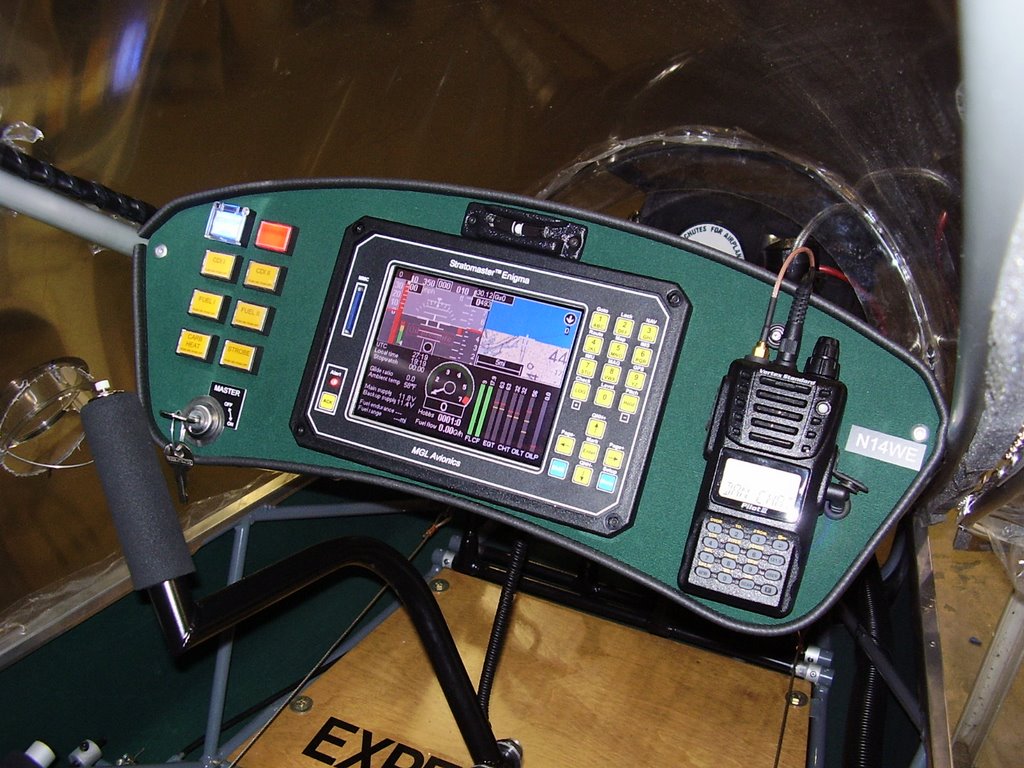
Instrument Panel - 0.5 hours (482 Total)

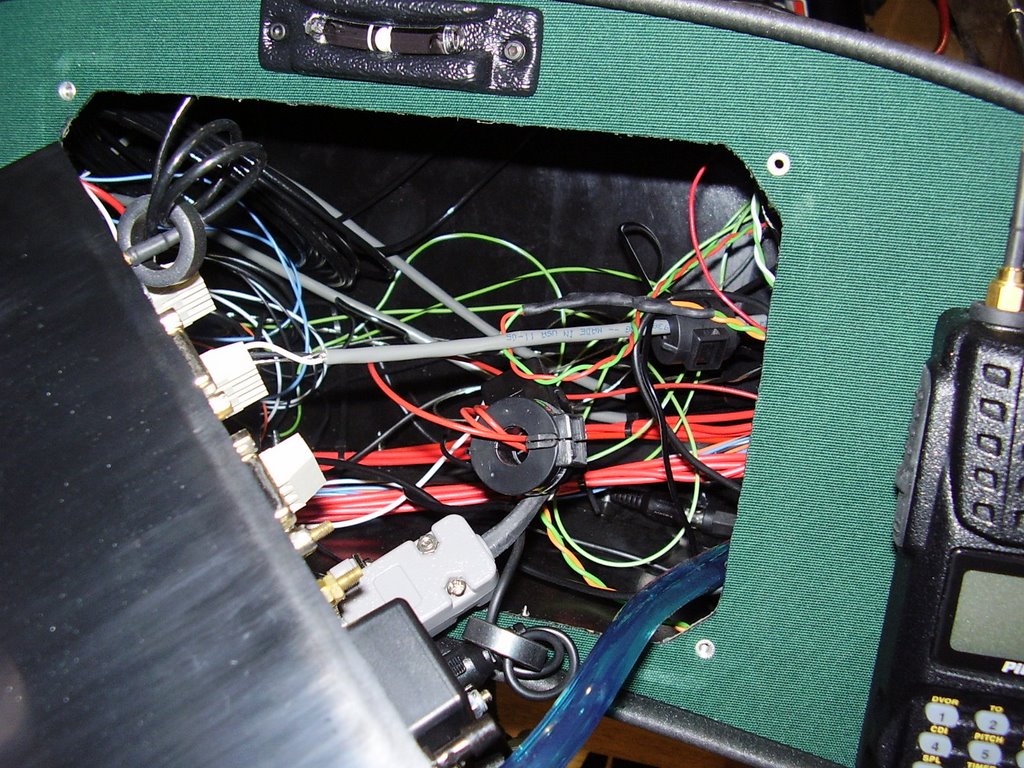
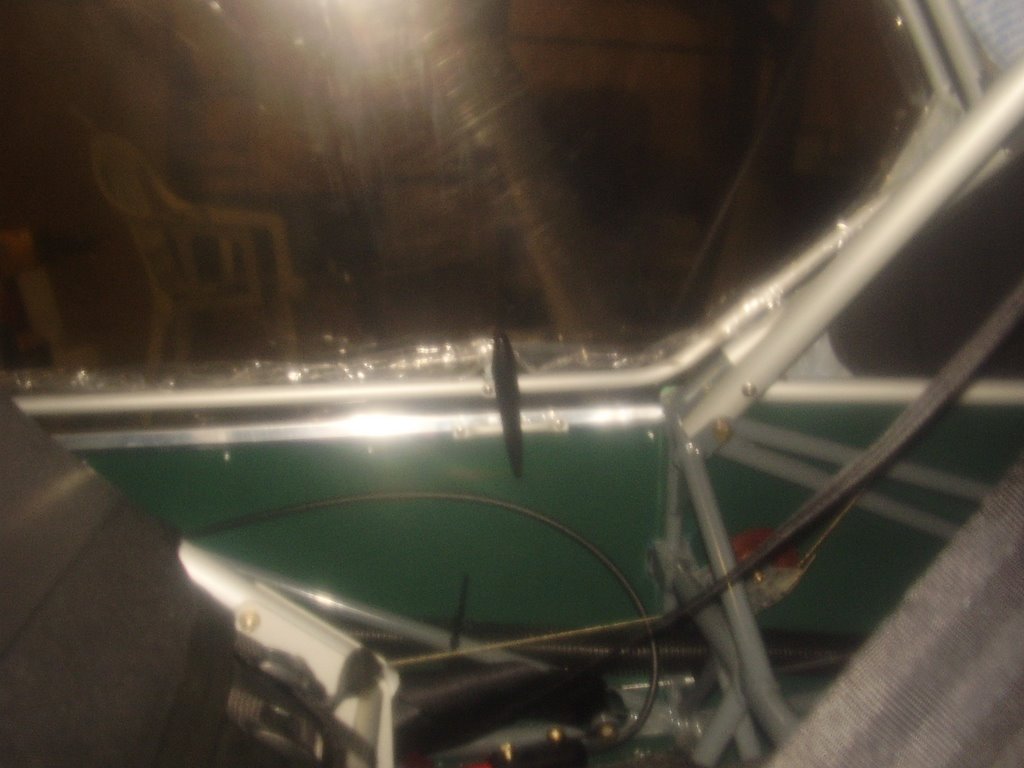
The last thing I needed to do today was install my ferrite ring EMI filters to the Enigma. I was getting a significant amount of noise on my radio when the Enigma was turned on. I would need to set my squelch to the highest setting of 8 to block out the noise. With the Enigma turned off, I only need a squelch level of 3. After experimenting with several types of ferrite beads I was able to get the noise down to where I could set my squelch to 5 or 6.

In the photo below you can see the four of the five ferrite rings I installed. The round one in the center is hiding a fifth ring.
I then bolted the Enigma in place using some Locktite.


Door Lock - 1.5 hours (481.5 Total)

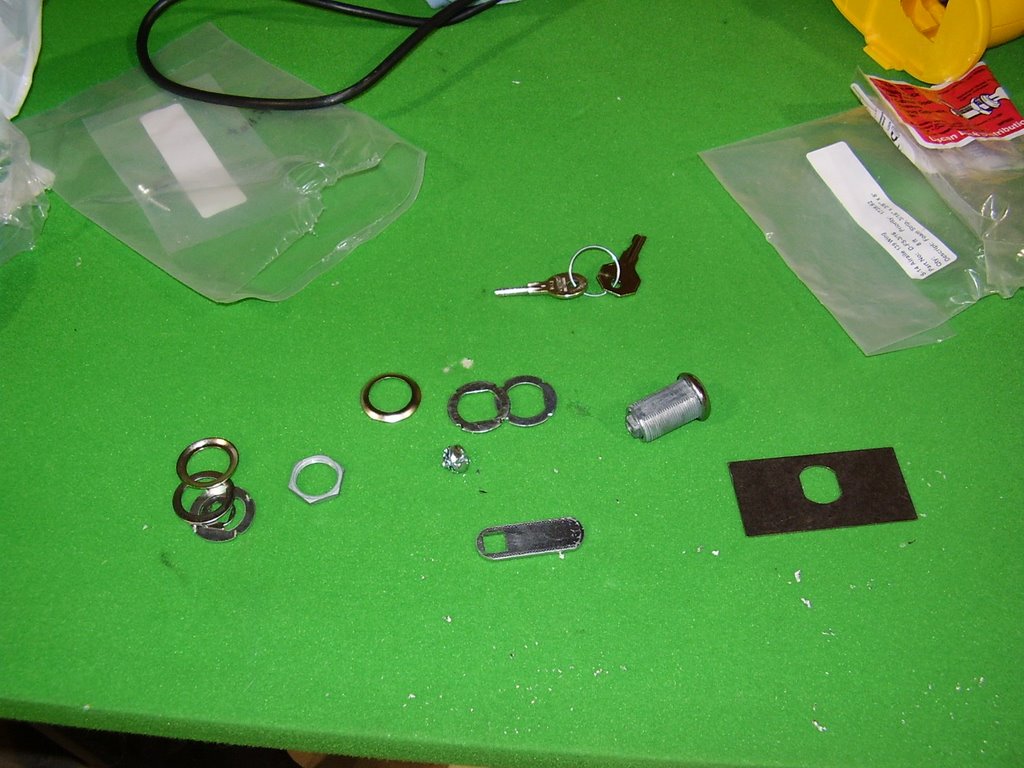
One of the extra features I was planning to add was a lock for my door. I had a local lock smith key a cabinet lock to match the same key I use for my Master switch.

The locksmith provided me with a thin steel plate that I was able to slip in between the Lexan and aluminum tube of the door. I pre-drilled holes in the plate that I later used to rivet to the door.

To get the lock as close to the edge of the door as possible, I needed to fabricate a bushing. Without the bushing I would have needed to leave clearance between the lock and the metal tube of the door to allow room for the nut to turn. I used some scrap aluminum tubing with an inside diameter of 3/4" as my bushing. Unfortunately, I wasn't able to get the lock close enough; the latch mechanism just barely overlaps the window frame tube. I'll need to get a longer latch from the lock smith.


Wednesday, November 15, 2006

Trim Tab - 0.5 hours (480 Total)

Since I had one rivnut left, I decided to use it on my trim tab cable.

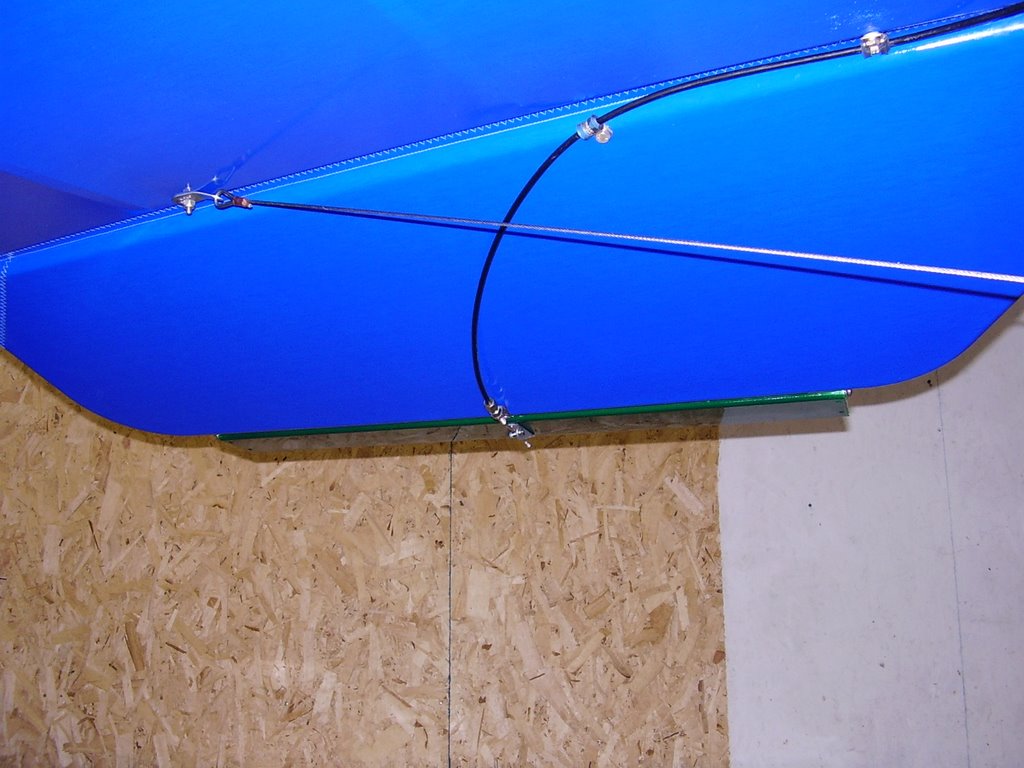
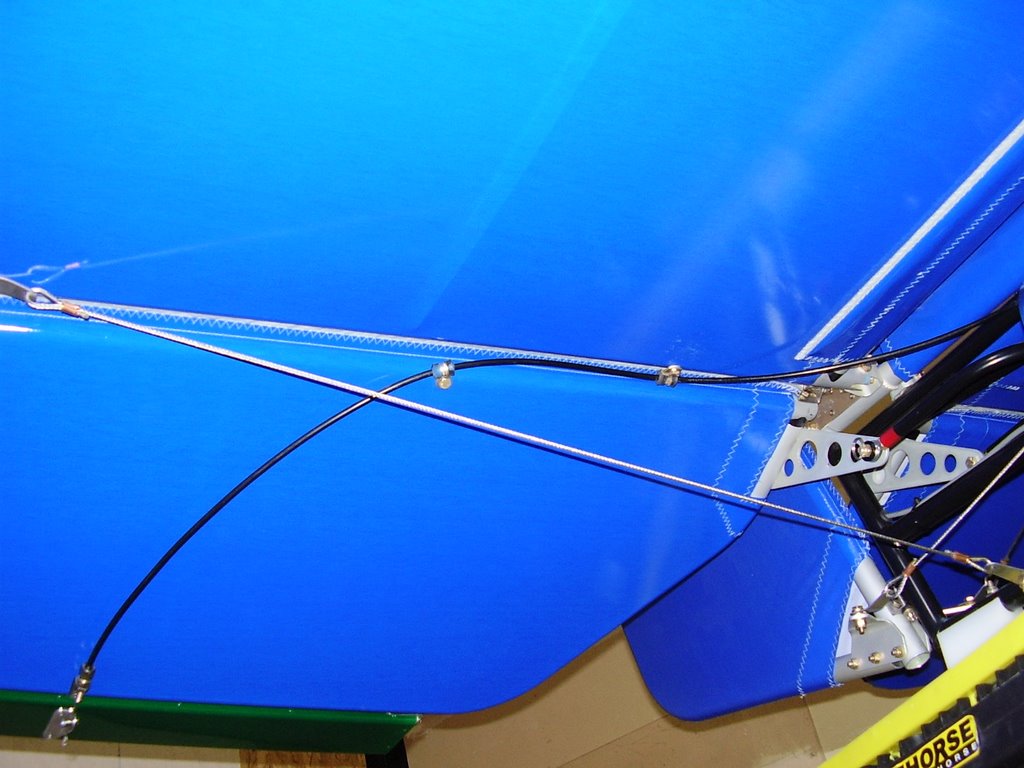
The instruction manual only calls out to mount the trim tab cable in one location but they provided an extra rivnut and hose clamp. The hose clamps Rans provided are not used anywhere else so I assume Rans intended for two of them to be used on the trim cable. Putting one mount on the elevator and the other on the stabilizer keeps the cable from rubbing on fabric when the elevator is raised.


Oil Vent - 0.5 hours (479.5 Total)

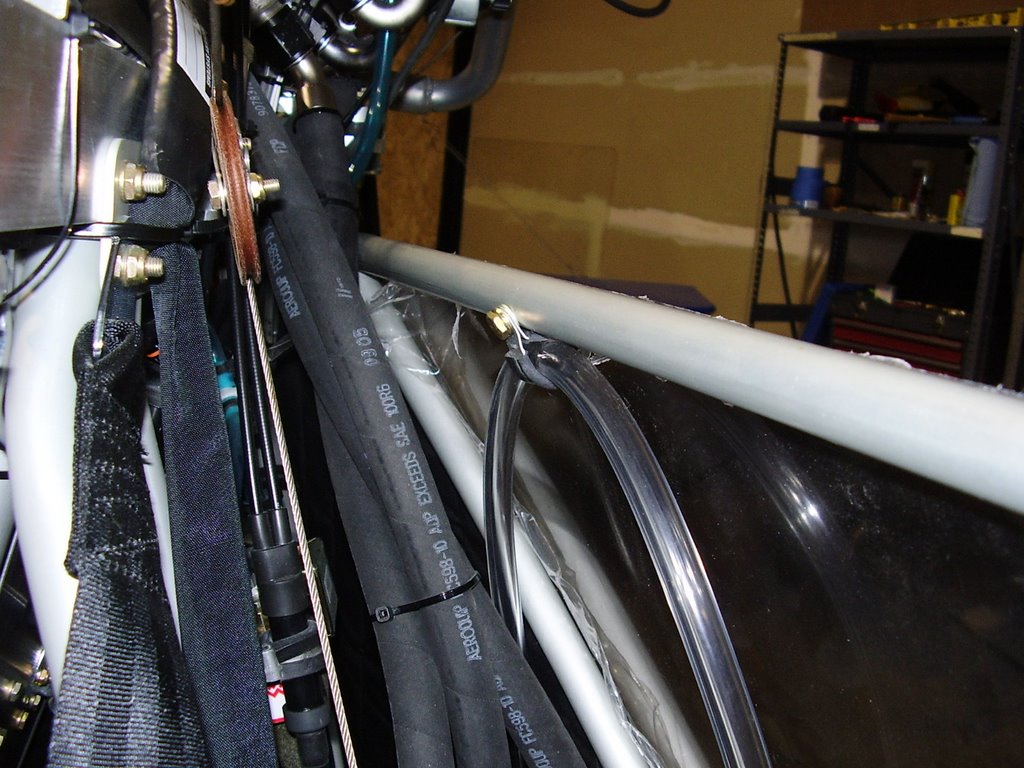
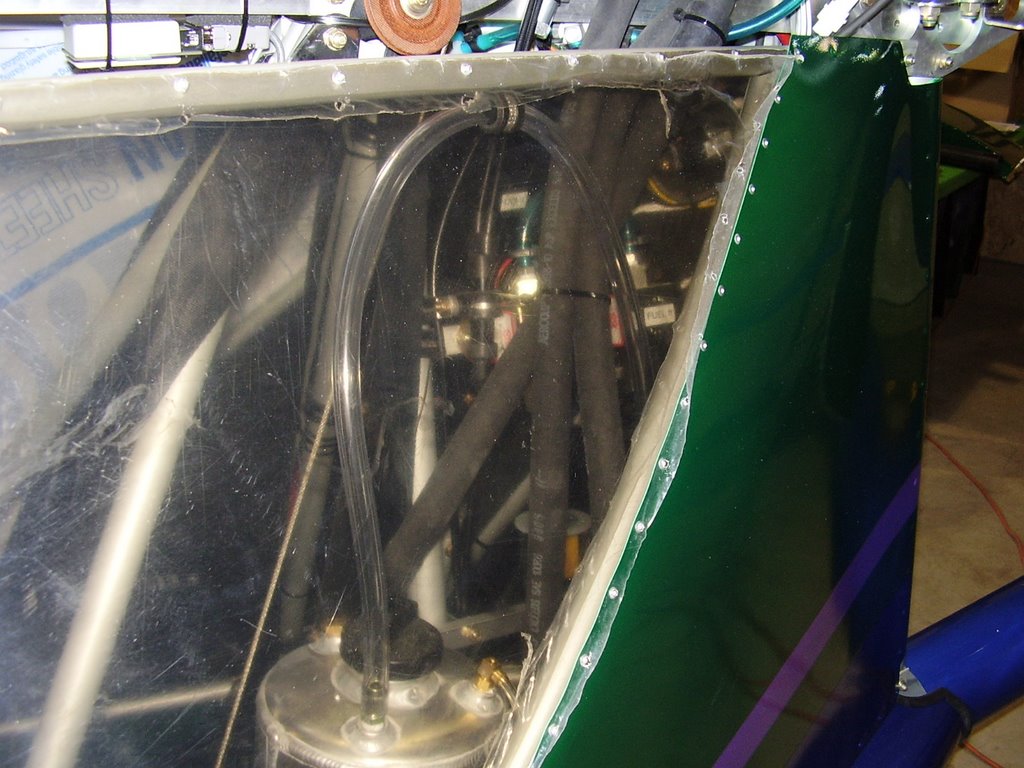
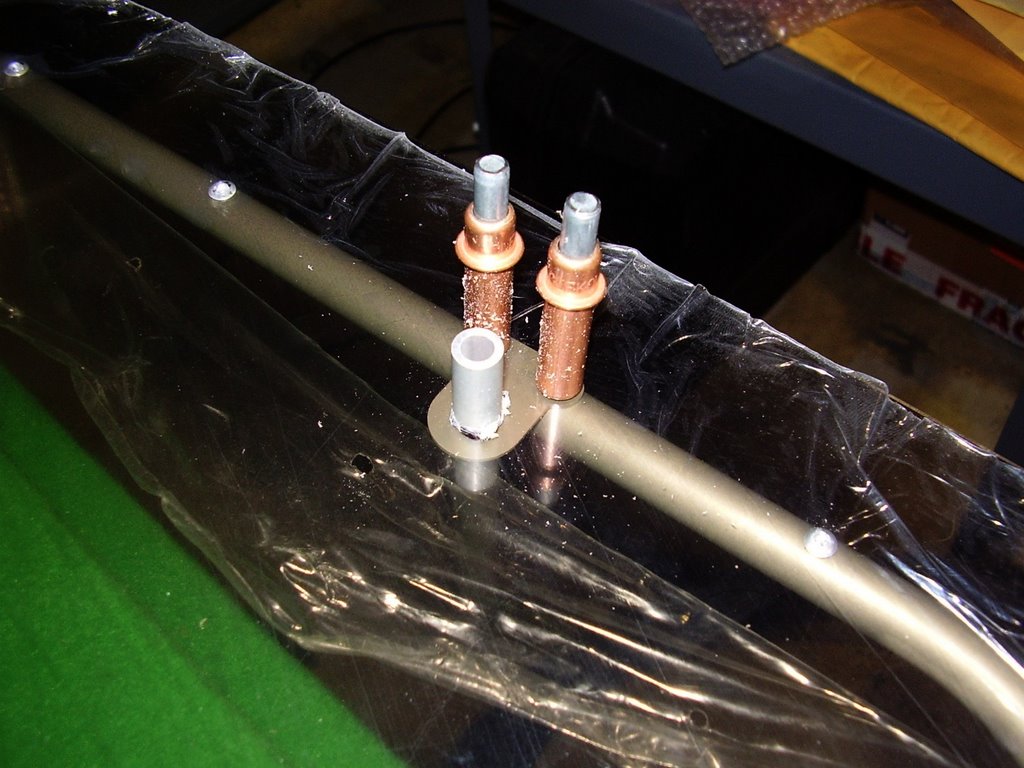
I also installed my oil vent hose. This required me to install a rivnut into the top former to hold the oil vent tube in an arch. The HKS installation manual required 100mm (~4") of arch above the oil tank; my installation has about 11 inches.

I still need to find some hose clamps and secure the hose with some wire ties.


Window Trimming - 0.25 hours (479 Total)

I was also planning to install some of the foam rubber seals to fill the gap between the wings and the top former tube. Unfortunately, Rans didn't provide any foam for this. I will need to order some from them.

I did notice the window edge could use some more trimming. I used my Dremel tool to round the Lexan edge so it won't damage the wing fabric. The other side doesn't have this issue.

Door Seals - 0.25 hours (478.75 Total)

Today I placed the foam rubber seals around the door. I was planning to wait until I was at Daniels to do this but I'm bored.


Sunday, November 12, 2006

Ready for the Daniels - 0 hours (478.5 Total)

Today me and a few friends took the wings off the plane in preparation for transporting it to the airport.

We were planning to transport it the following weekend in a 16' box van but I didn't feel comfortable with the tie down scheme in the truck. Since the plane wants to sit on it's tail, I didn't see an easy way of tying it down inside the 16' truck while having the tail stick out the back. I decided to hire a professional mover with a larger truck to transport the plane. The soonest they could move it would be Monday the 20th but it would be a tight schedule. Since I'm planning to head out of town on Tuesday for a long Thanksgiving vacation, I decided to put off the move until after I get back.

I was planning to have my painter come in and do a few touch-ups on plane before I move it to the airport. Unfortunately, within the past week he's closed up shop and has checked himself into a hospital based treatment program. He should be out mid December. It's hard finding good help these days!


Saturday, November 11, 2006

Radio - 0.5 hours (478.5 Total)

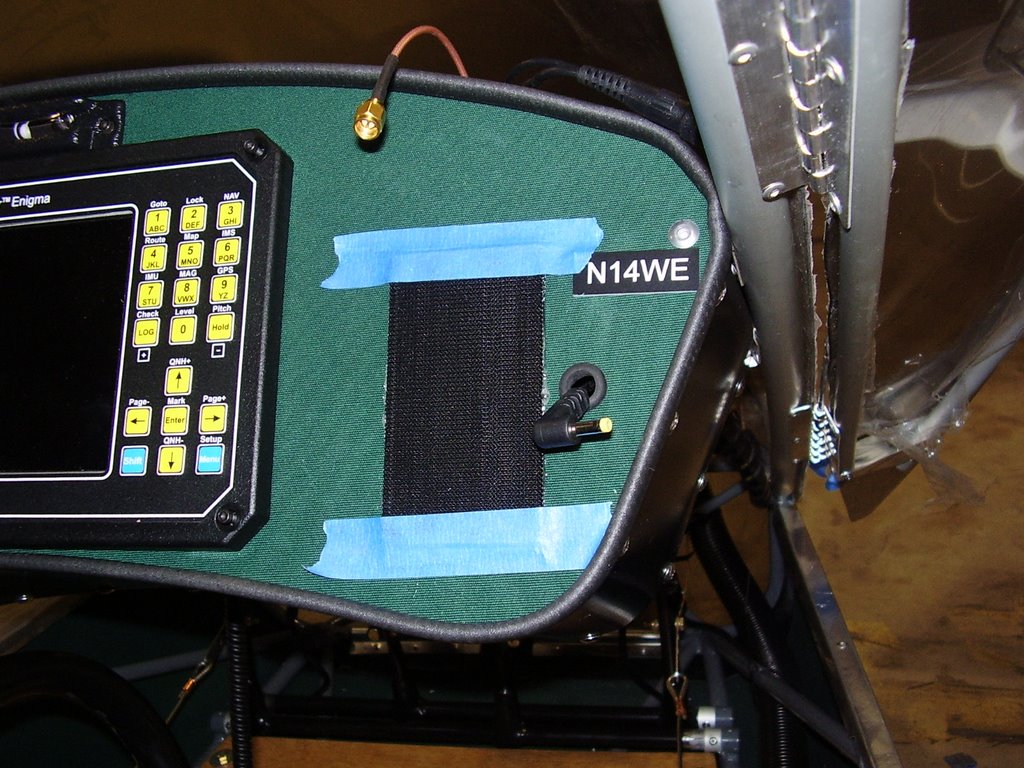
Today I also epoxied a velcro strip to my instrument panel for the radio.

Several weeks ago I placed self adhesive velcro on the back of the radio and onto the instrument panel. Unfortunately, the adhesive didn't stick well enough to the fabric and peeled off.

In the photo below you can see the velcro strip that has been glued to the panel. I needed to put the tape on the edges to prevent them from curing up before the glue set.


Door Handle - 2 hours (478 Total)

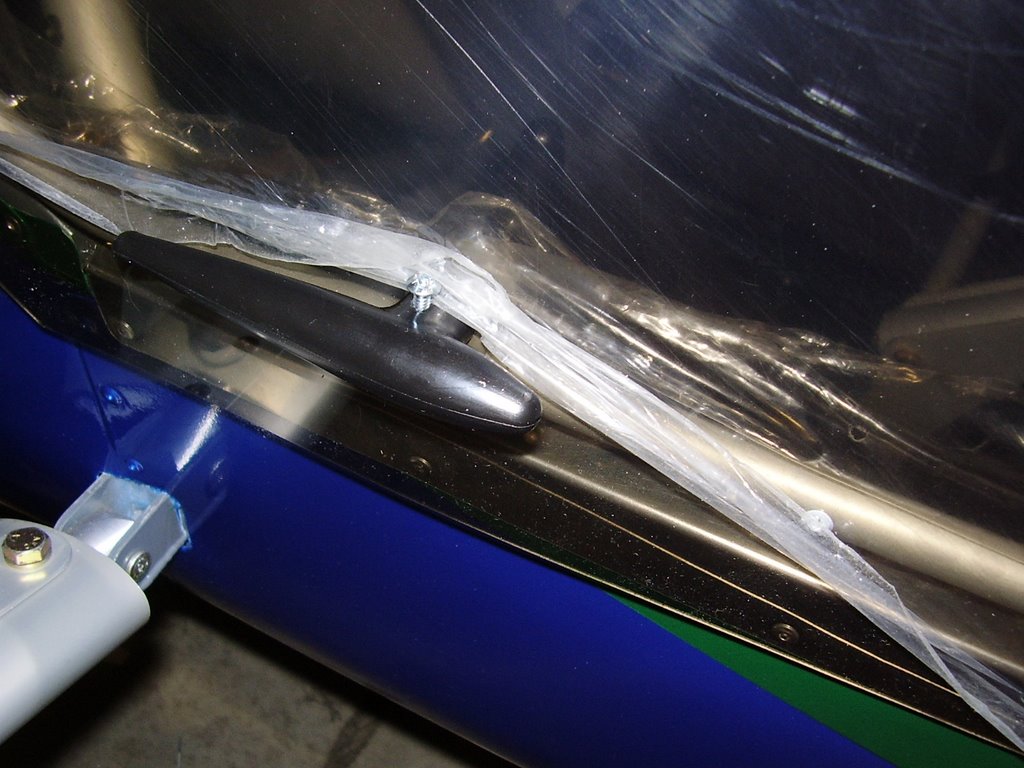
Today I installed my door handle.

The door handle installation was pretty strait forward until it came to securing the plastic handles to the aluminum tube which goes through the door. The instruction manual has you use a nutsert and a stainless steel screw. The screw goes all the way through the handle and aluminum tube and is threaded into the nutsert on the other side. I assumed that the reason for this setup was to allow the removal of the screw and handle. It turns out that the handle cannot be removed once the nutsert is installed anyway.

If I were to do it again, I would just use rivets instead. I also needed to replace the screws because the allan wrench heads stripped out while I was installing them.


Friday, November 10, 2006

Center Cover - 4 hours (476 Total)

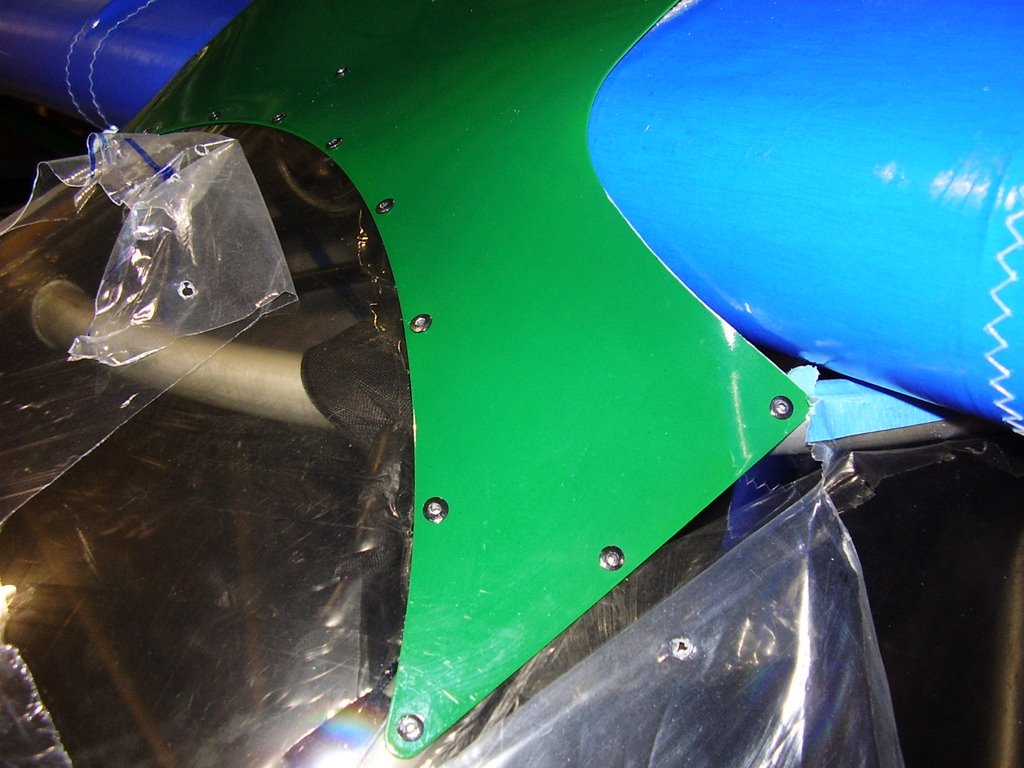
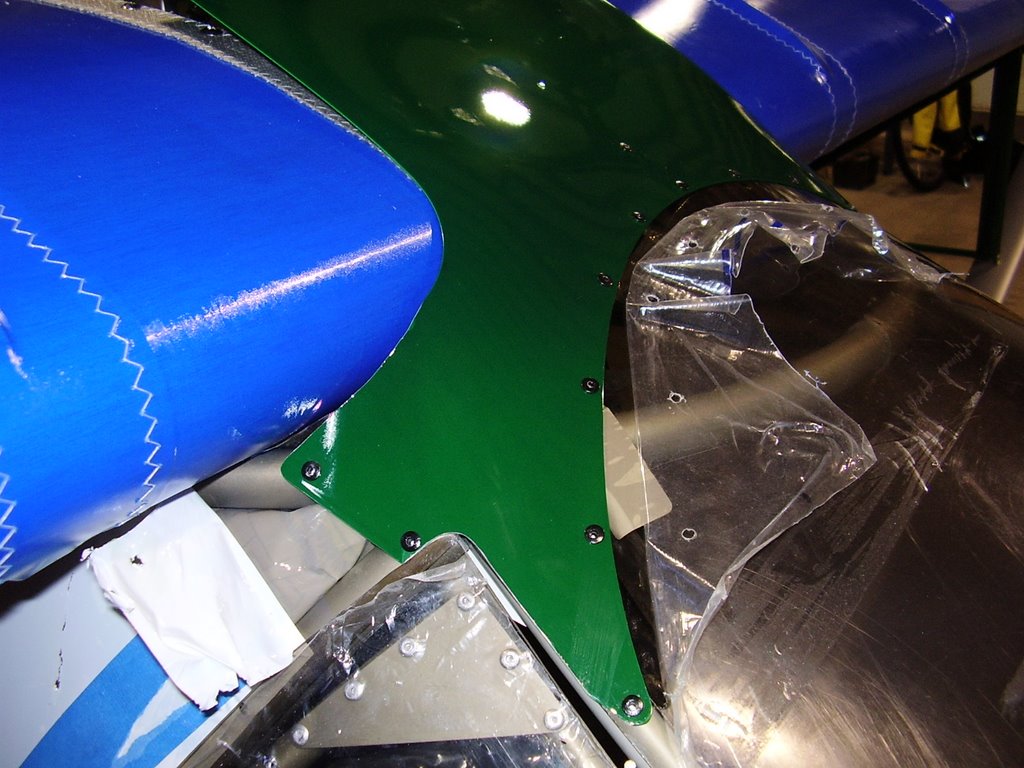
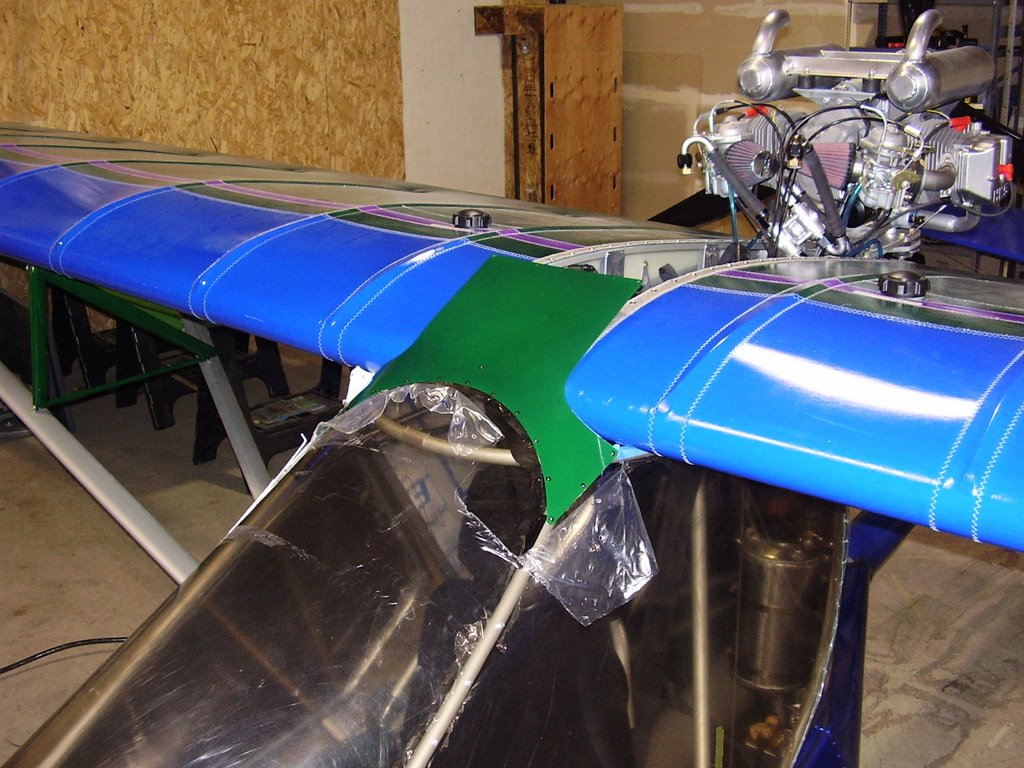
Today I attached the center cover to the plane.

I started off and spent a quite a bit of time positioning the center cover over the wings. I initially had a friend help me with the positioning because I thought it would be too difficult to do on my own. It turned out to be pretty easy to position myself with the help of some masking tape.

While positioning, I slipped on the rubber trim that protects the wing fabric from the edge of the metal center cover. The trim is not in any of the photos below. I used my Dremel tool to trim the metal cover to give me a snug fit between the rubber trim and the leading edge of the wing. I also trimmed a notch in the right side to allow the door to clear.

Once I was happy with the location and fit of the center cover, I started drilling and cleco'ing it into place. I removed the rubber trim at this time to allow me to get a snug fit against the wind shield Lexan.

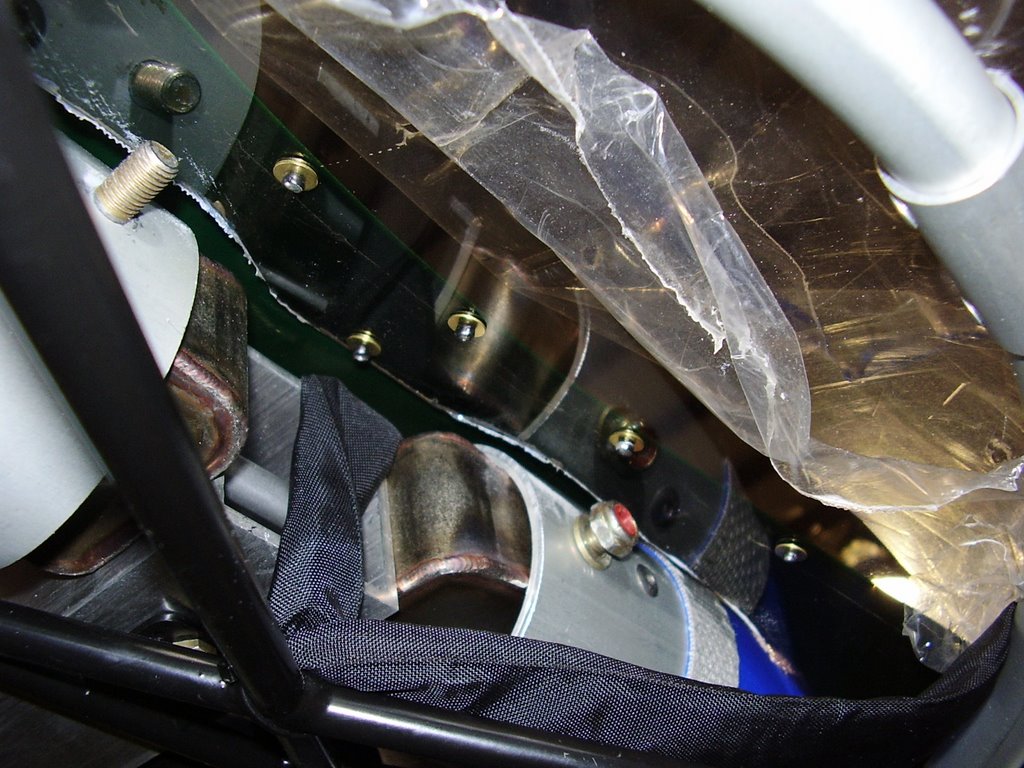
The next step was to rivet the center cover into place. Where the center cover was only riveted into the Lexan, I used brass backing washers. I used the technique I described in the wind shield installation post of using the primer line to hold the washers in place while I pulled the rivets.

Below are some photos of the installed center cover.


Thursday, November 09, 2006

Air Vents - 2 hours (472 Total)

Today I installed the air vents.

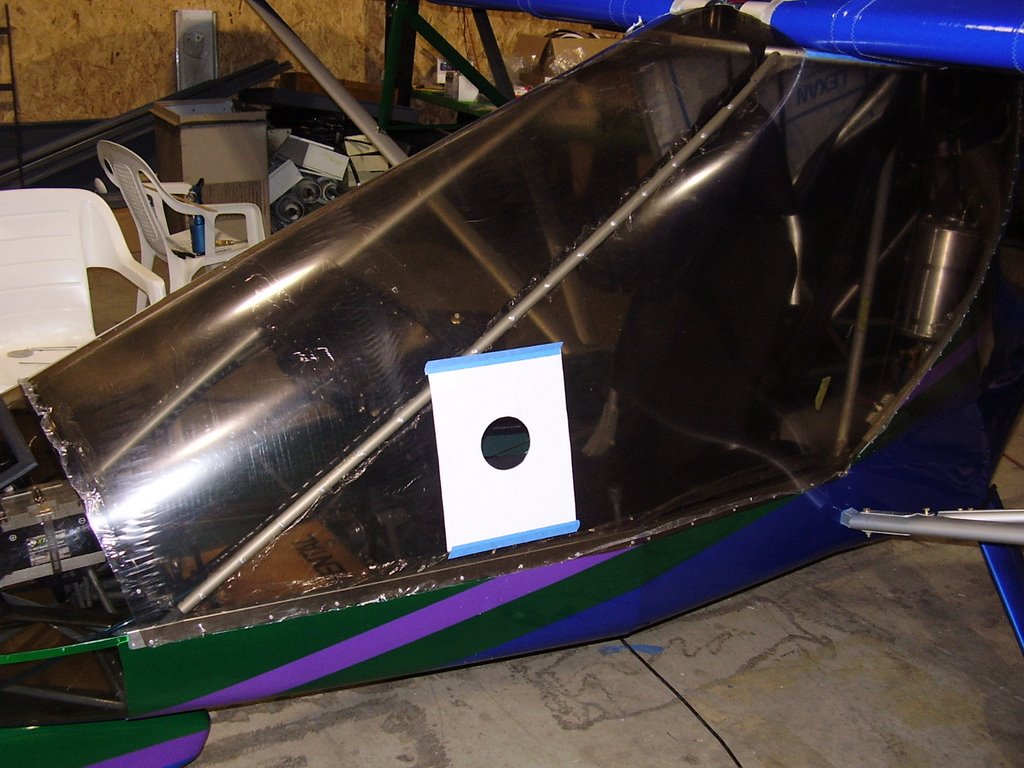
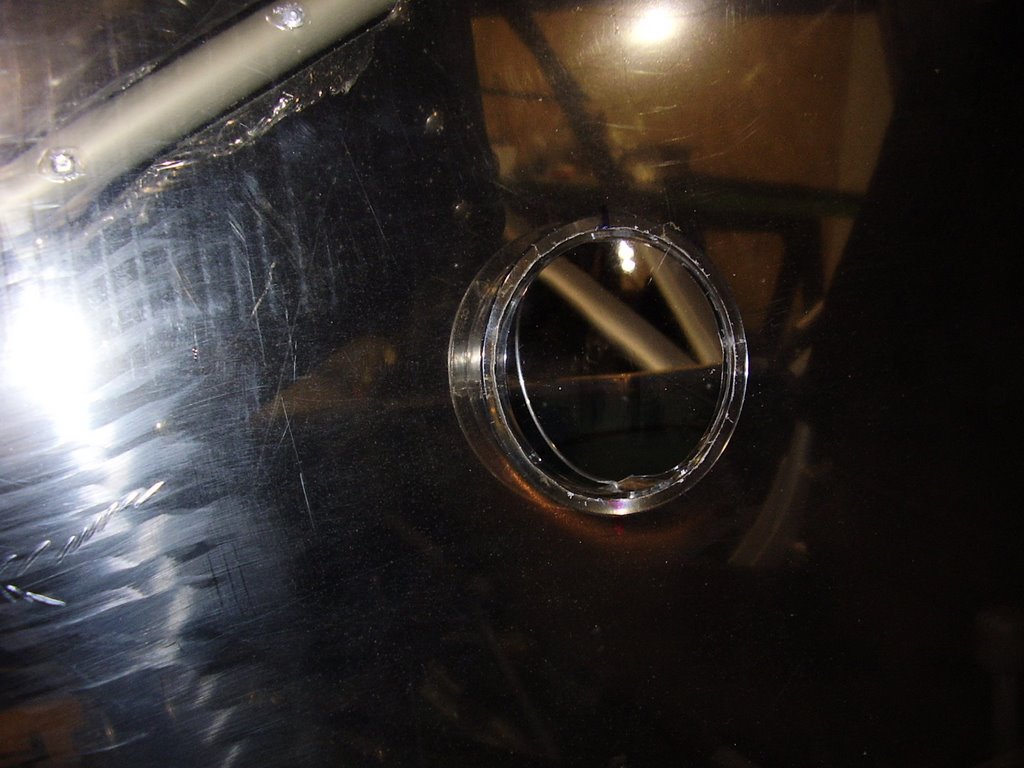
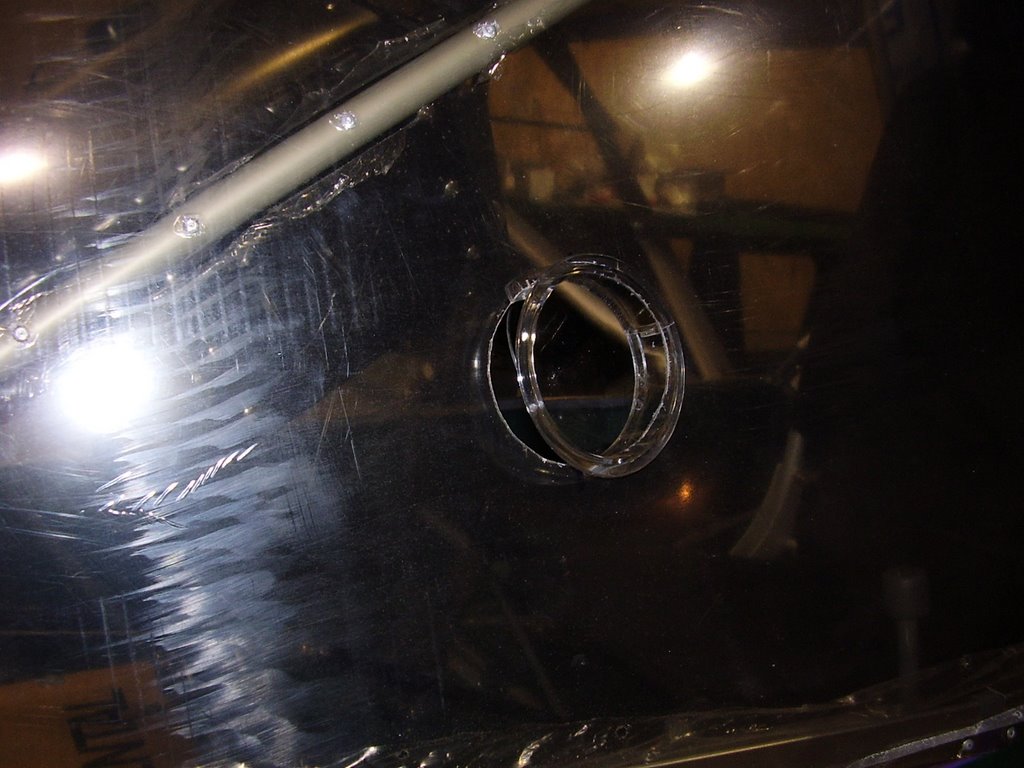
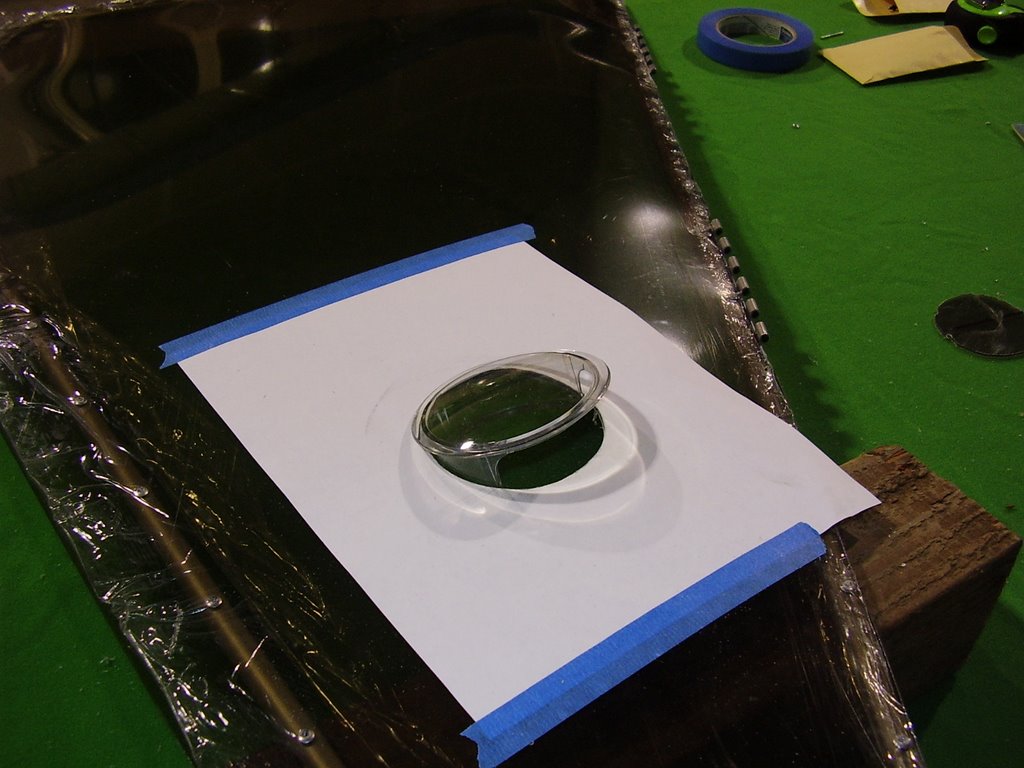
I started off by creating a circle template for the holes I needed to cut into the Lexan. I used the rotary bit on my Dremel tool to cut the holes. I cut a practice hole in my spare door Lexan to make sure the bit wouldn't damage the Lexan.

I taped my hole templates to Lexan where the instruction manual stated. Once the holes were cut out I was able to pop the vents into place. The vents fit very snuggly into the holes and will only rotate if a significant amount of force is used. I may try to enlarge the holes at a later date but I don't want the vents to rotate too easily.