Wednesday, November 08, 2006

Door, Second Try - 7 hours (470 Total)

As I had mentioned in my October 31st post, I decided to rebuild my door due to the hinges not aligning properly. I purchased a new Door Frame Hinge Tube from Rans.

The instruction manual indicated that I should mount the hinges and Lexan to the Door Frame Hinge Tube and then mount the mating hinges to the wind shield tube. I decided to do it differently this time around.

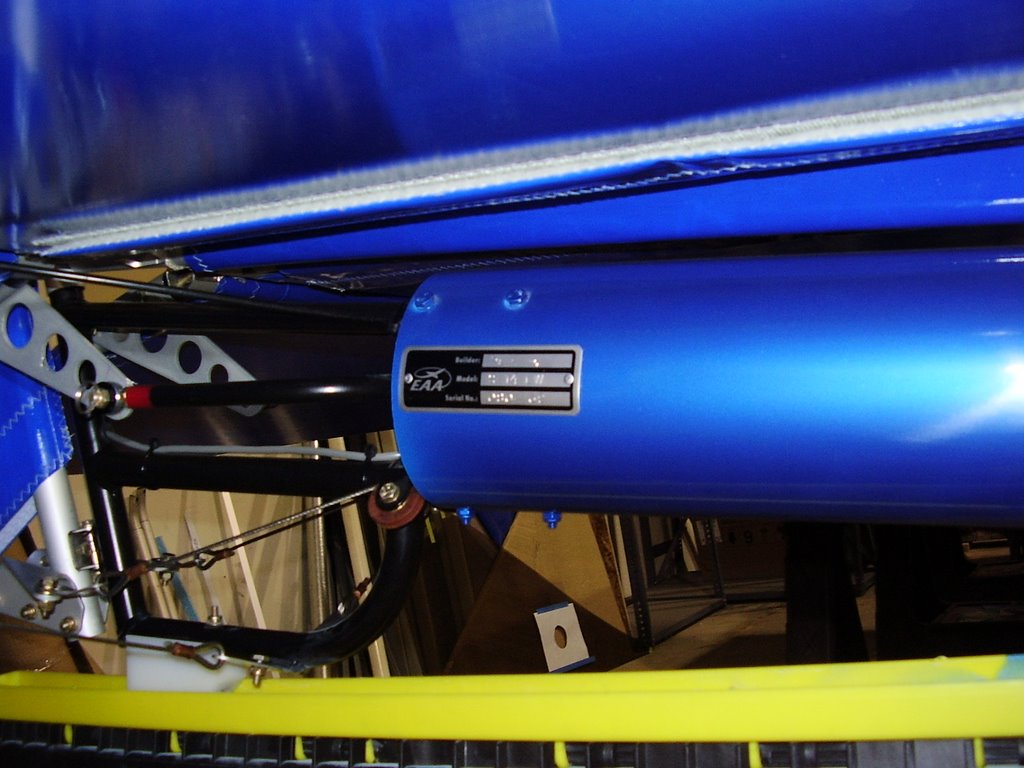
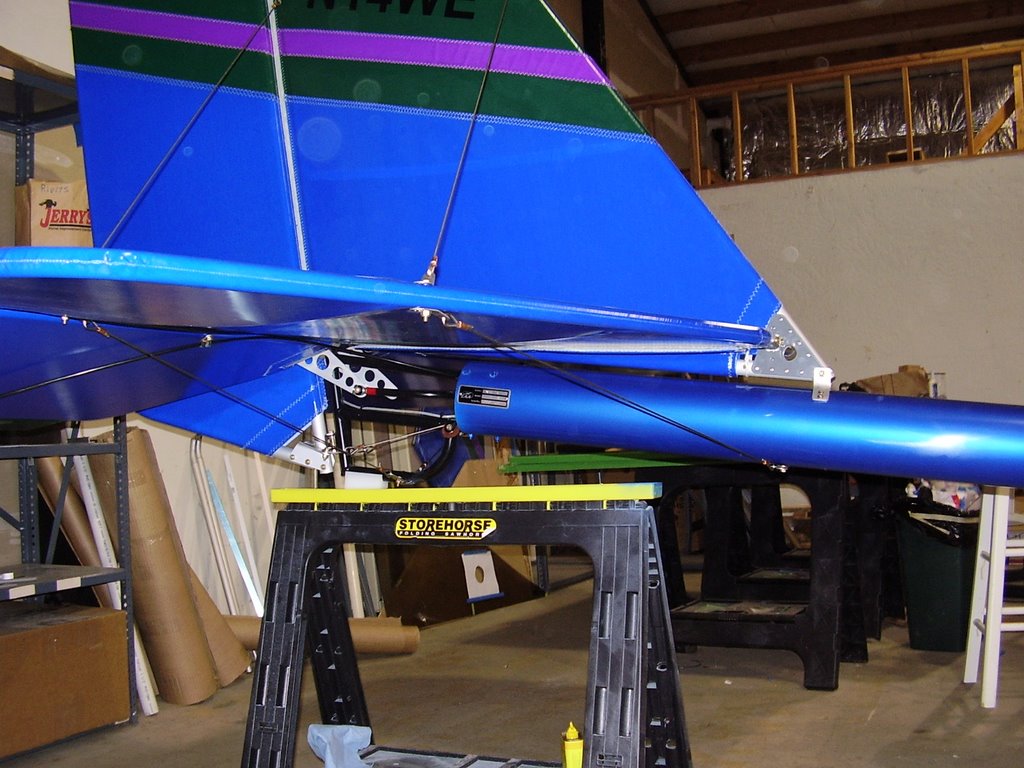
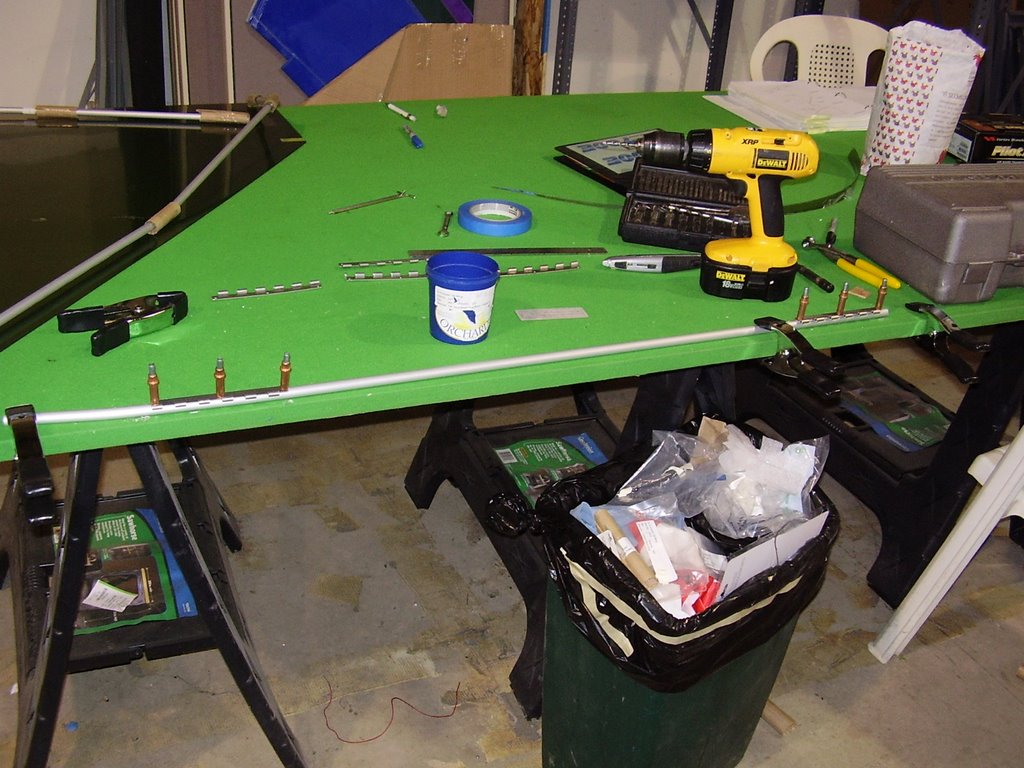
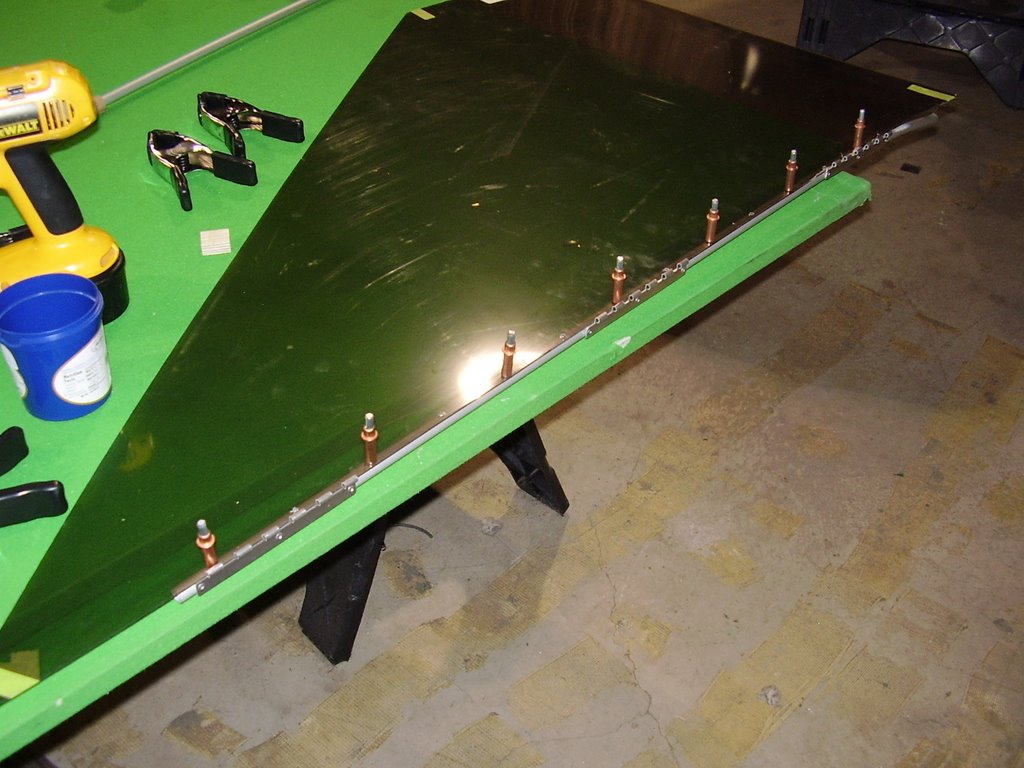
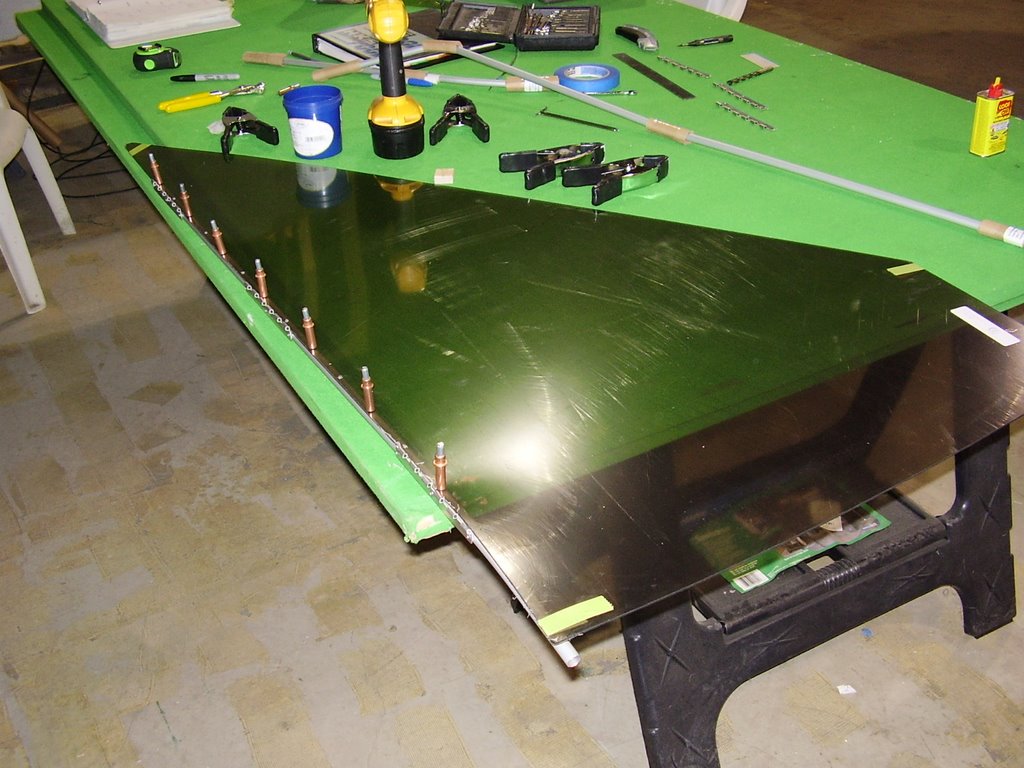
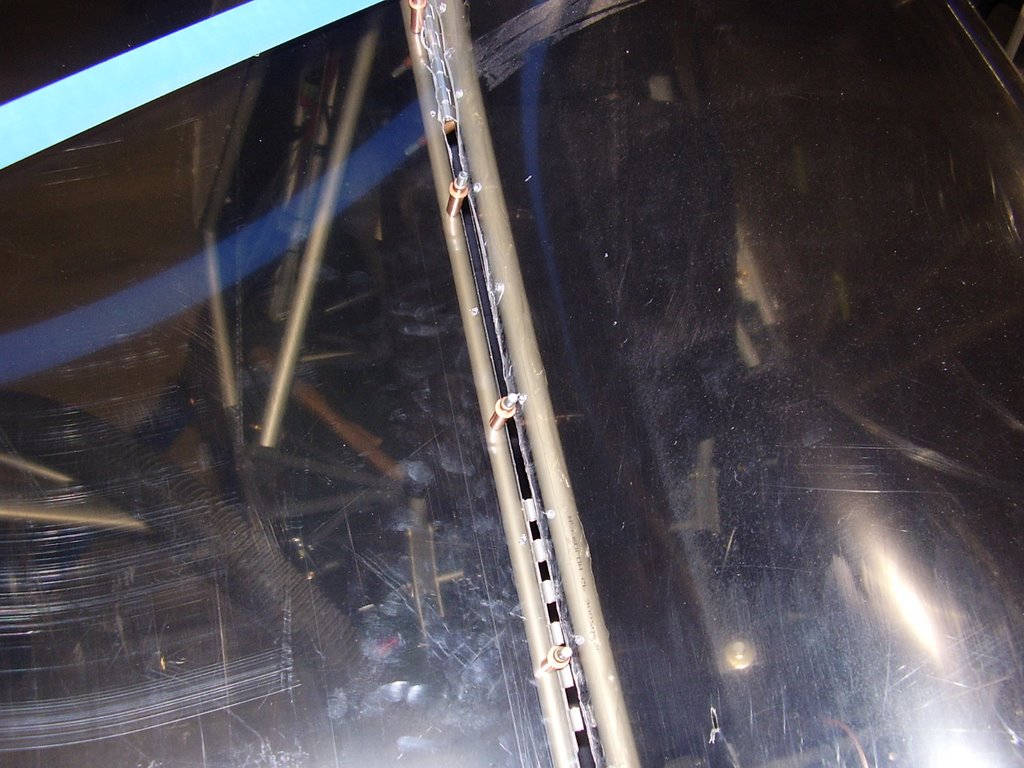
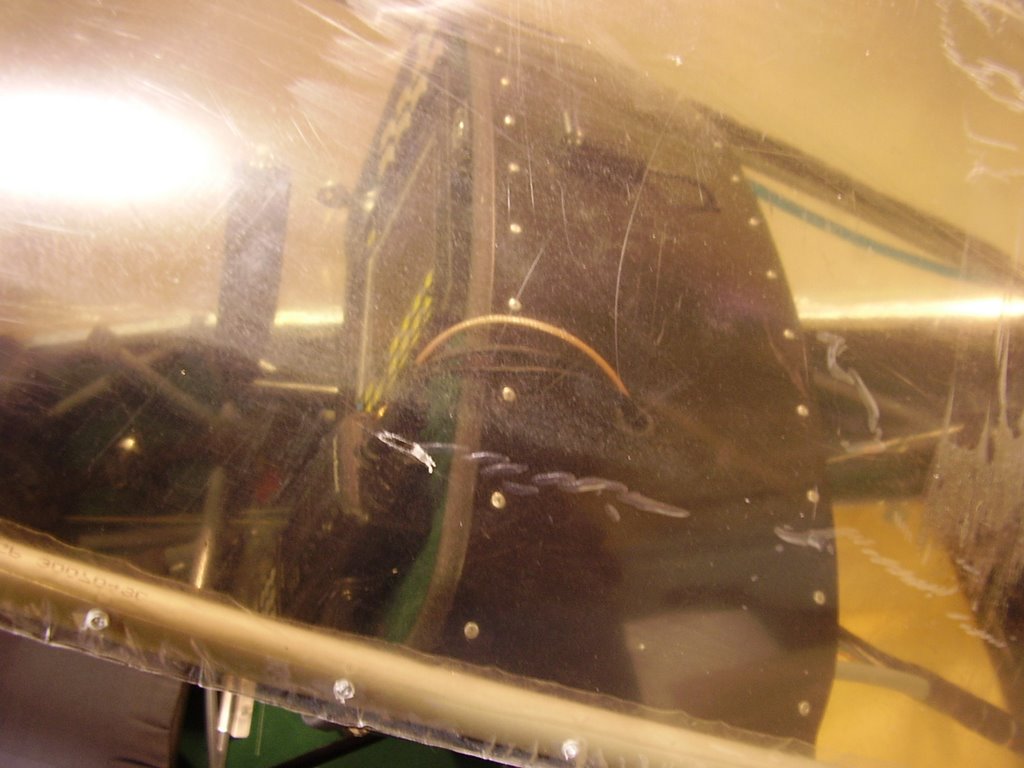
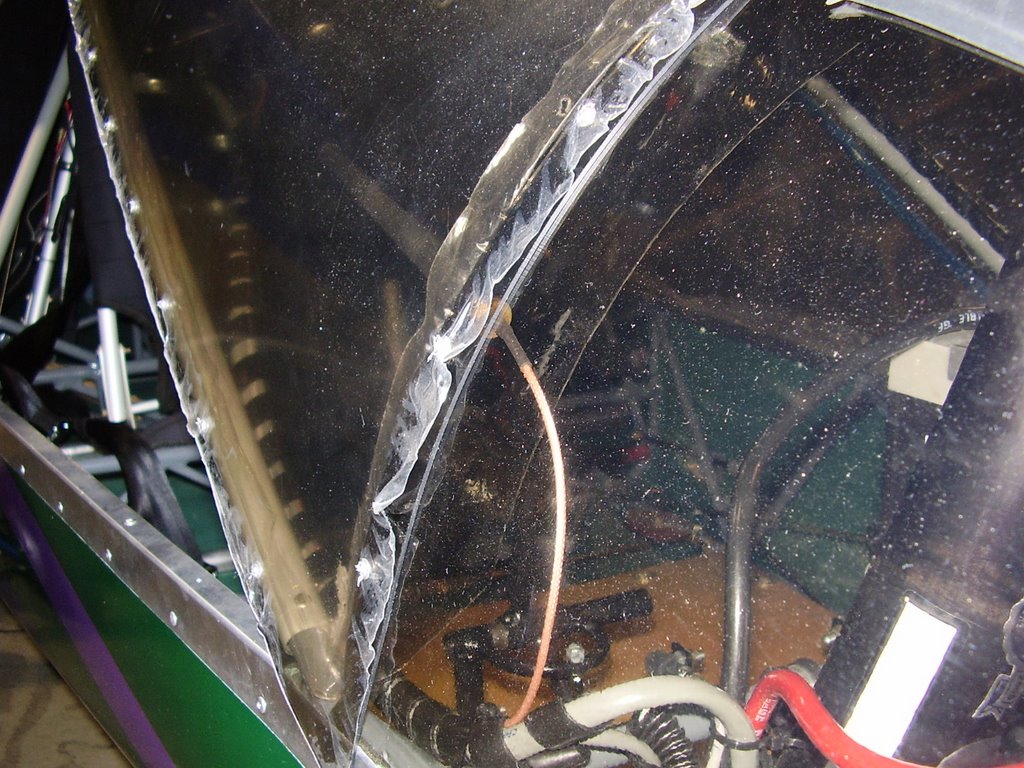
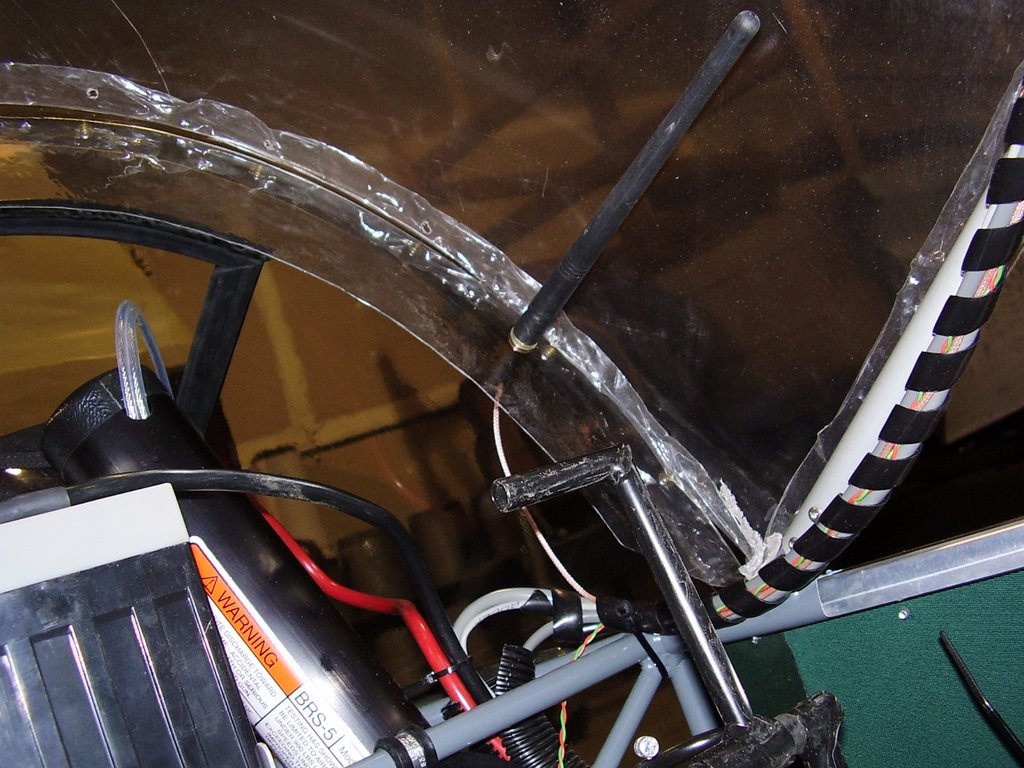
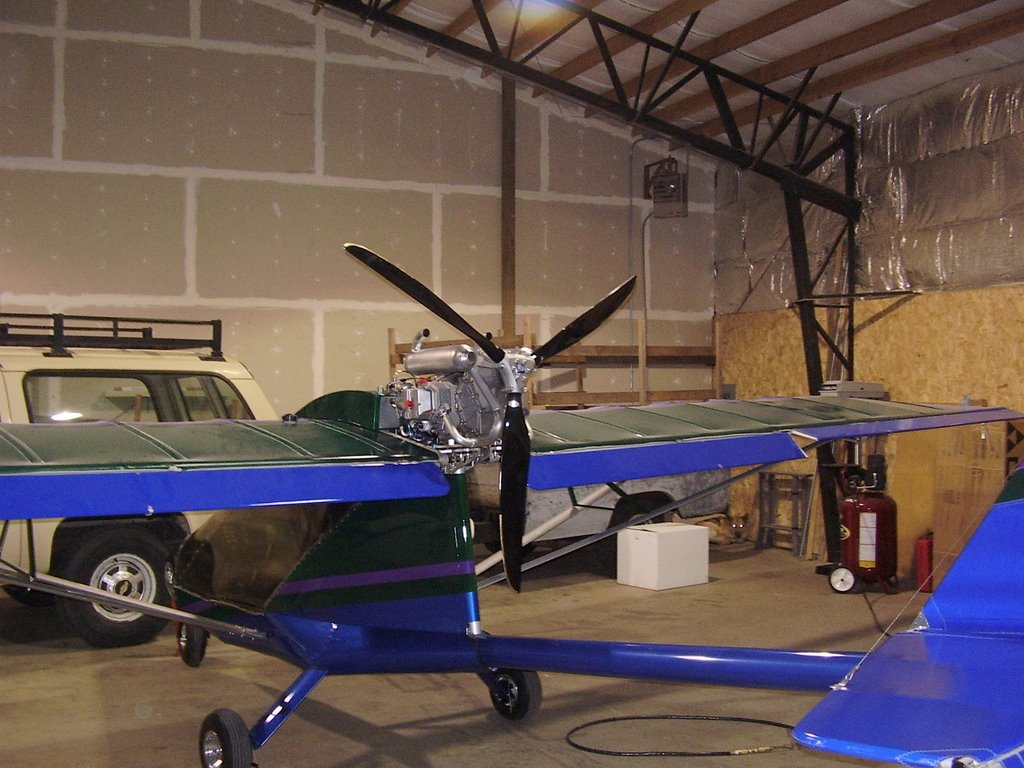
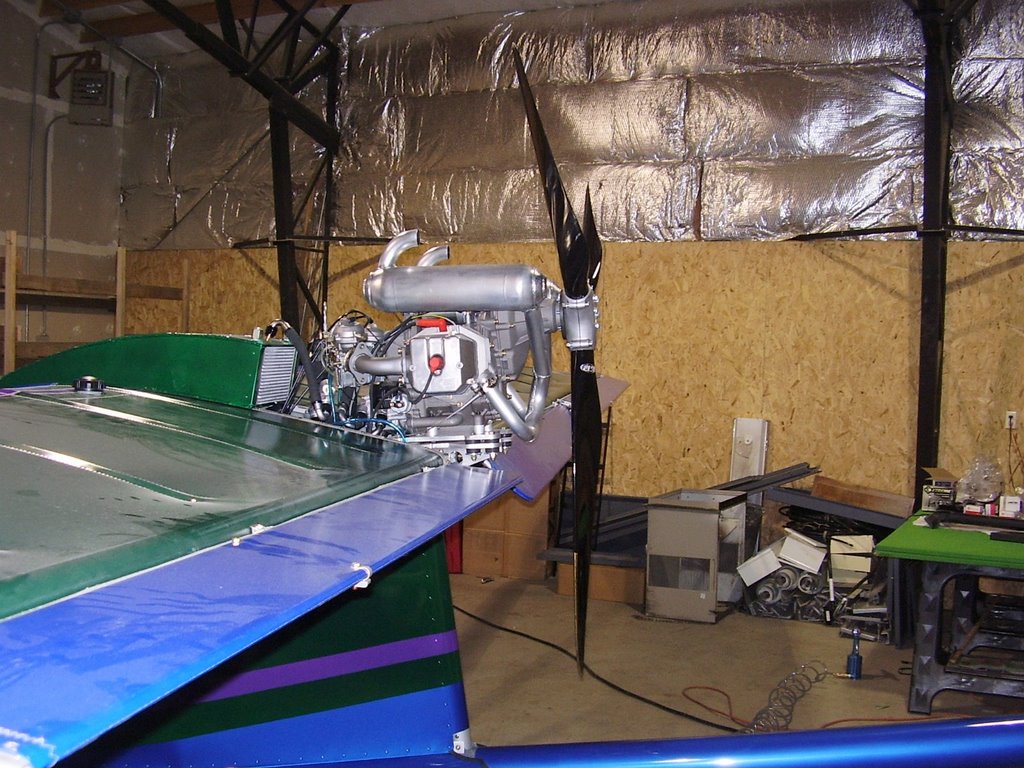
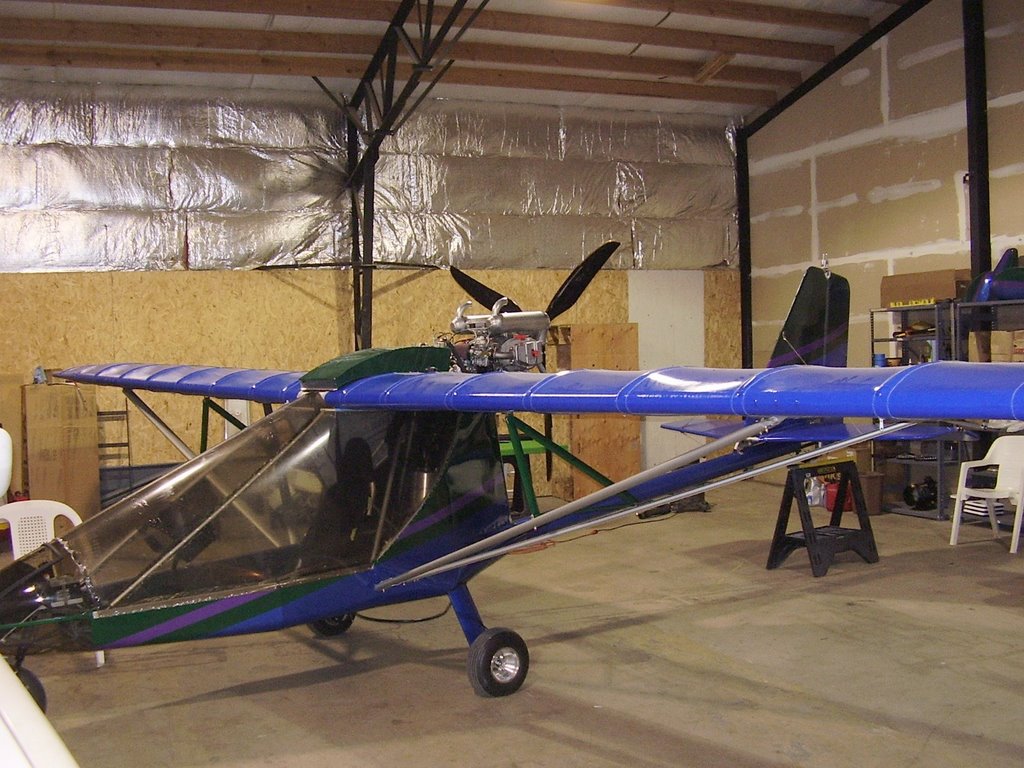
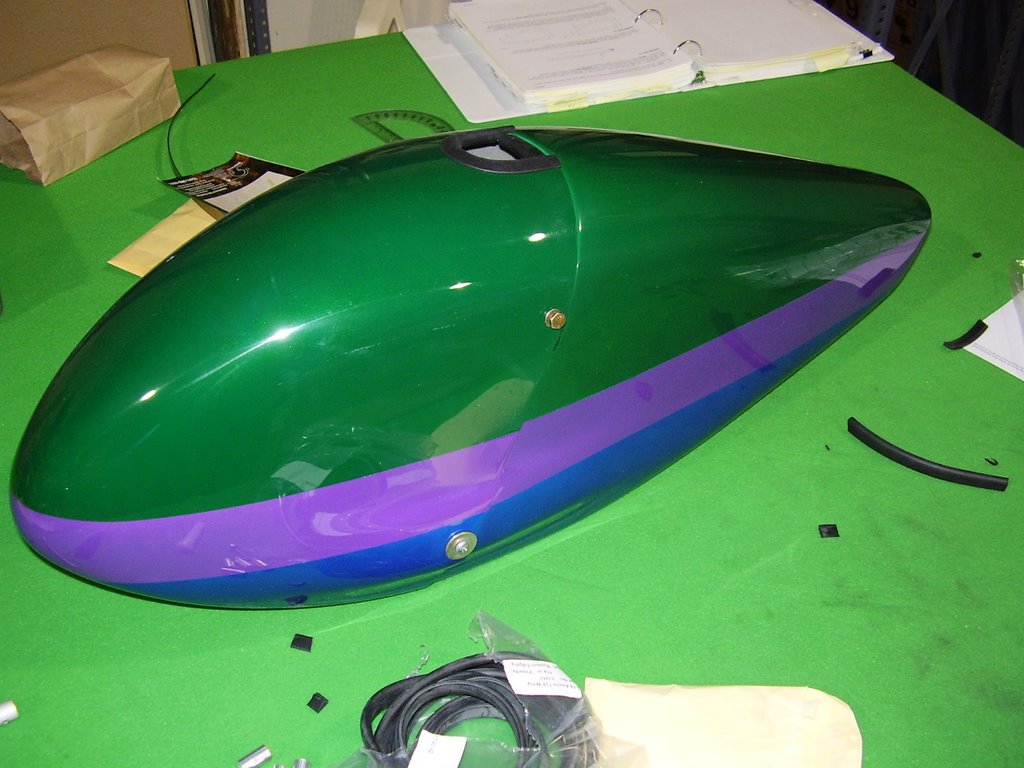
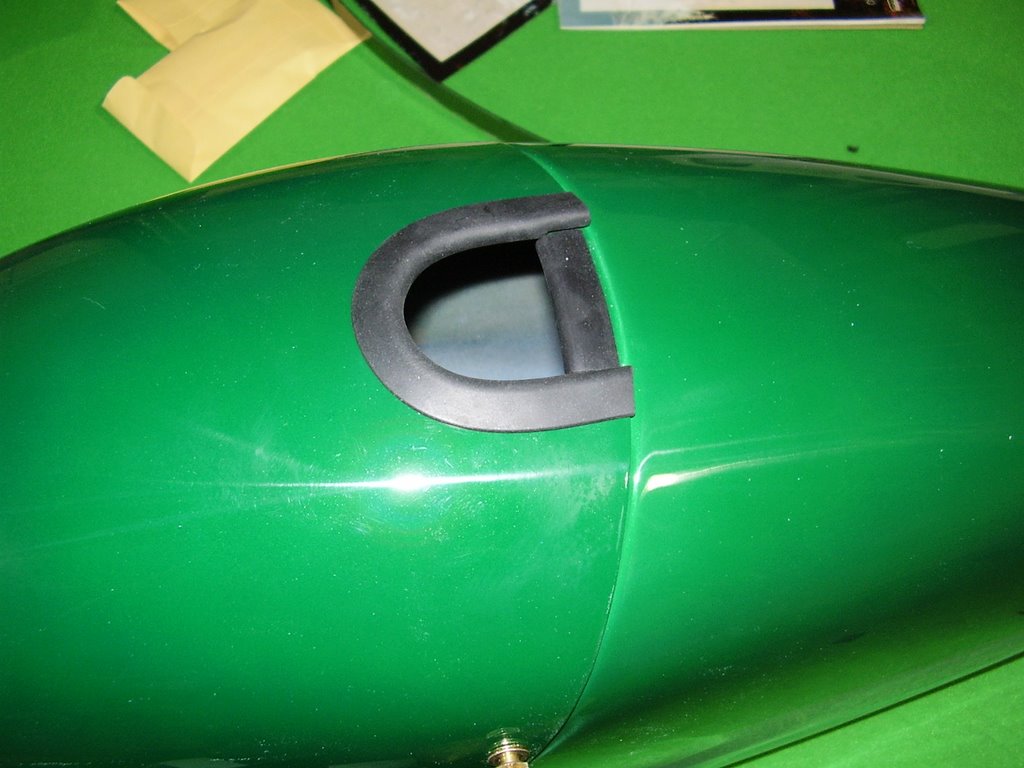
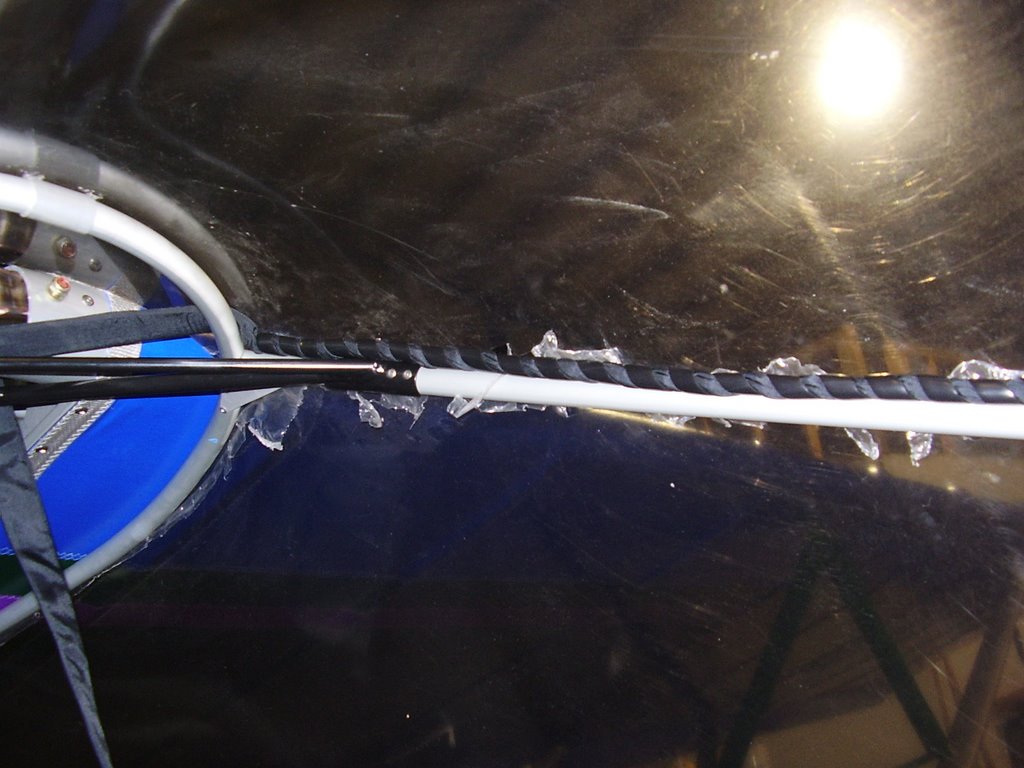
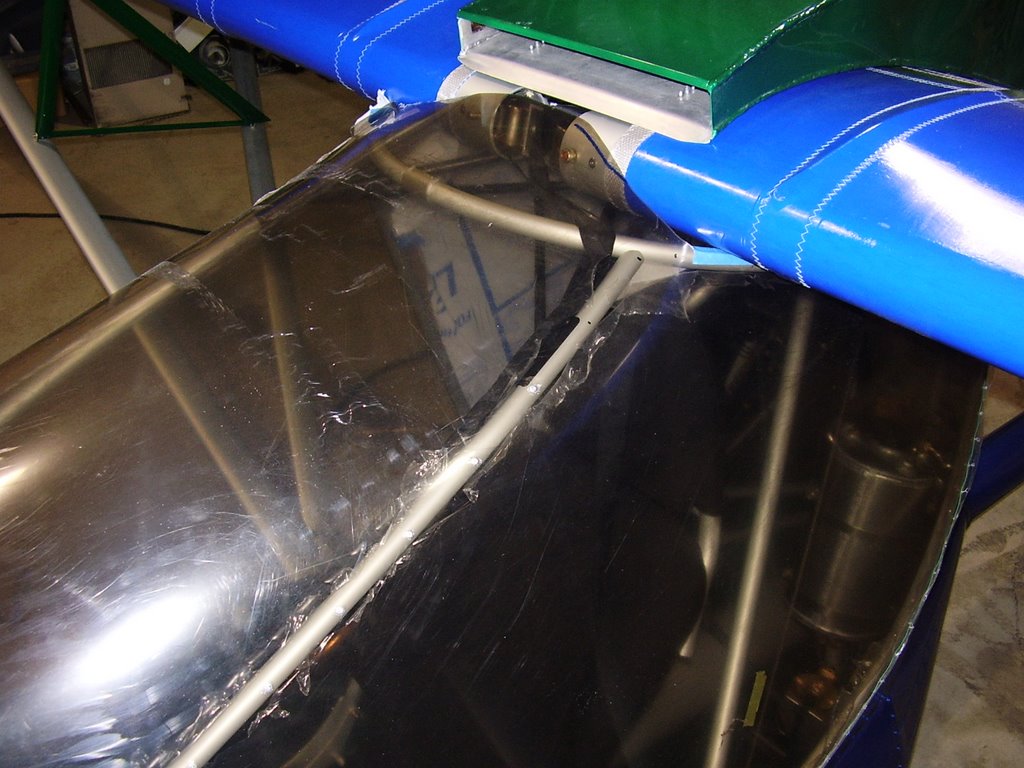
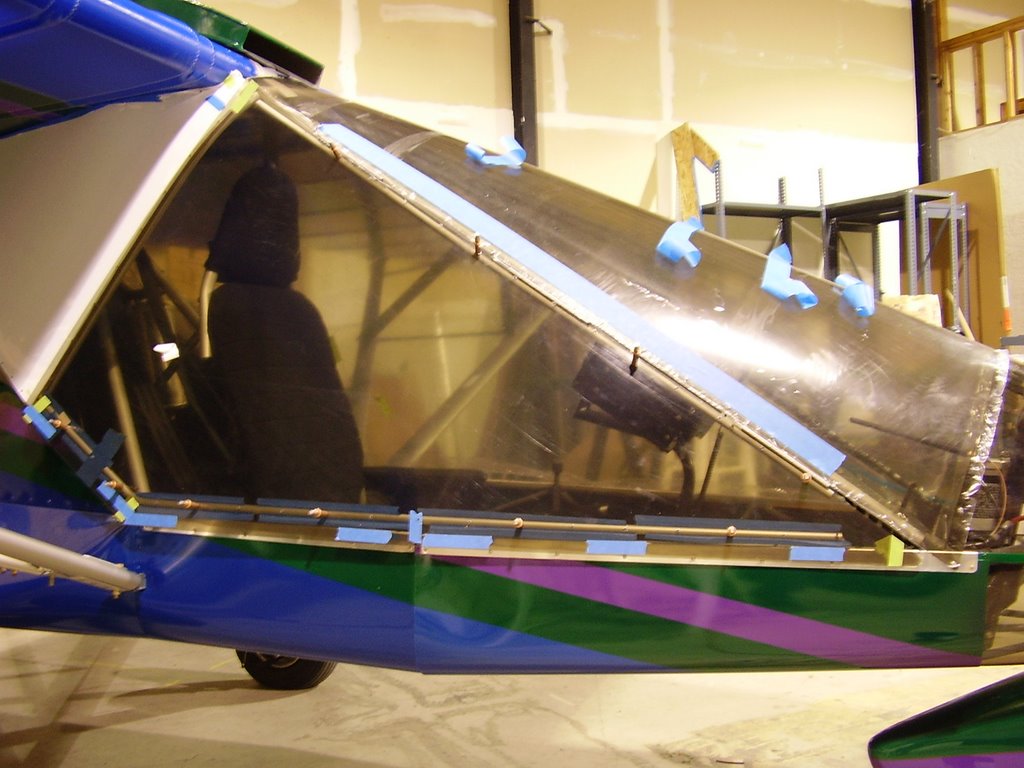
I started by positioning (rotation) the Door Frame Hinge Tube so the slight bend is has on the top mates flush with the window frame tube. You can see this in the first three photos. My first attempt caused the door to dip significantly inward which probably would have caused problems later on.

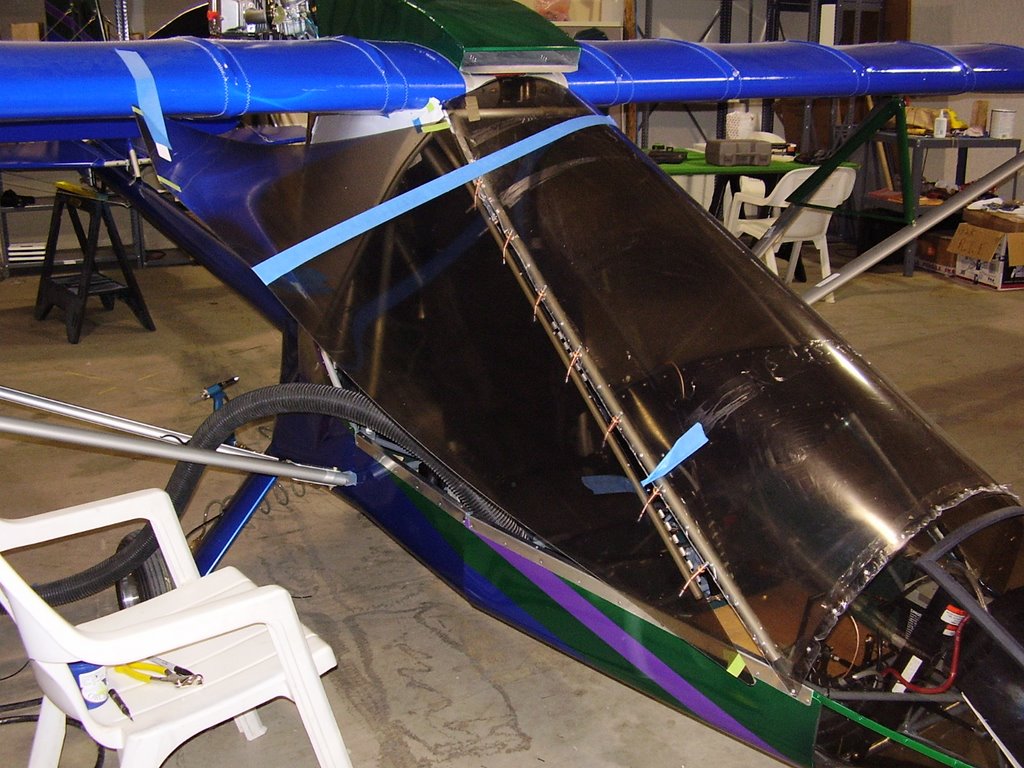
Once that was aligned, I attached the top hinge to the Door Frame Hinge Tube. The mating hinges are already attached to the Windshield Frame Tube. I then connected the other two hinges to the Door Frame Hinge Tube. This allowed the hinges to properly mate with the hinges on the Windshield Frame Tube.

While I was connecting the two lower hinges, I made sure that the secured hinge was in a midpoint within it's mating hinge. In other words... When the hinges are mated together, there is a small amount of play between them, approximately 1/32". I made sure the hinge was centered while I was securing the other hinges. I used masking tape to secure the hinge in place prior to drilling and riveting. Because of the problems I had the first time, I moved very slowly and double checked all my alignments before I drilled or riveted.
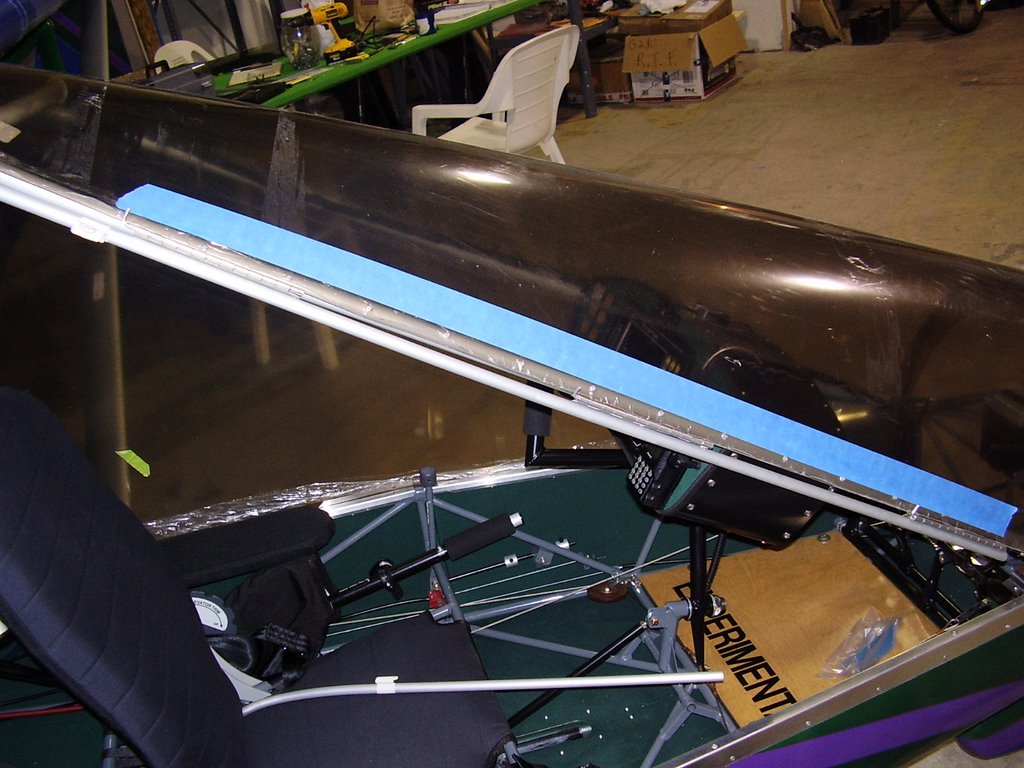
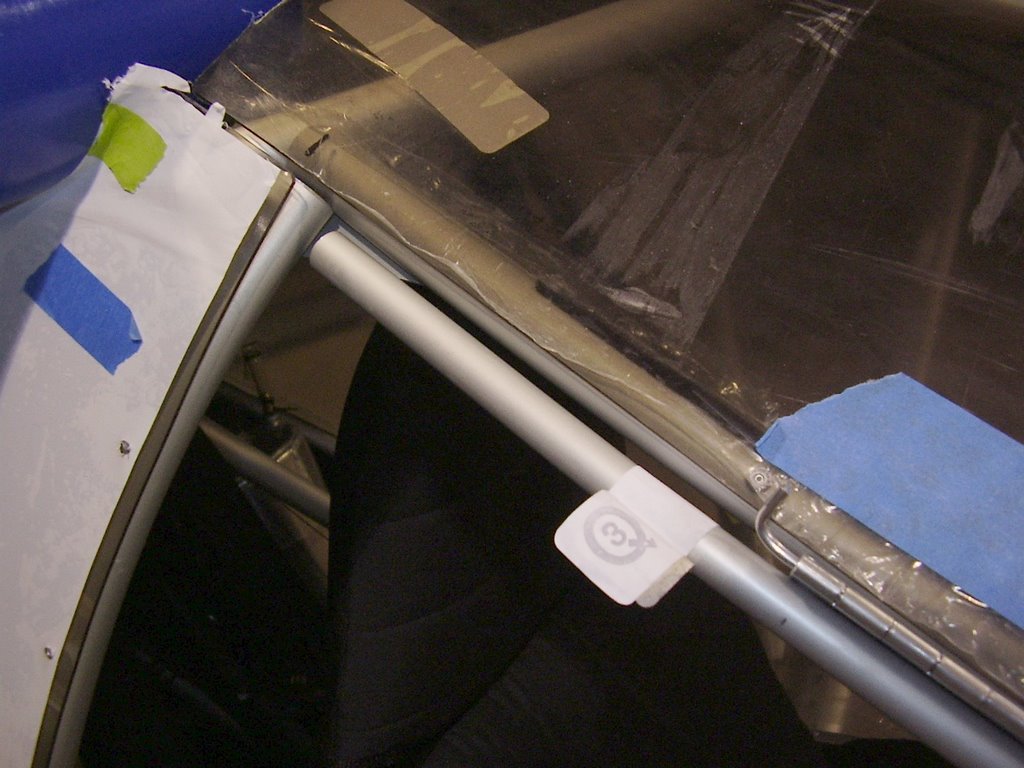
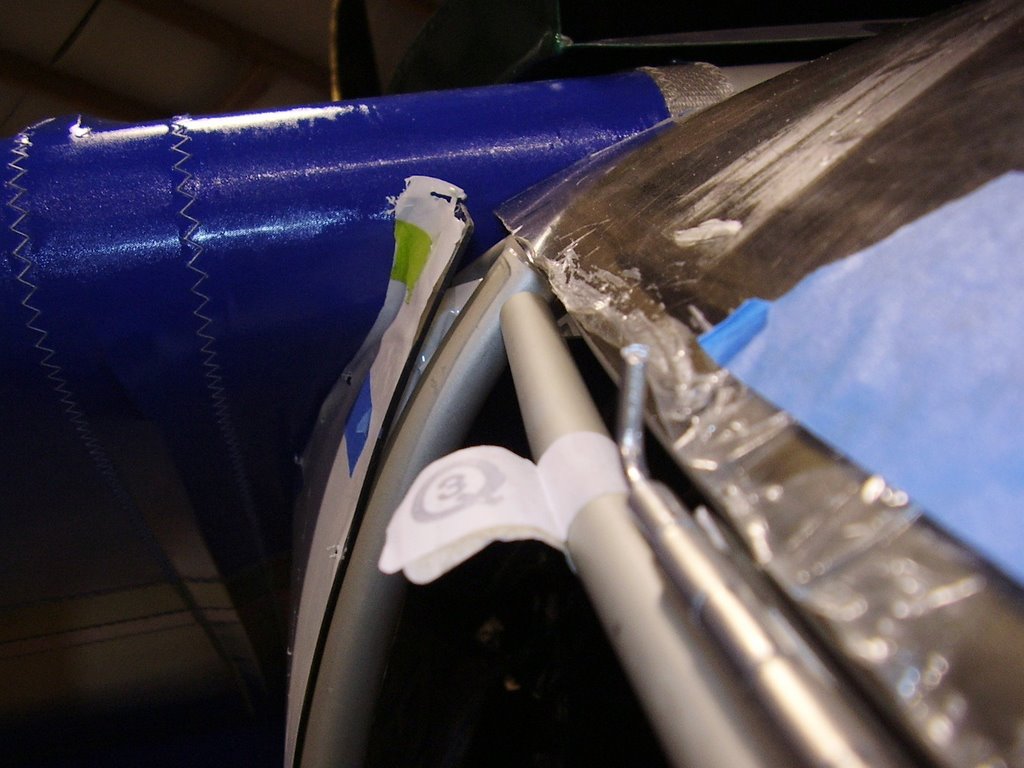


Once all of the hinges were in place and I was happy with the Door Frame Hinge Tube, I taped the Lexan onto the tube and plane. This allowed me to check the alignment of the door Lexan in reference to the window. I decided that instead of making the door and window Lexan flush as the instruction manual suggests, I allowed the door Lexan to overlap the window. This will give me tighter seal.
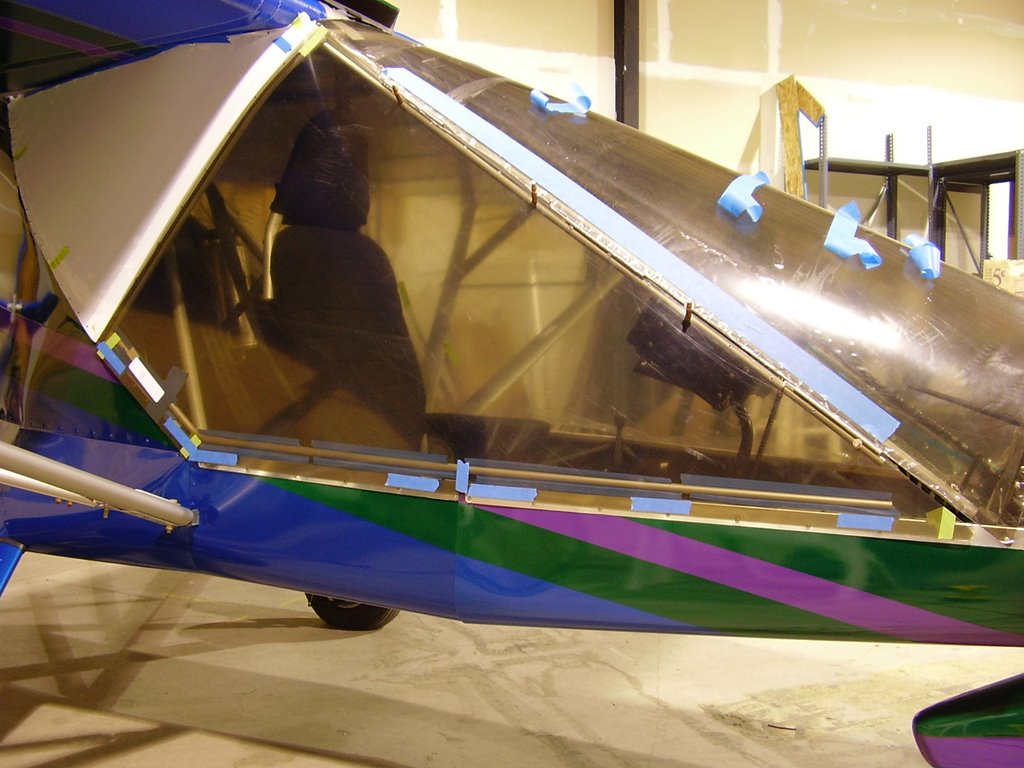


I then positioned and tapped the bottom door frame to the Lexan. I also positioned the rear door frame that sits adjacent to the window. To get the proper fit, I needed to trim a half an inch off of the rear door frame tube. Without the trimming, the bend in the bottom tube would not have matched up with the curve in the plane's frame.

Once I was happy with the positioning and clearances, I drilled and cleco'd the tubes into place. I aligned my drill holes with the rivets that are in the window and sheet metal.


I then positioned the positioned, drilled, and cleco'd the first gusset. Since I had a limited number of clecos, I went ahead and riveted the inside gusset into place. I left the gusset that sits between the Lexan and the frame unriveted. I'll rivet it into place with the Lexan.
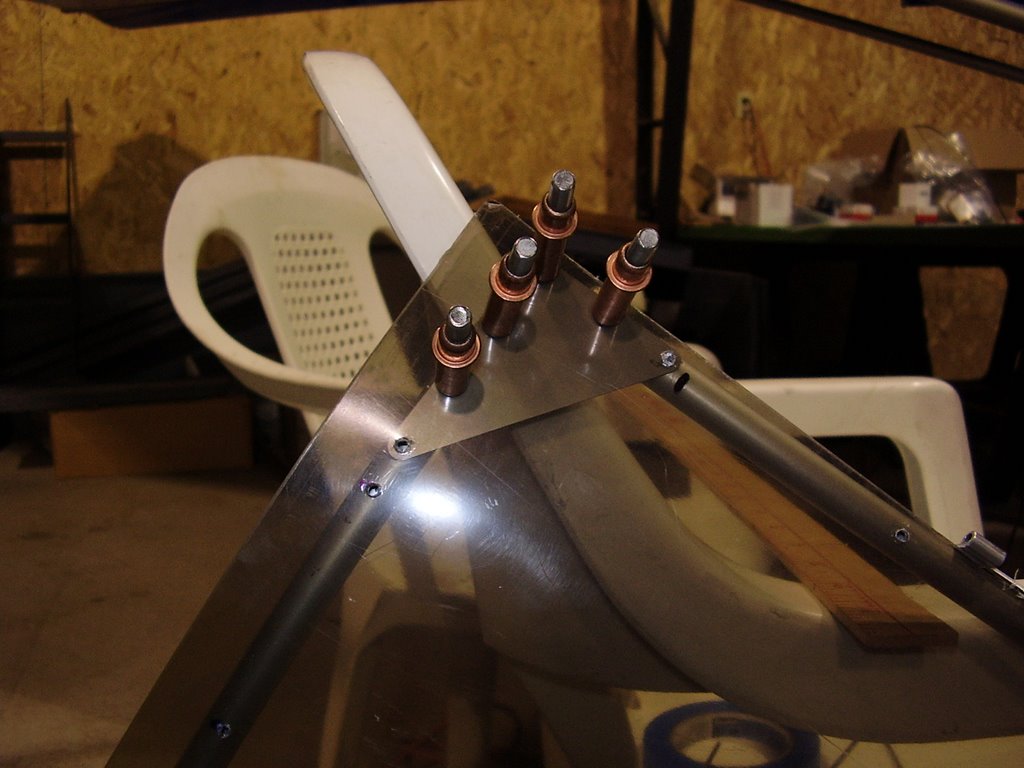
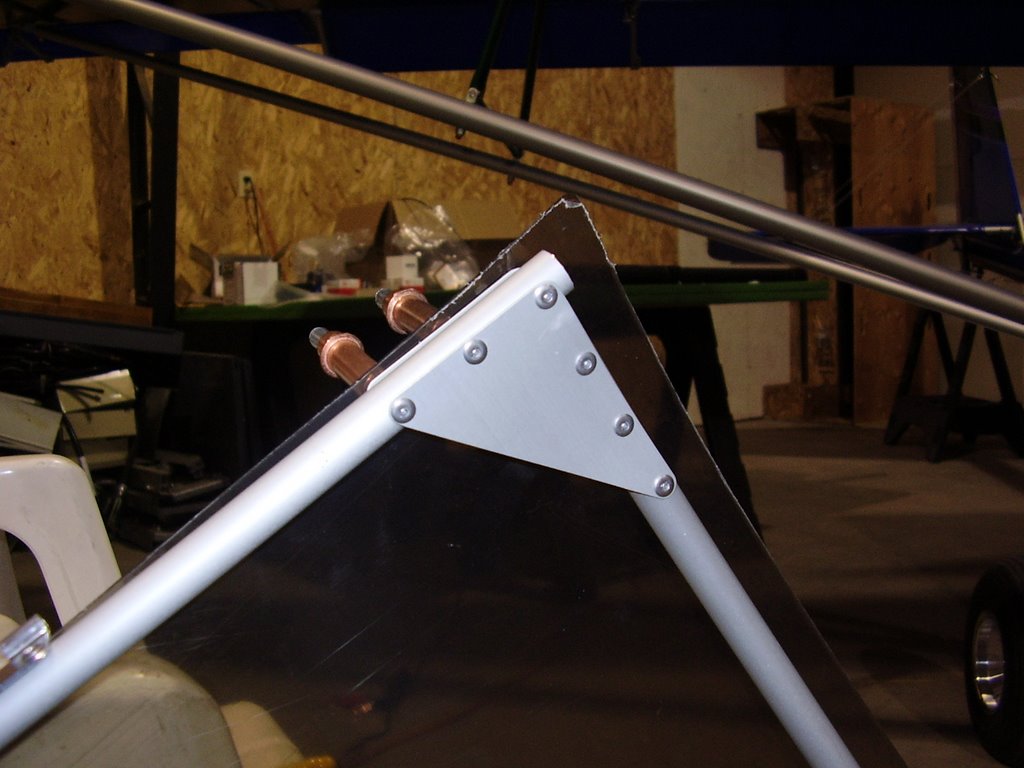


For some reason the second set of gussets didn't fit right. This may have been caused by my decision to allow the door to overlap the window and the need to trim the rear tube. I was able to trim the gusset to fit.
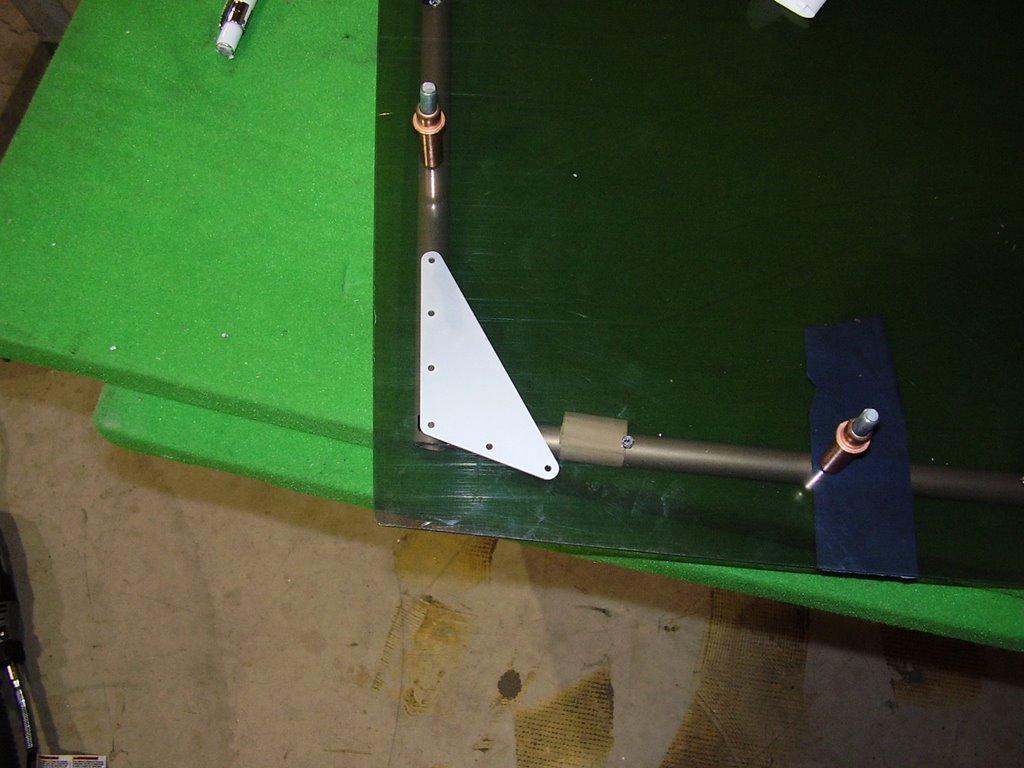


The forward gusset took the most work. Instead of having two matching gussets for either side, the forward gusset was made of a single piece of sheet metal that wraps around the front corner of the door. I needed to trim the gusset to allow it to fit around the bottom tube. The instruction manual states the you want to twist the door prior to installing this gusset. This twist will allow the door to close snuggly against the sheet metal and frame of the plane. Since I had already drilled most of the holes through the Lexan and bottom tube, I was concerned that these holes wouldn't line up after the twist. Luckily, I didn't have an issue.
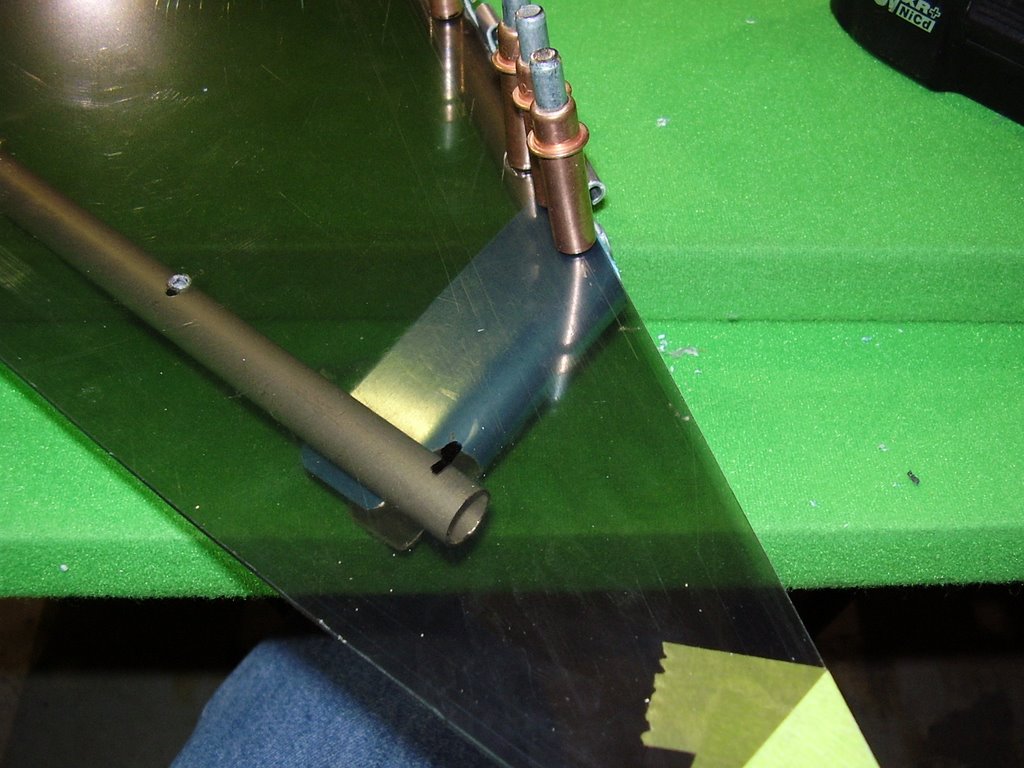
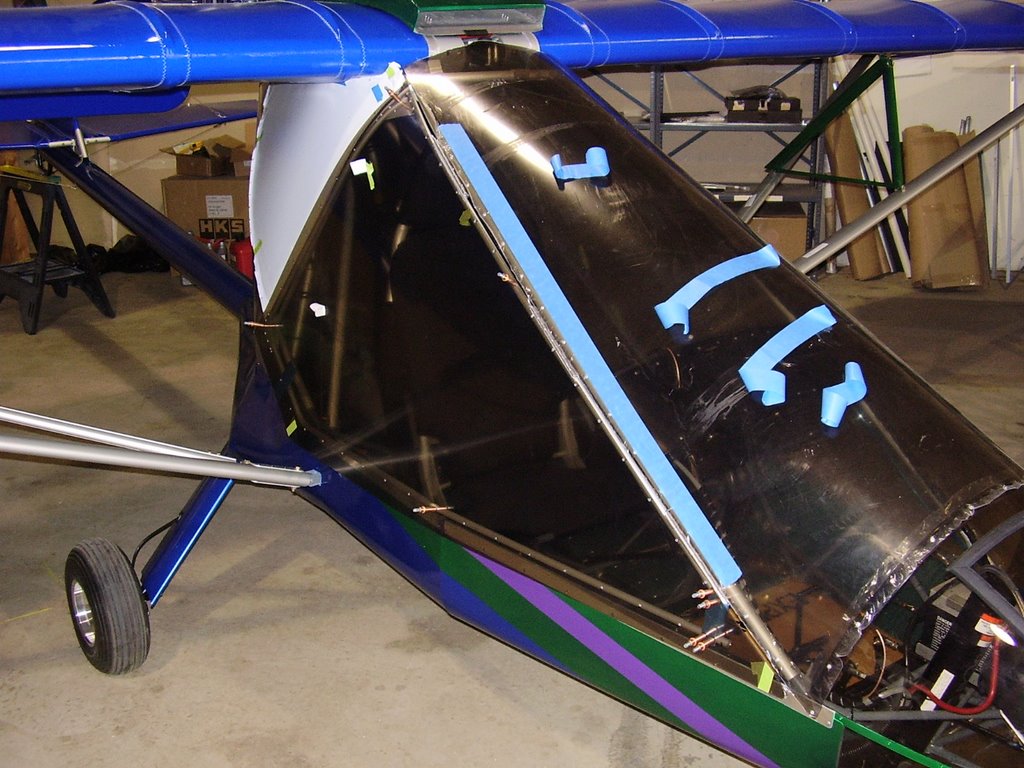
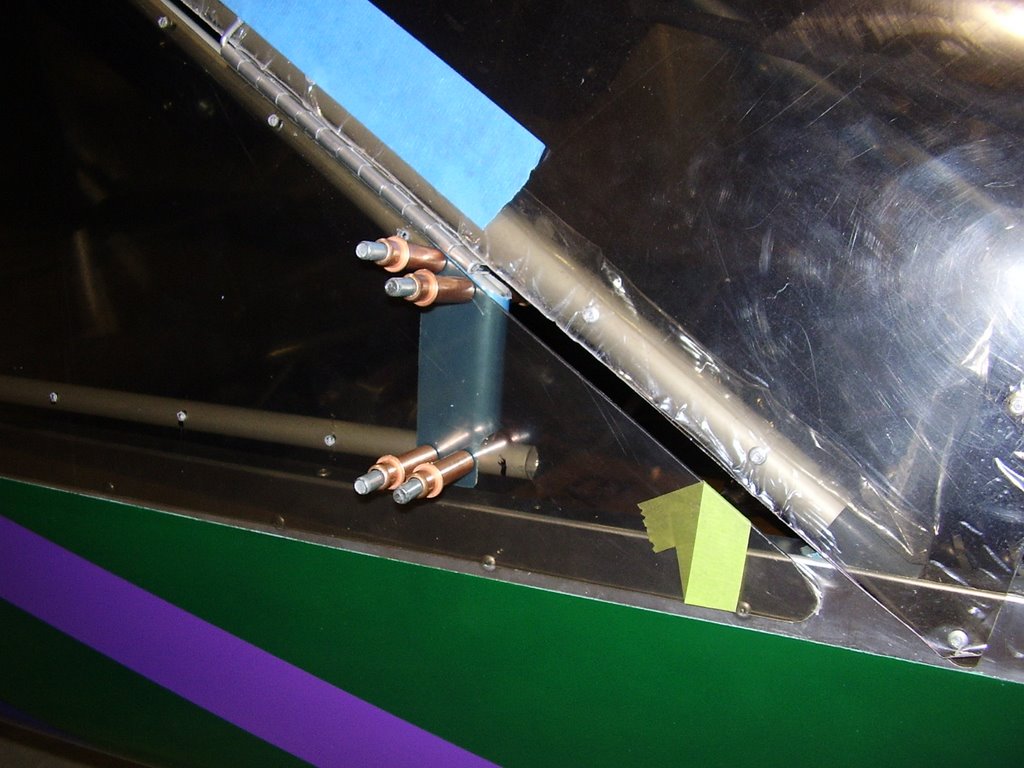
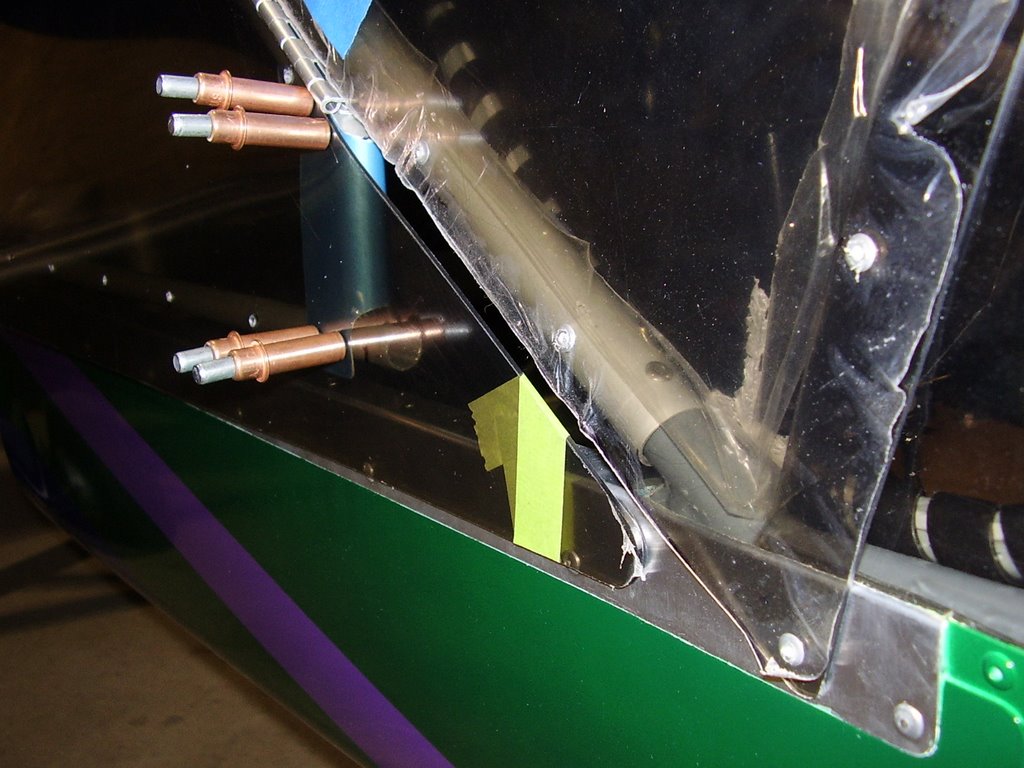


Before I riveted the Lexan to the door frame, I decided to drill some rivet holes into the frame. These holes will hold a set of gussets for a gas strut that will hold the door open. I used one of the door gussets as a template to get accurate hole spacing. I needed to do this now because once the Lexan is installed, I won't have room for the drill.
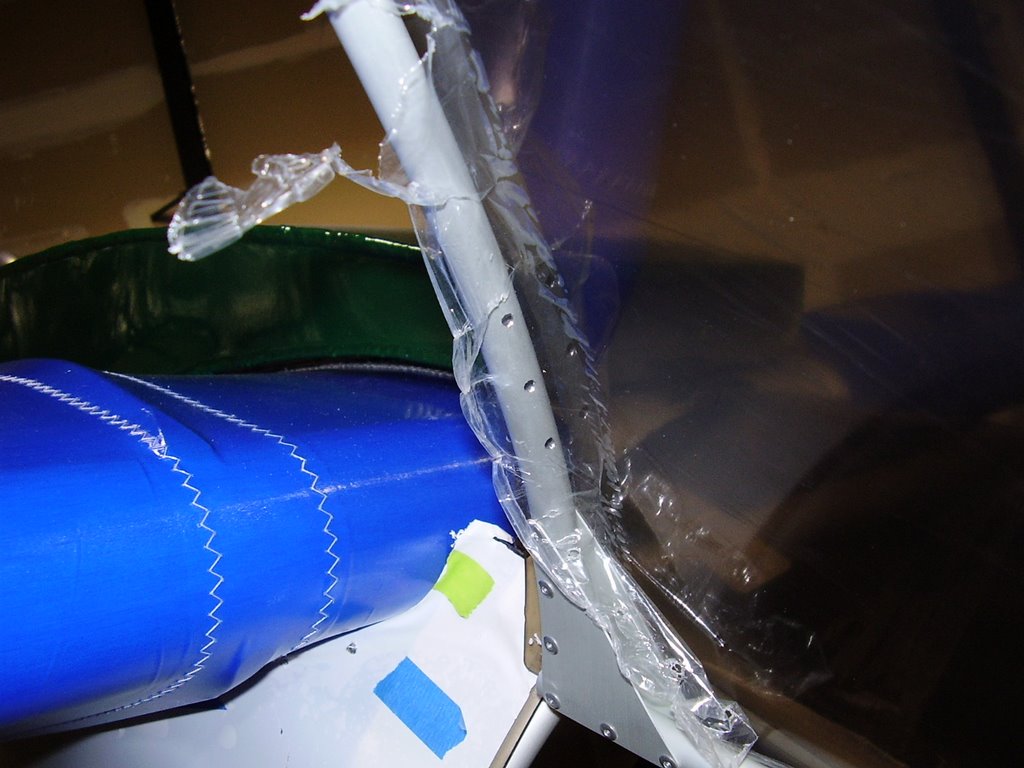


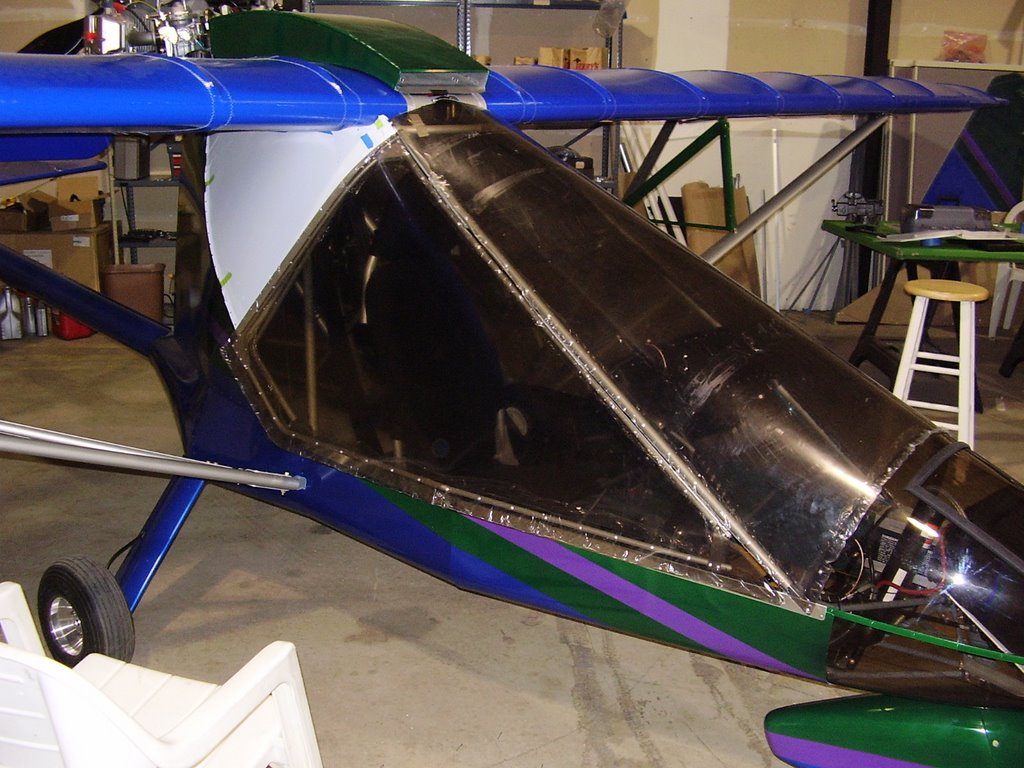
Now that all the gussets were in place and I was happy with the fit of the door, I went through the process of peeling back the protective coating from the Lexan and riveting it to the frame.
Saturday, November 04, 2006

Labels - 1 hour (463 Total)

Today I spent some time attaching my control labels.

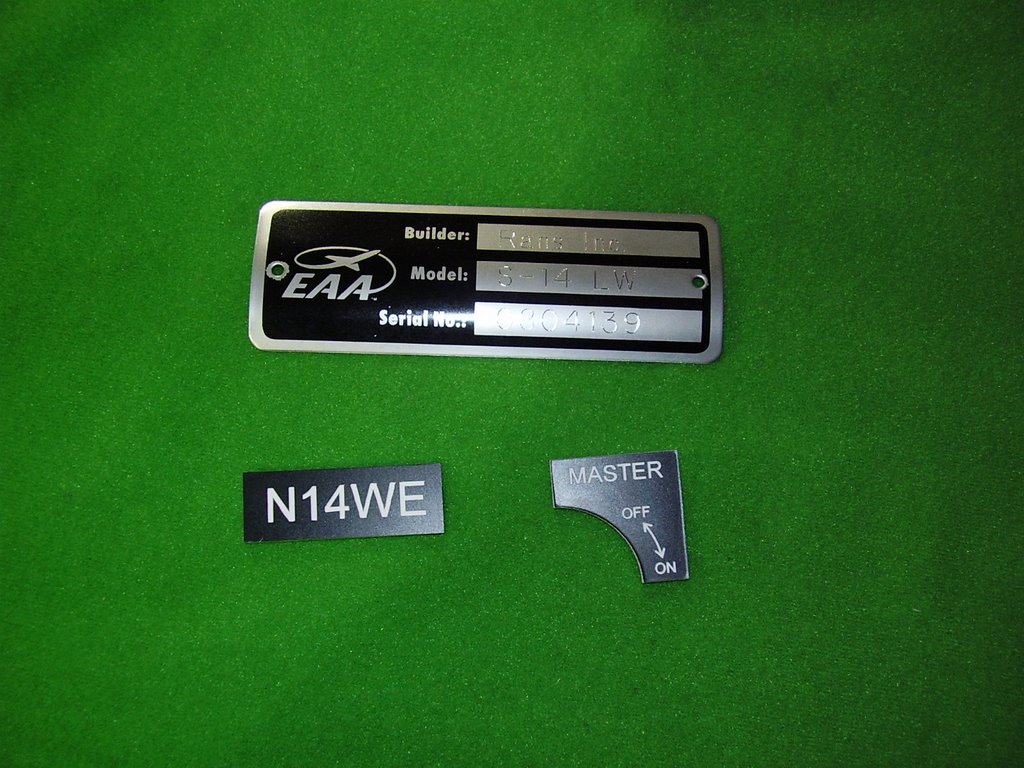
The serial number plate pictured below was included in the EAA E-LSA conversion kit I purchased. I had it engraved and took it to a sheet metal shop to have it rolled so it would fit snuggly against my boom tube.


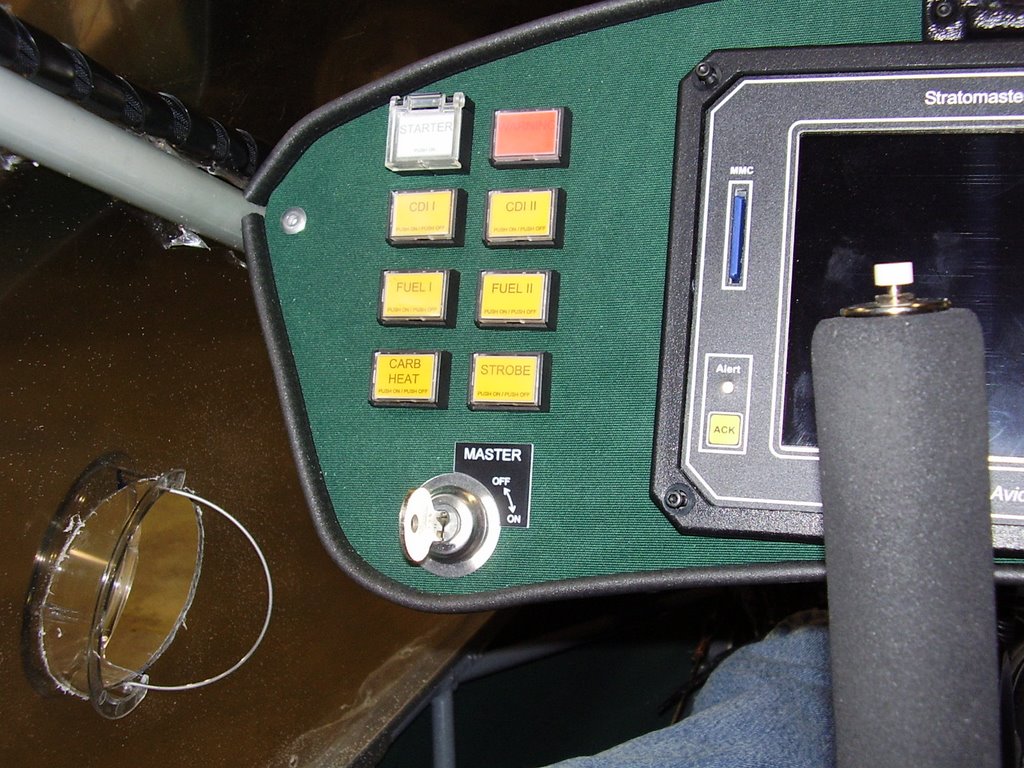
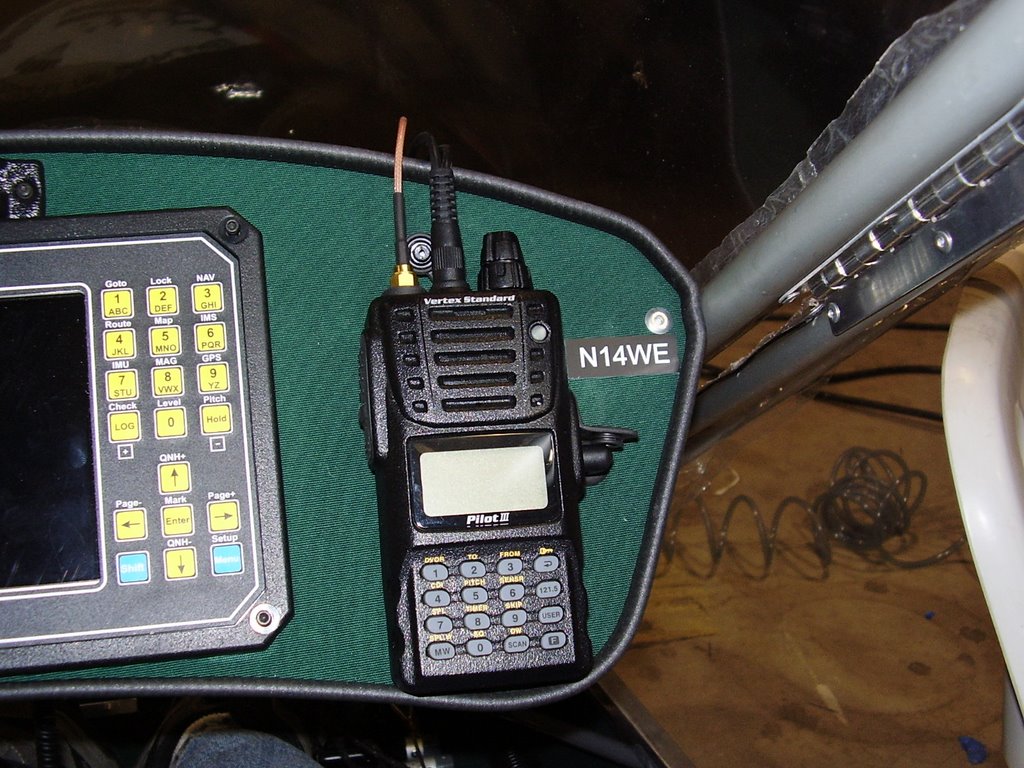
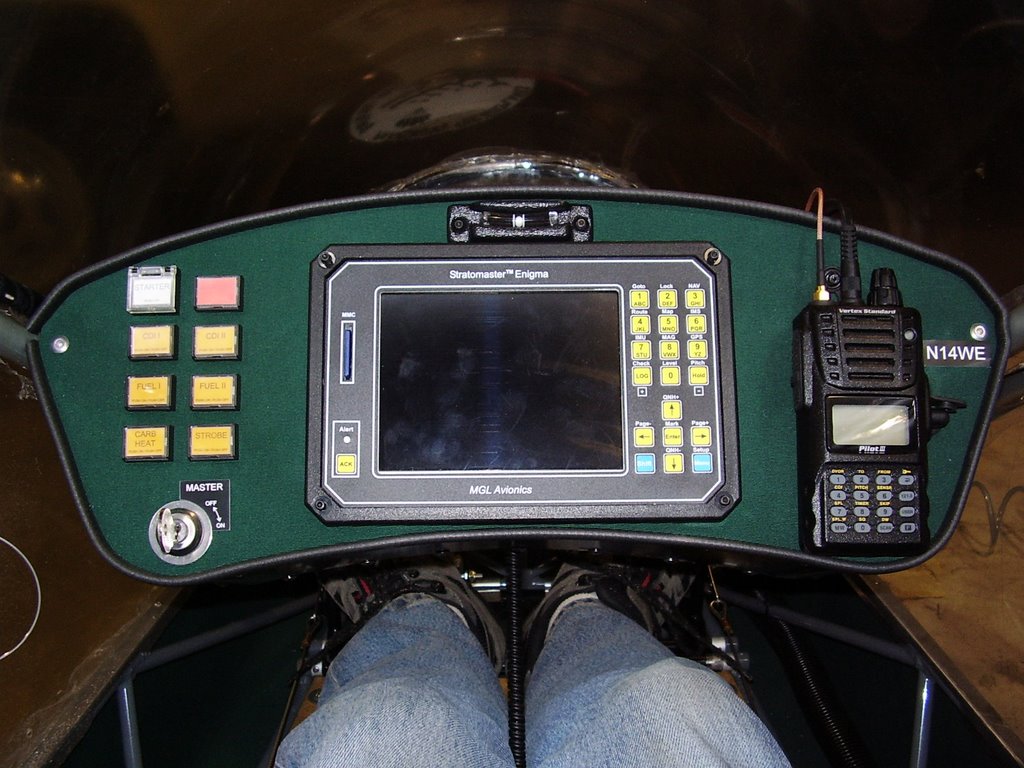
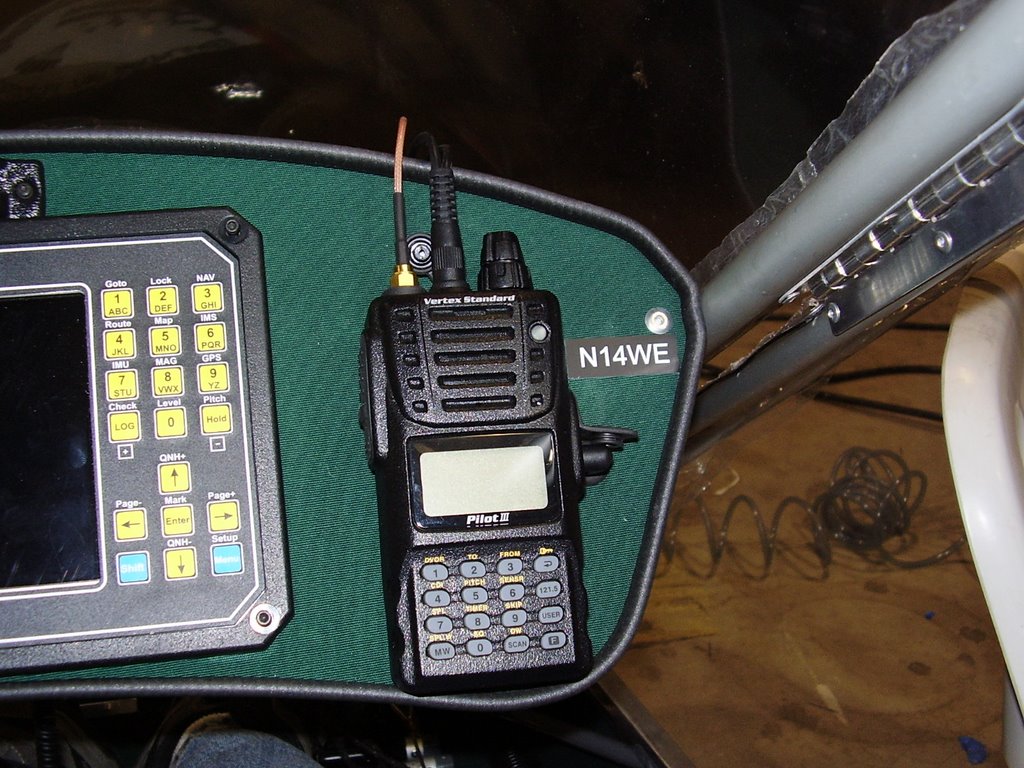
I had the engraver create two plastic labels for my dash. One is to label my Master switch and the other is my planes N-number, N14WE. Both labels are required by the FAA.


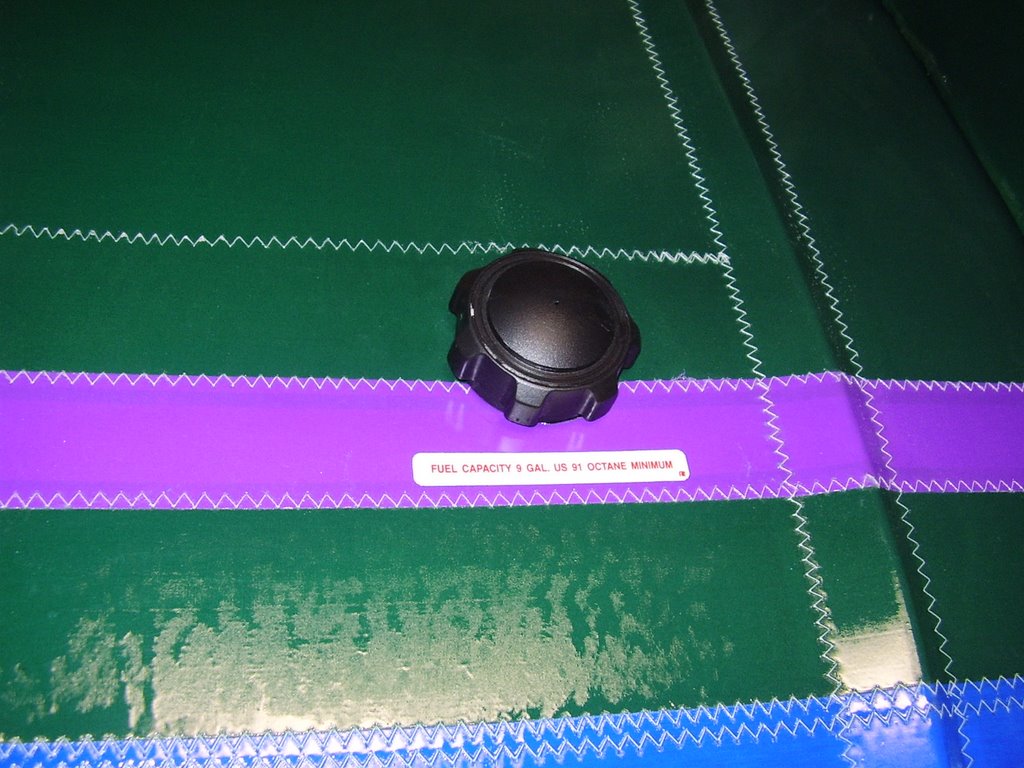
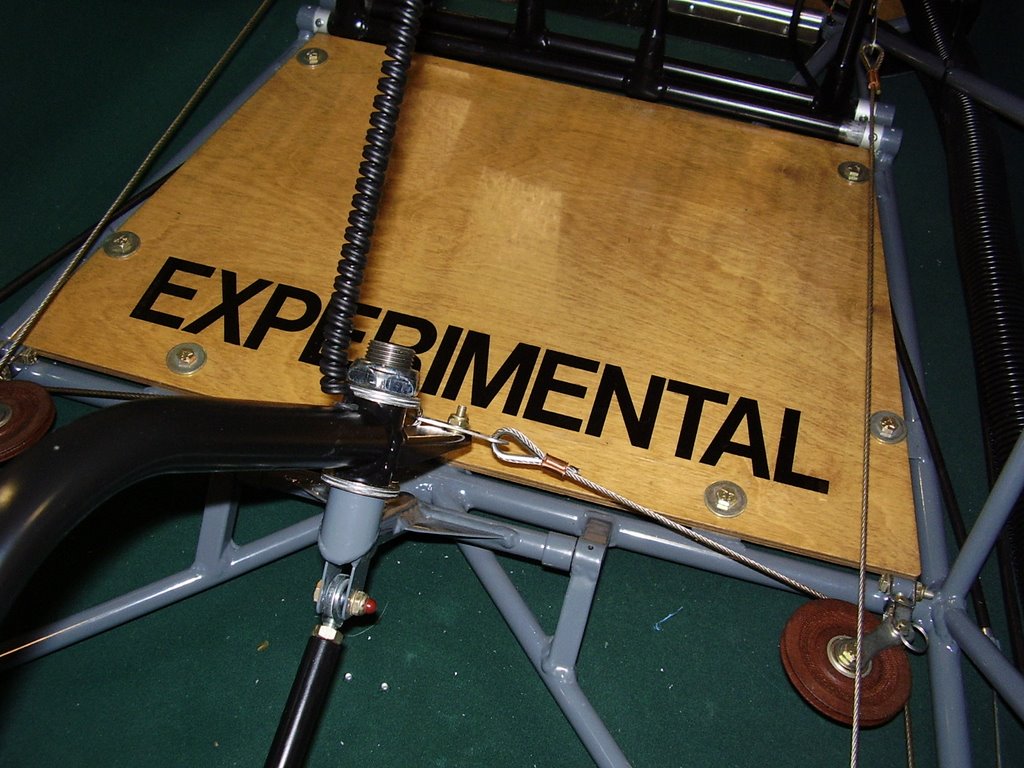
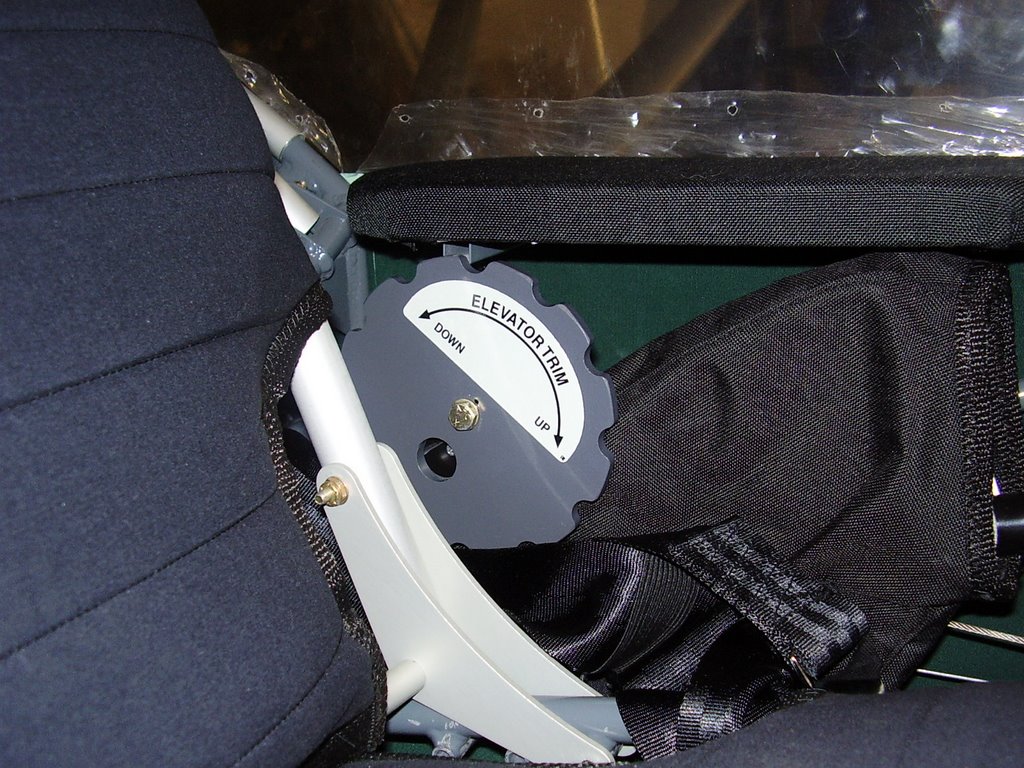
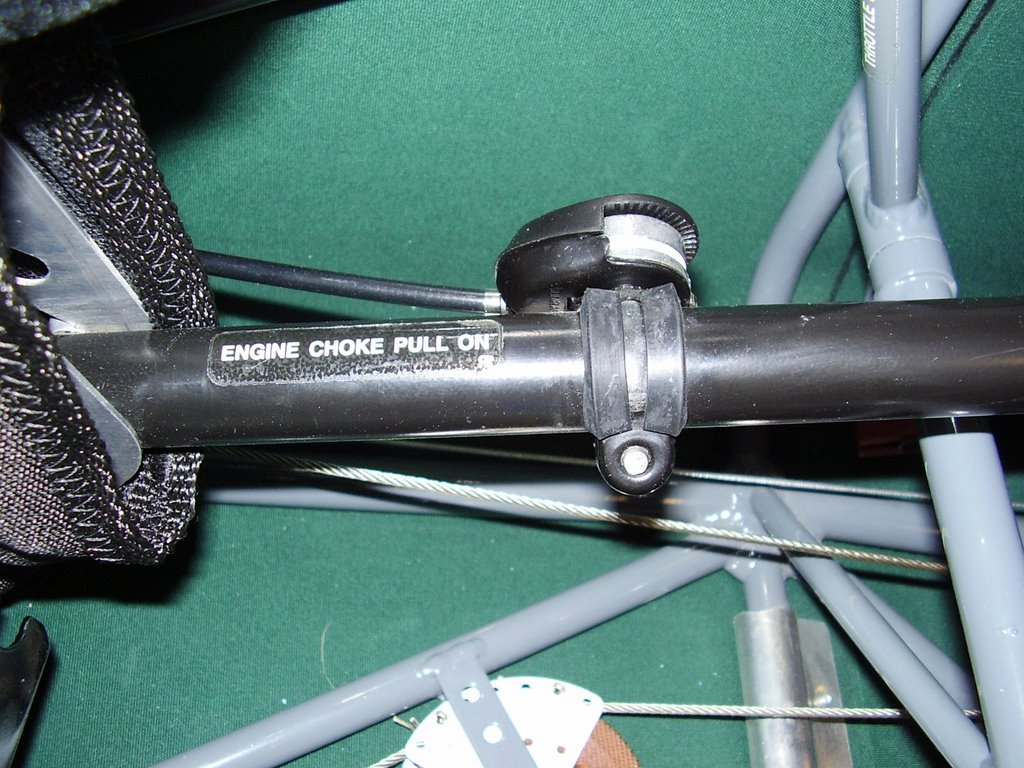
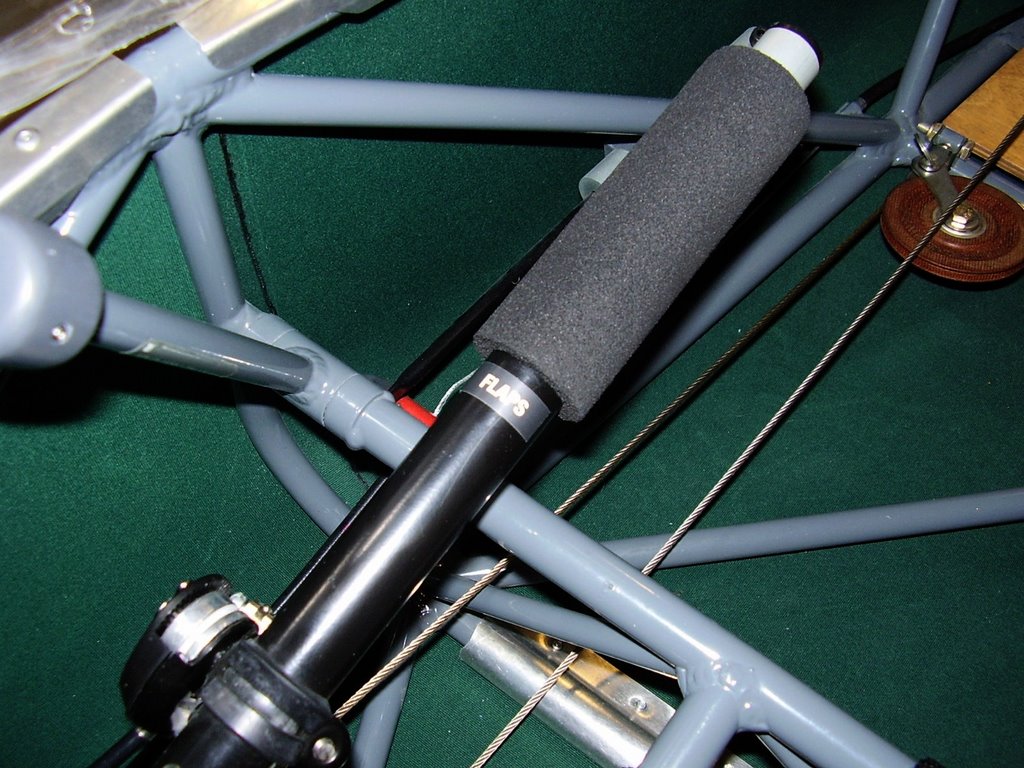
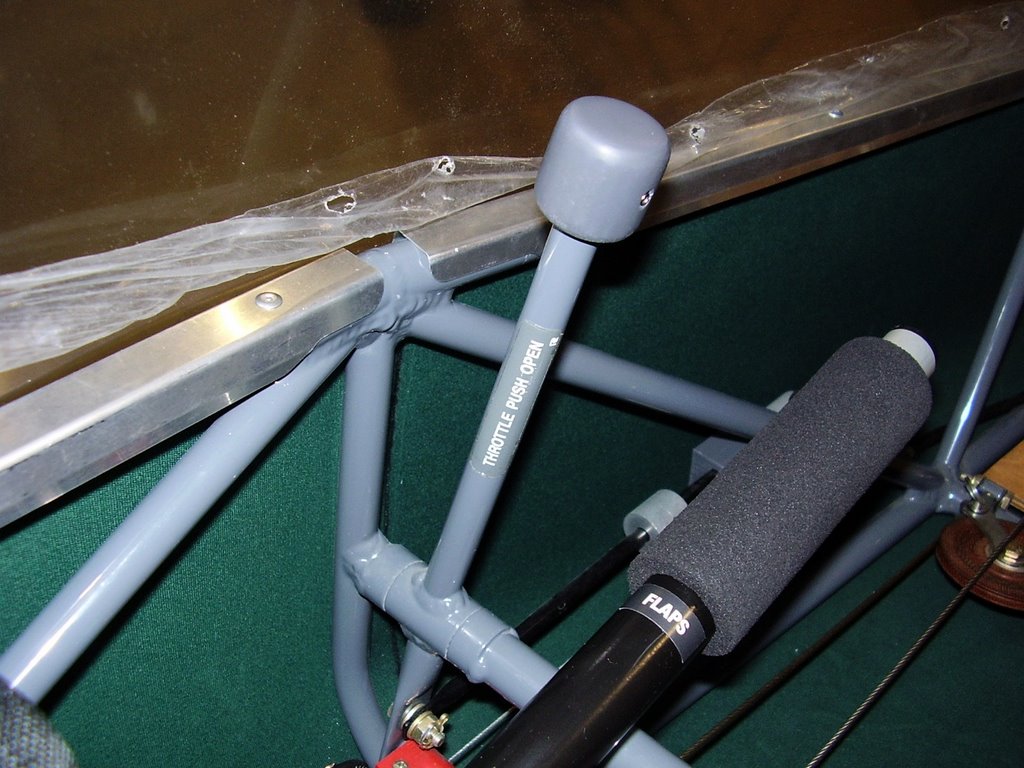
The following photos show stickers that I placed on various controls. The stickers were provided by Rans. The FAA requires that all controls be labeled.


Tuesday, October 31, 2006

Door - 3 hours (462 Total)

Today I started putting the door together.

I just received a new piece of Lexan for the door. I had scratched the original piece many months ago and just recently ordered a new one.

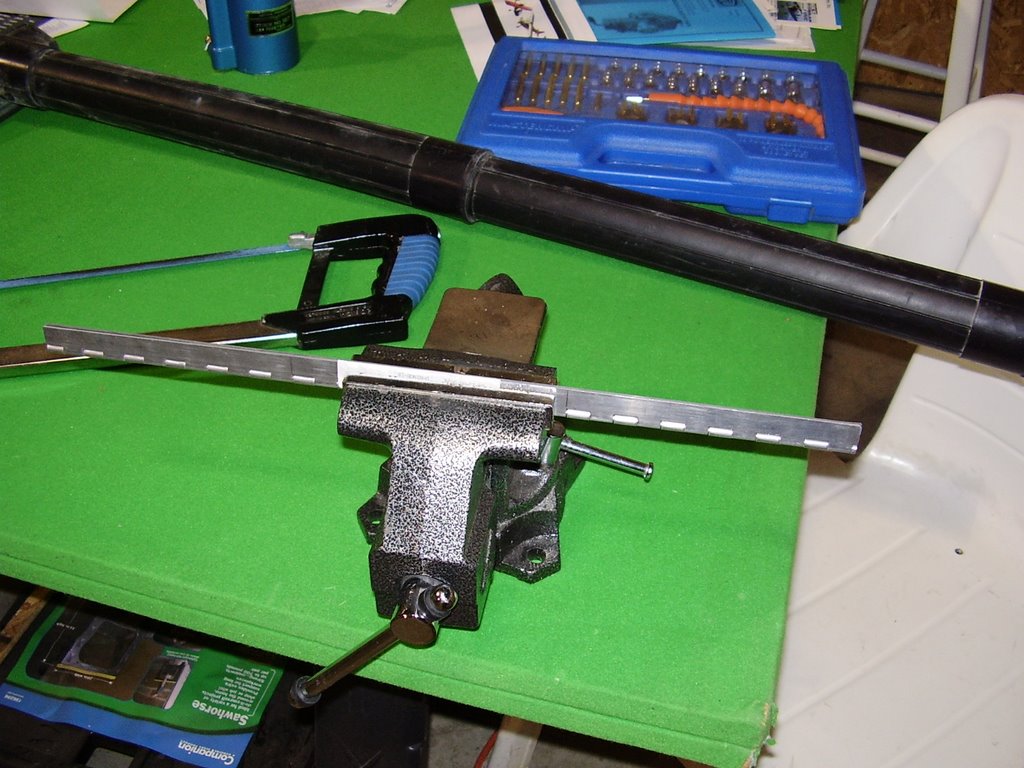
The first thing I did today was cut the one aluminum hinge Rans supplied into three. I spent some time filing down the sharp edges and corners.

I also created new hinge pins. The hinge came with a aluminum pin but Rans supplied a steel pin to be put in it's place. The steel pin is slightly larger in diameter and fits very snuggly in the hinge. To ease the assembly, I will use the existing aluminum pin until the final assembly.


I started mounting the hinges to the Door Frame Hinge Tube. The tube has a slight bend about 5" from the top. This is intended to match up with the slight curve in the door frame. As you can see in the photo below, I clamped the tube flat on the table so the bend points towards the inside of the table. Mounting the hinges on the upward facing surface will allow the bend to point inwards when attached to the plane.
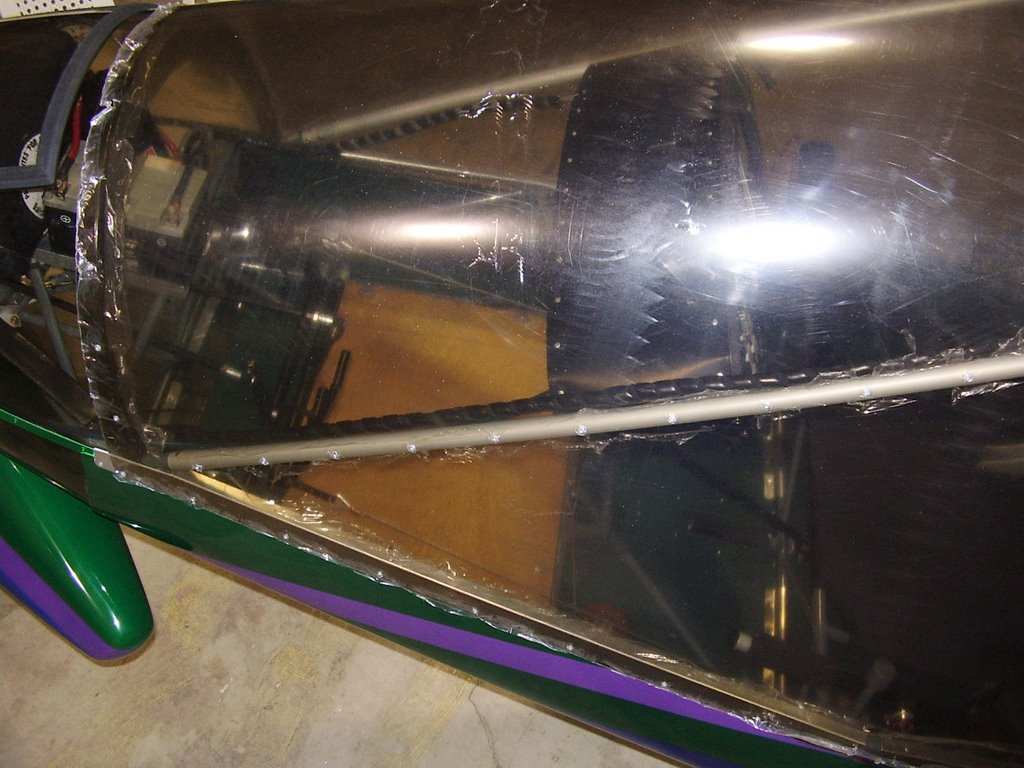
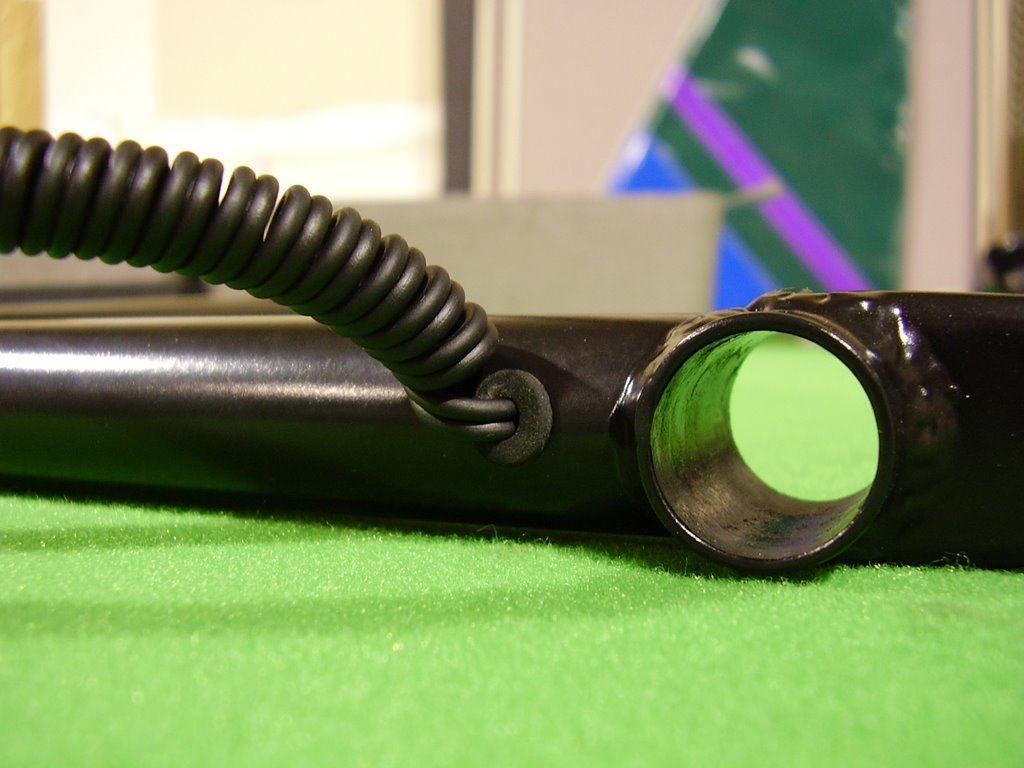
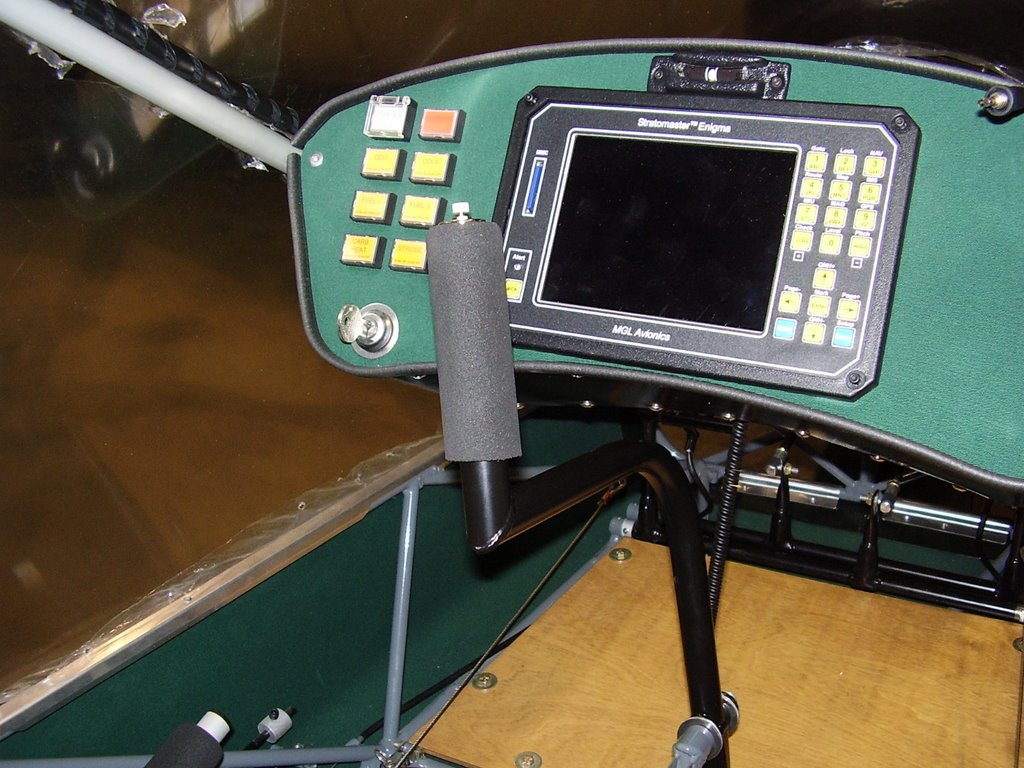


Once the hinges were riveted in to place, I drilled the holes for the door Lexan.


I then mounted the mating hinge plates to the windshield tube of the plane. The instructions indicate the hinges should be placed so they are resting against the edge of the Lexan. Since the Lexan edge of the windshield has a slight spiral up the windshield tube, the hinges are not in an ideal, straight line. This is causing problems when I attempt to connect the hinges together. I should have taken this spiral into account when I attached the hinges to the Door Frame Hinge Tube. I may need to purchase a new Door Frame Hinge Tube and re-attach the hinges with a matching spiral.


Monday, October 30, 2006

Seat Belts - 0.5 hours (459 Total)

The seat belts in the S-14 seam to have been an after thought. The lap belts, which I installed a while ago interfere with the flap mechanism. To alleviate this, I wrapped the left portion of the lap belt through the steal frame of the plane. This effectively shortens the length of the left lap belt but keeps it from rubbing on the flap mechanism.

The shoulder straps, which I installed today, also has issues. The shoulder straps are securely bolted to the keel tube but are only connected to the lap belt on the bottom. The shoulder straps are made with loops at the bottom for lap belt to go through. When the shoulder straps are toughened, the lap belt rides up, taking the grip off of my hips and places it on my stomach. The removal of the pressure on my hips make me feel un-secure and the pressure on my stomach is uncomfortable.

So instead of wrapping the loops of the shoulder straps around the lap belt, I looped them around the framework of the seat. This allows me to securely tighten the lap belt and securely tighten the shoulder straps. The shoulder straps are easy to get in and out of in this position. They may be a little too easy to get out of but they due seems to hold me in place.

Radio Antenna - 1 hour (458.5 Total)

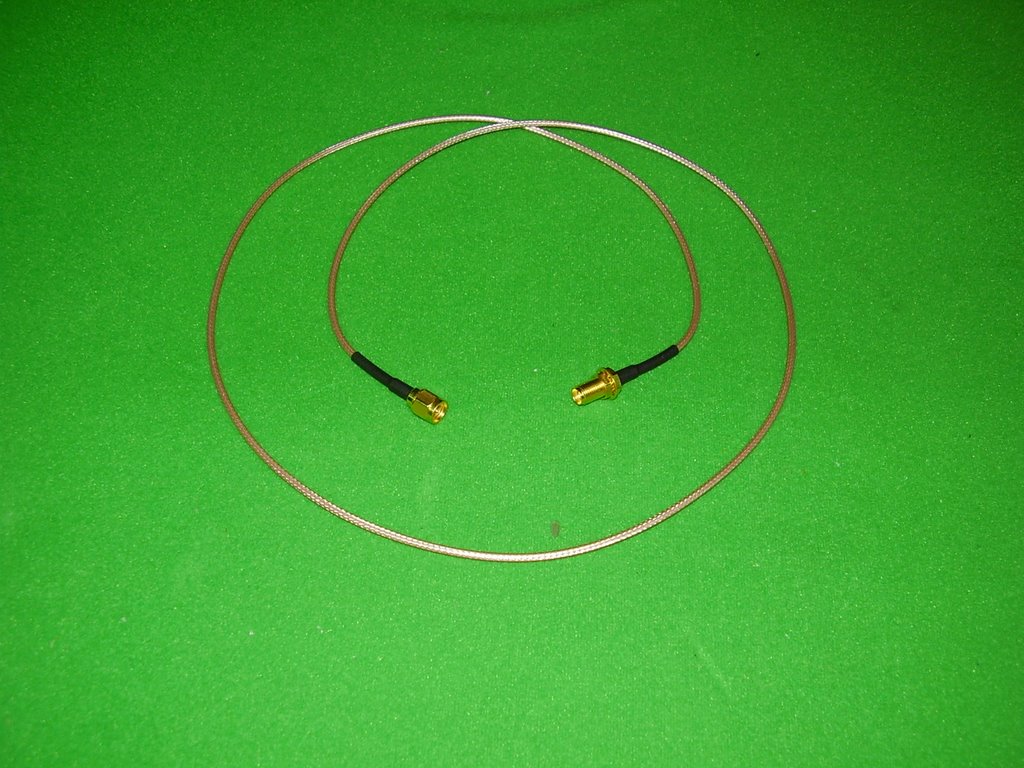
Today I received the extension cable I will use for my radio antenna.

Because of where I have mounted my radio, the rubber duck antenna is touching the windshield. This SMA cable will allow me to mount the antenna down near my feet on the flange of the nose cone.


Saturday, October 28, 2006

Prop and Nose Pant - 0.5 hours (457.5 Total)

In preparation to doing another weight and balance (and having little to do until I get some more parts in on Monday), I temporarily installed my prop and nose wheel pant. Both were only finger tightened into place.

I also installed some trim onto the nose wheel.


Chute Bridle - 0.5 hours (457 Total)

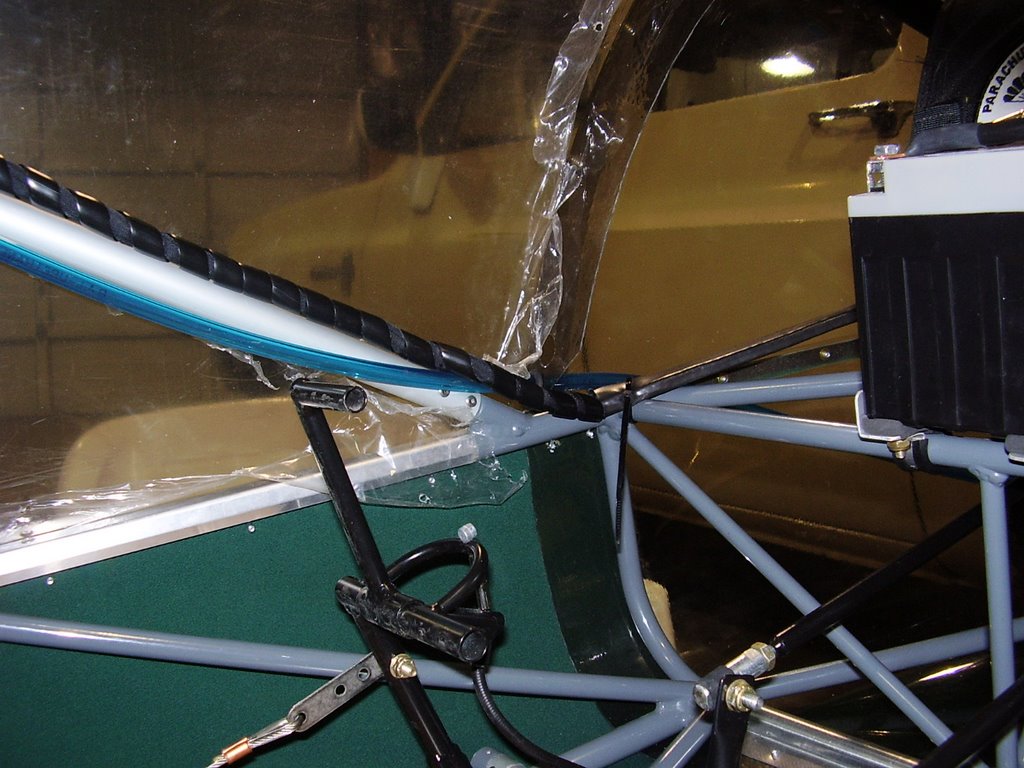
The next thing I did today was wrap the main bridle of the parachute with a 3/8" plastic cable loom. This made the cable loom pretty small, profile wise, to limit the amount it obstructs my view out of the windshield.

The bridle will need to be secured to the aluminum tube it is resting on once I remove the windsheild's plastic coating. I will try some double sided tape but I may need to rivet some type of brackets or tabs to the aluminum tube to hold the bridle in place.


Push To Talk Button - 0.5 hours (456.5 Total)

The next thing I did today was install my push to talk (PTT) button.

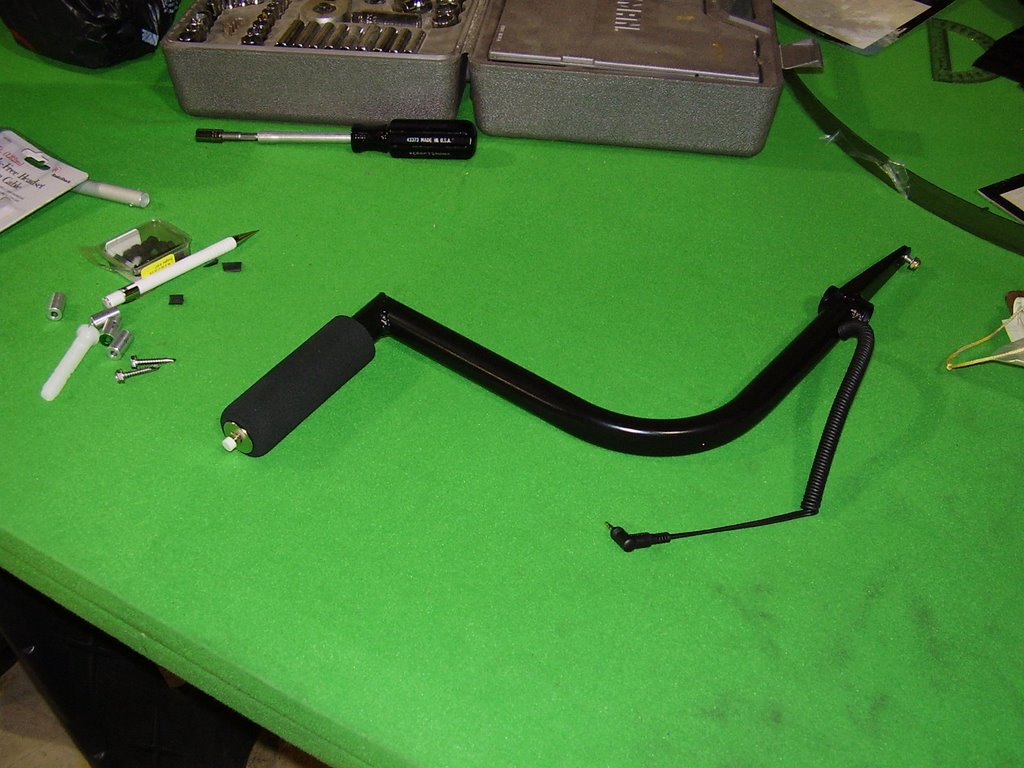
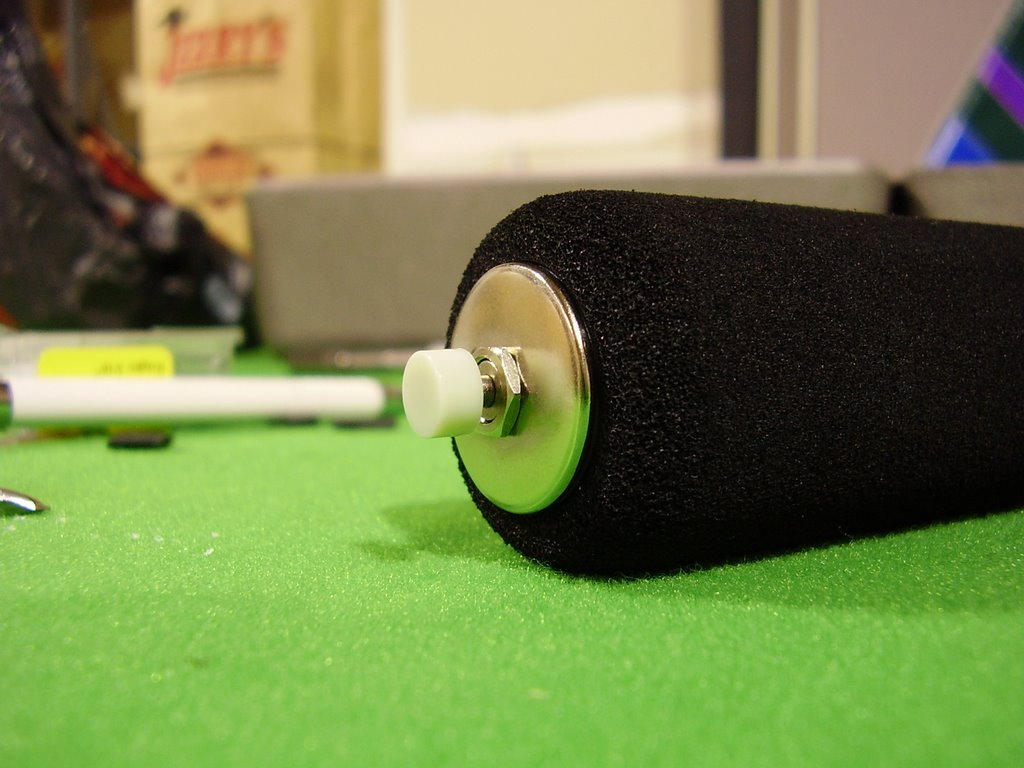
This involved removing the control stick and drilling a hole in the base of it. I inserted a coiled cable similar to a telephone hand set cable but with a 2.5mm stereo connector into the hole with a rubber grommet. I soldered a momentary switch to the wires and installed it in to the cap that goes on the control stick.

Unfortunately, the coiled wire had very fine conductors which break very easily. In fact one of the wires broke during the process of installing the cap. During normal use, the wire shouldn't see much vibration relative to the stick and button so it shouldn't be a problem.

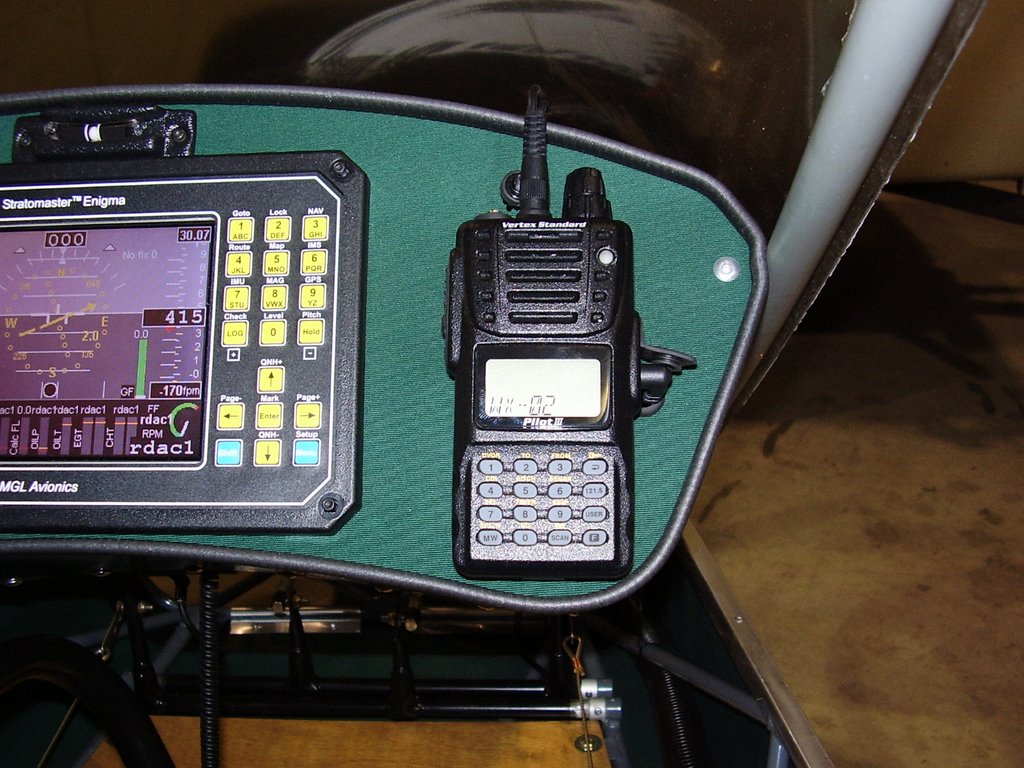
While testing, I went ahead and mounted my radio to the instrument panel with velcro. The adhesive on the velcro is not recommended for fabric but a test I had done showed it adheres well unless you pull it from an edge. I deliberately sized the velcro piece on the fabric to be larger than the portion on the radio. This should keep the velcro from being pulled from an edge.