Wednesday, August 16, 2006

More Cowl Mockup - 3 hours (320 Total)

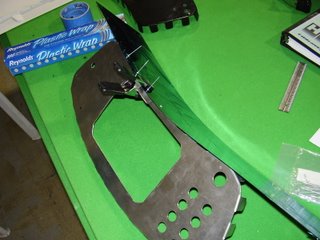
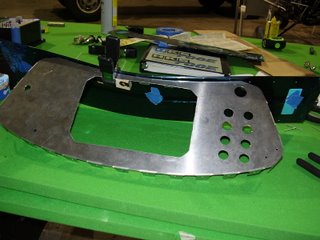
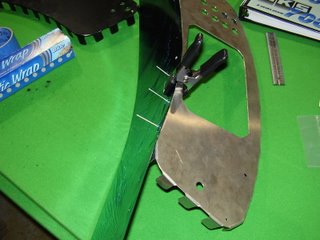
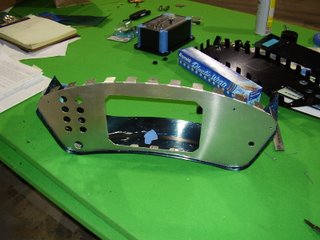
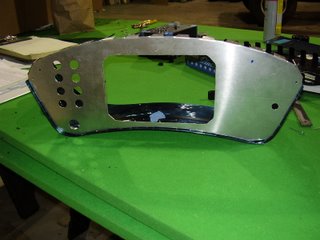
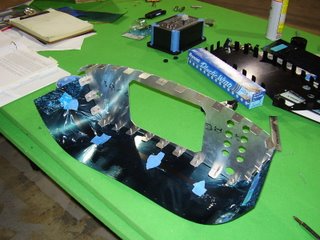
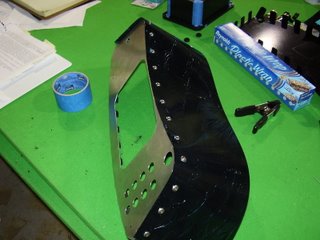
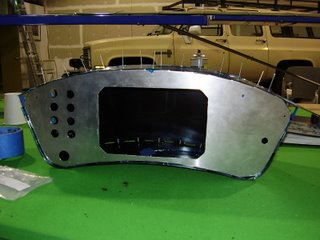
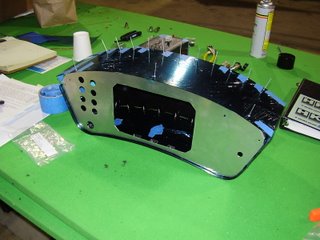
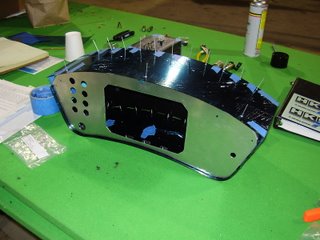
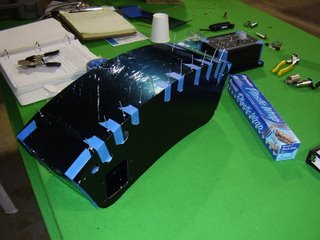
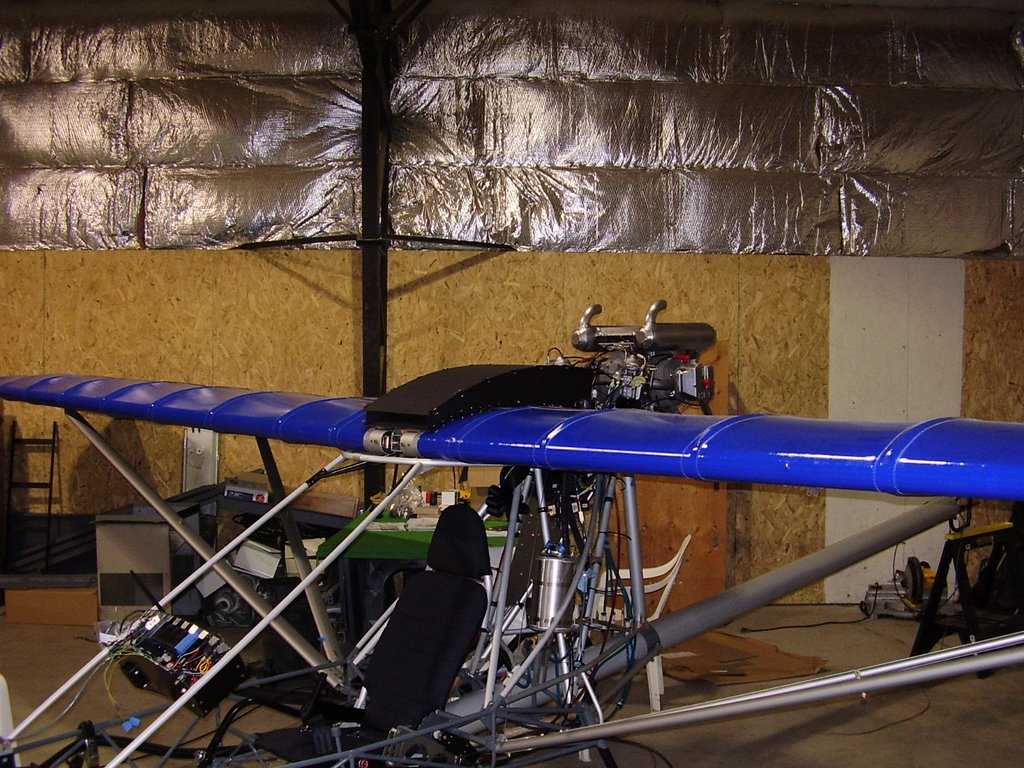
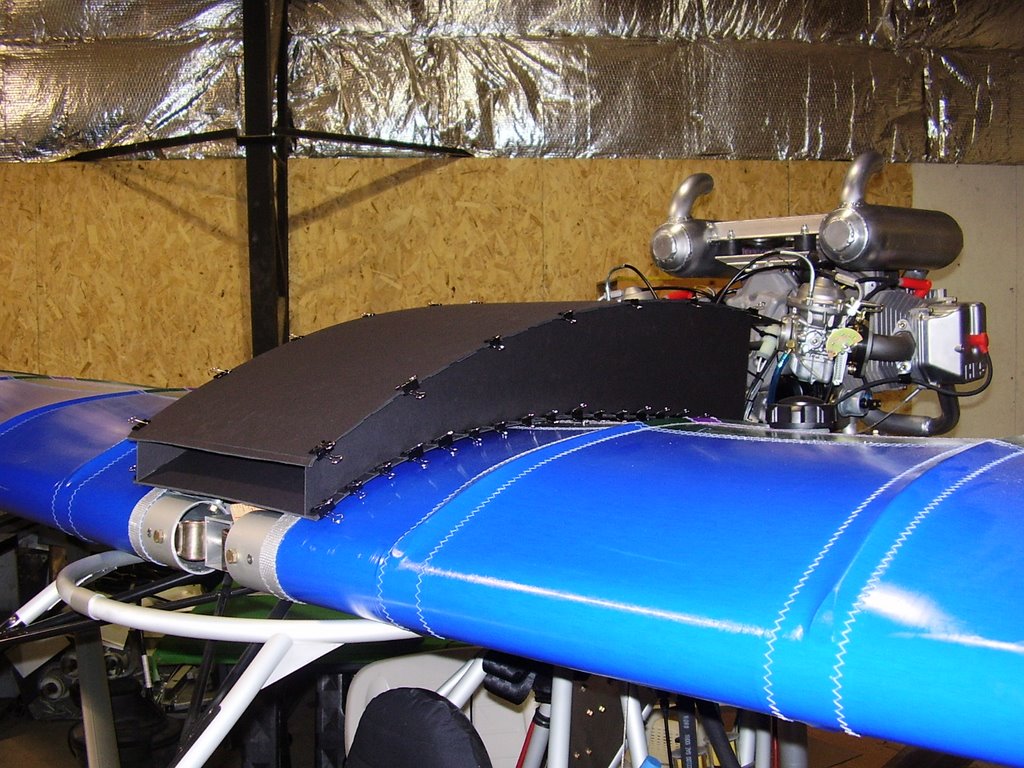
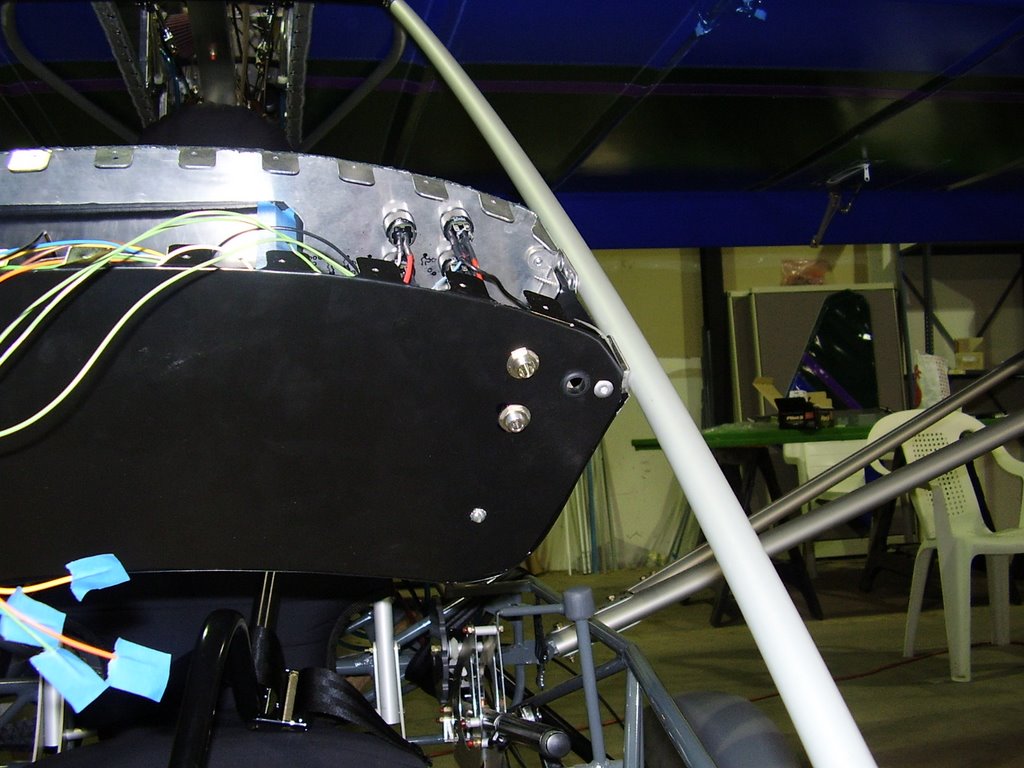
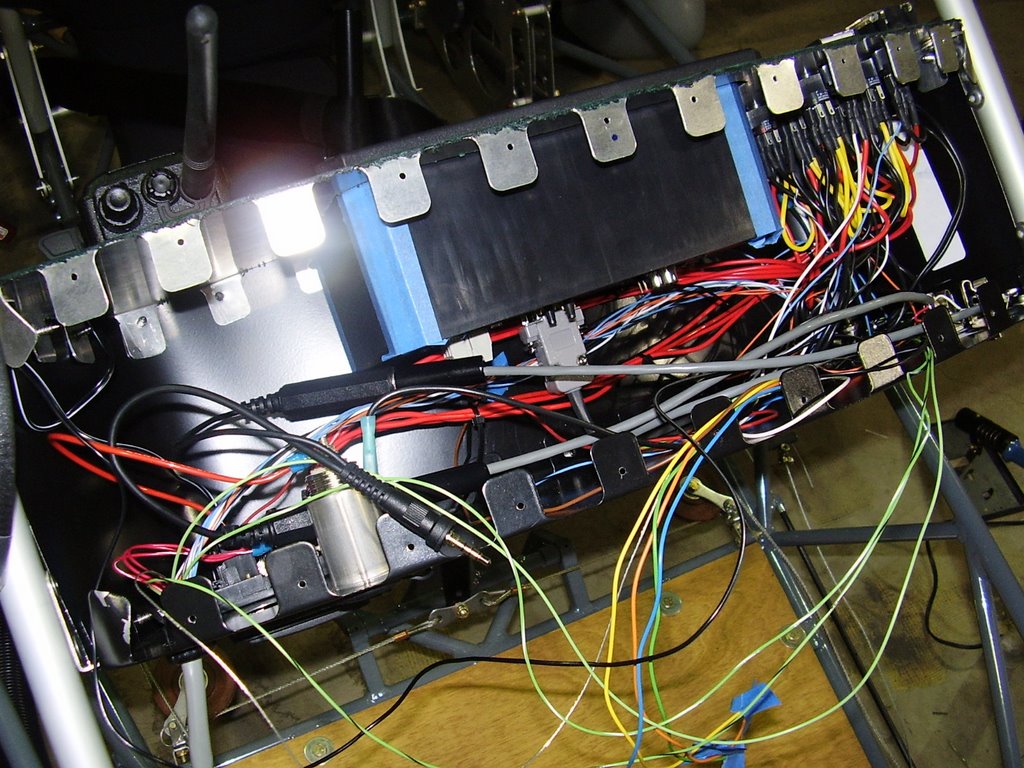
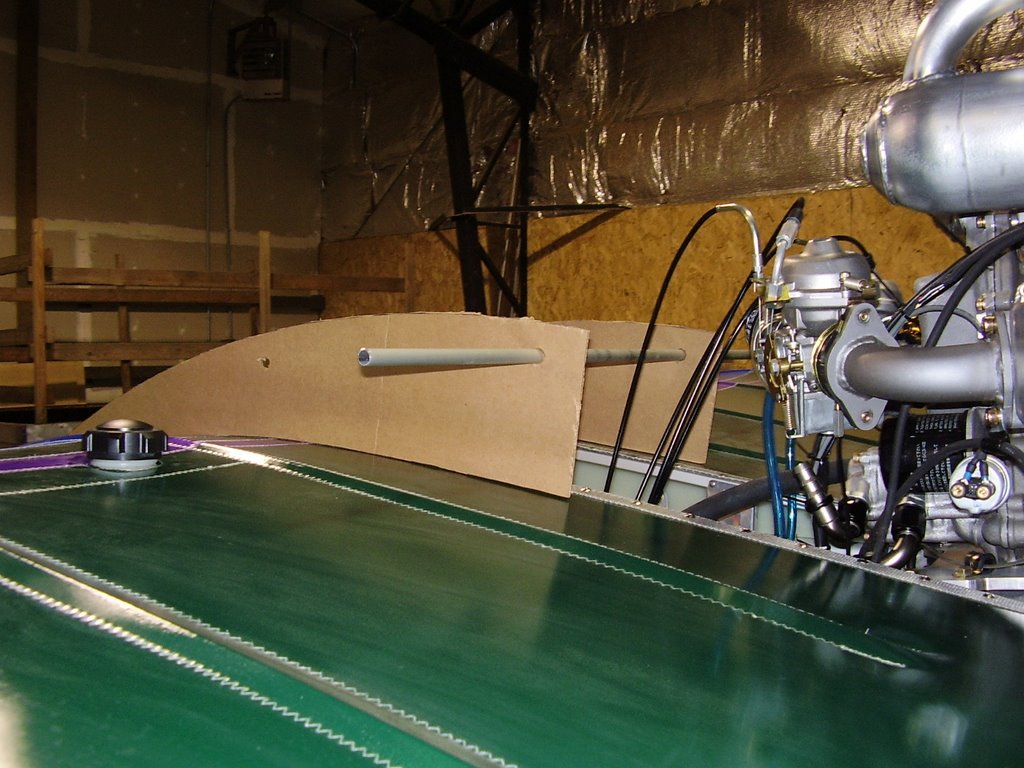
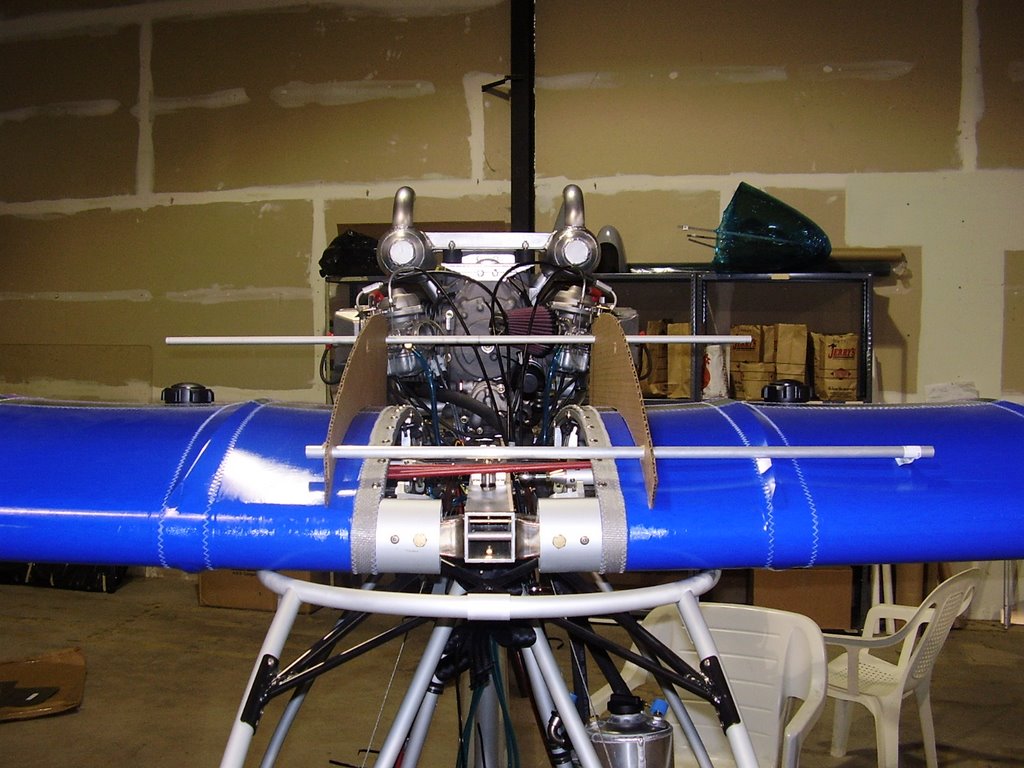
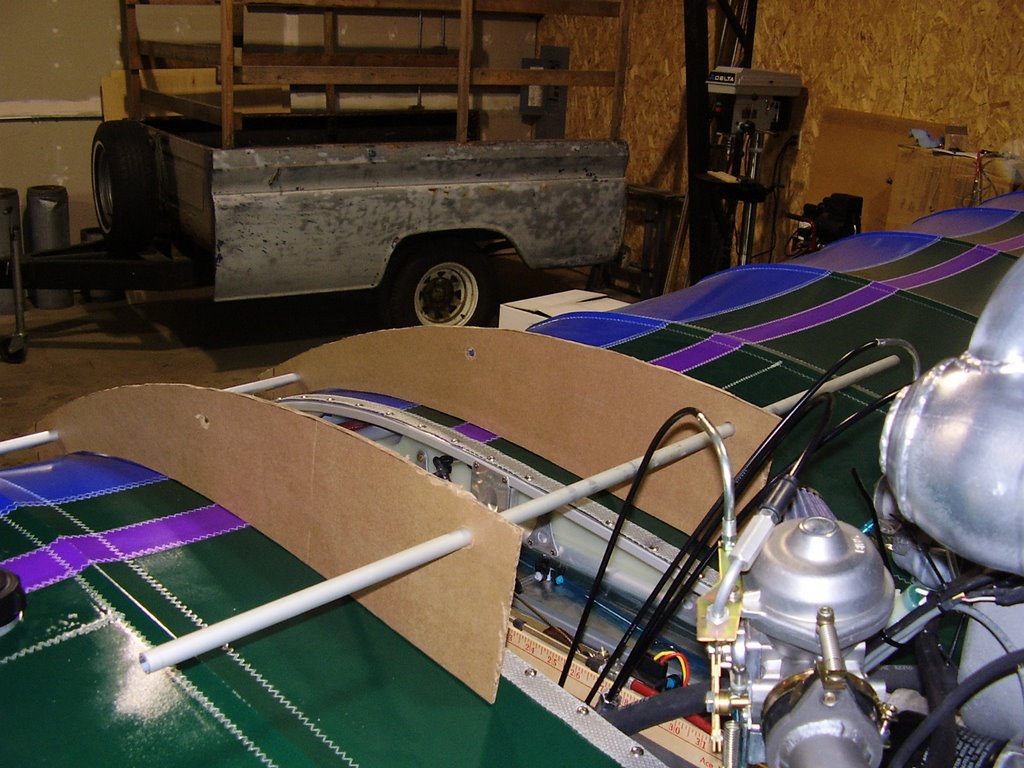
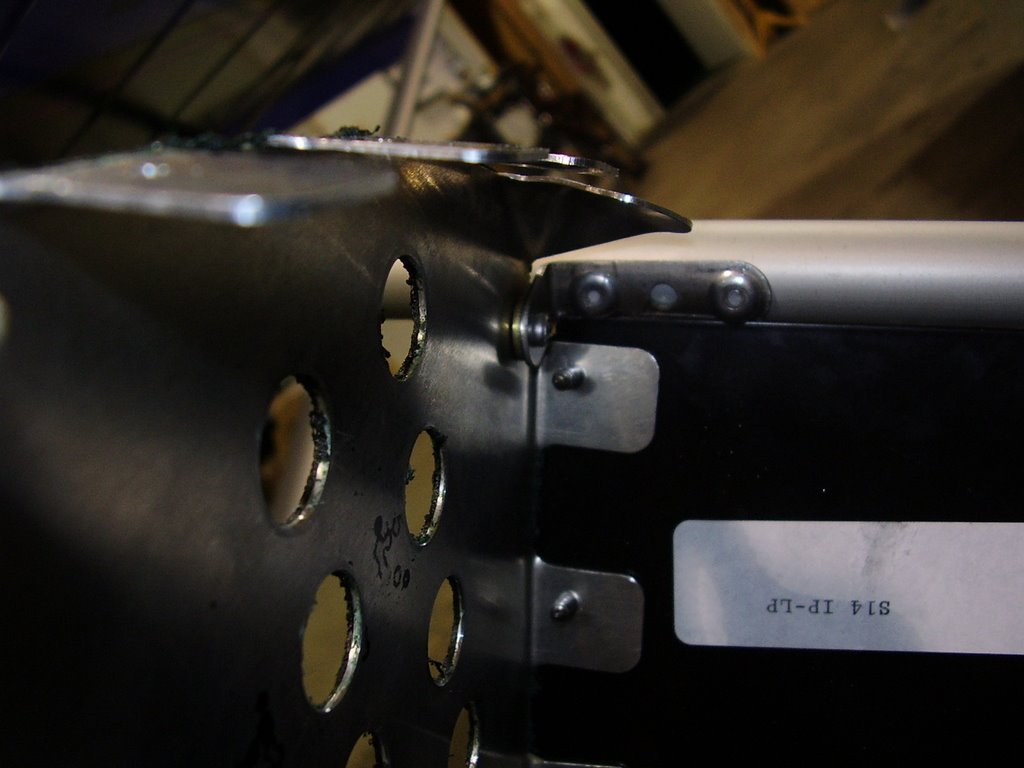
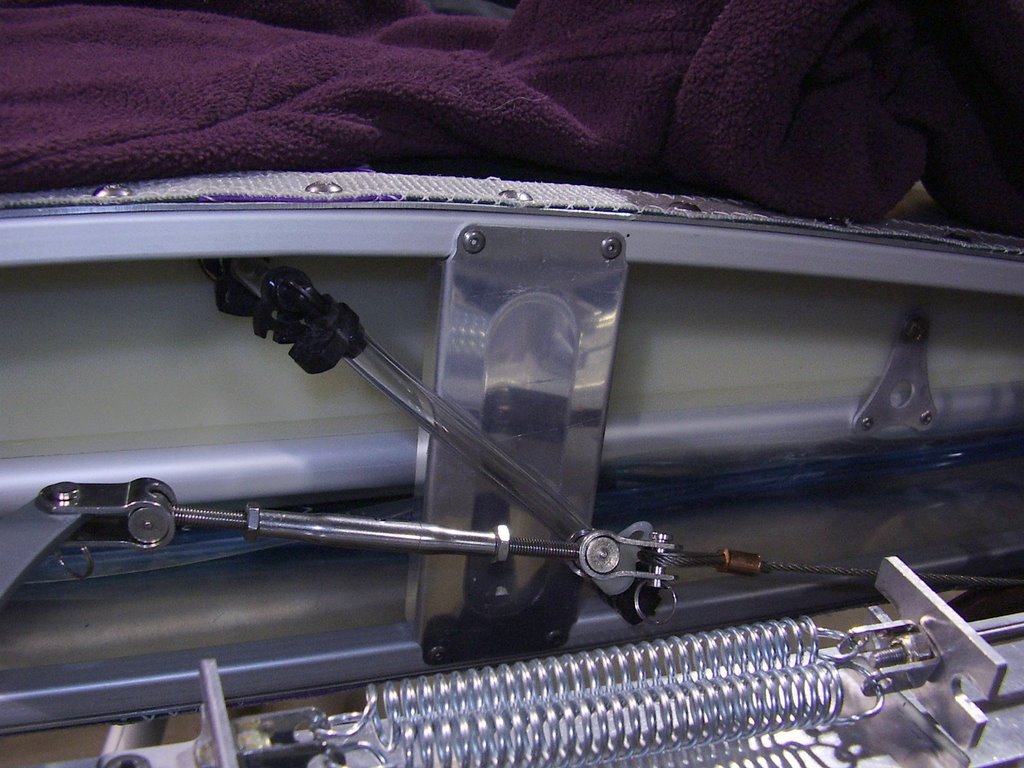
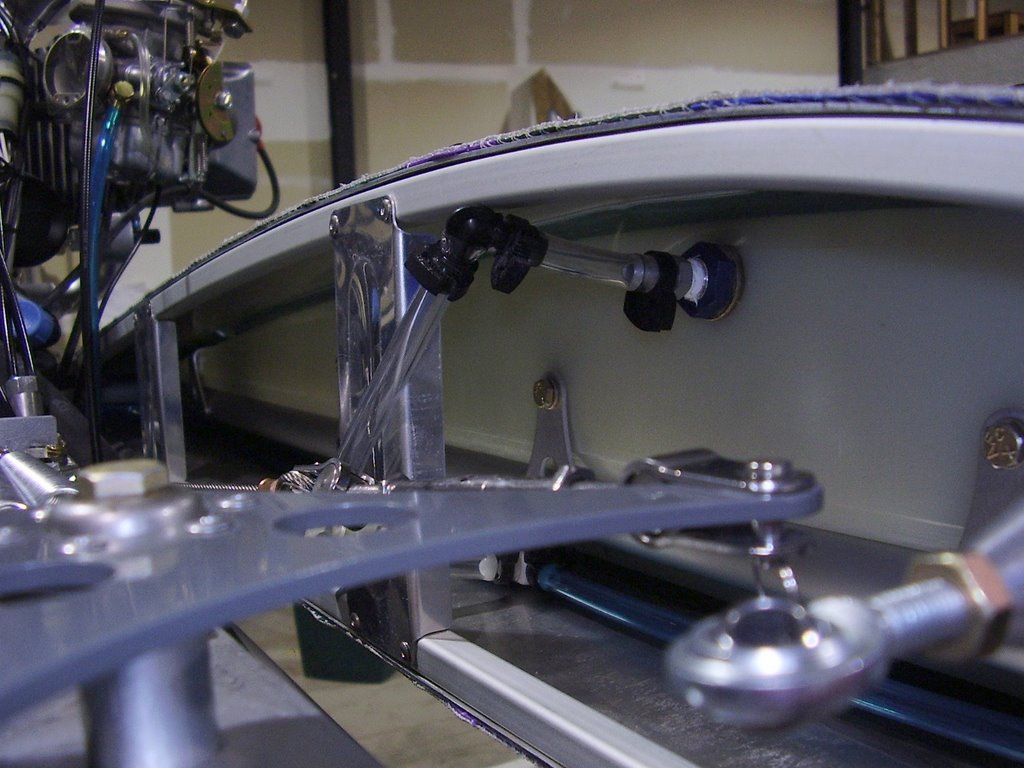
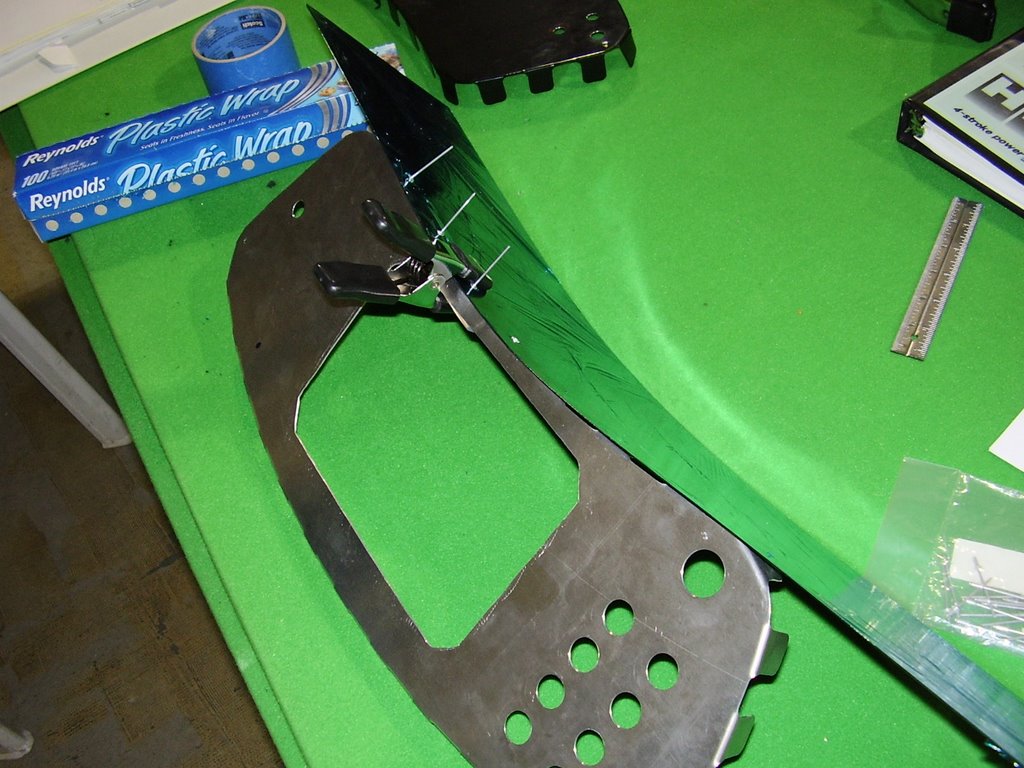
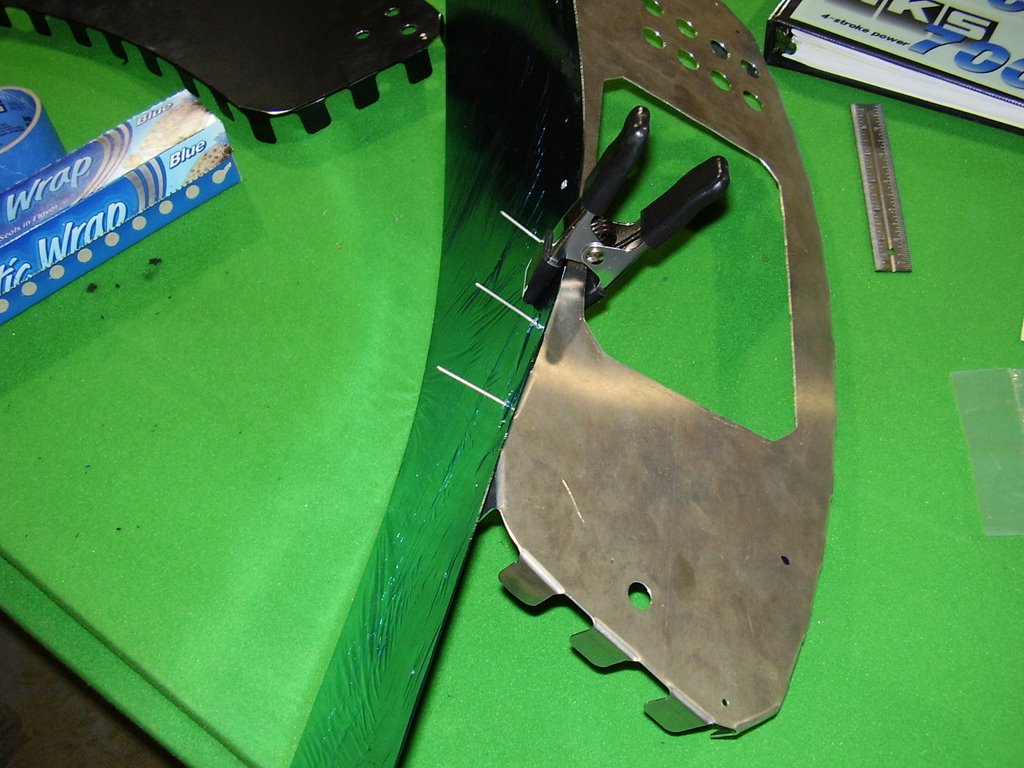
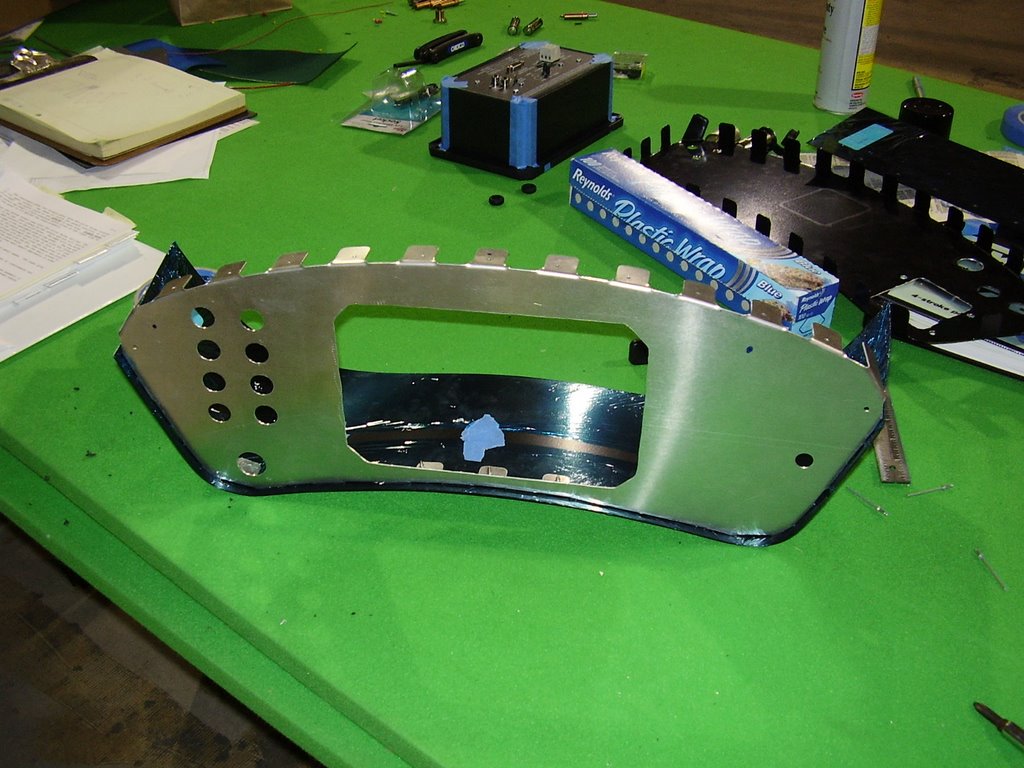
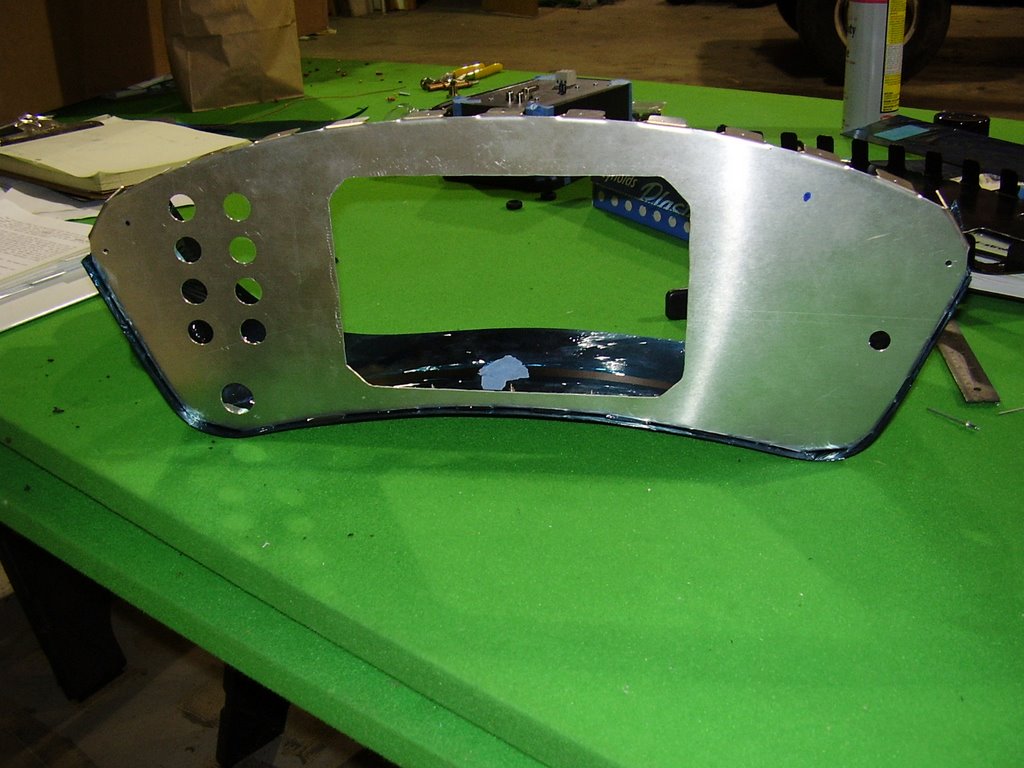
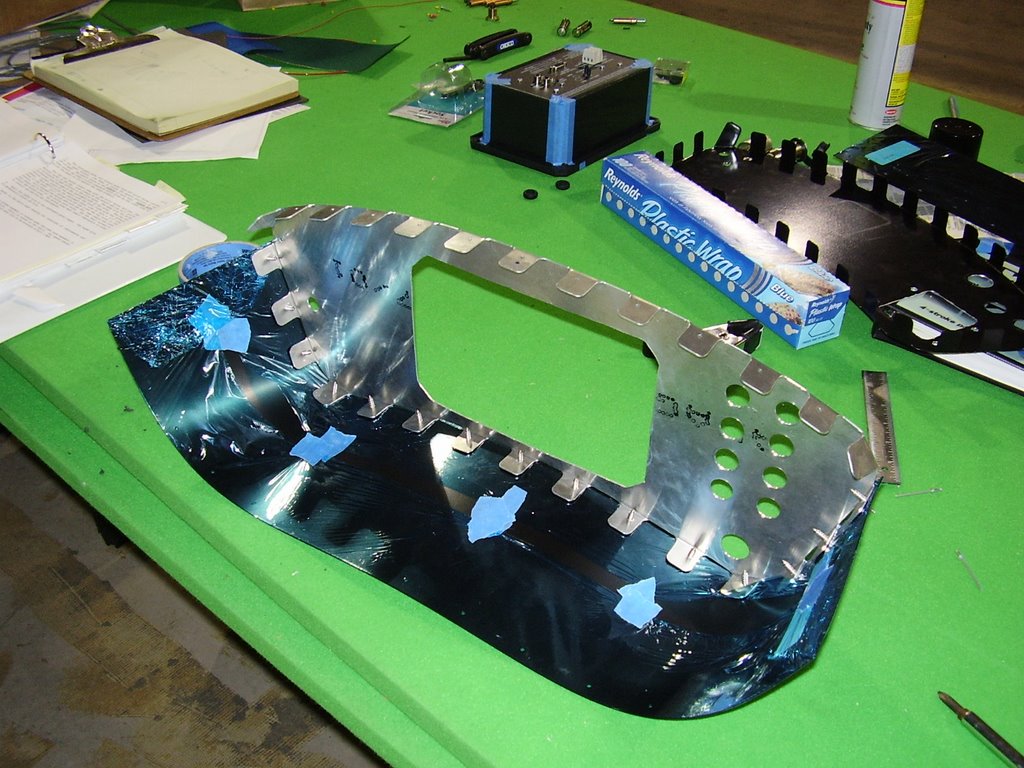
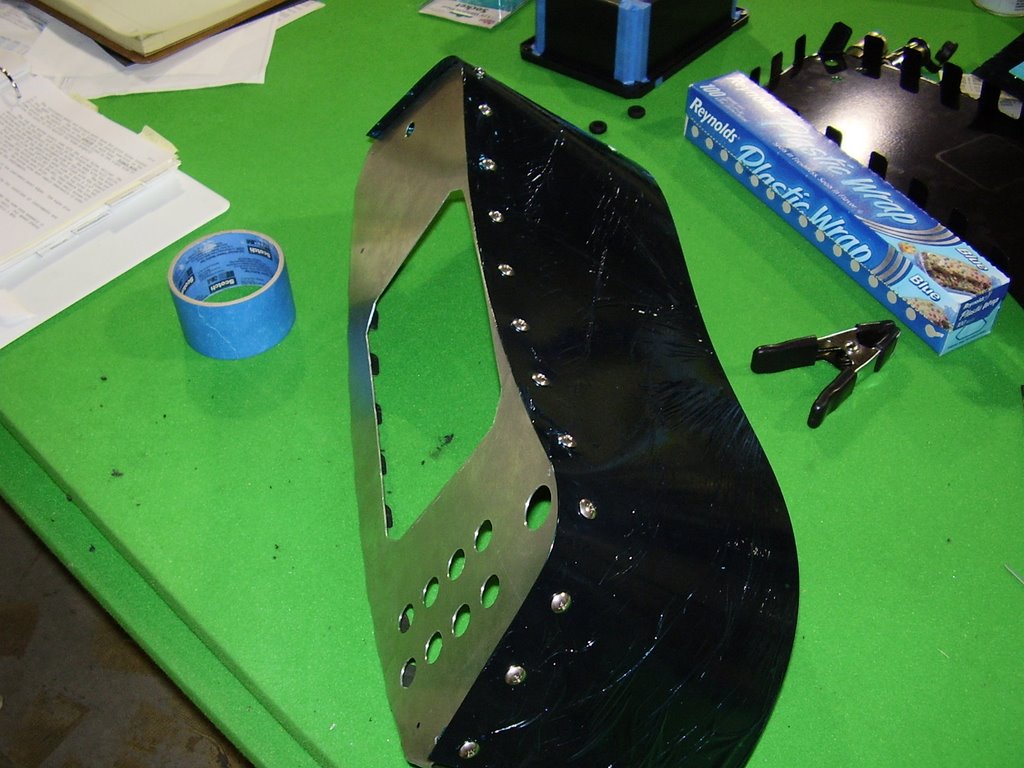
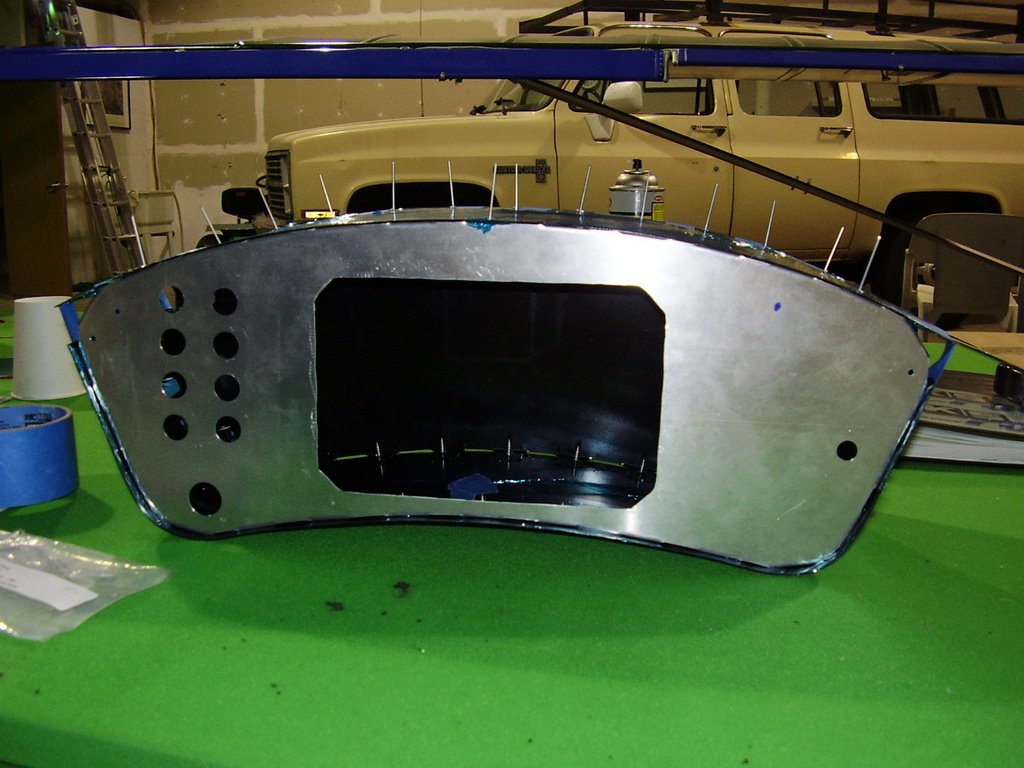
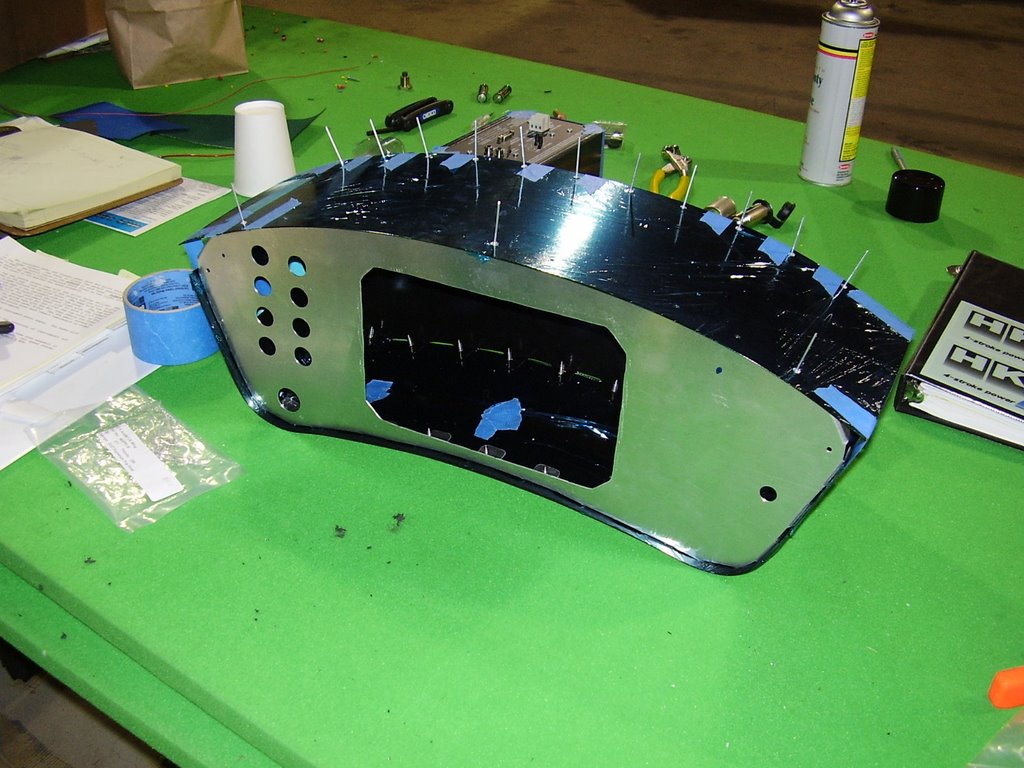
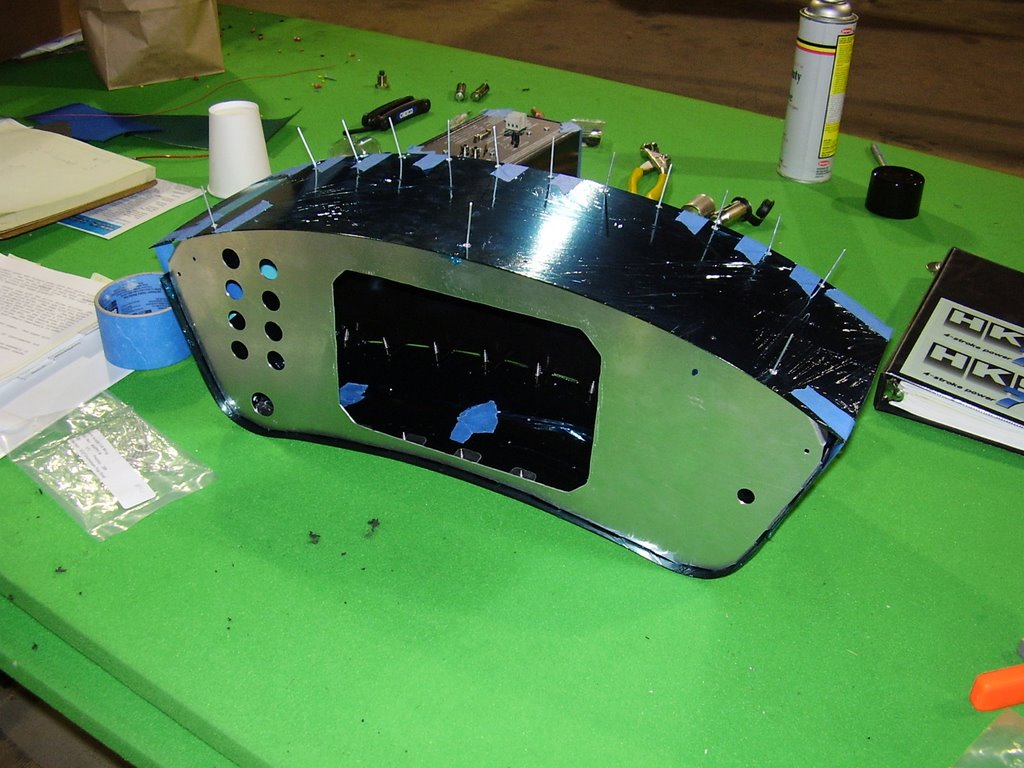
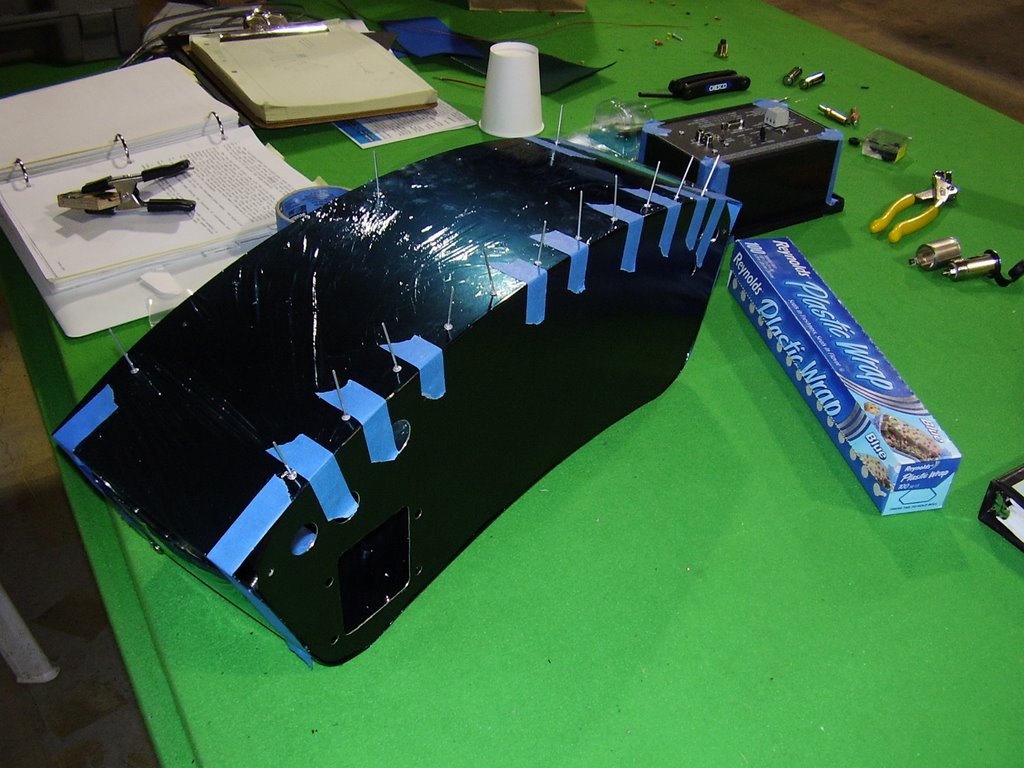
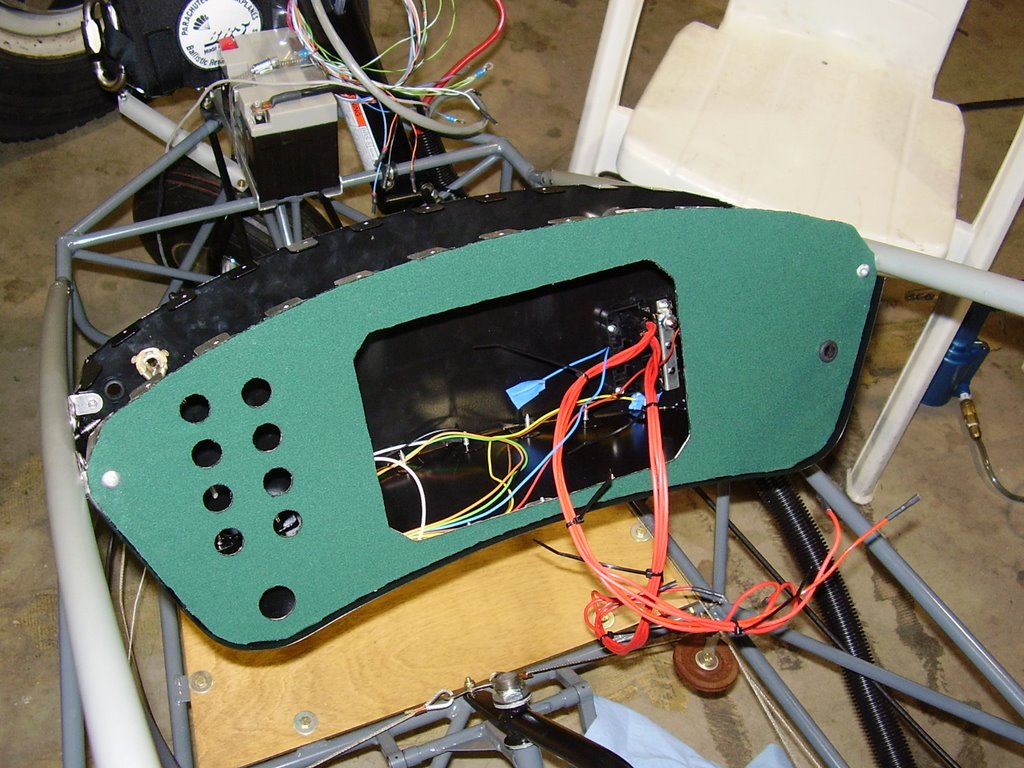
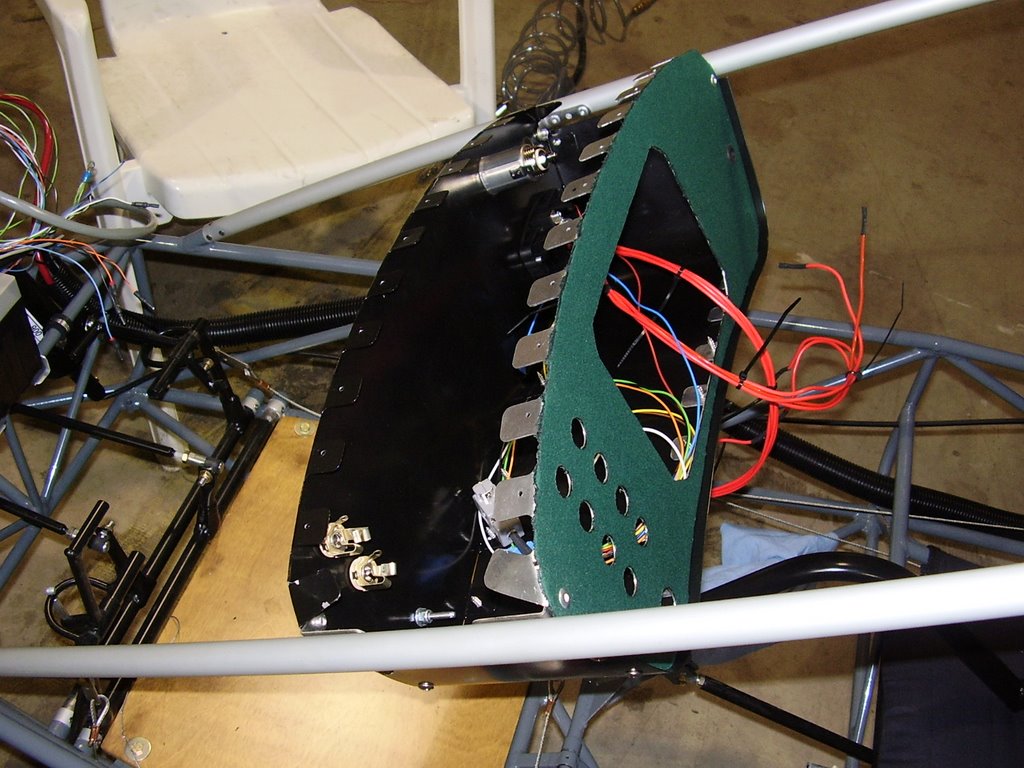
Below are some pictures of a more complete mockup of the oil cooler cowl. In the pictures, the two side pieces are reversed to allow for the pieces to be held together with binding clips.

I intend to make the cowl out of 0.032" 6061-T6 aluminum sheeting. The side pieces will have metal tabs that will be folded over to allow for riveting. A 19 row oil cooler will be mounted in the back of the cowl. The leading and trailing edges will have hems folded into them to give them extra strength.


Labels - 1 hour (317 Total)

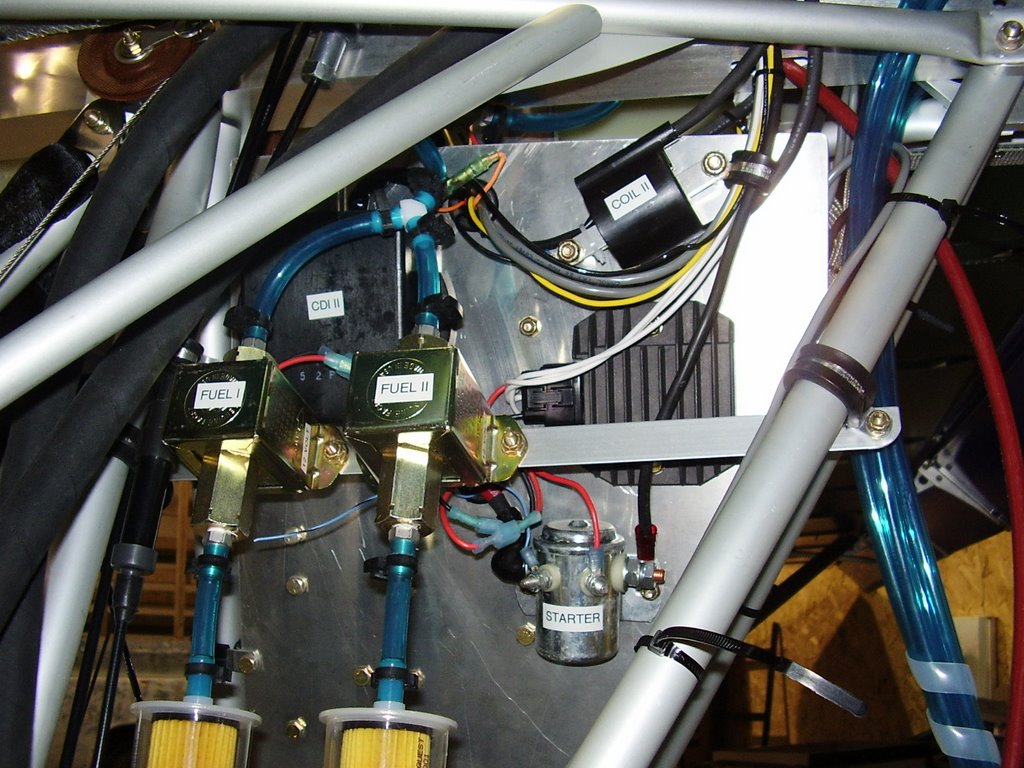
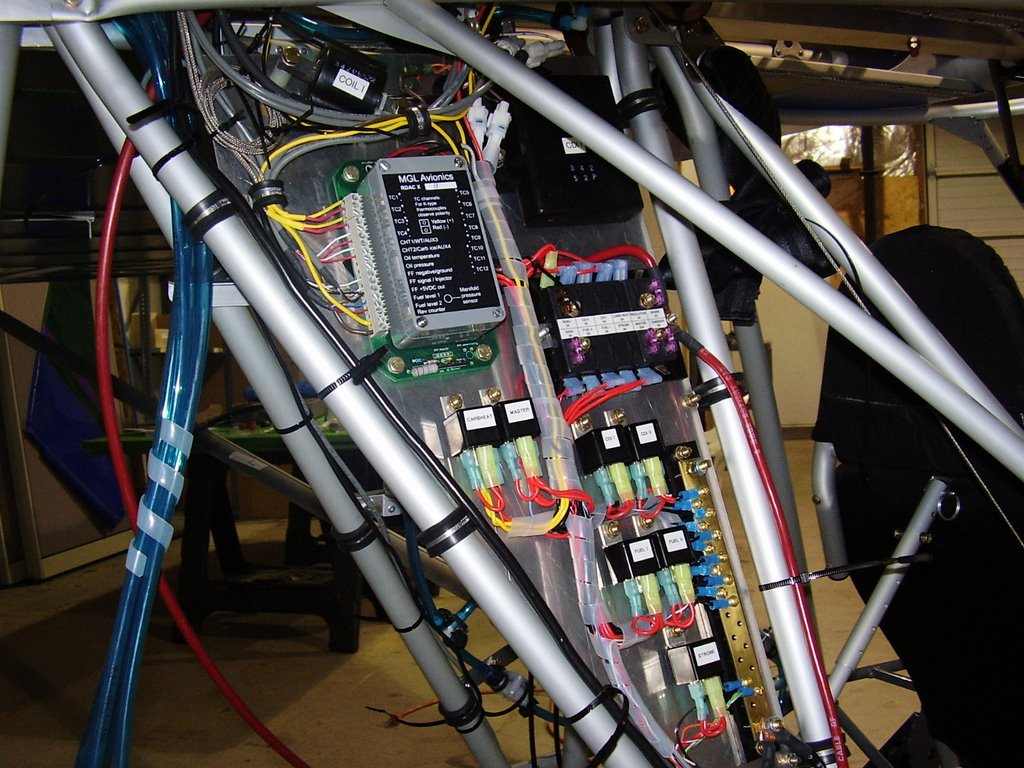
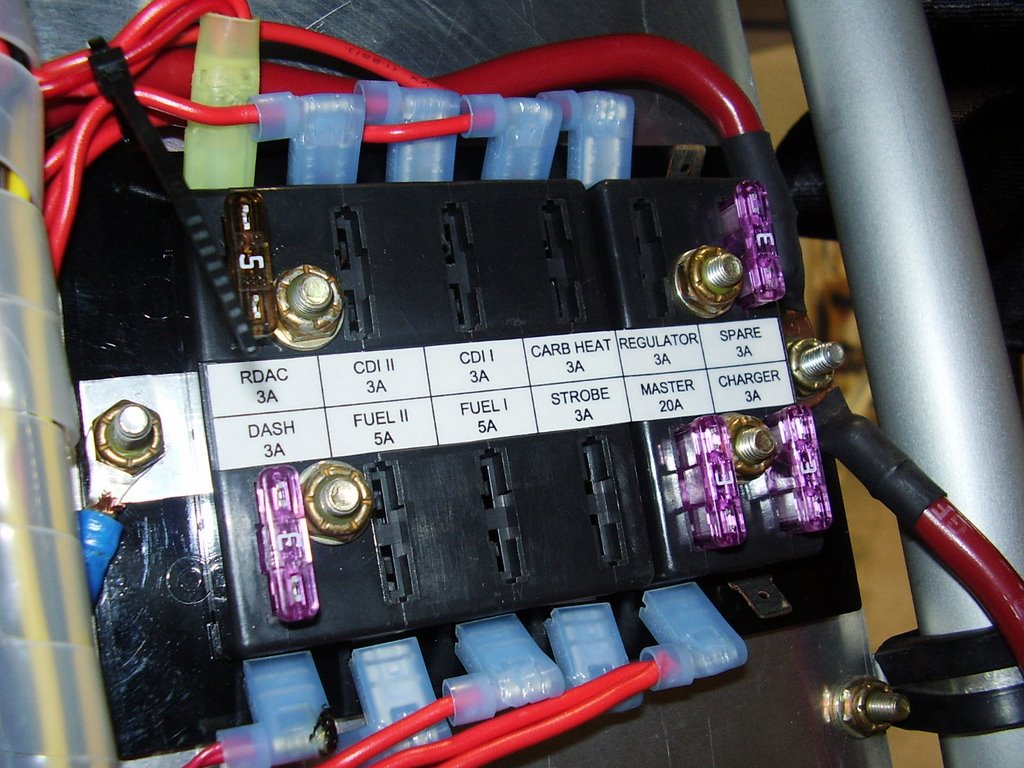
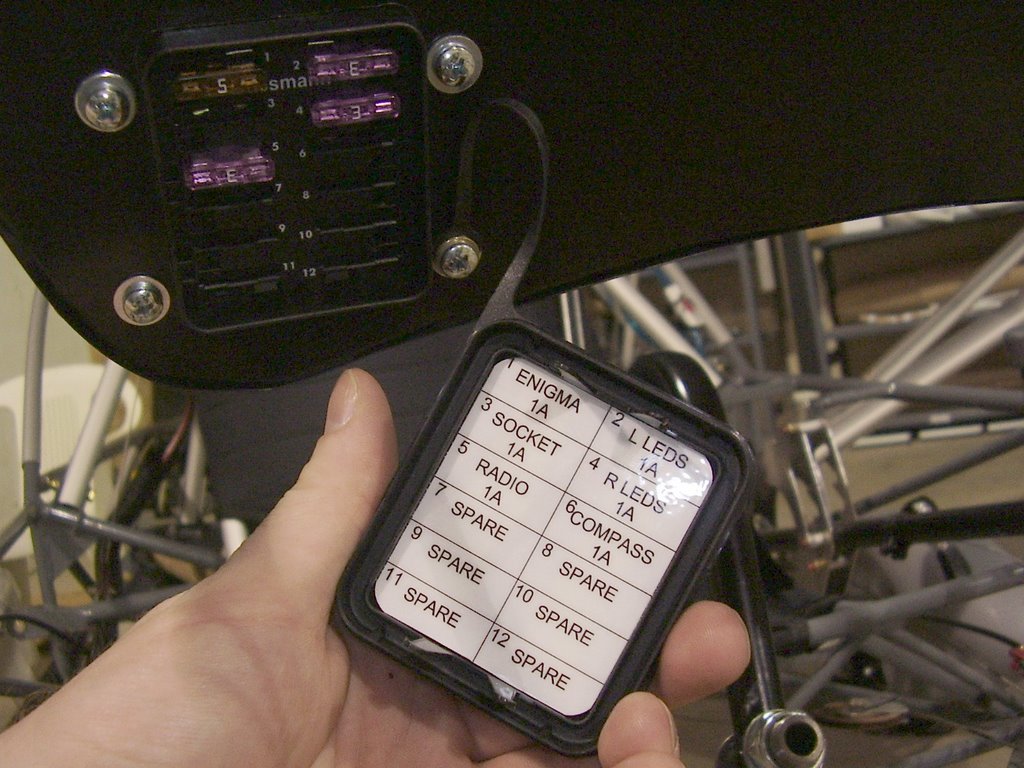
Today I created labels for the major components of the electrical system. I also created labels for the two fuse blocks.


Saturday, August 12, 2006

Instrument Pod - 4.5 hours (316 Total)

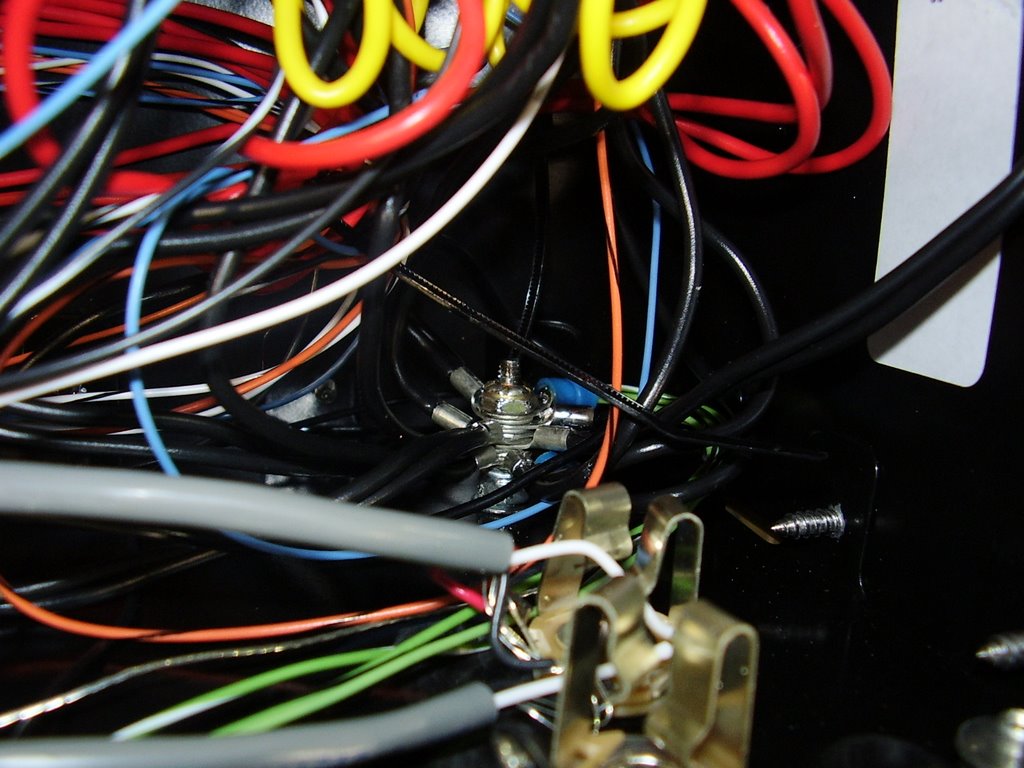
Today I did some more work on the instrument pod. First I reinstalled all of the switches and wiring. I then added a bolt to act as a ground point; this should be more reliable than using the terminal of the master switch which I was using before.
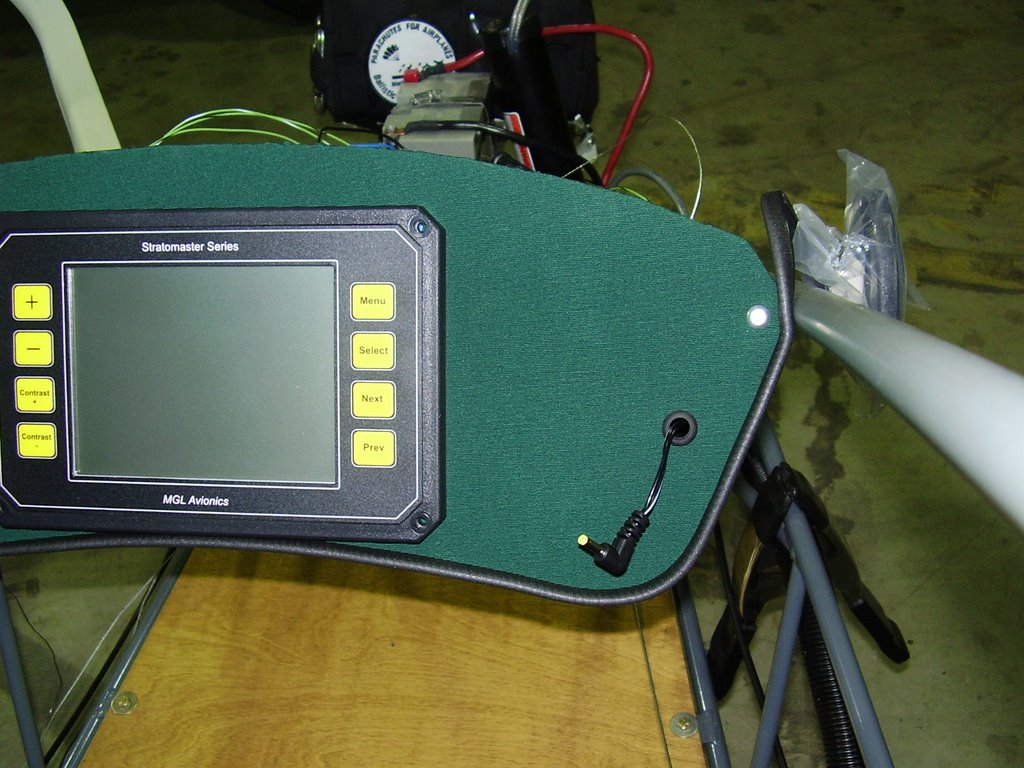
I also added cables for my radio; one for external power and one mic/phone extension.

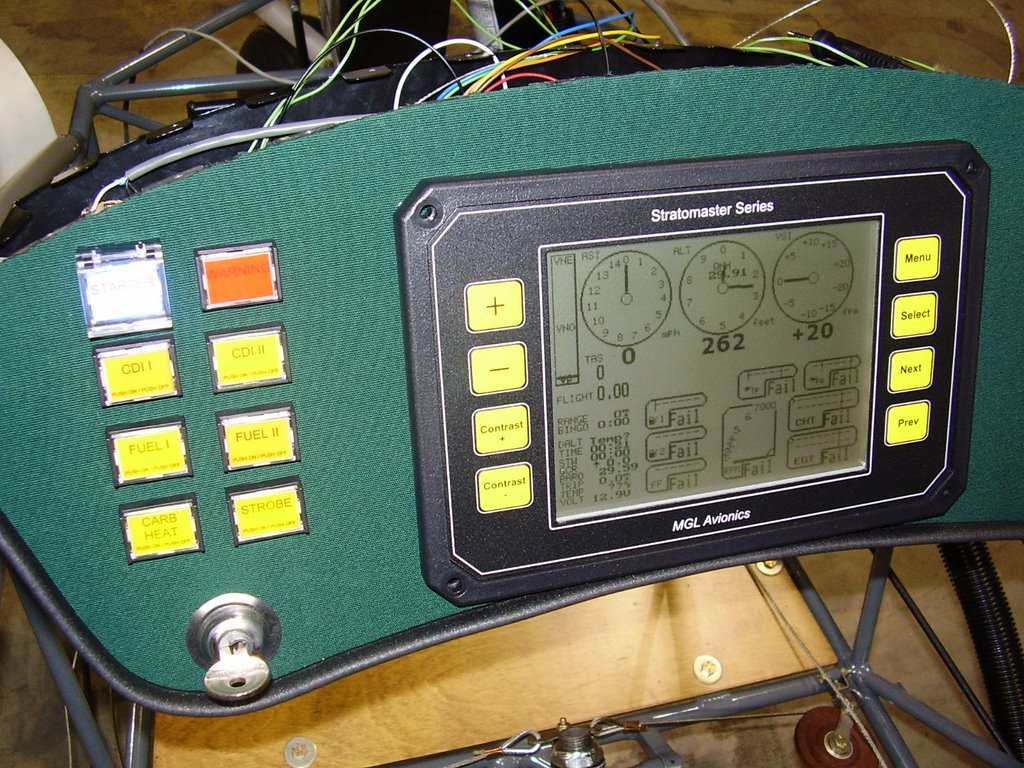
Lastly, I created labels for the push button switches on the dash.


Above you can see the ground bolt and wiring for the mic and headset connectors.


Above you can (just barely) see the labels for the push button switches.


Above is the wire and connector to power the radio.


Thursday, August 10, 2006

Wing End Caps - 0.5 hours (311.5 Total)

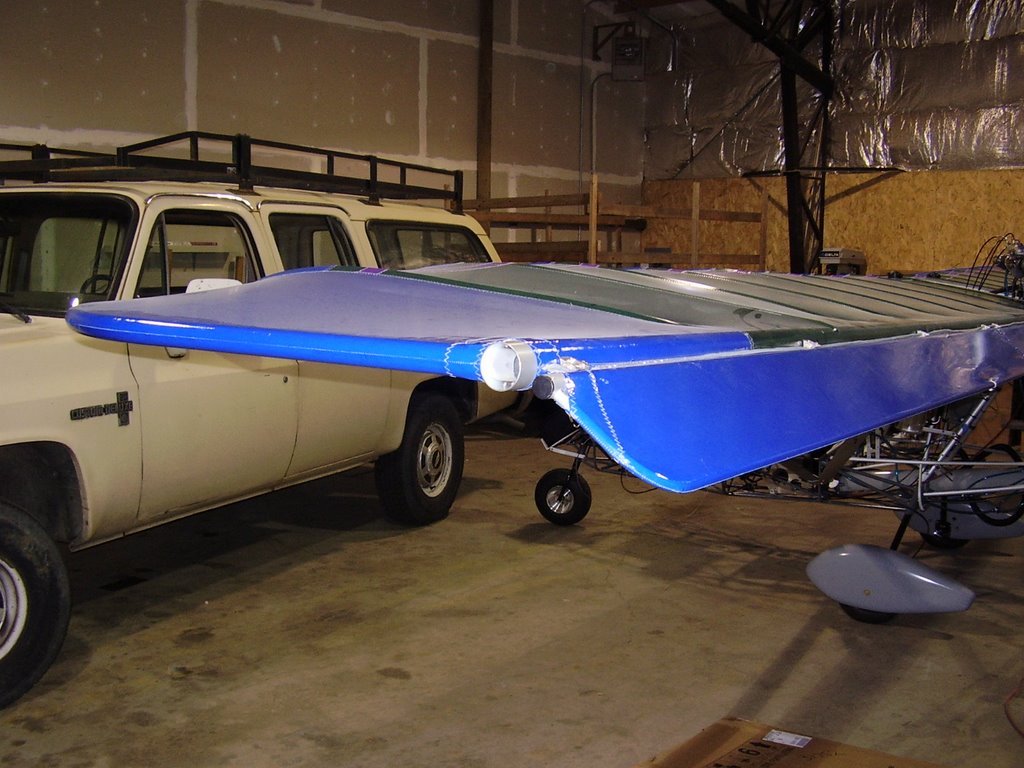
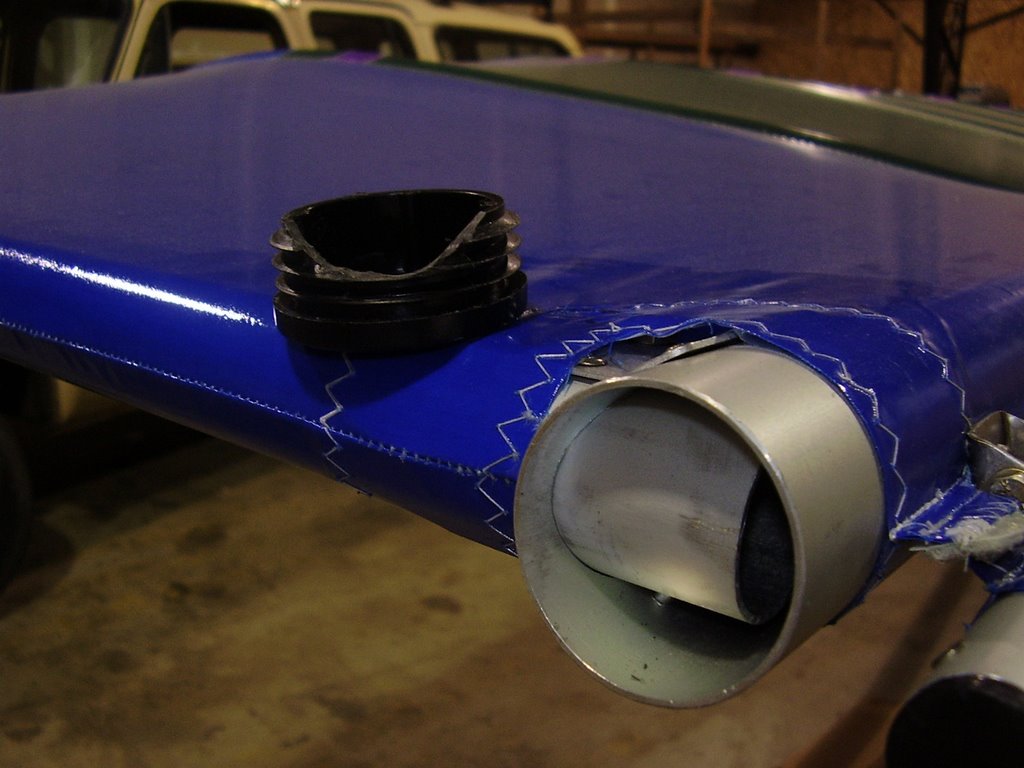
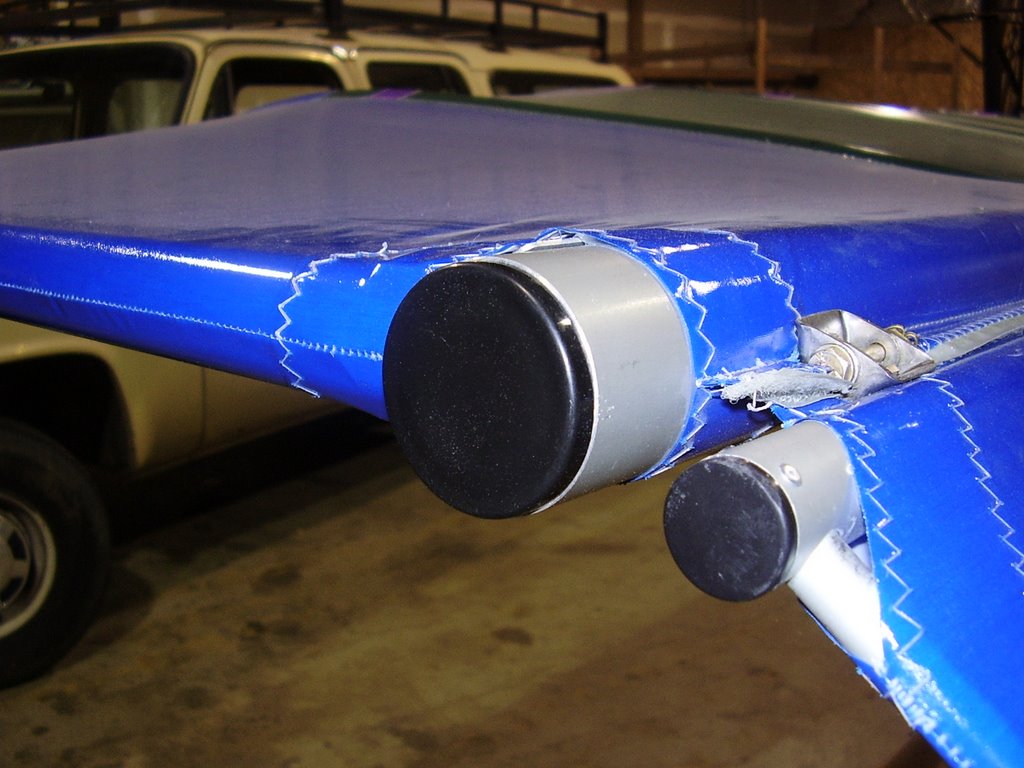
Today I installed the end caps for the wings. (Since I'm sitting around waiting for oil cooler parts to arrive, I am working on little things)

These caps were easy to install, they simply pushed into the trailing edge spare aluminum tubing. I did need to notch the caps to accommodate the aluminum tube from the rounded wing tips. This was easily done with my Dremel tool.


Wednesday, August 09, 2006

Cowl Mockup- 1 hours (311 Total)

Here are some pictures of a cardboard mockup of the cowl I plan to build for my oil cooler. The 19 row Mocal oil cooler will fit flush inside the back end of the cowl. The oil fittings will protrude out the top of the cowl to allow for removal. The cowl will have both top and bottom surfaces. The cowl will be fastened to the both wing roots with Camloc fasteners.

The front opening of the cowl is right above the leading edge of the wing to allow it to collect high pressure air. The opening will be 2" tall by 13" wide.

This setup for the cowl and oil cooler does not leave much room for the thermostat which I was planning to install. The oil line routing without the thermostat would be straight forward. I will do some more research to see if running without it would be recommended.


Tuesday, August 08, 2006

Fuel Lines - 1 hours (310 Total)

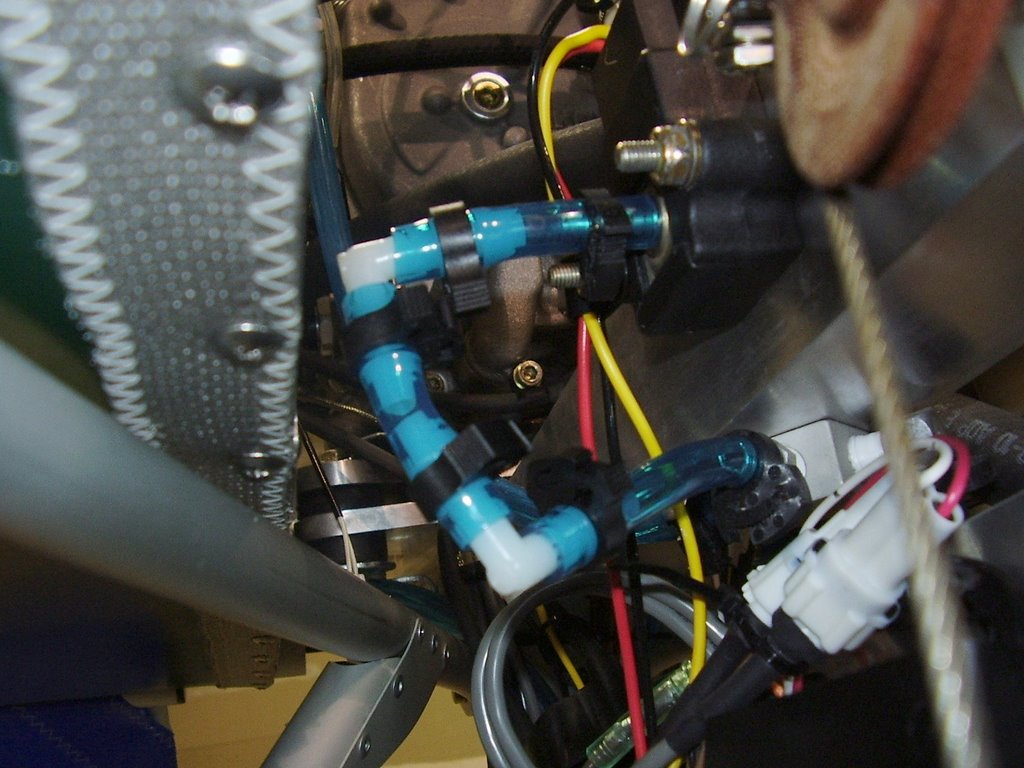
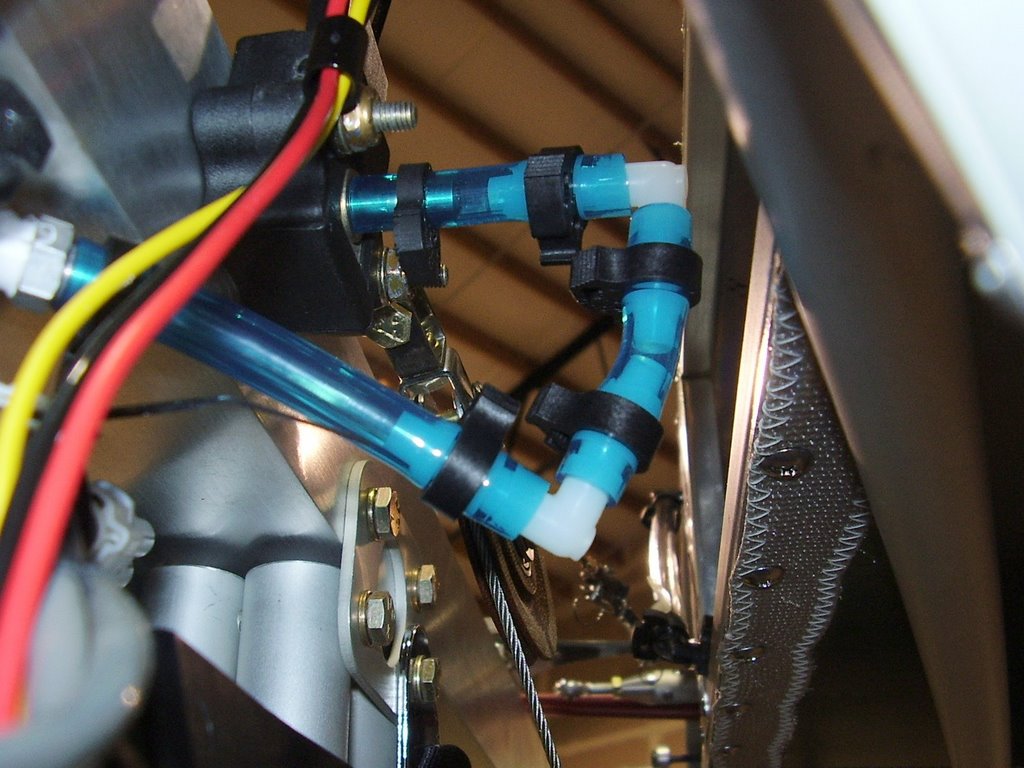
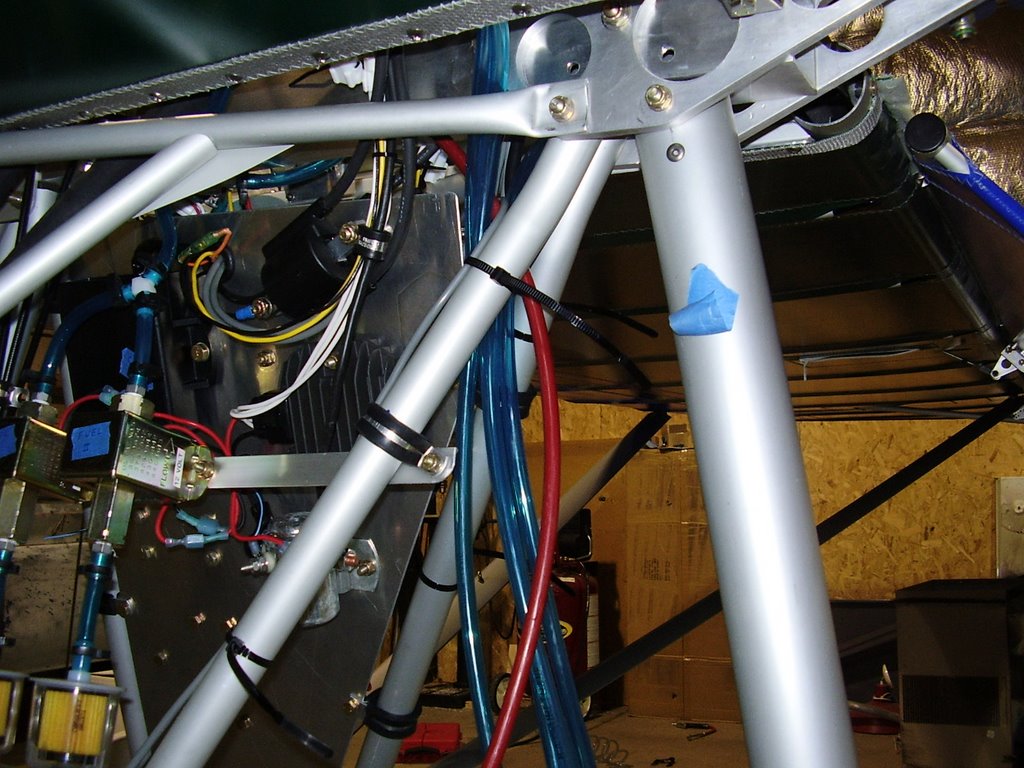
Today I rerouted the fuel line that runs to the fuel pressure gauge with some 90 degree fittings. This prevents the fuel line from rubbing against the wing root.

I also placed fuel line clamps on all of the fuel lines that still needed them. I had ran out and needed to purchase more.


Tuesday, July 25, 2006

Instrument Pod - 3 hours (309 Total)

Today I did the final assembly of the instrument pod and mounted it to the inside of the plane.

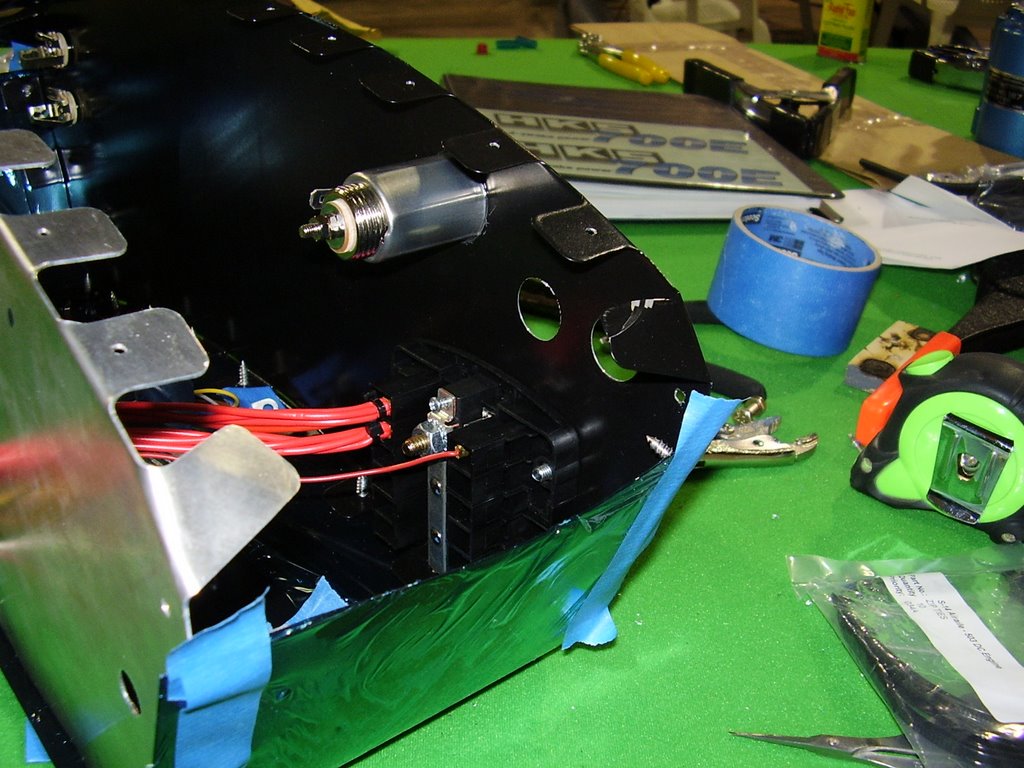
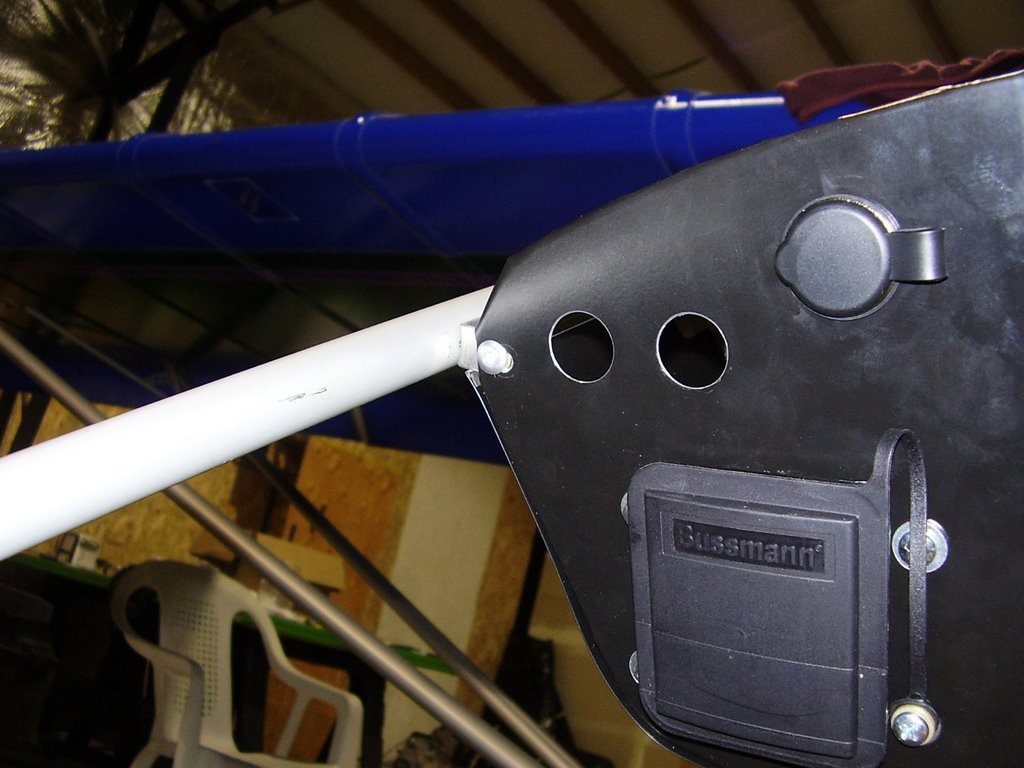
In the three pictures below you can see the mounting of the fuse block, cigarette lighter, and head phone and speaker jacks.


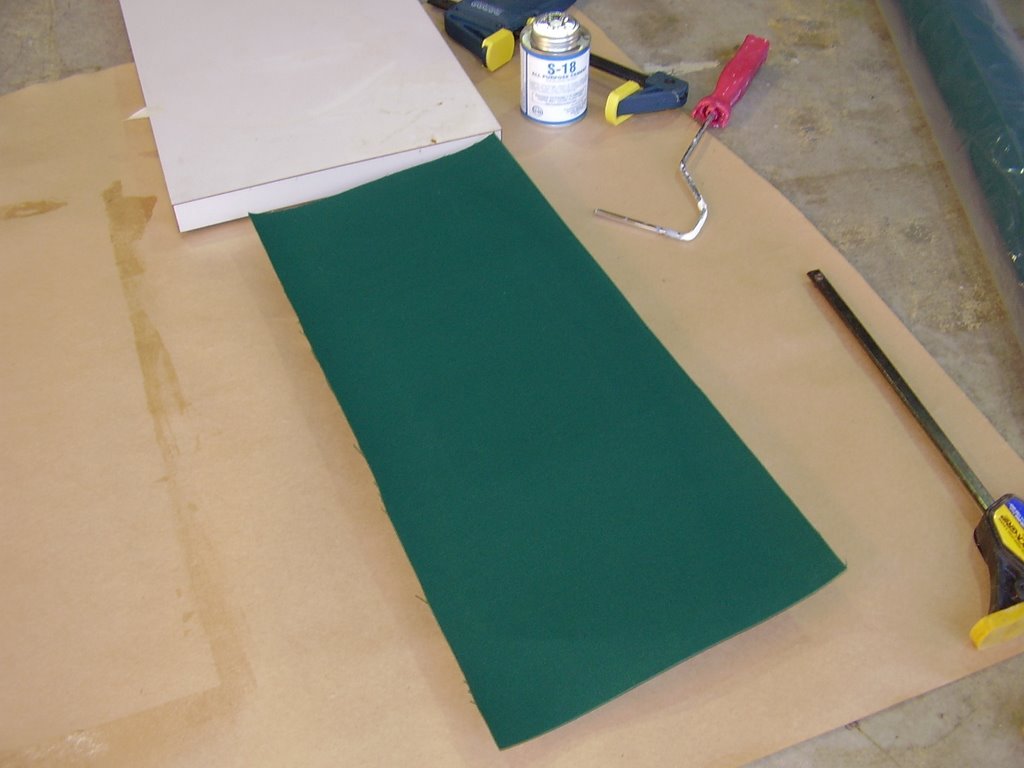
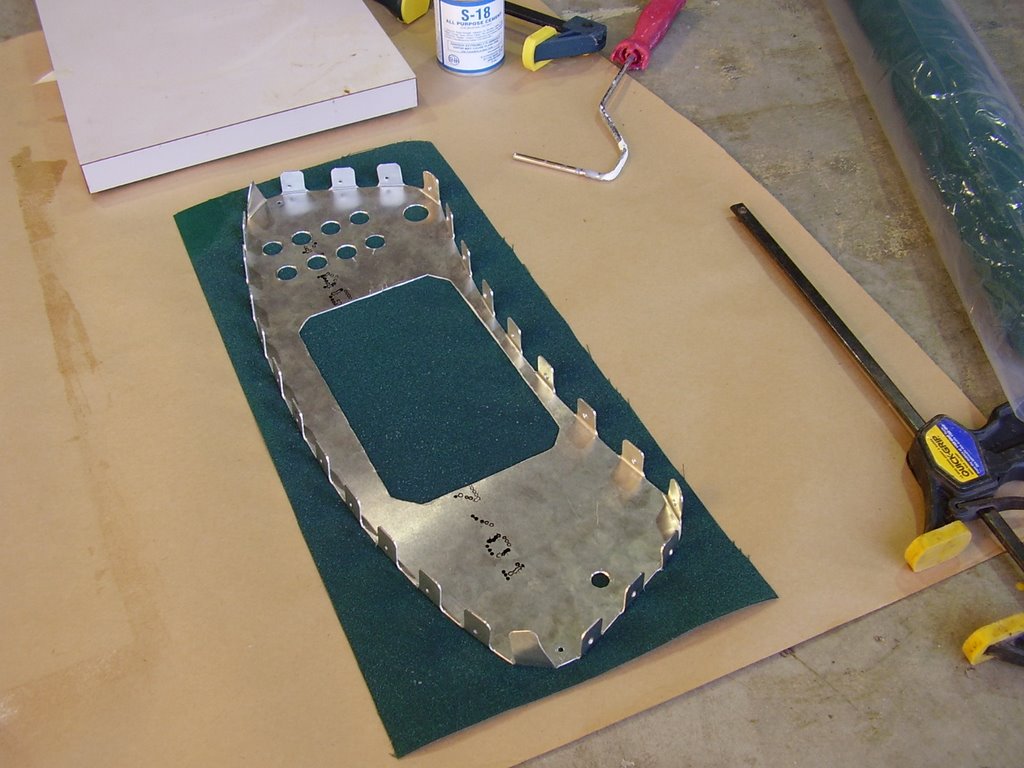
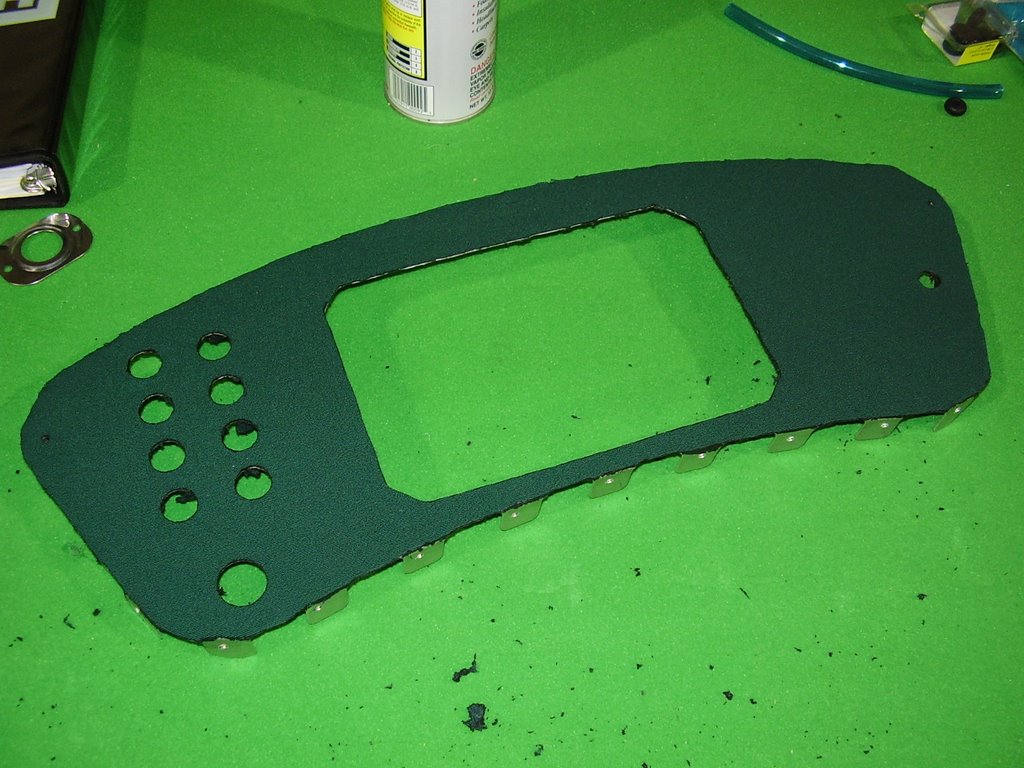
In the two pictures below you can see how I glued my interior fabric to the instrument panel. I used a heavy duty role on glue which is water proof and heat resistant. I chose a synthetic canvas type fabric for the plane's interior. This fabric is intended for exterior canopies and is sun and mildew proof.


After a few hours and the glue had set, I started cutting away the excess material with a soldering iron.


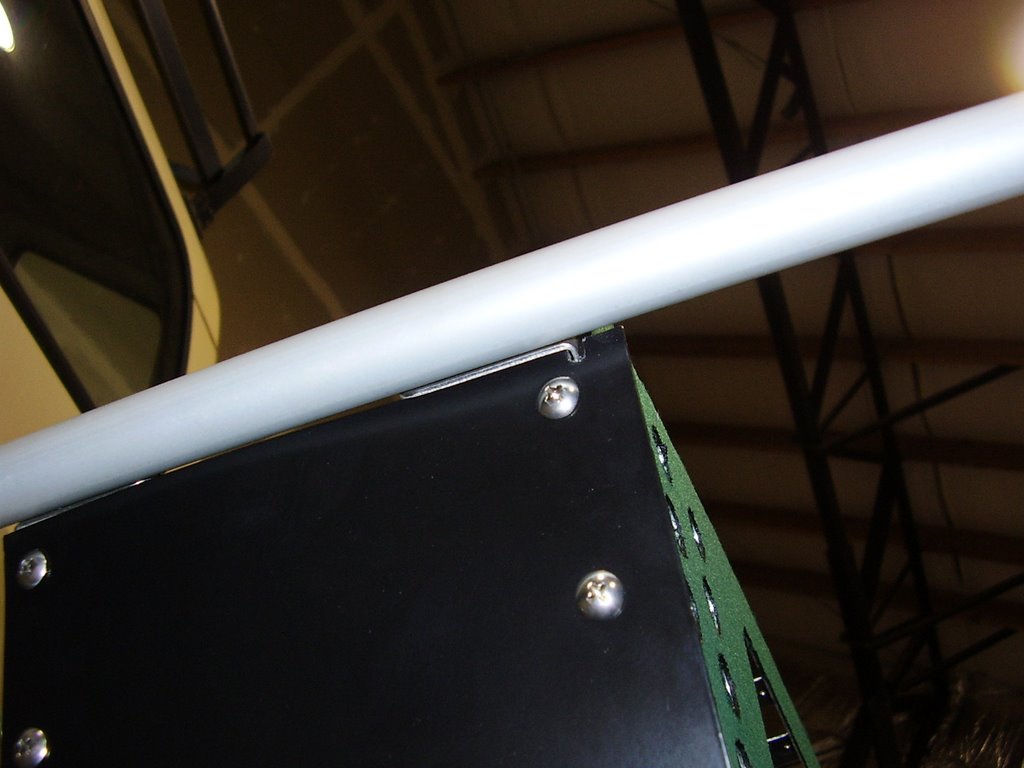
I then reattach the instrument panel to the bottom panel and proceeded to secure the instrument pod into the airplane.


I needed to use my Dremel Tool to notch out one of the corners to allow the bottom panel to fit around one of the brackets that holds the pod in place.


I also needed to reposition one of the rear holes to allow for a secure fit.


And lastly, I needed to add washers between the brackets and back panel to allow for proper alignment.

Monday, July 24, 2006

Wing Fuel Lines - 4 hours (306 Total)

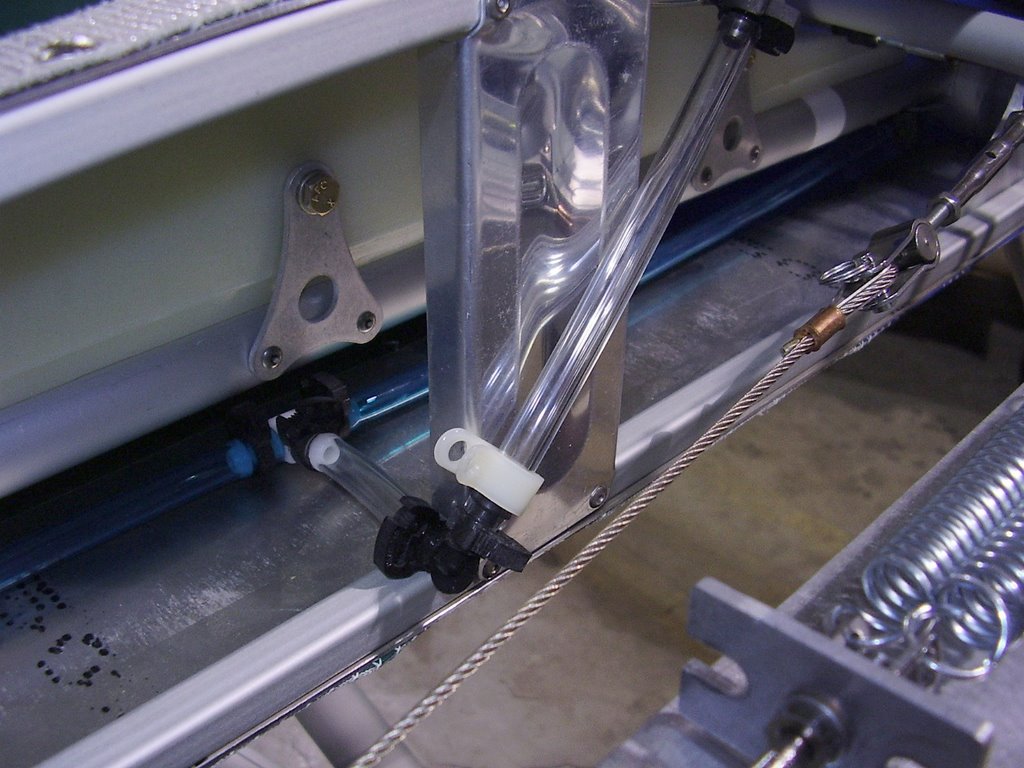
Today I routed the fuel lines from the wing tanks to the fuel bracket. This included creating the site gauges to allow me to see the fuel level in the tanks.


In the picture above you can see a white plastic bracket that is yet to be connected. I was unable to drill the hole or screw in the bracket because of the small amount of room between the wing and the root tube. I will need to connect this when I take the wings off.


When I reconnect the wings prior to flight, I will add a cushioned hose clamp to secure the fuel lines to the engine mount bolts.


Sunday, July 23, 2006

Instrument Pod - 5 hours (302 Total)

I am now at the point where I can start finishing up my instrument pod. I recently received the handheld radio that I plan to use with my plane. I will mount this with velcro to the right side of the instrument pod.

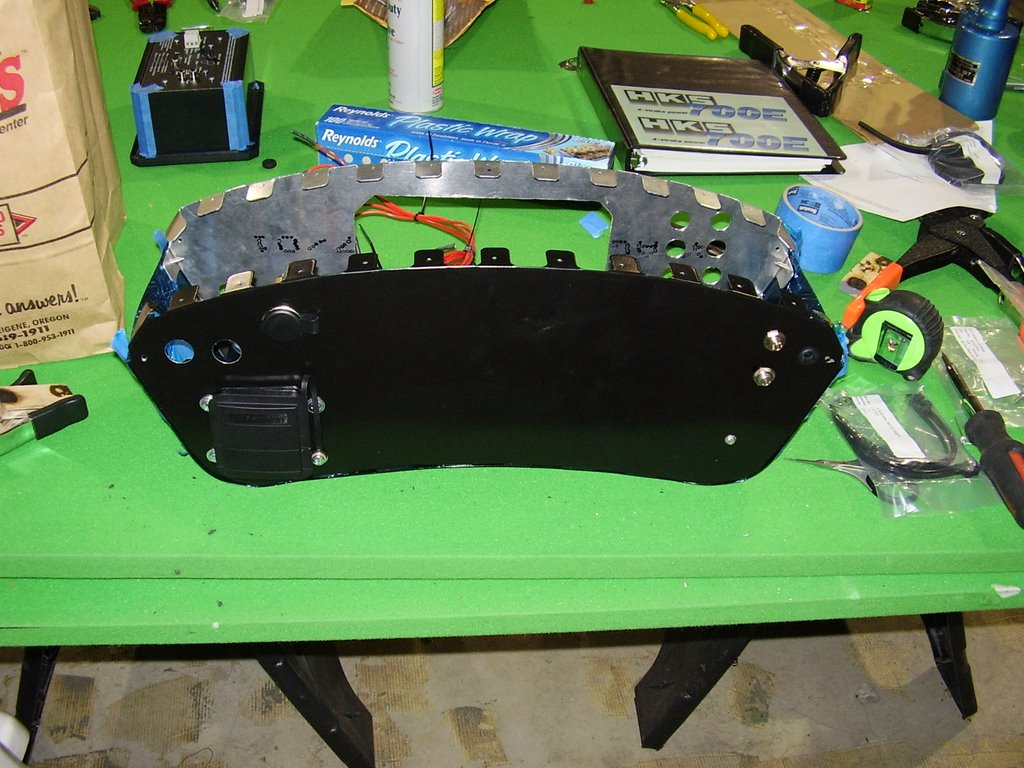
I removed the switches, wiring, and Stratomaster from the instrument panel. I then drilled a hole on the far right of the panel to allow for a power cable for the radio. You can see the hole drilled for this purpose in the picture below.

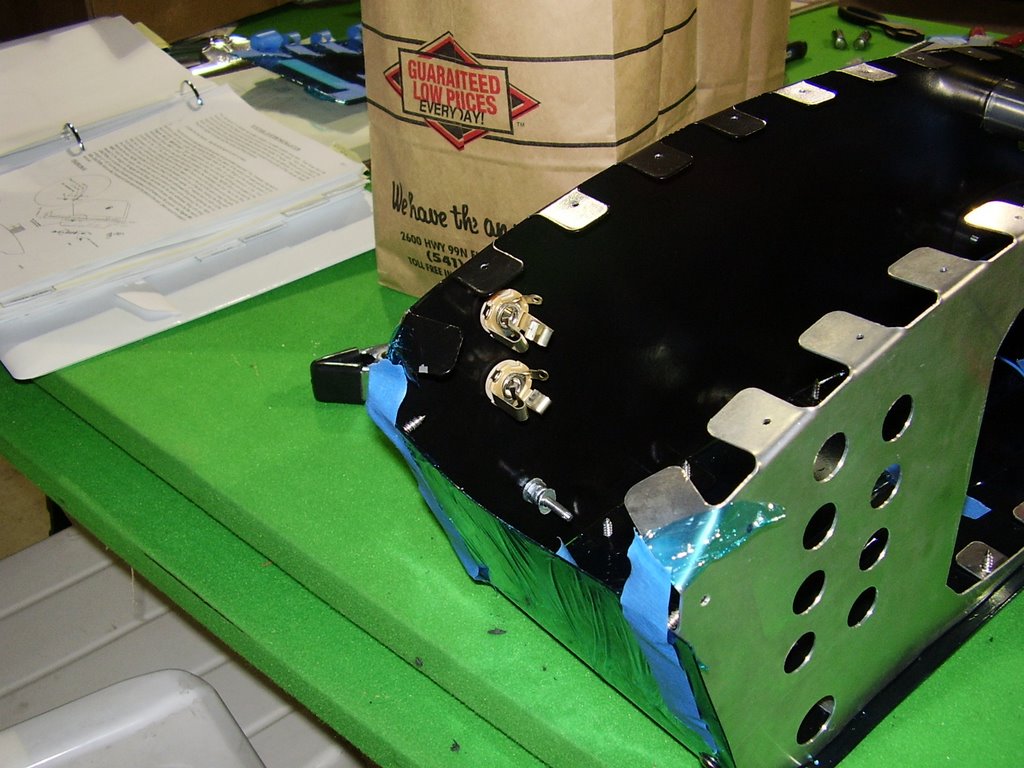
I also drilled a large hole in the backside of the instrument pod for a cigarette lighter and two smaller holes for the headset and speaker jacks. You can see these holes in the last picture.

I wrapped the top and bottom panels of the instrument pod in plastic wrap to protect them from being scratched while I assembled the panel. The top and bottom panels were pre-drilled with fastener holes. I needed to transfer these hole to the front and back instrument panels. This was easier than I expected but was still quite tedious.

I started out by riveting the bottom panel to the front instrument panel (panel that faces the pilot) with single rivet in the center. This held the two pieces together securely while I transferred the other holes. Before I started on the holes which are on the curved corners of the panel, I fastened the panel together with the provided sheetmetal screws. This held the panel pieces in place while I bent the bottom panel around the curved corners of the front instrument panel and transferred the remaining holes.

Once I was finished transferring the holes to the front panel, I repeated the process on the back panel. Once that was finished I started the same processes on the top panel. Since the top panel is attached with rivets instead of screws. I was not able to transfer the holes at the very edge of the top panel. I will need to do this when I fasten the top panel in place for good.