Saturday, October 08, 2005

Attaching Wings - 1 hour (162 Total)

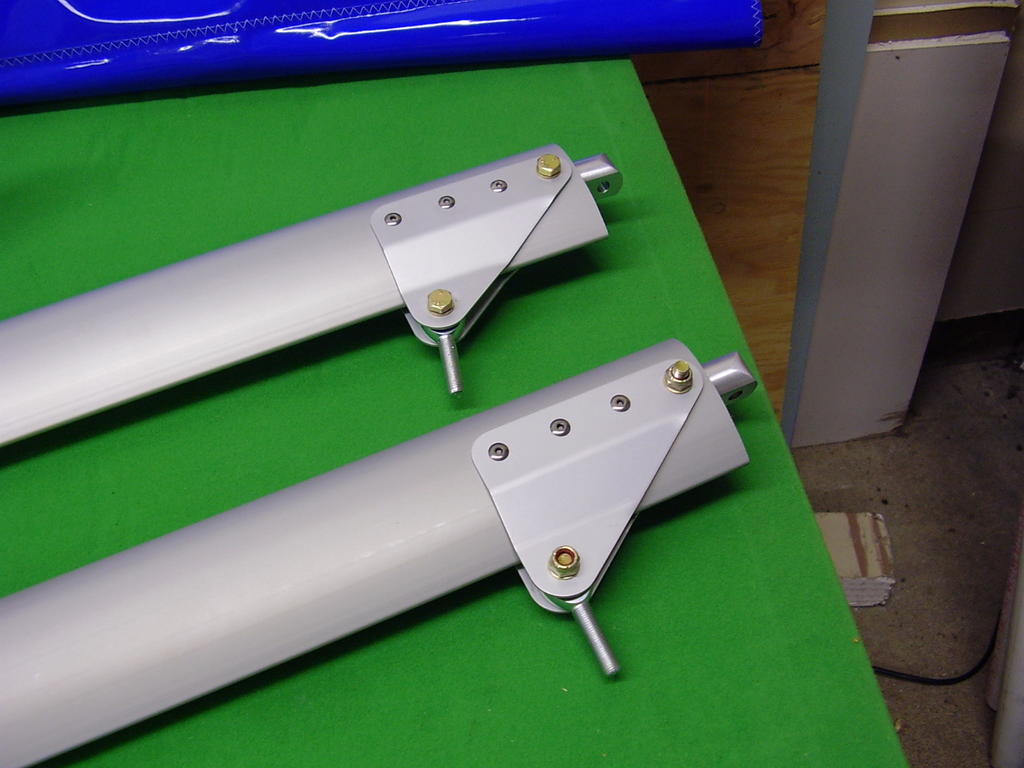
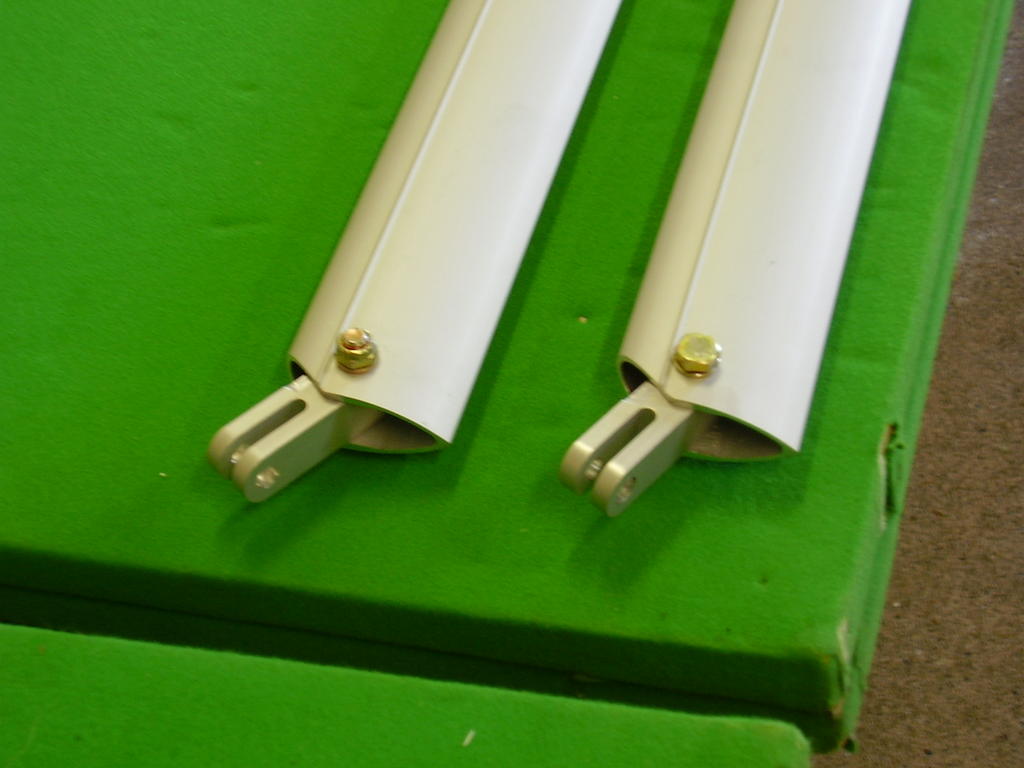
With the help of a couple friends, I was able to attach the wings to the fuselage. The wings attached to the root tube very easily once we realized to attach the rear spar and universal hinge prior to bringing the leading edge spar even close to its mounting bracket. The leading edge wing strut has a very snug fitting used to connect to the leading edge spar of the wing. This connection needs to be attached first to allow the strut to be wiggled and pounded on. The other attachment points of the leading edge struts and trailing edge struts went on pretty easily.
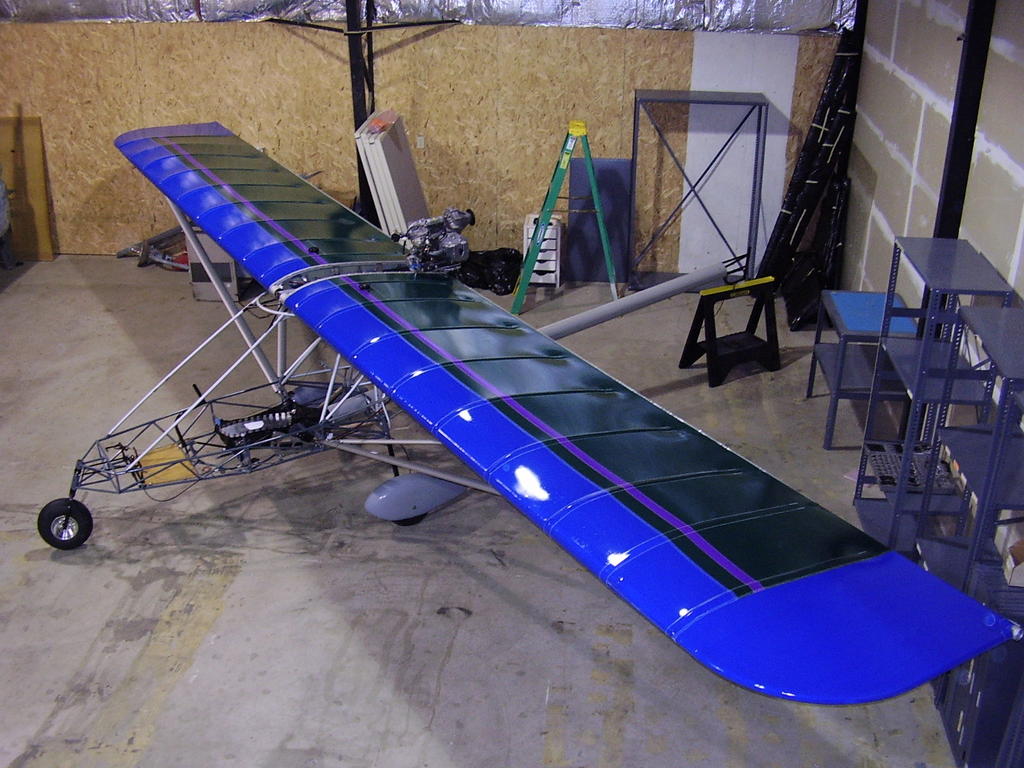
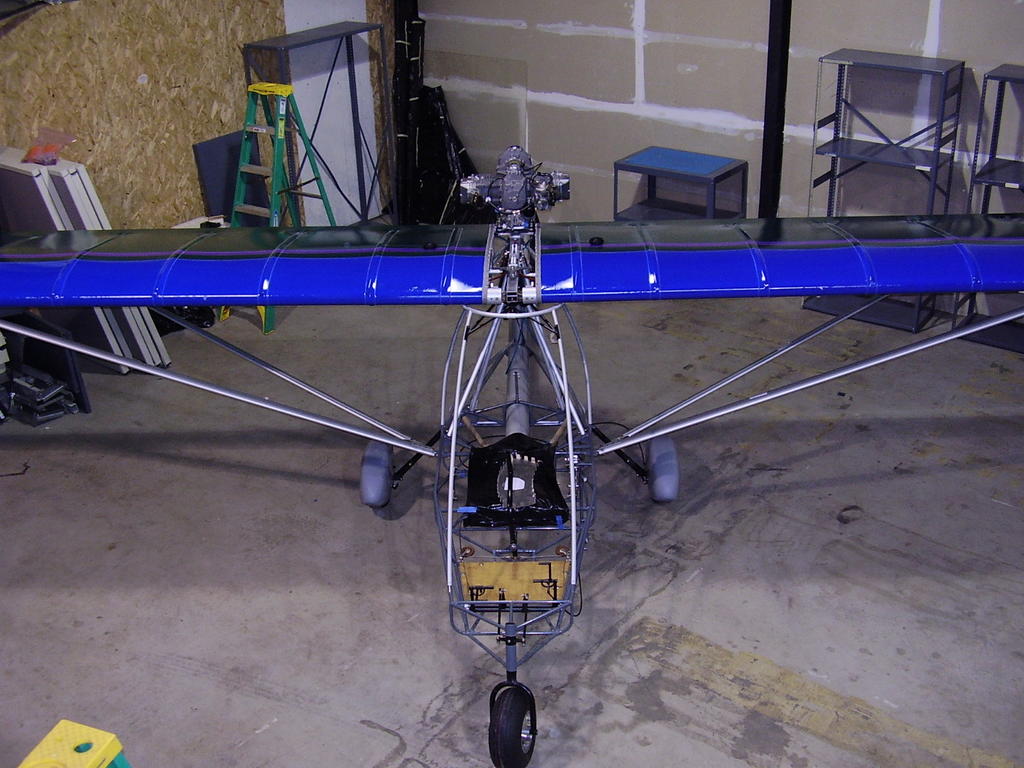
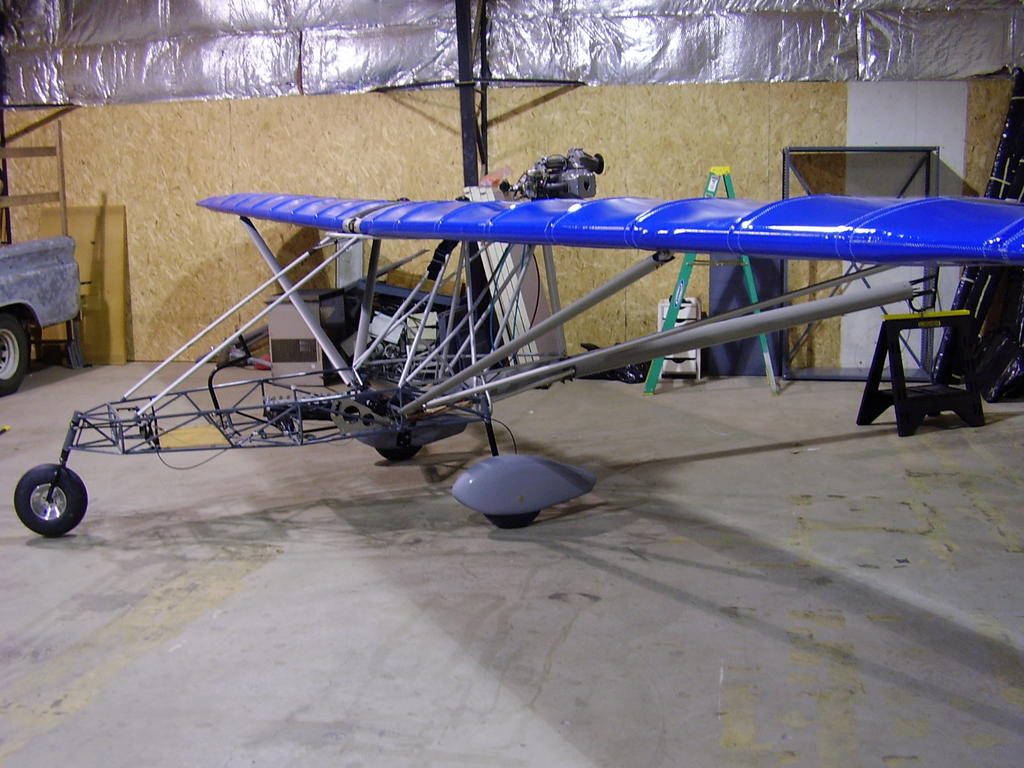
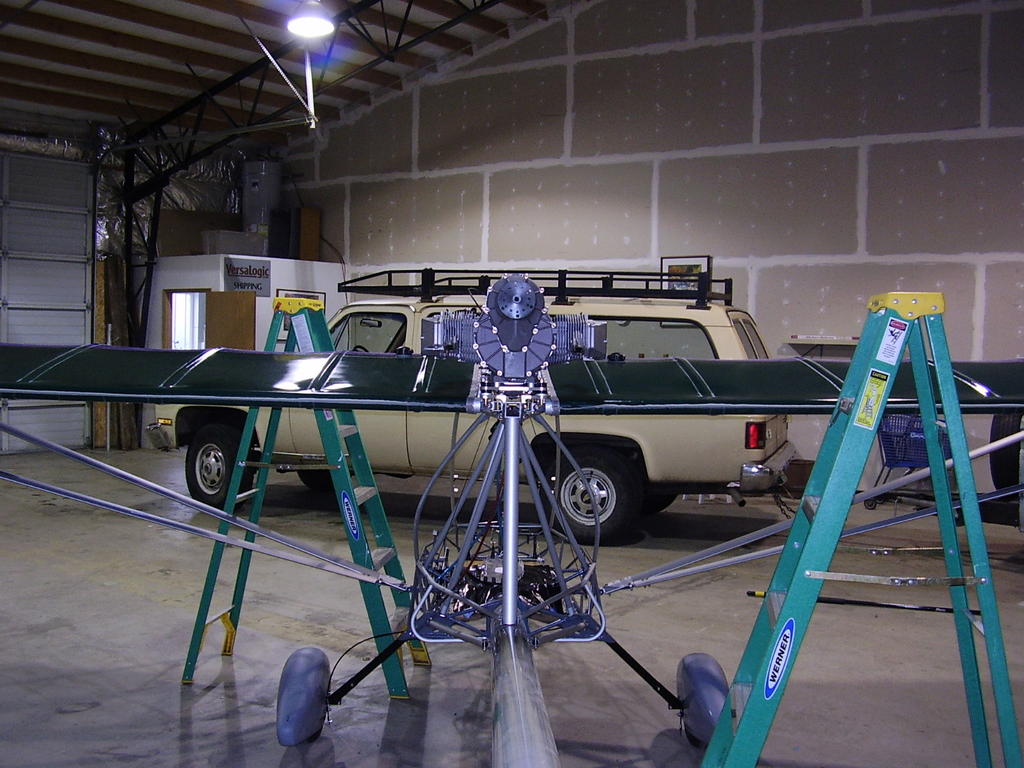


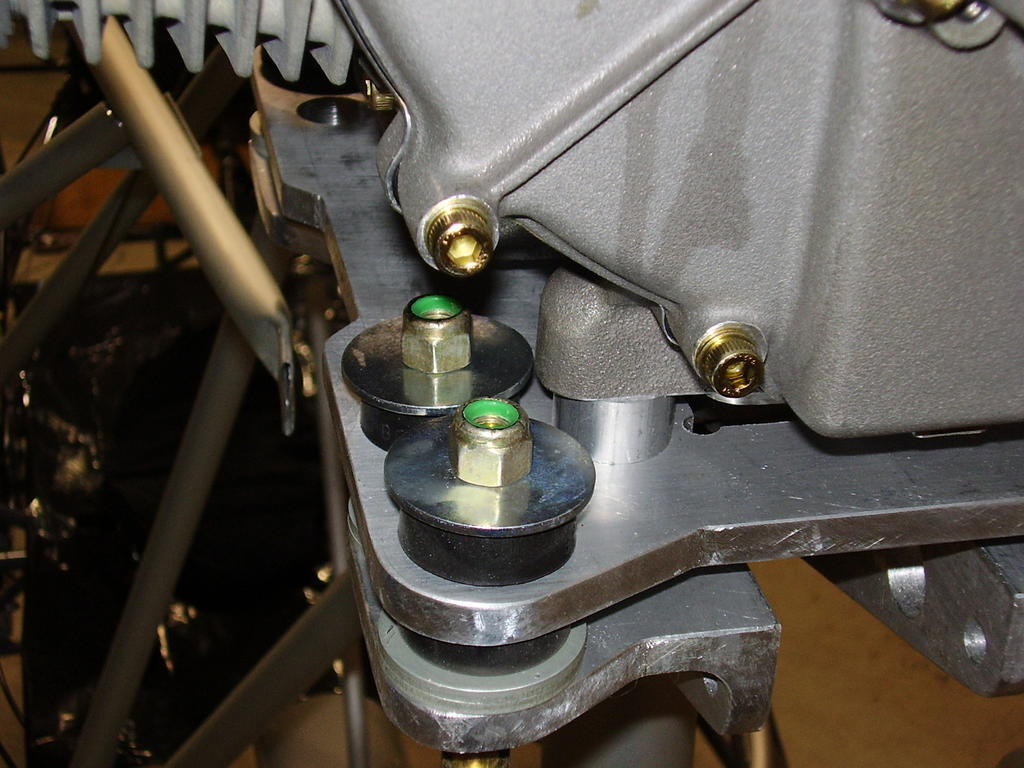
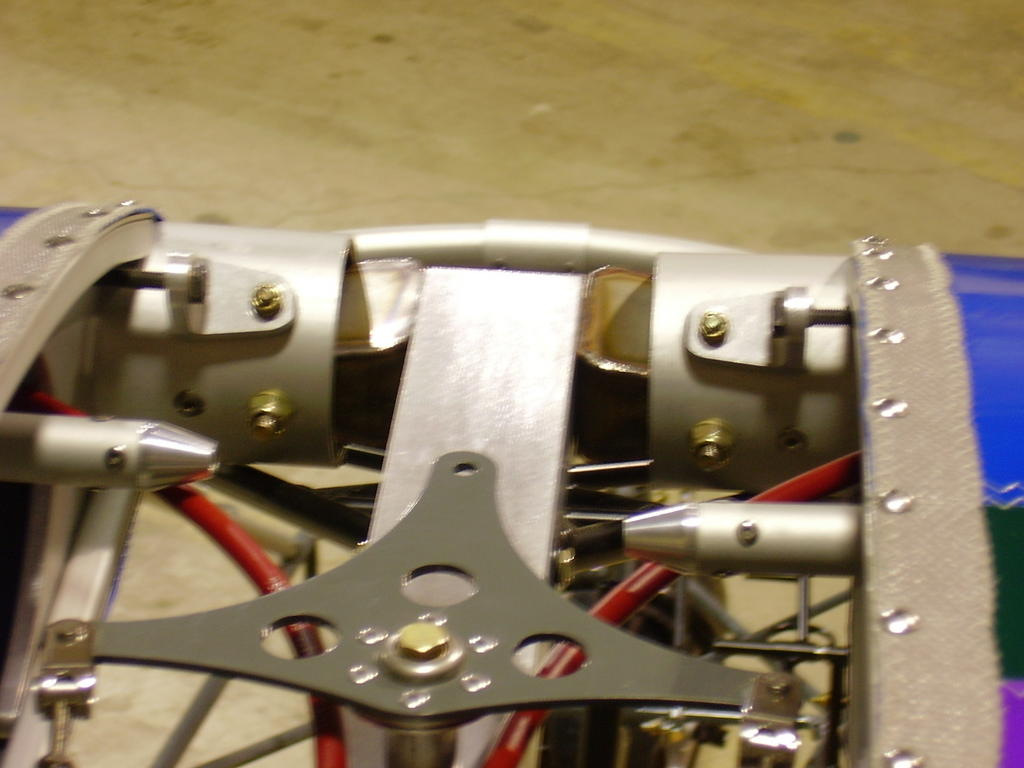
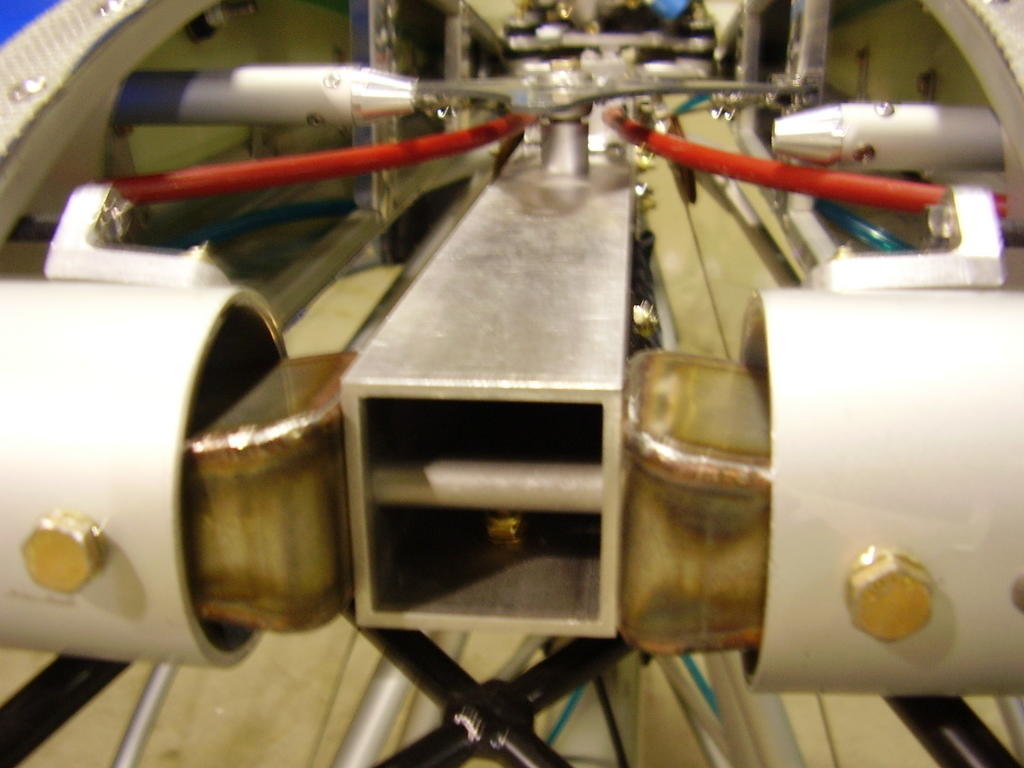
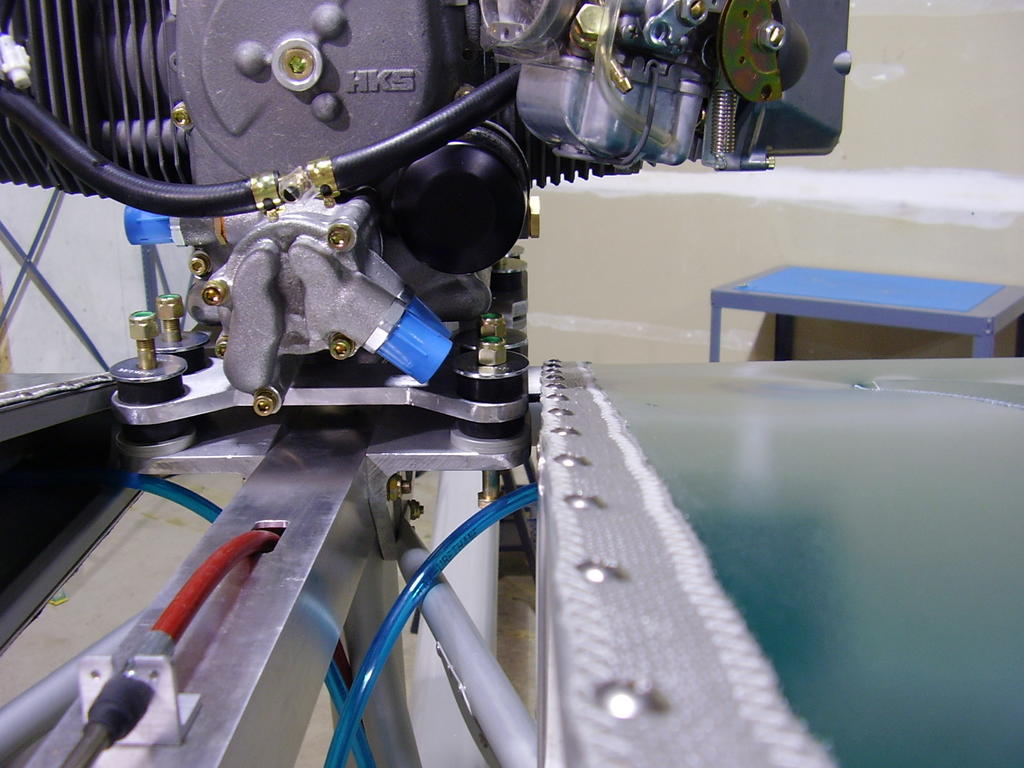
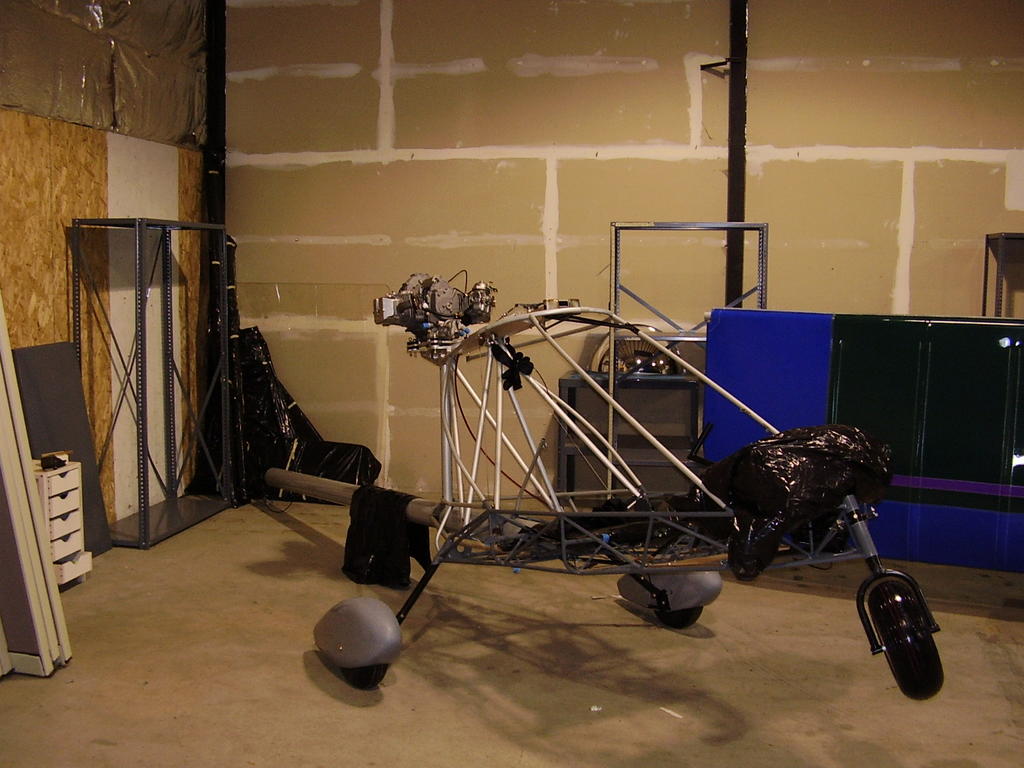
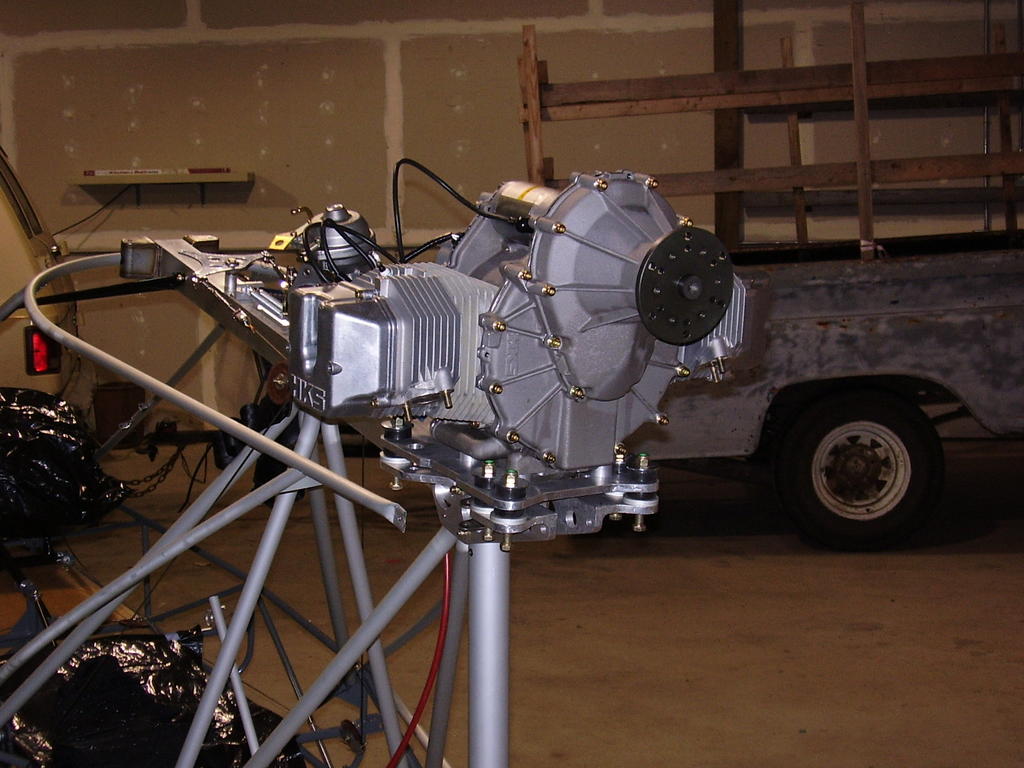
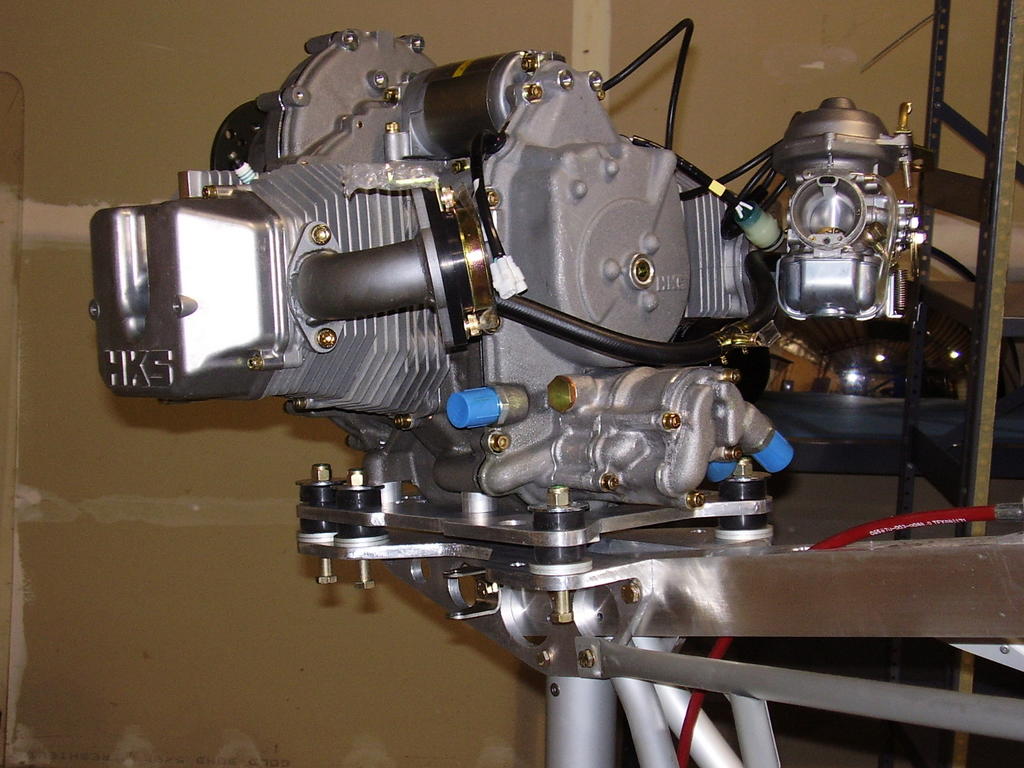
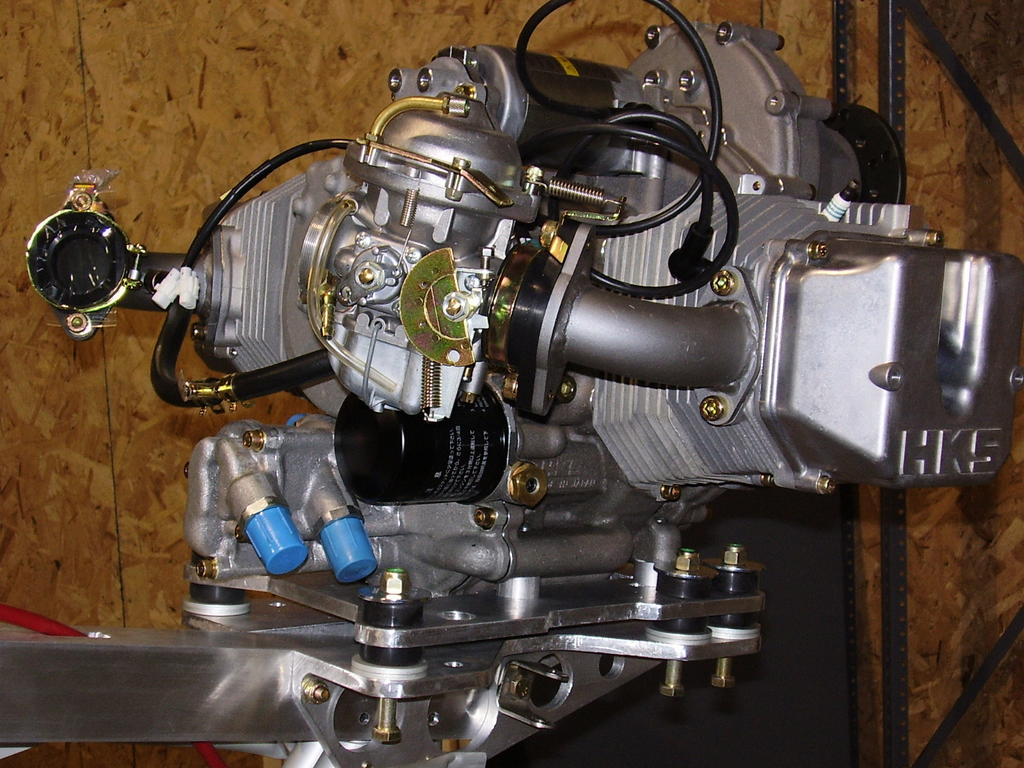
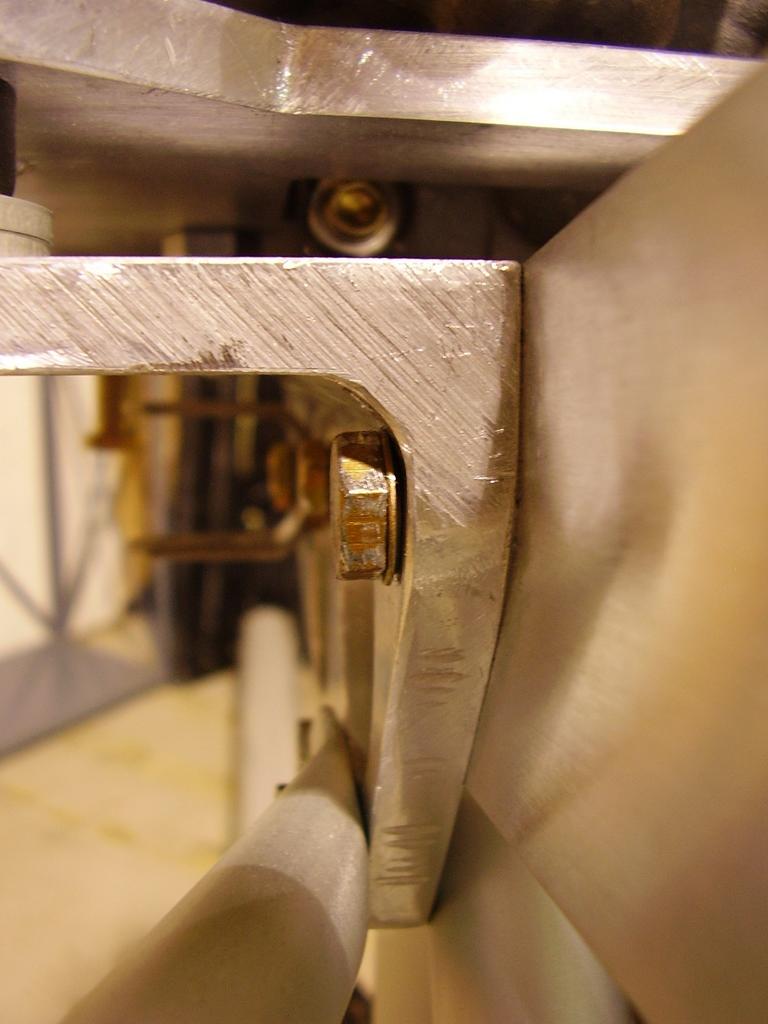
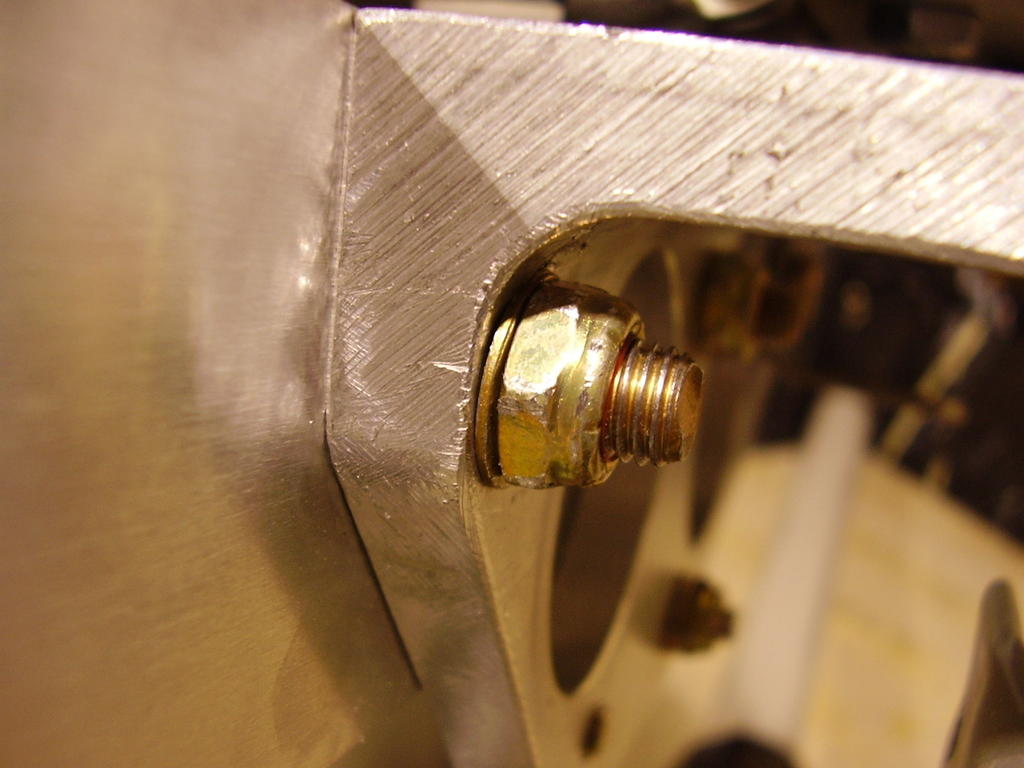
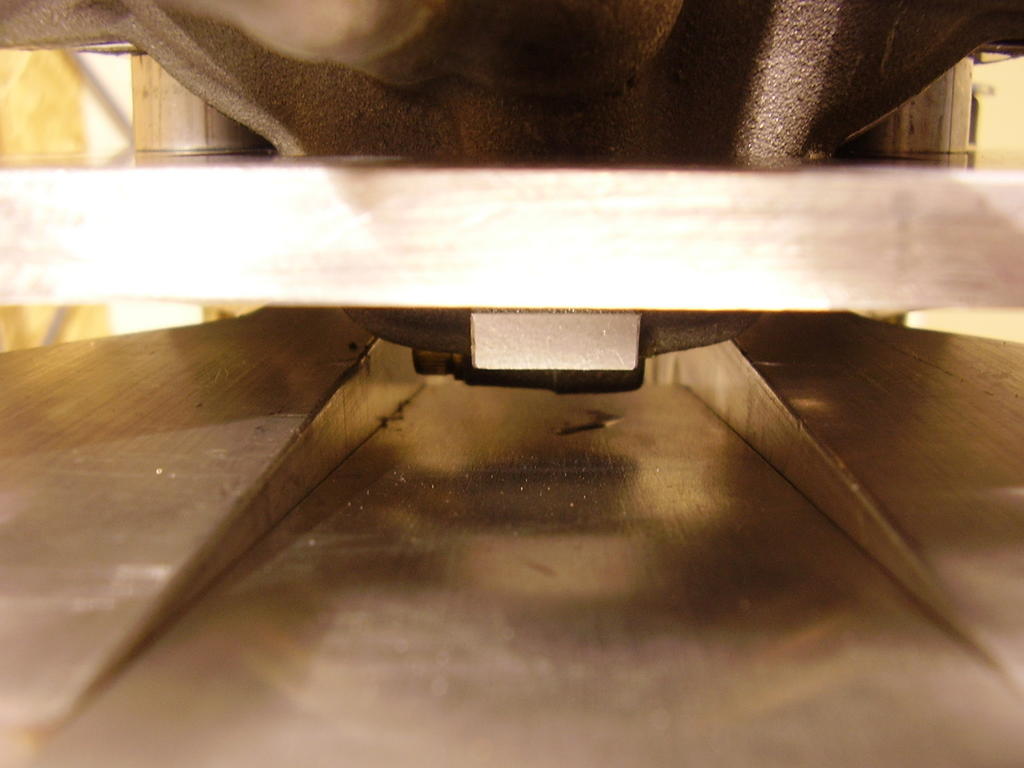
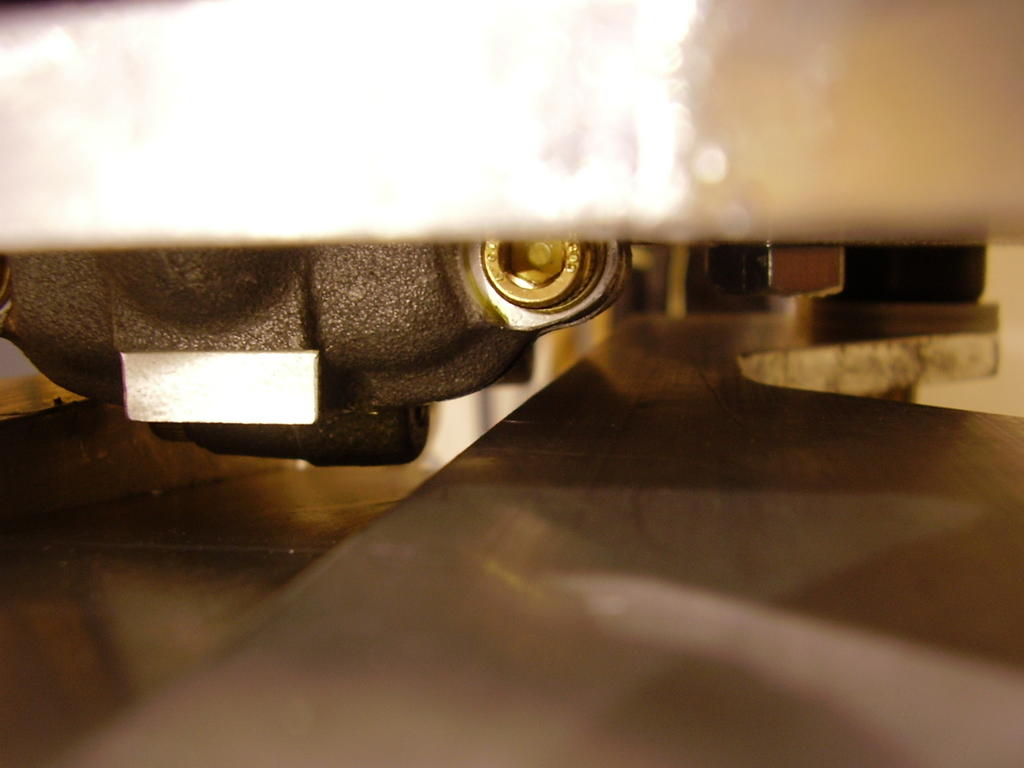
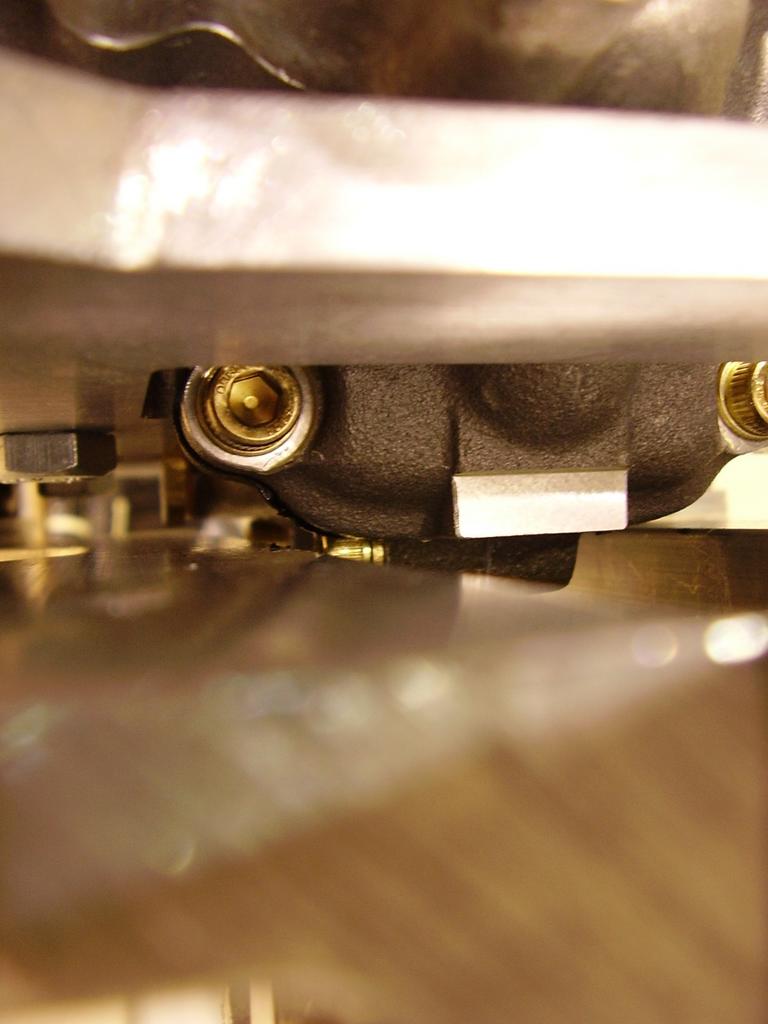
Below you will see the connections of the leading edge spar to the root tube and the clearance between the universal hinge and the engine mount. You can see that the cut out in the engine mount plate is not needed but it does add some finger clearance and style. The cutout in the engine mount bracket gives plenty of clearance for the universal hinge and bolt.
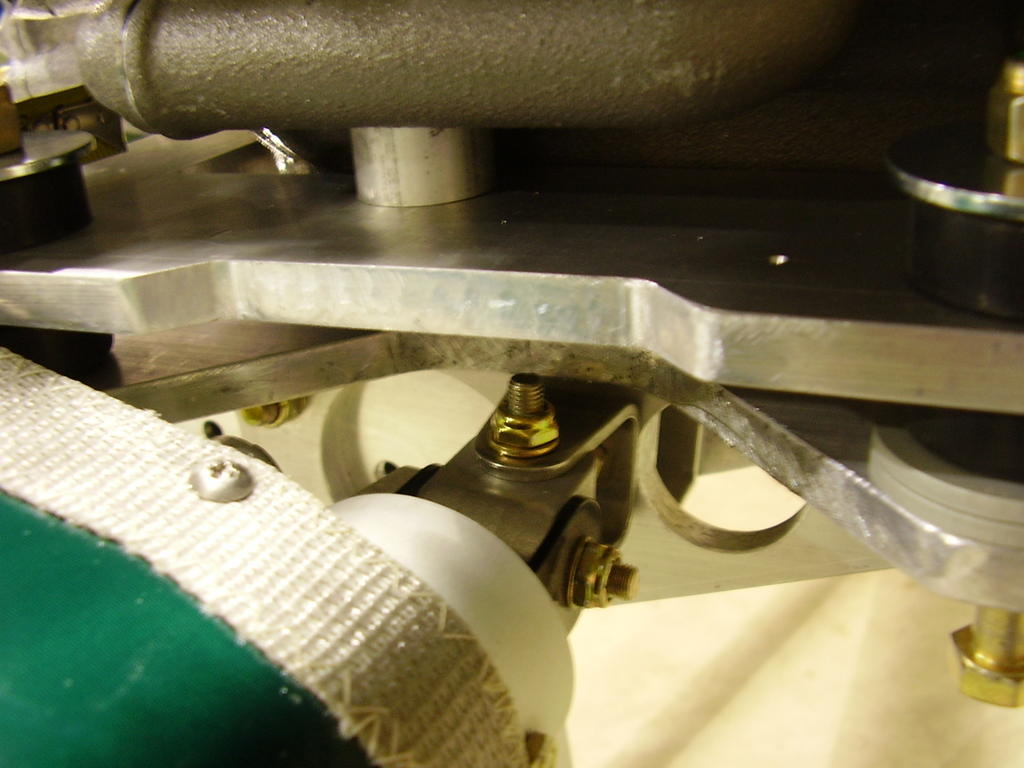
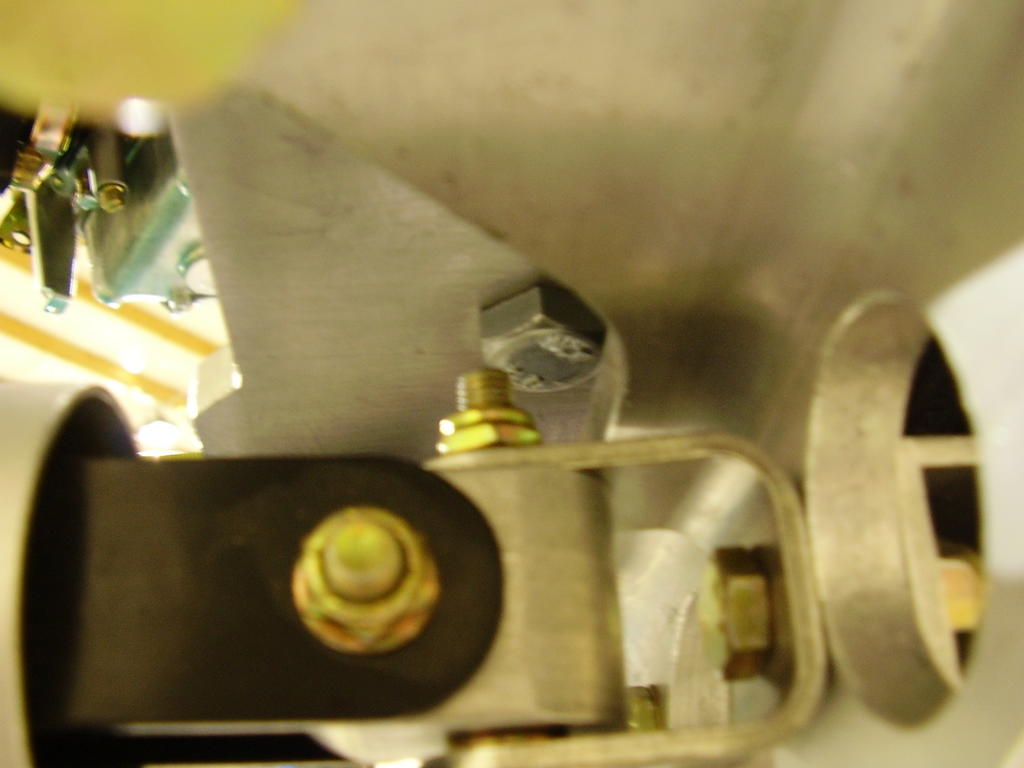


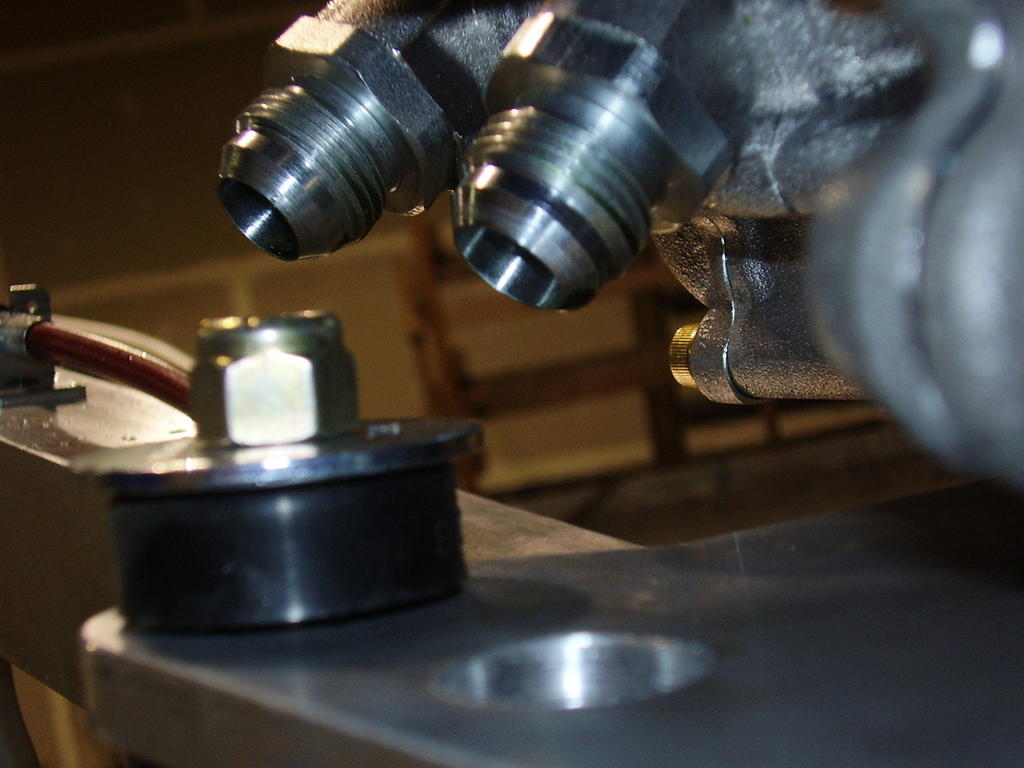
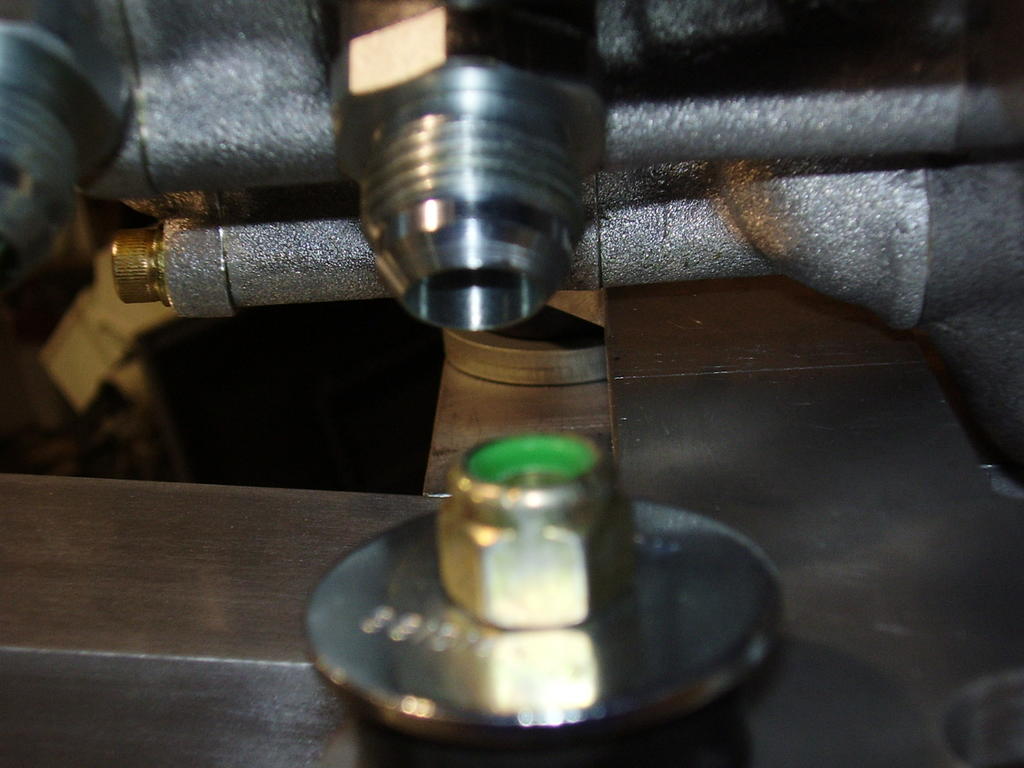
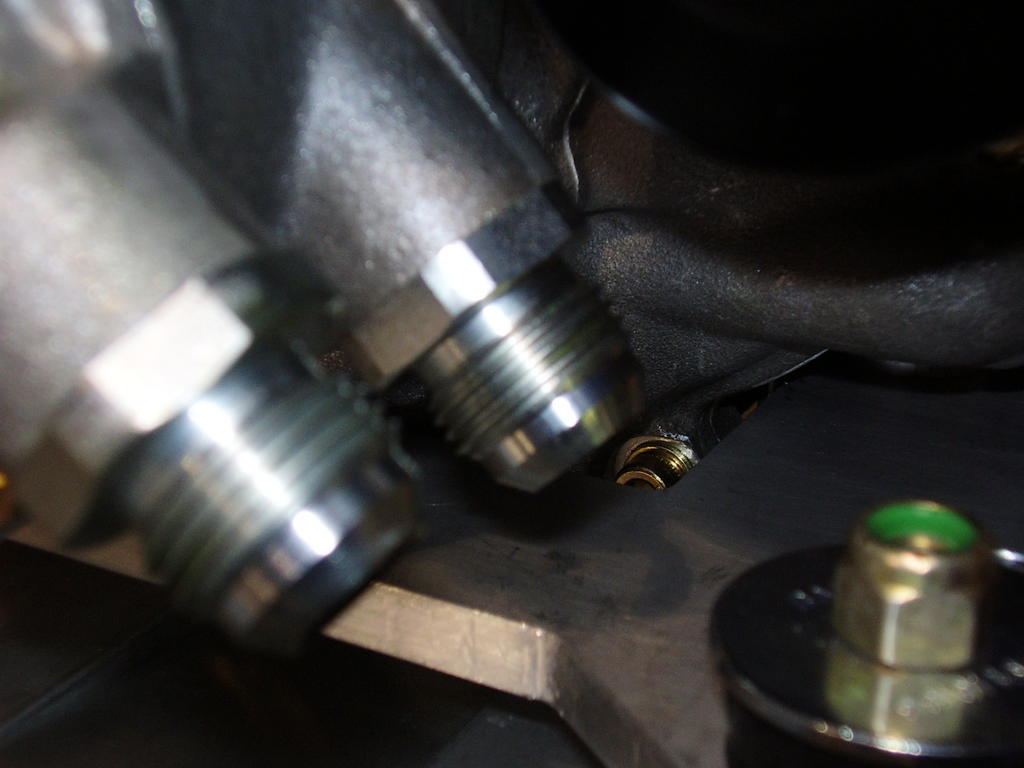
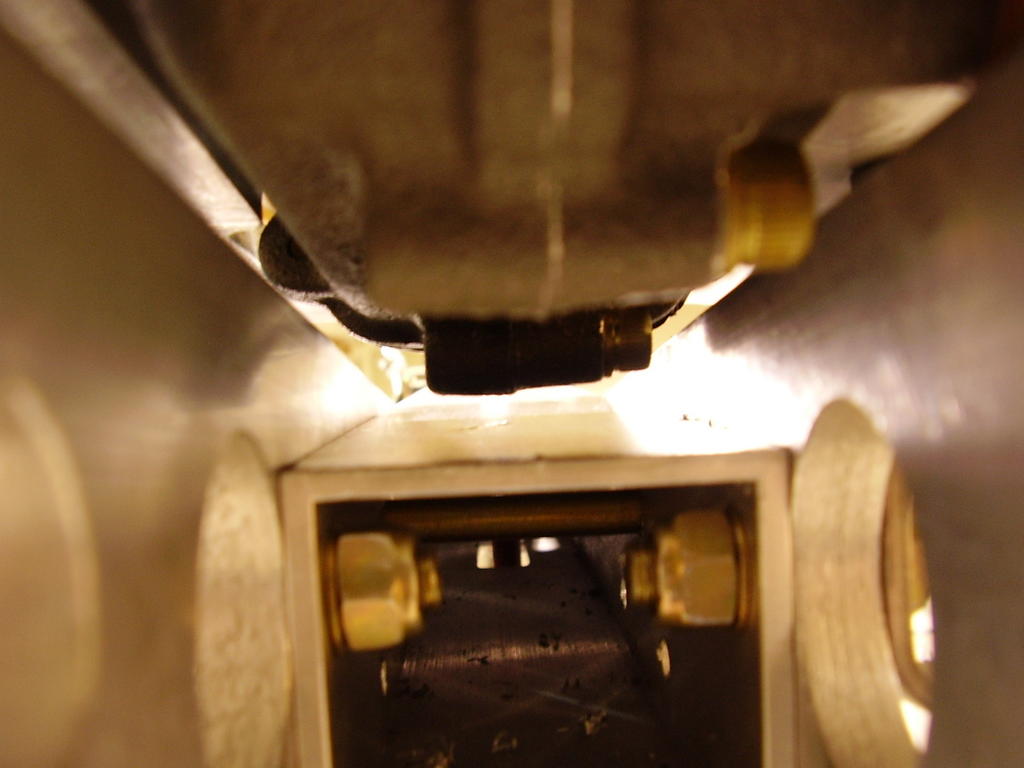
Below you can see two photos of the bottom of the engine looking up. To the right of the ridge in the cast aluminum is the location of the oil drain plug. This shows approximately 1.5 inches of metal on the engine mount bracket in front of the oil drain plug. A hole could be drilled within that 1.5 inches for a 90 degree quick drain fitting.
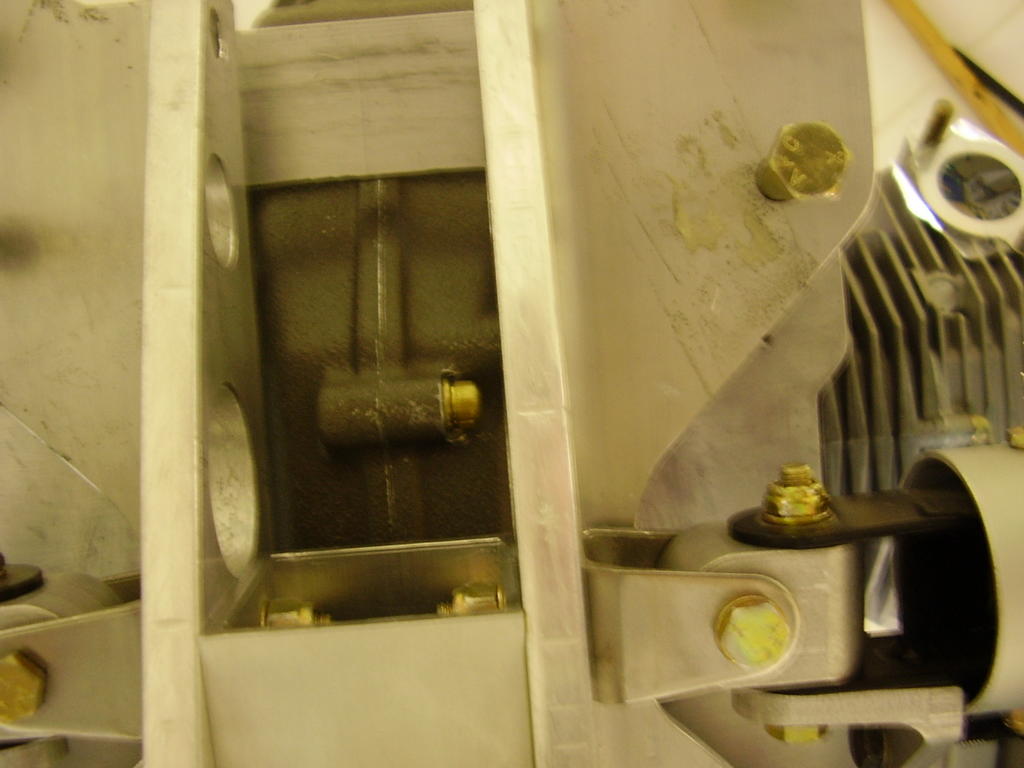
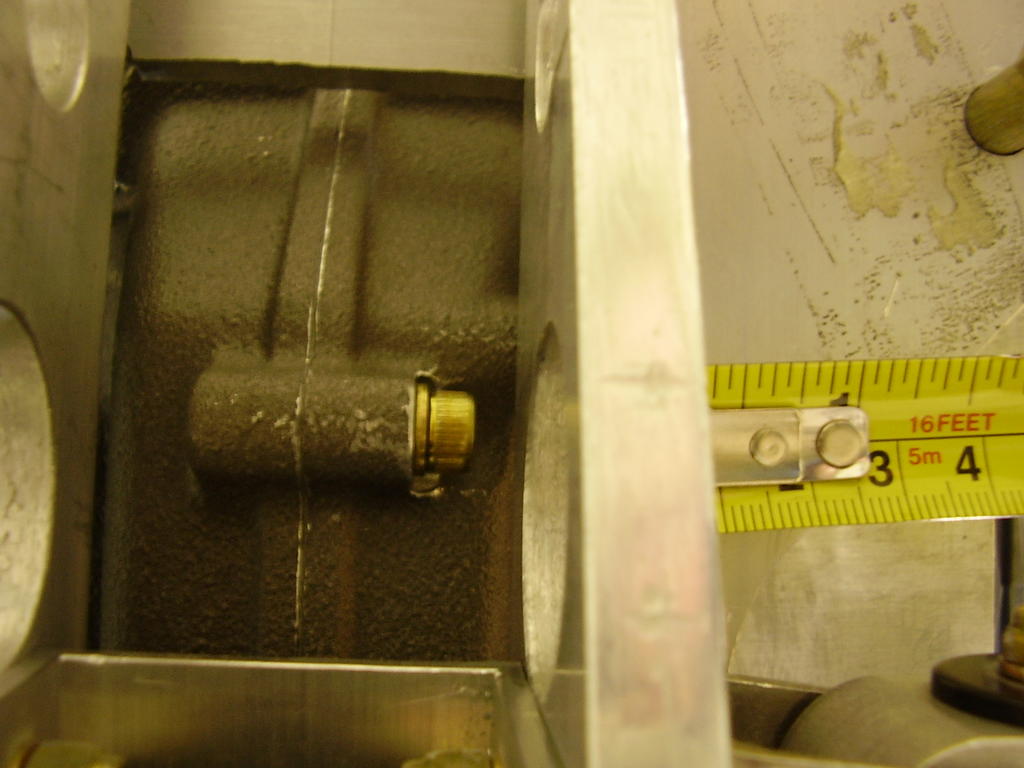


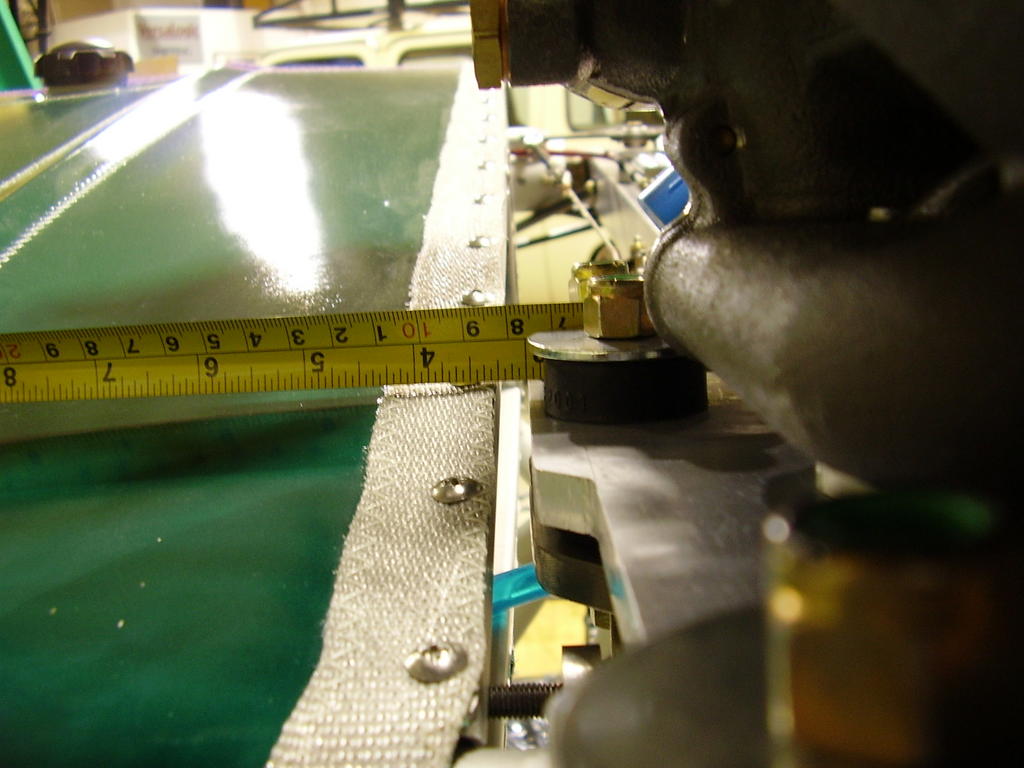
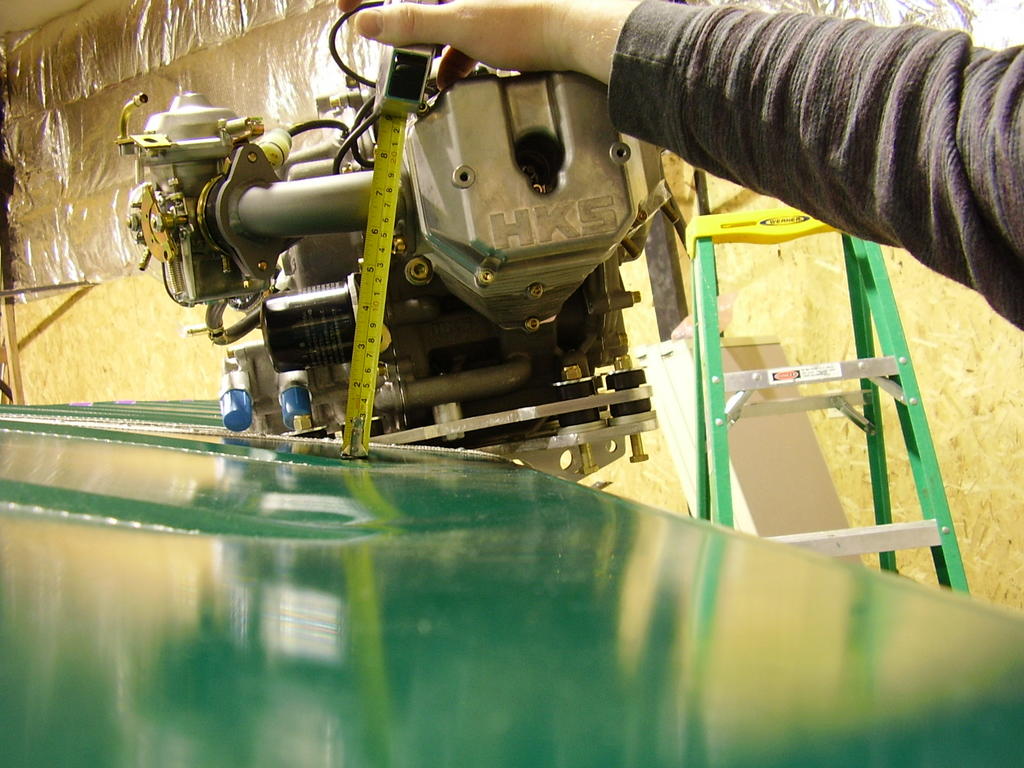
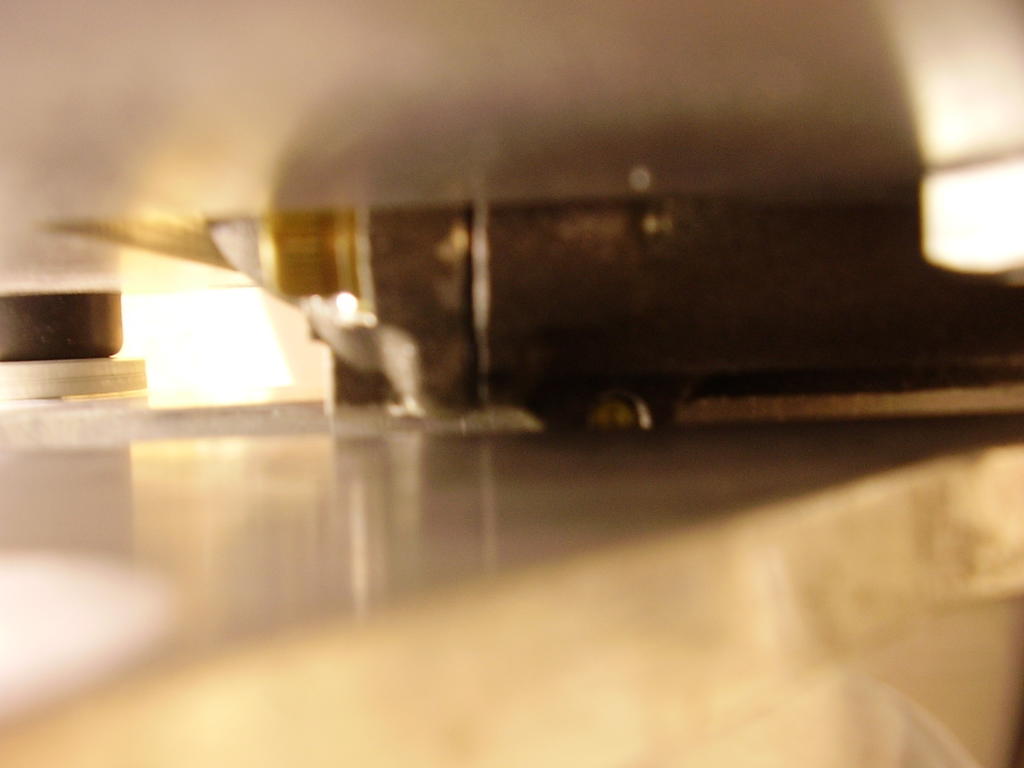
The following pictures show the clearance between the engine mount and the wing. At the narrowest point, there is a quarter of an inch between the engine mount plate and the root of the wing.
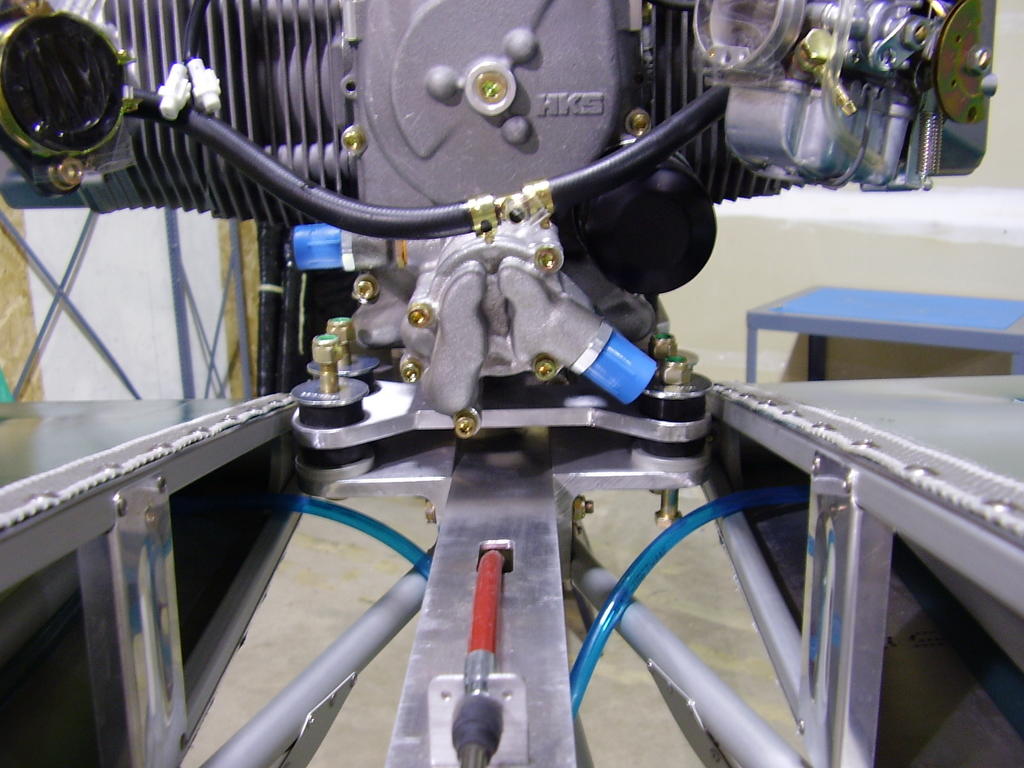
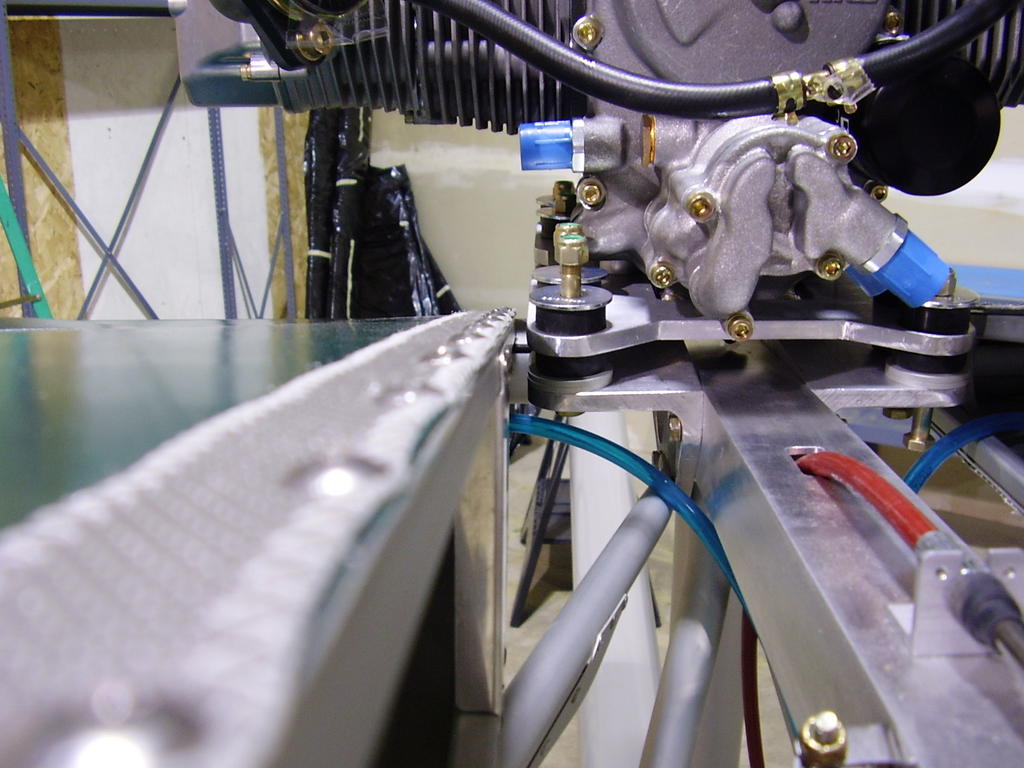
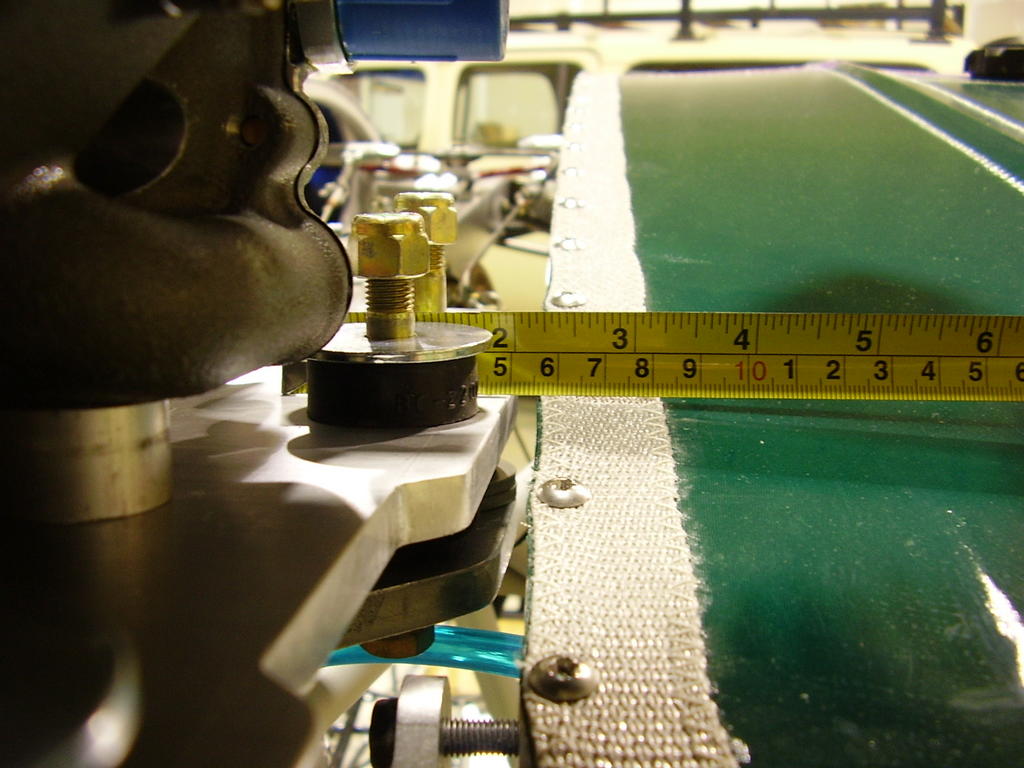
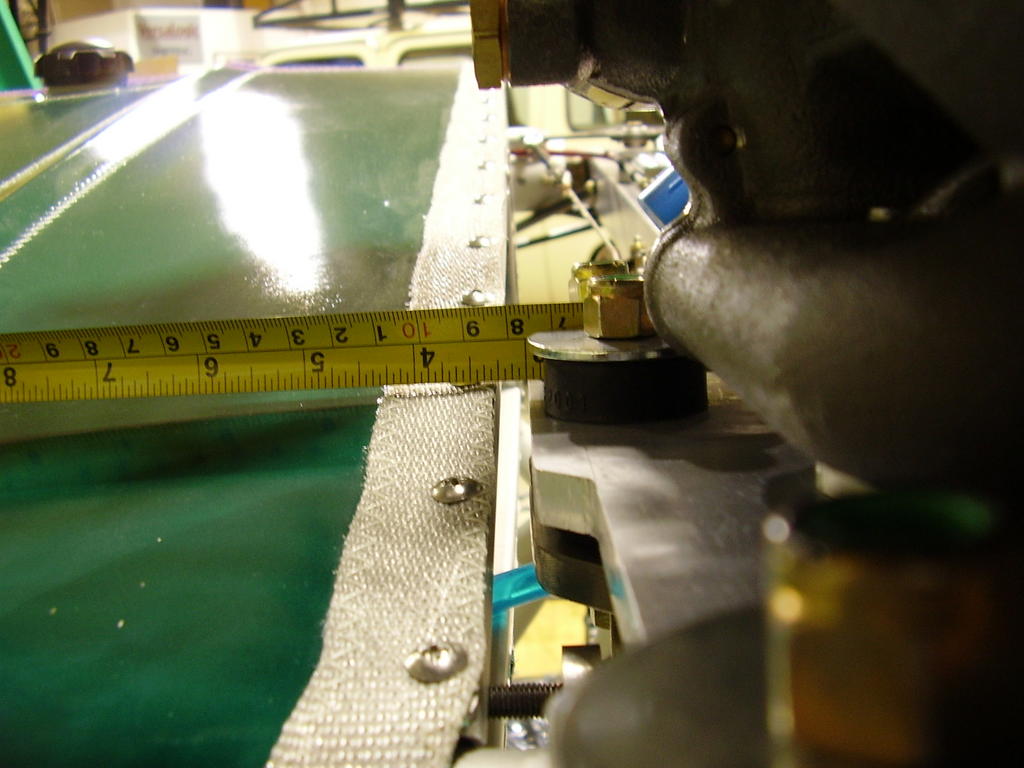


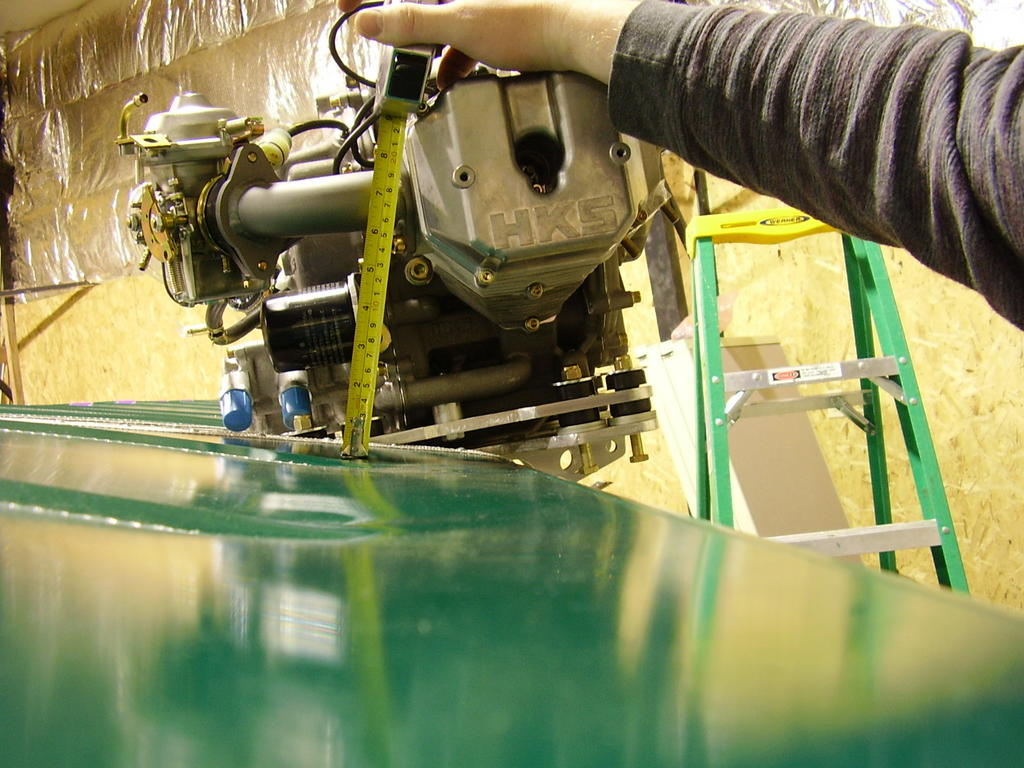
The following two pictures show clearance measurements between the wing and the engine cylinders for exhaust design.
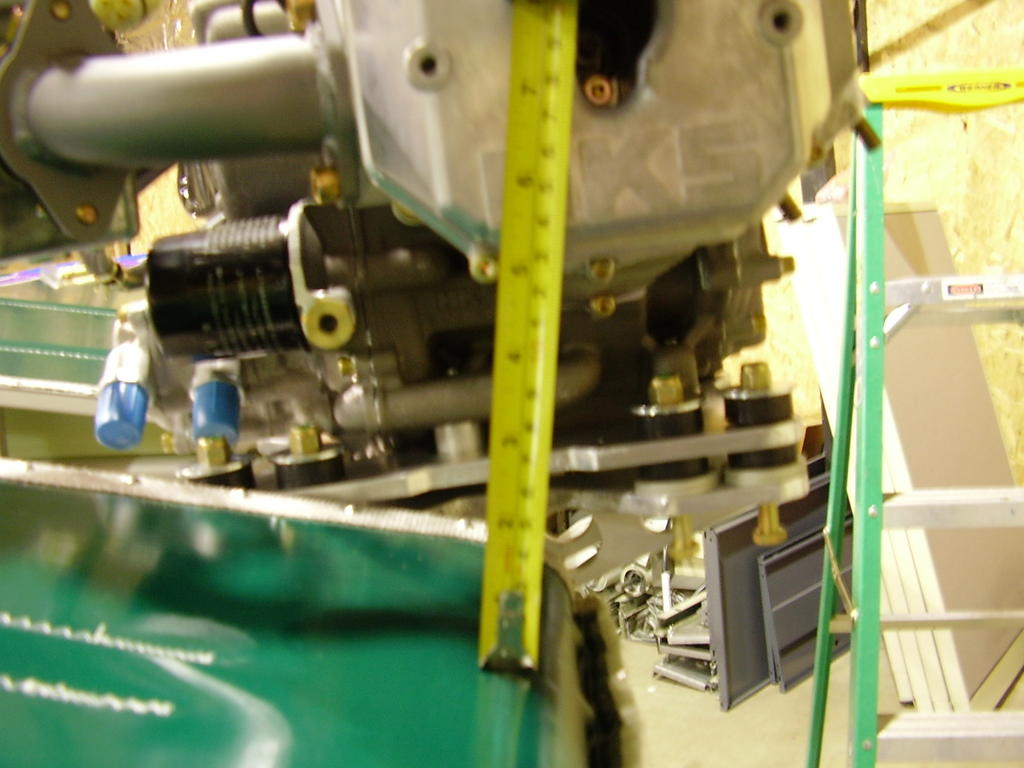

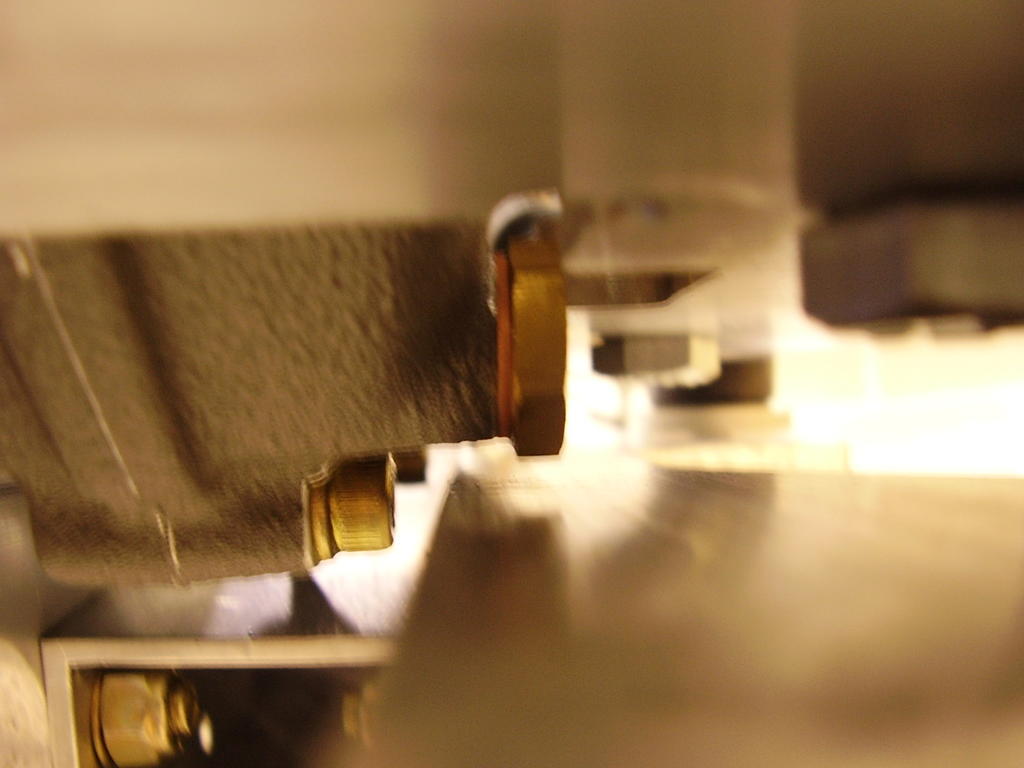
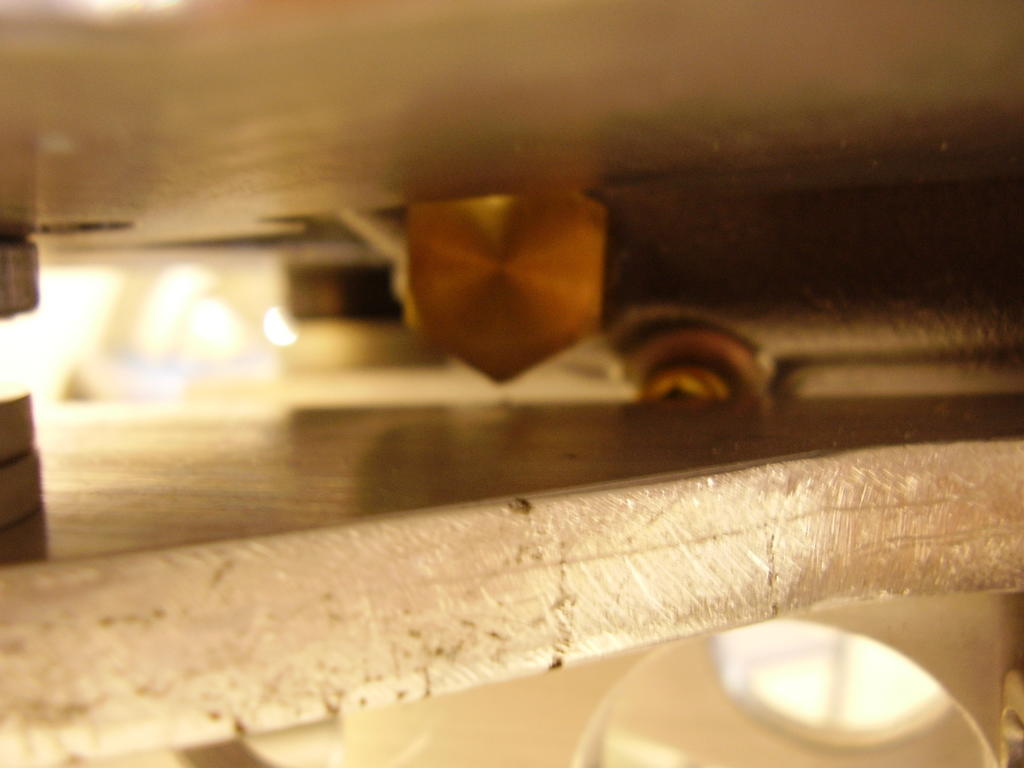
Sunday, October 02, 2005

Mounting Engine - 3 hour (161 Total)

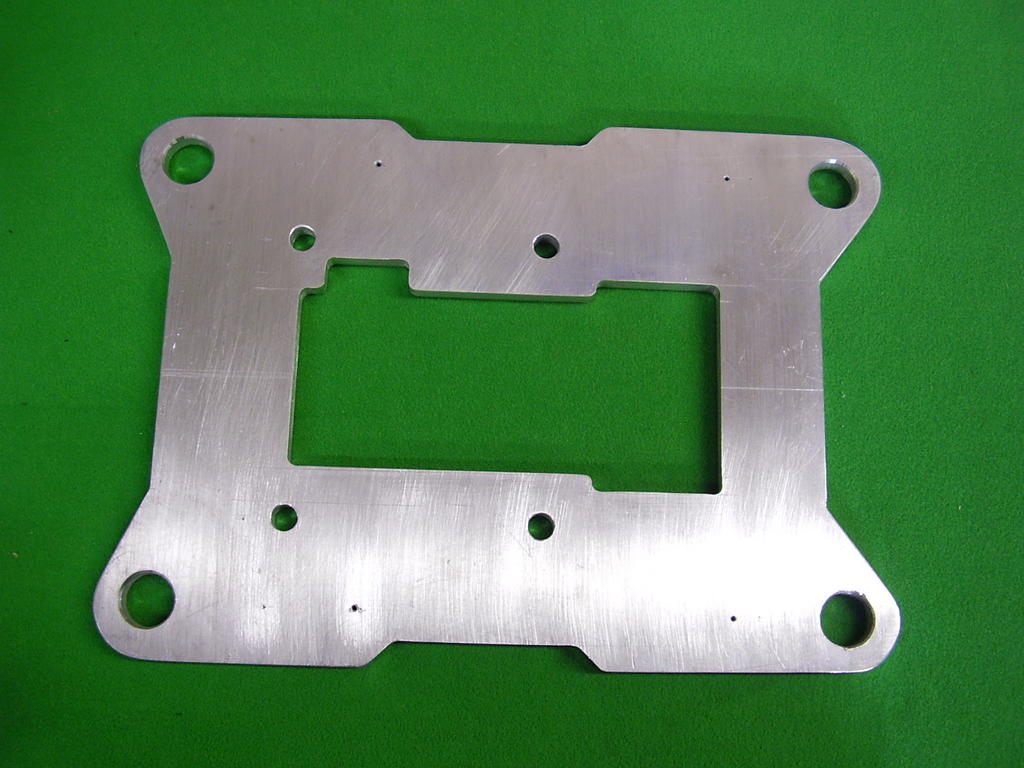
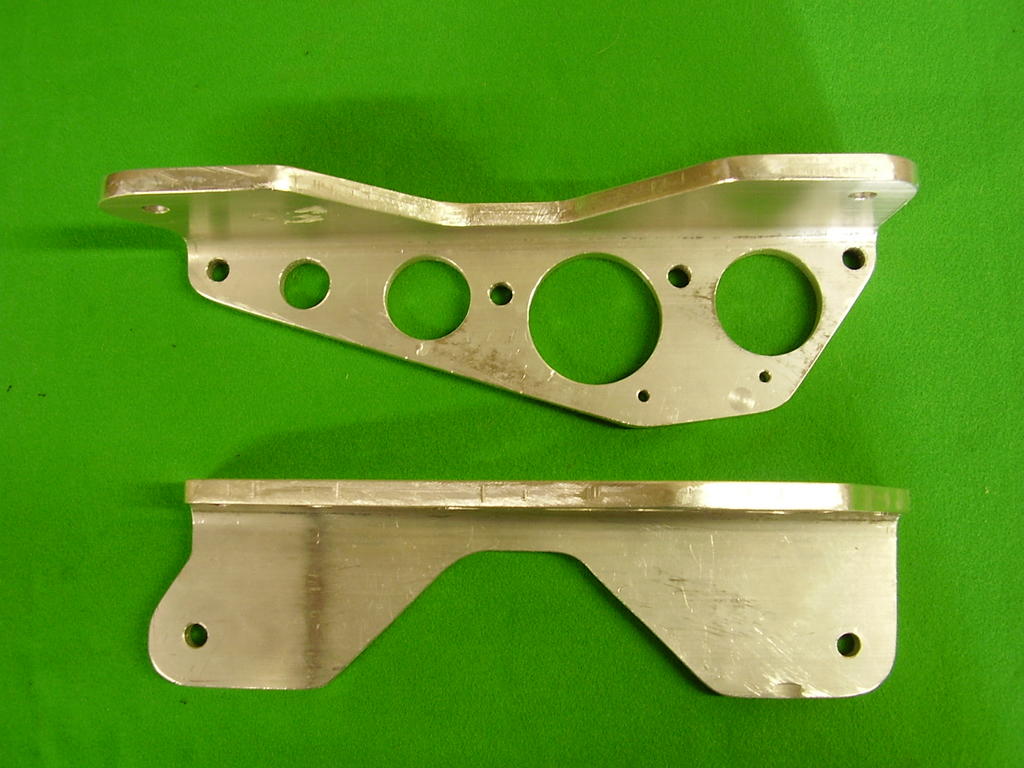
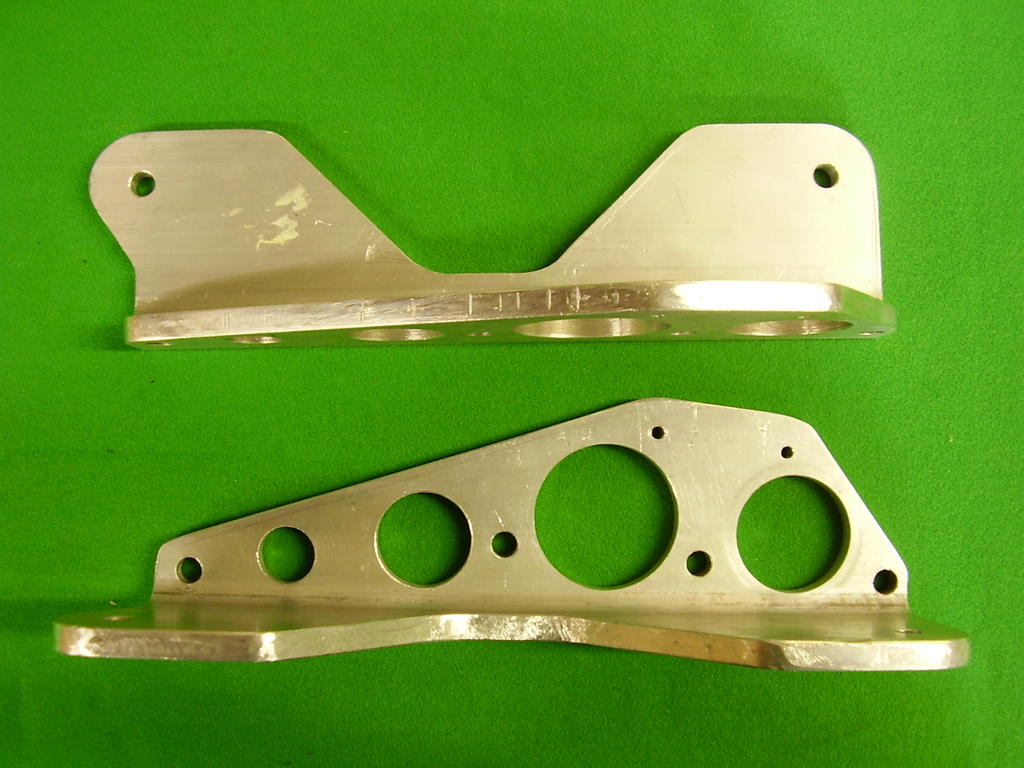
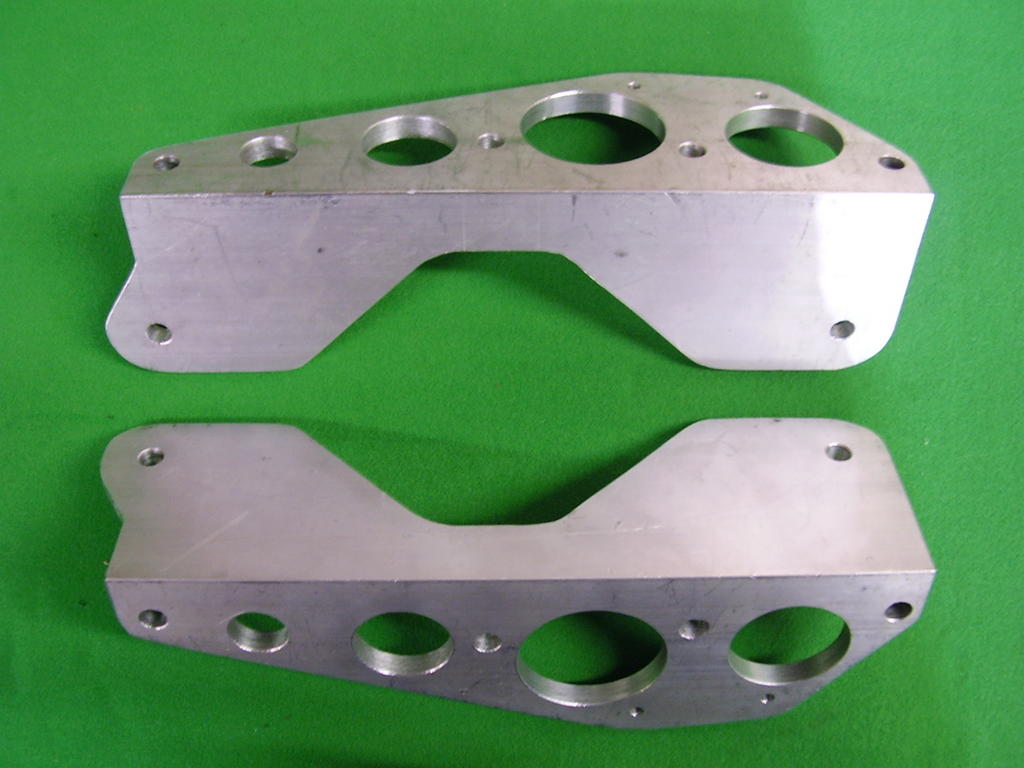
Today I started off by modifying the engine mount brackets and plate. The cutout required didn't come out pretty but it is functional.

I bolted the brackets to the root tube and the plate to the engine. By letting the plane rest on its tail, I was able to lift the engine onto the brackets. I had put four of the eight Barry mounts into the plate to act as rubber feet while I set the engine onto the brackets.

Once on the plane, I installed the washer and bolts. Unfortunately the bolts that were sent are too long.


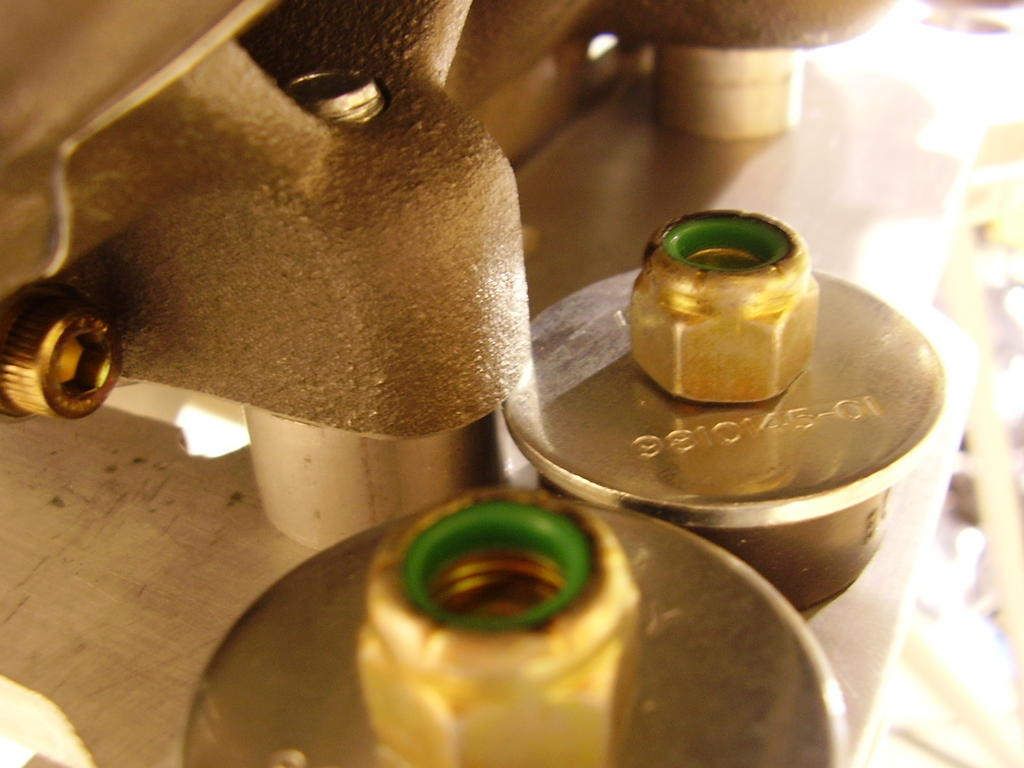
Because of the radius of the angle bracket used, the forward most bolt is too high on the angle bracket. The bolt head and nut don't have a flat surface to seat against.


The engine seems to be mounted as low as it can go. There is approximately an eighth of an inch clearance between the bottom most portion of the engine and the root tube.


There also appears to only be an eighth of an inch clearance between the engine and the top of the brackets. This means that the brackets can not be increased in size to remove the need of the aluminum washers. We could increase the size of the 9/16" stand-offs between the engine and engine plate.


The oil drain plug also has clearance issues. I wonder if an elbow fitting could be used to allow access to the drain through a hole in the angle bracket.


Two of the washers used on the Barry mounts seem to be interfering with the engine. This could be solved by using smaller washers, similar to what Rans uses with their 503 engine mount. Increasing the size of the stand-off between the engine and the engine plate would also solve this.


One of the oil fittings is pretty close to one of the Barry mounts. We'll have to see if an angled fitting will clear this Barry mount.


Thursday, September 29, 2005

Engine Bracket - 0 hour (158 Total)

Over the past few weeks I've been working with Green Sky Adventures to design and build an HKS 700E mounting system for the S-14.

Today I received my engine brackets. Unfortunatly, the machinist errored in a few places and I'll have to do some modifications. I'll use these pieces as mockups, and have another set made after the bugs have been worked out.


Sunday, August 14, 2005

Wing Struts - 0 hour (158 Total)

More photos.


Wing Struts - 9 hour (158 Total)

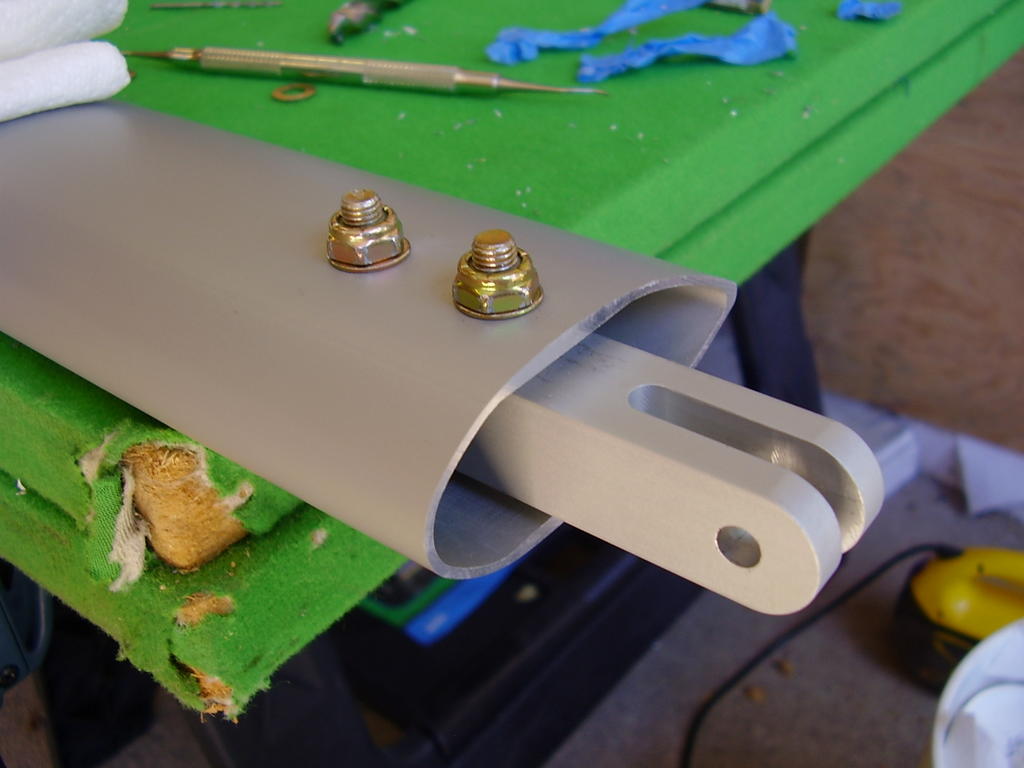
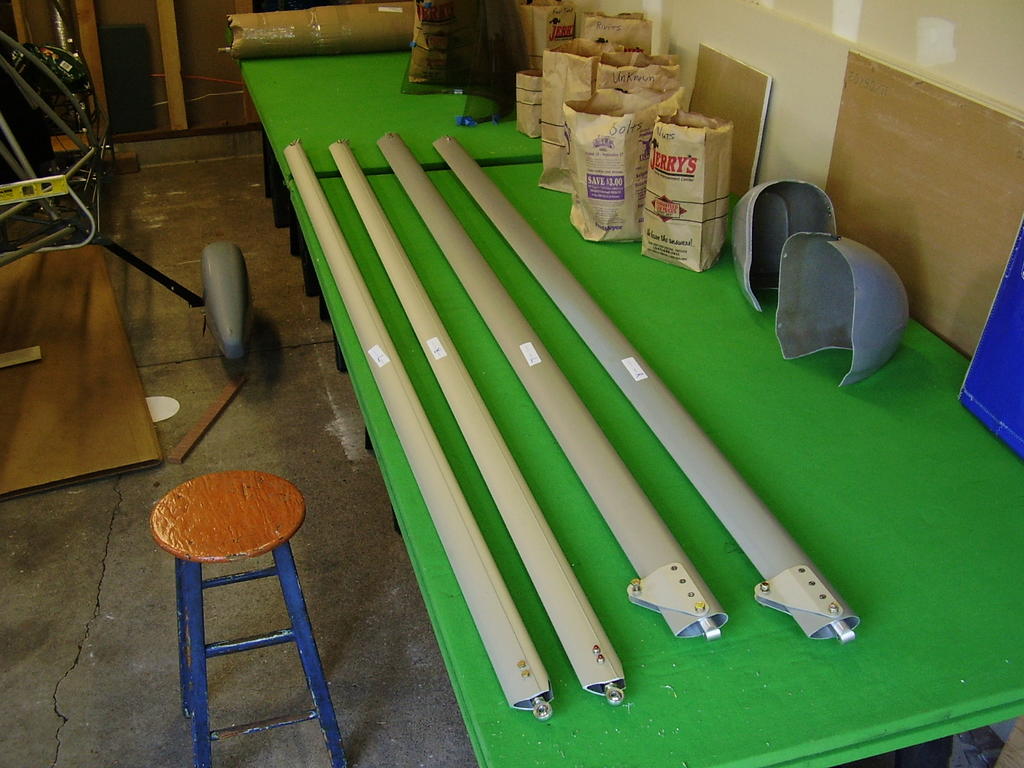
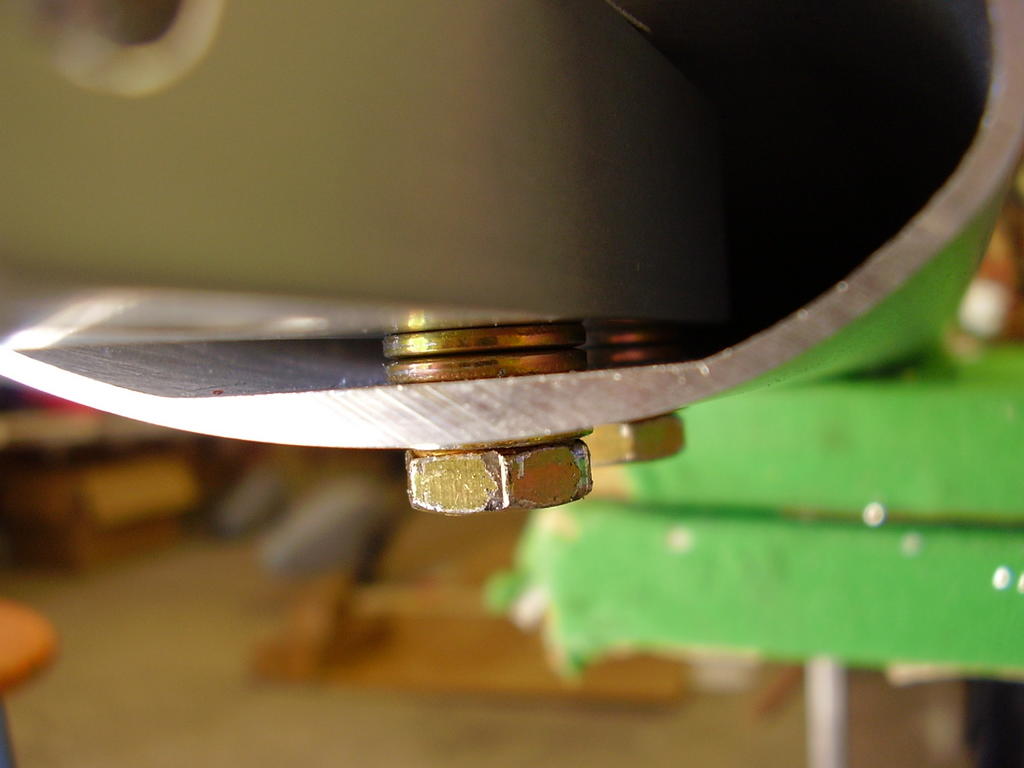
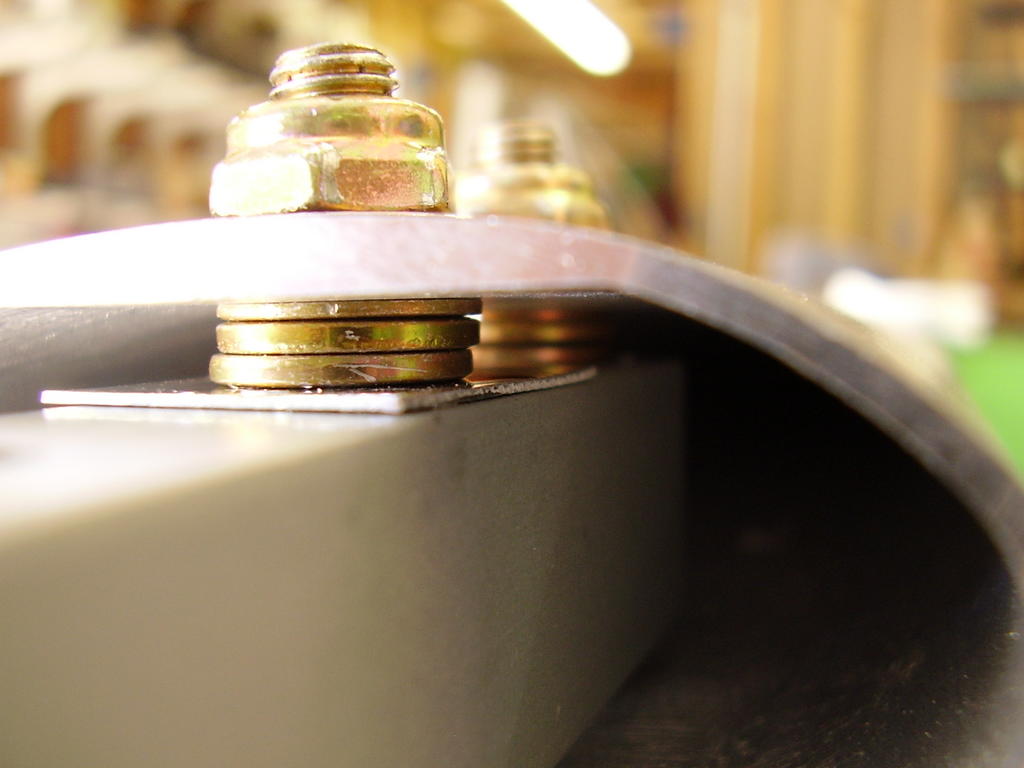
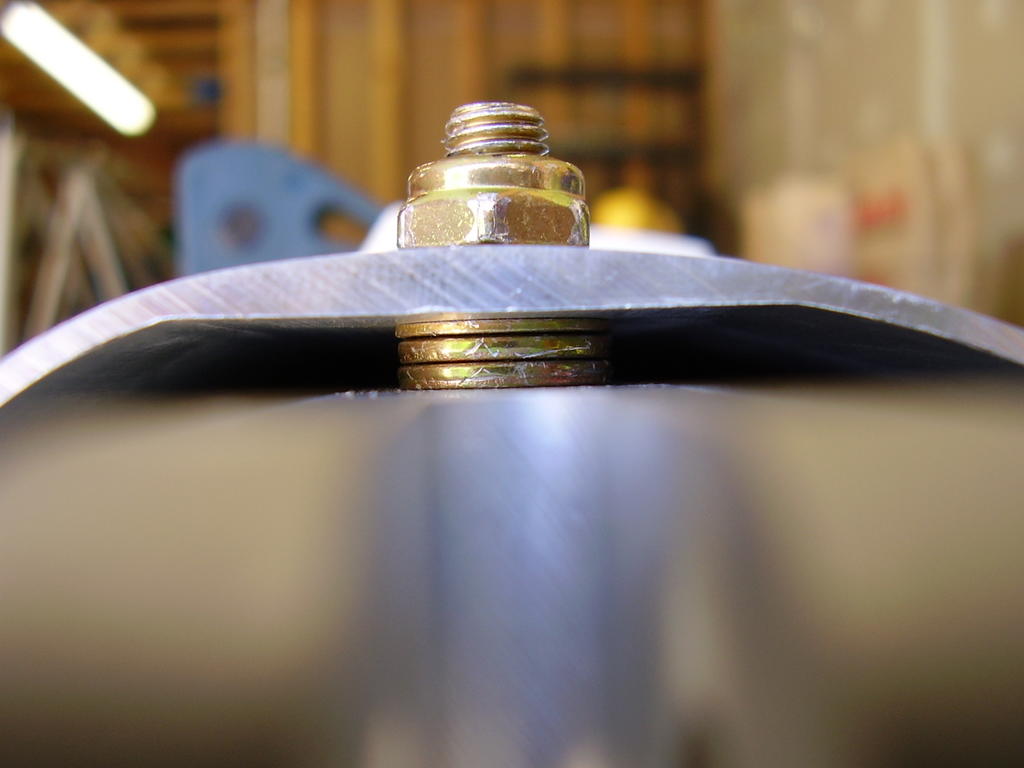
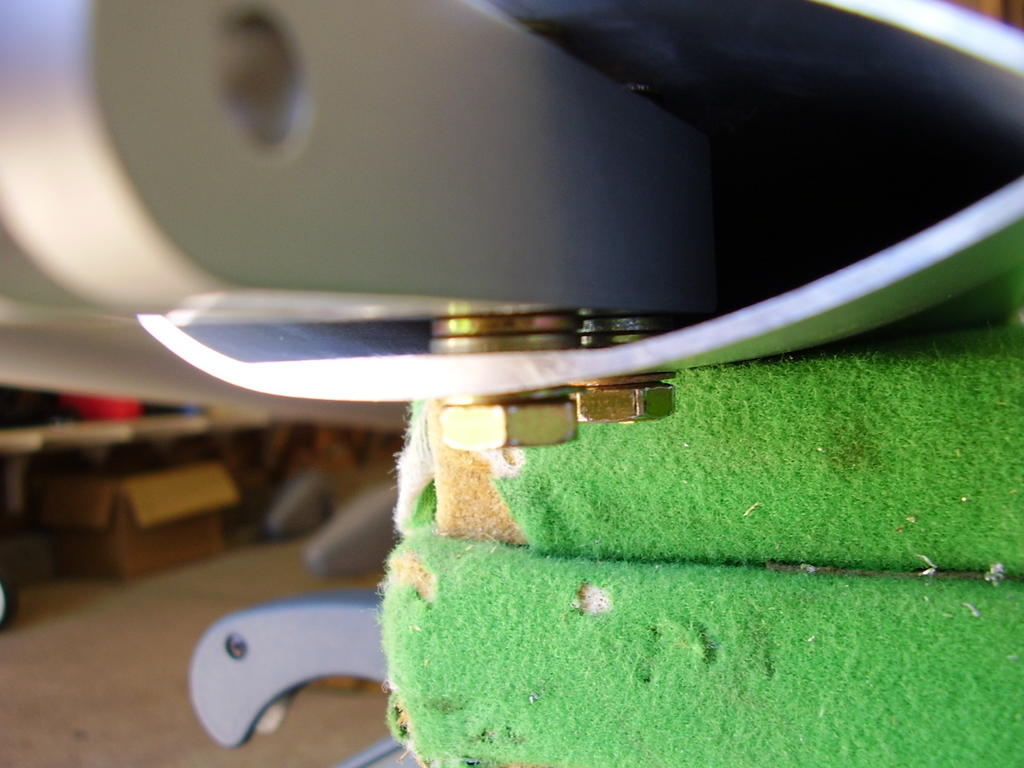
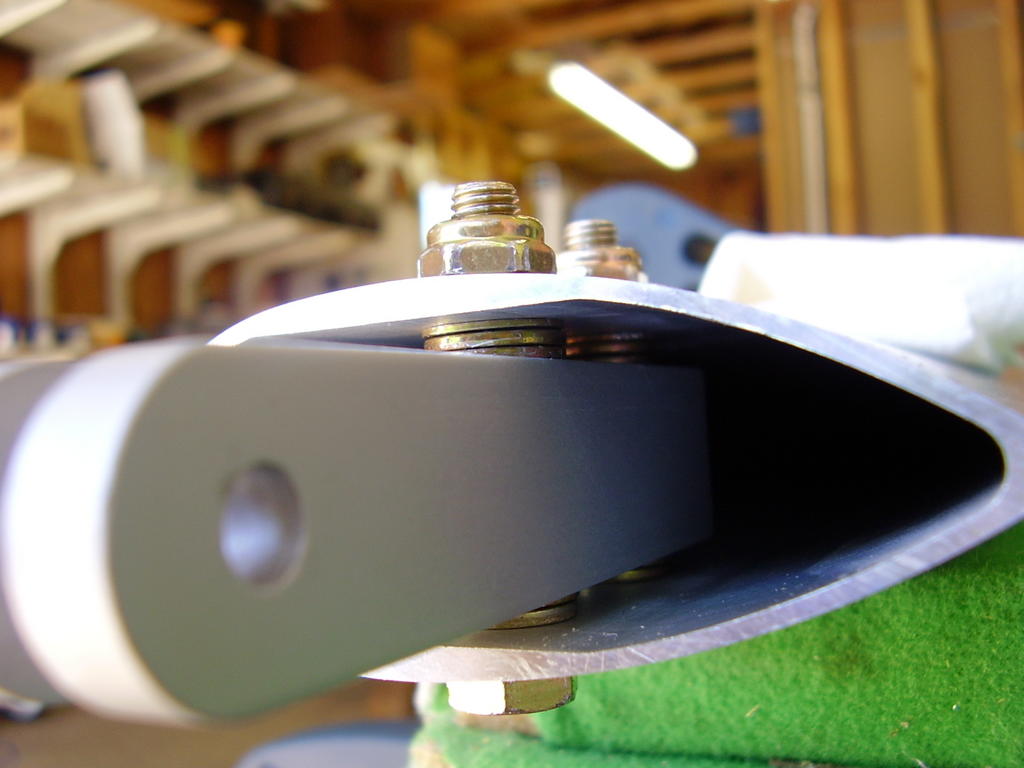
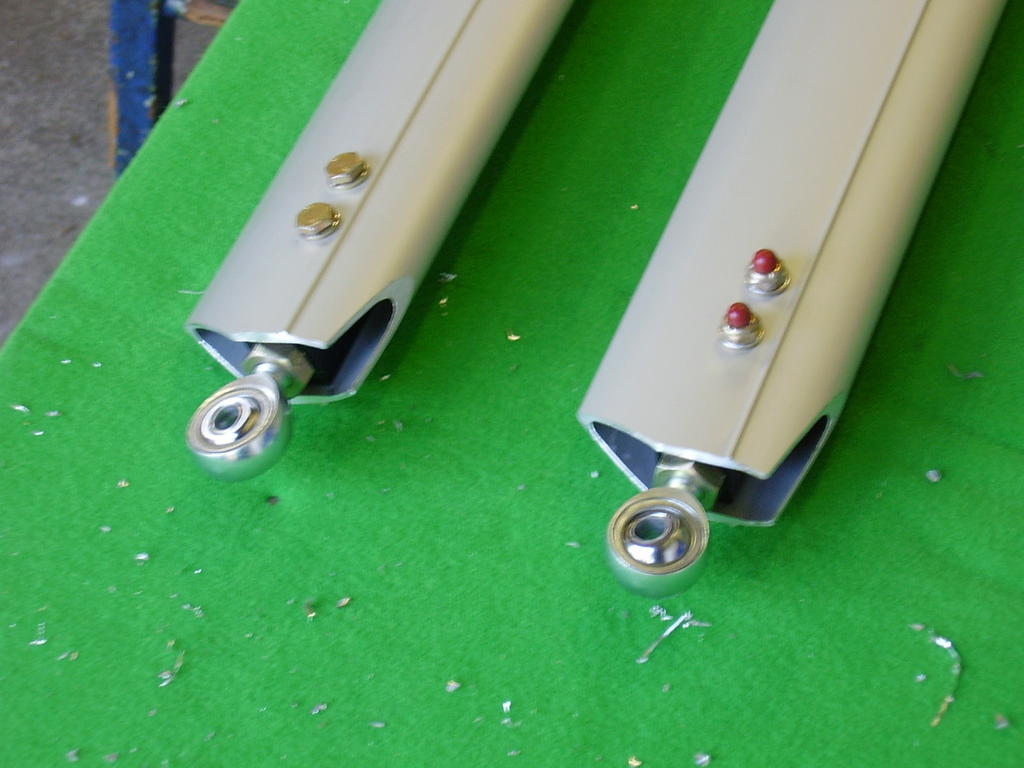
Today I built the wing struts. Other than taking much longer to build than expected, they went together easily. I did need to play with the type and number of washers needed to fill the gaps between the extruded aluminum and the hardware.


Sunday, July 31, 2005

Brakes, Elevator, and Steering Linkage - 1 hour (149 Total)

Today I added a 1" spacer between the toe brake pedal and the rudder pedal. This made the brake/rudder pedal much more comfortable to use. I will continue looking into a hand actuated brake system (cable or hydraulic) but this may be good enough if I give up on the idea of having a parking brake.

I also worked on my 5/8 inch elevator push pull tube to allow it to move more freely. I needed to sand out the inside of the frame welded sleeves which hold the tube in place. The tube would bind up (extra friction) when I sat in the seat; it would move freely when I wasn't in the seat. To make sure I sanded out enough, I placed a 40lbs bag of dog food in my lap while testing it's movement.

The last thing I did was adjust the linkage arms on the nose wheel steering yoke. The linkages needed adjusting to compensate for the offset the pedals have. I ended up backing out the forward right linkage arm so it only has the minimum number of threads holding it into place, six turns. The other three linkage arm ends are fully installed. If further alignment needs to be done, I can adjust the rear ends of the linkage arms. This can be done easily after the enclosure is installed.

Thursday, July 28, 2005

Clear Coat - 0 Hours (Total ?)

I picked up my clear coated wings and tail pieces today from the paint shop. Since I didn't have my camera with me, you'll have to take my word that they came out nice. They had replaced both wing patches that cover the holes they sanded in the wings. The new patch look pretty good (for patches) and they did a decent job of clear coating the patches and the seam between them and the wing fabric.

I did notice some scuffs on the leading edge of one of the wings where they set it down on the concrete floor. Luckily most of these seem to come out with a little spit wash.

Even with all of the problems I had with the paint shop, I'm still happy with their work. They bent over backwards to get the job done right and more importantly, charged me very little for the work. Not counting the cost of the replaced vertical stabilizer skin, the paint shop charged me $550. I could easily see this price doubling or tripling if they would have charged me for all of the hours they put into it.